For the past 6 or so months I have been doing trials with my grind plate made out of plastic cutting board. I sort of got used to it when doing pedal and crank grabs, but it has always been a little bit annoying (of course I need it though for grinds). Today I got the idea of cutting small ridges, lengthwise on the plate to see if it was any more grippy. Success! Because the ridges go lengthwise, grinding is not any more difficult, and it turned out to be a good amount grippier. Here are the steps to making the actual plate, and then for the ridges. The plate described below fits pedals that have open holes on the sides like these. They should also have open holes on the top.
-
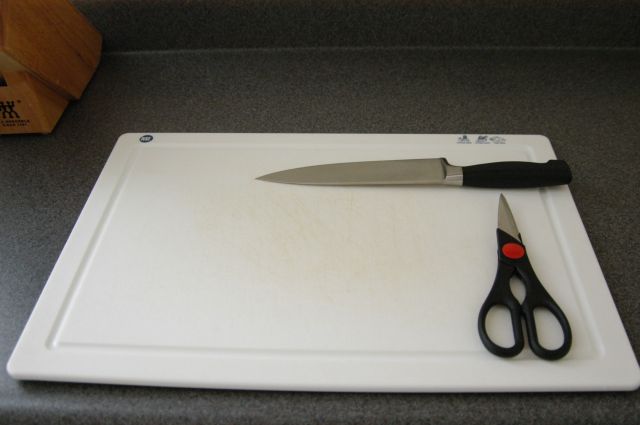
Buy a plastic cutting board or steal your mom’s;)
-
Cut a rectangle about the size of your pedal out of it. I used a hacksaw, but there are probably some better tools for the job. Use whatever is handy, but be careful because this plastic is tough. Don’t let the tool slip on the plastic (it’s very easy to do this). After you cut the rectangle, cut two beams that will go along the width of your pedal. They should be able to fit through the holes on the sides. (See picture 005)
-
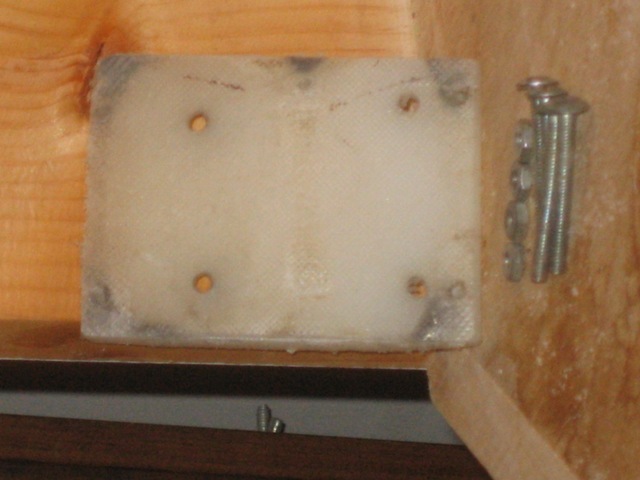
Find some bolts and nuts. Make sure they are not too long, otherwise the bolts will make your pedals less grippy because they will get in the way of the pins. Put the rectangle of plastic board on the bottom of your pedal, and the beams along the inside like in this picture. Then put the bolts you chose along the side of the pedal to make sure it will reach though the plate and beam, with some room to spare so you can fit the nut on the end. (See picture 004)
-
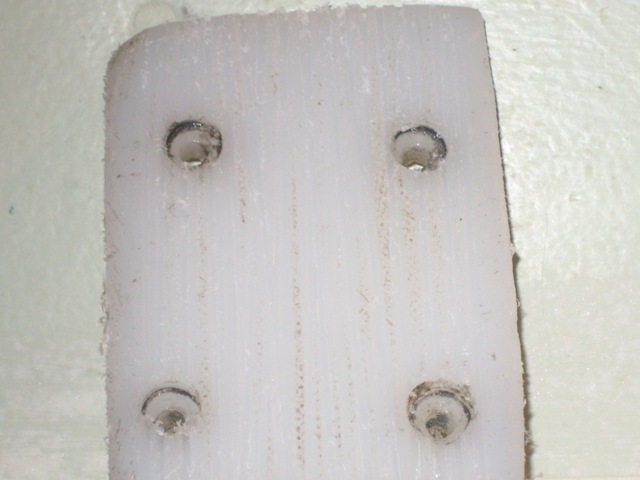
Take a drill and find a bit ( the part that you stick in the end of the drill, the part that goes around and around) that is the same diameter of your bolts. Keep your beams and plate on the pedal, and clamp everything down (or just hold it down if you don’t have clamps) and drill holes for four bolts, two on each beam like in this picture. (See picture 003)
-
Now take a new bit. This one should be the size of the head of your bolt. with this, drill on top of the previous holes, on the bottom of the grind plate only (the part that will be hitting the rails and ledges). Drill as deep as you have to until when you put the bolt in all the way, the bolt head is level with the bottom of the grind plate. The bolt head should not be visible if you are looking at the grind plate from the side. (See picture 003)
-
Congrats! This is as far as you street riders will have to go in order to have a functional grind plate that will slide well. Just tighten the nuts down (not too tight, or you can use a bit of loctite if you really want it snug in there). For us trials riders who still want to grind, take one more step for a more grippy grind plate.
-
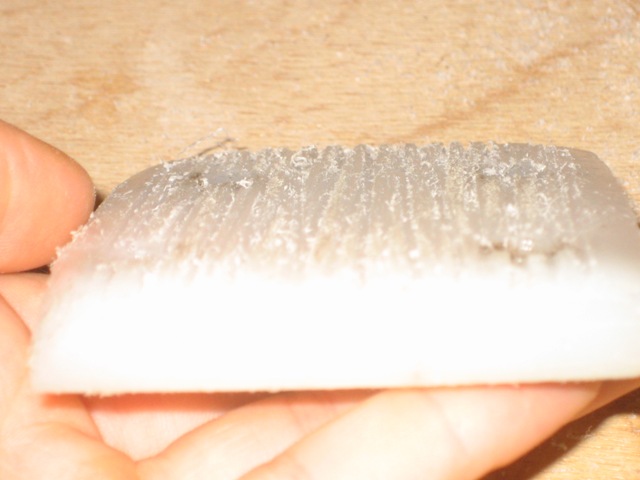
Take just the the part of the grind plate that will slide (the plate) and take your hacksaw out. Start sawing (in the middle) into it lengthwise (in the direction that you will be sliding) and cut about 3mm through it. Then move the blade over just a tiny bit (as little as possible) and cut again, about 3mm. Repeat until you have done this to the whole bottom side of the plate. Take a flathead screw driver now, and fit the thin part into one of the cuts. Push down and move it through the line a few times. Do this for each cut. (See picture 006)
-
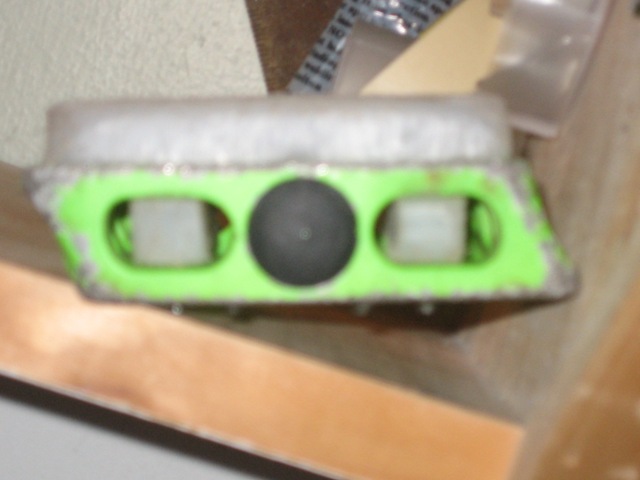
You’re done! Here is a picture of the final result (See picture 002 and picture 001)
PM me with any questions or just post them here. I’m happy to answer them.