It will be interesting to see how they hold up in real world riding. How long will they hold out? I also think a wing nut isn’t the cleverest way to secure them.
Dino, I use wing nuts more then two yers already,but on common bearing holders. Four wing nurs on one unicycle. About tousand km per year,no problem. There is not any trouble with them. So, wing nuts is not innovation now. The innovation is possibility to use only two nuts instead four, only two removing parts instead six (4 nuts + 2 holders), less weight, better look, easest removing ang installing a wheel.
2 Likes
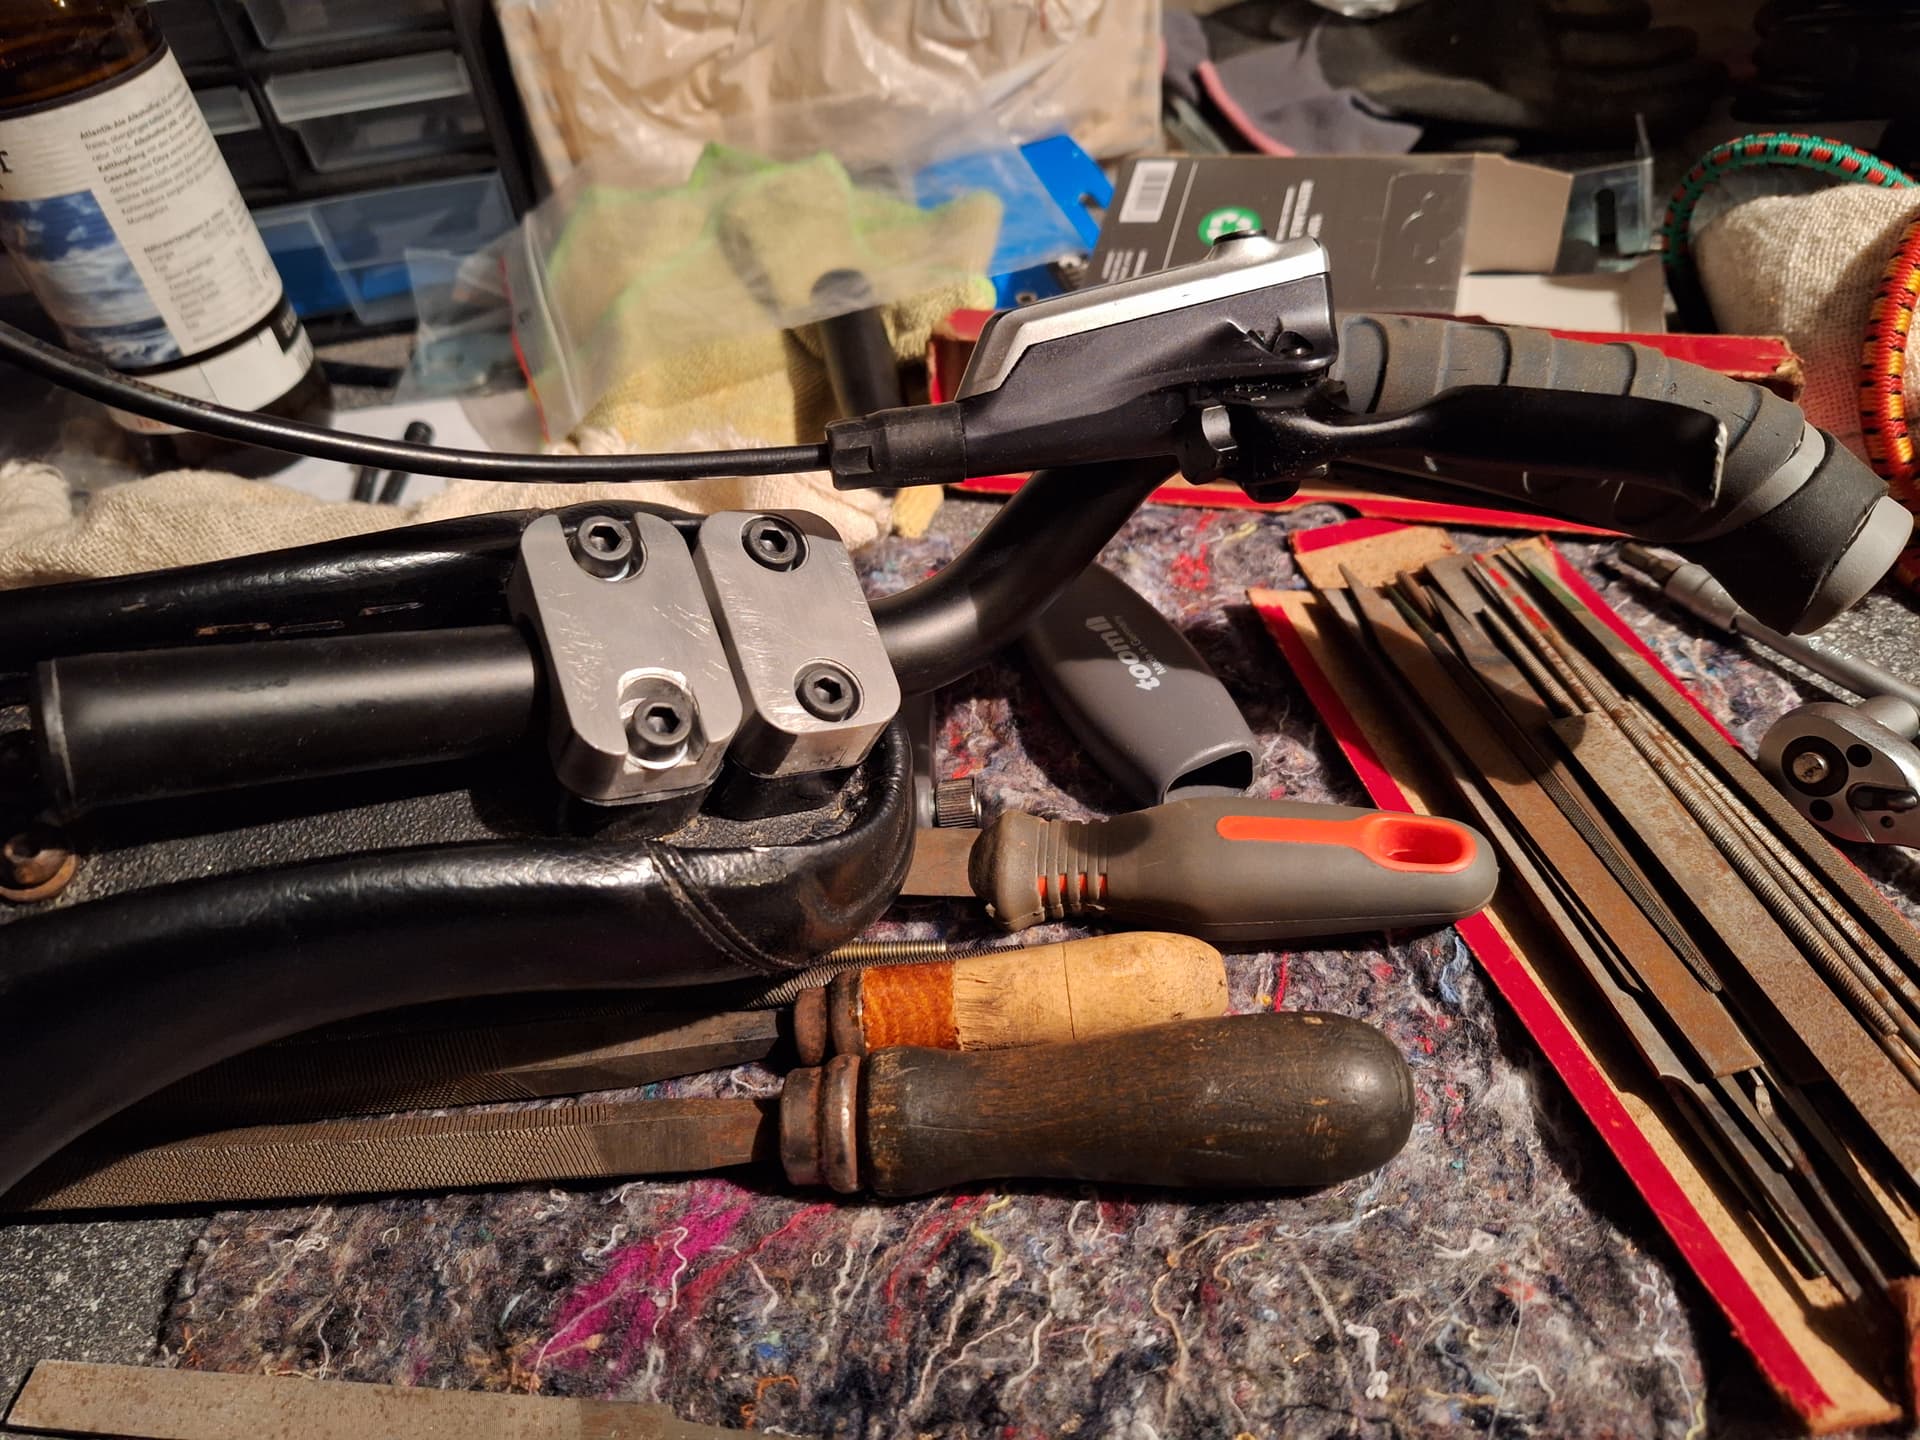
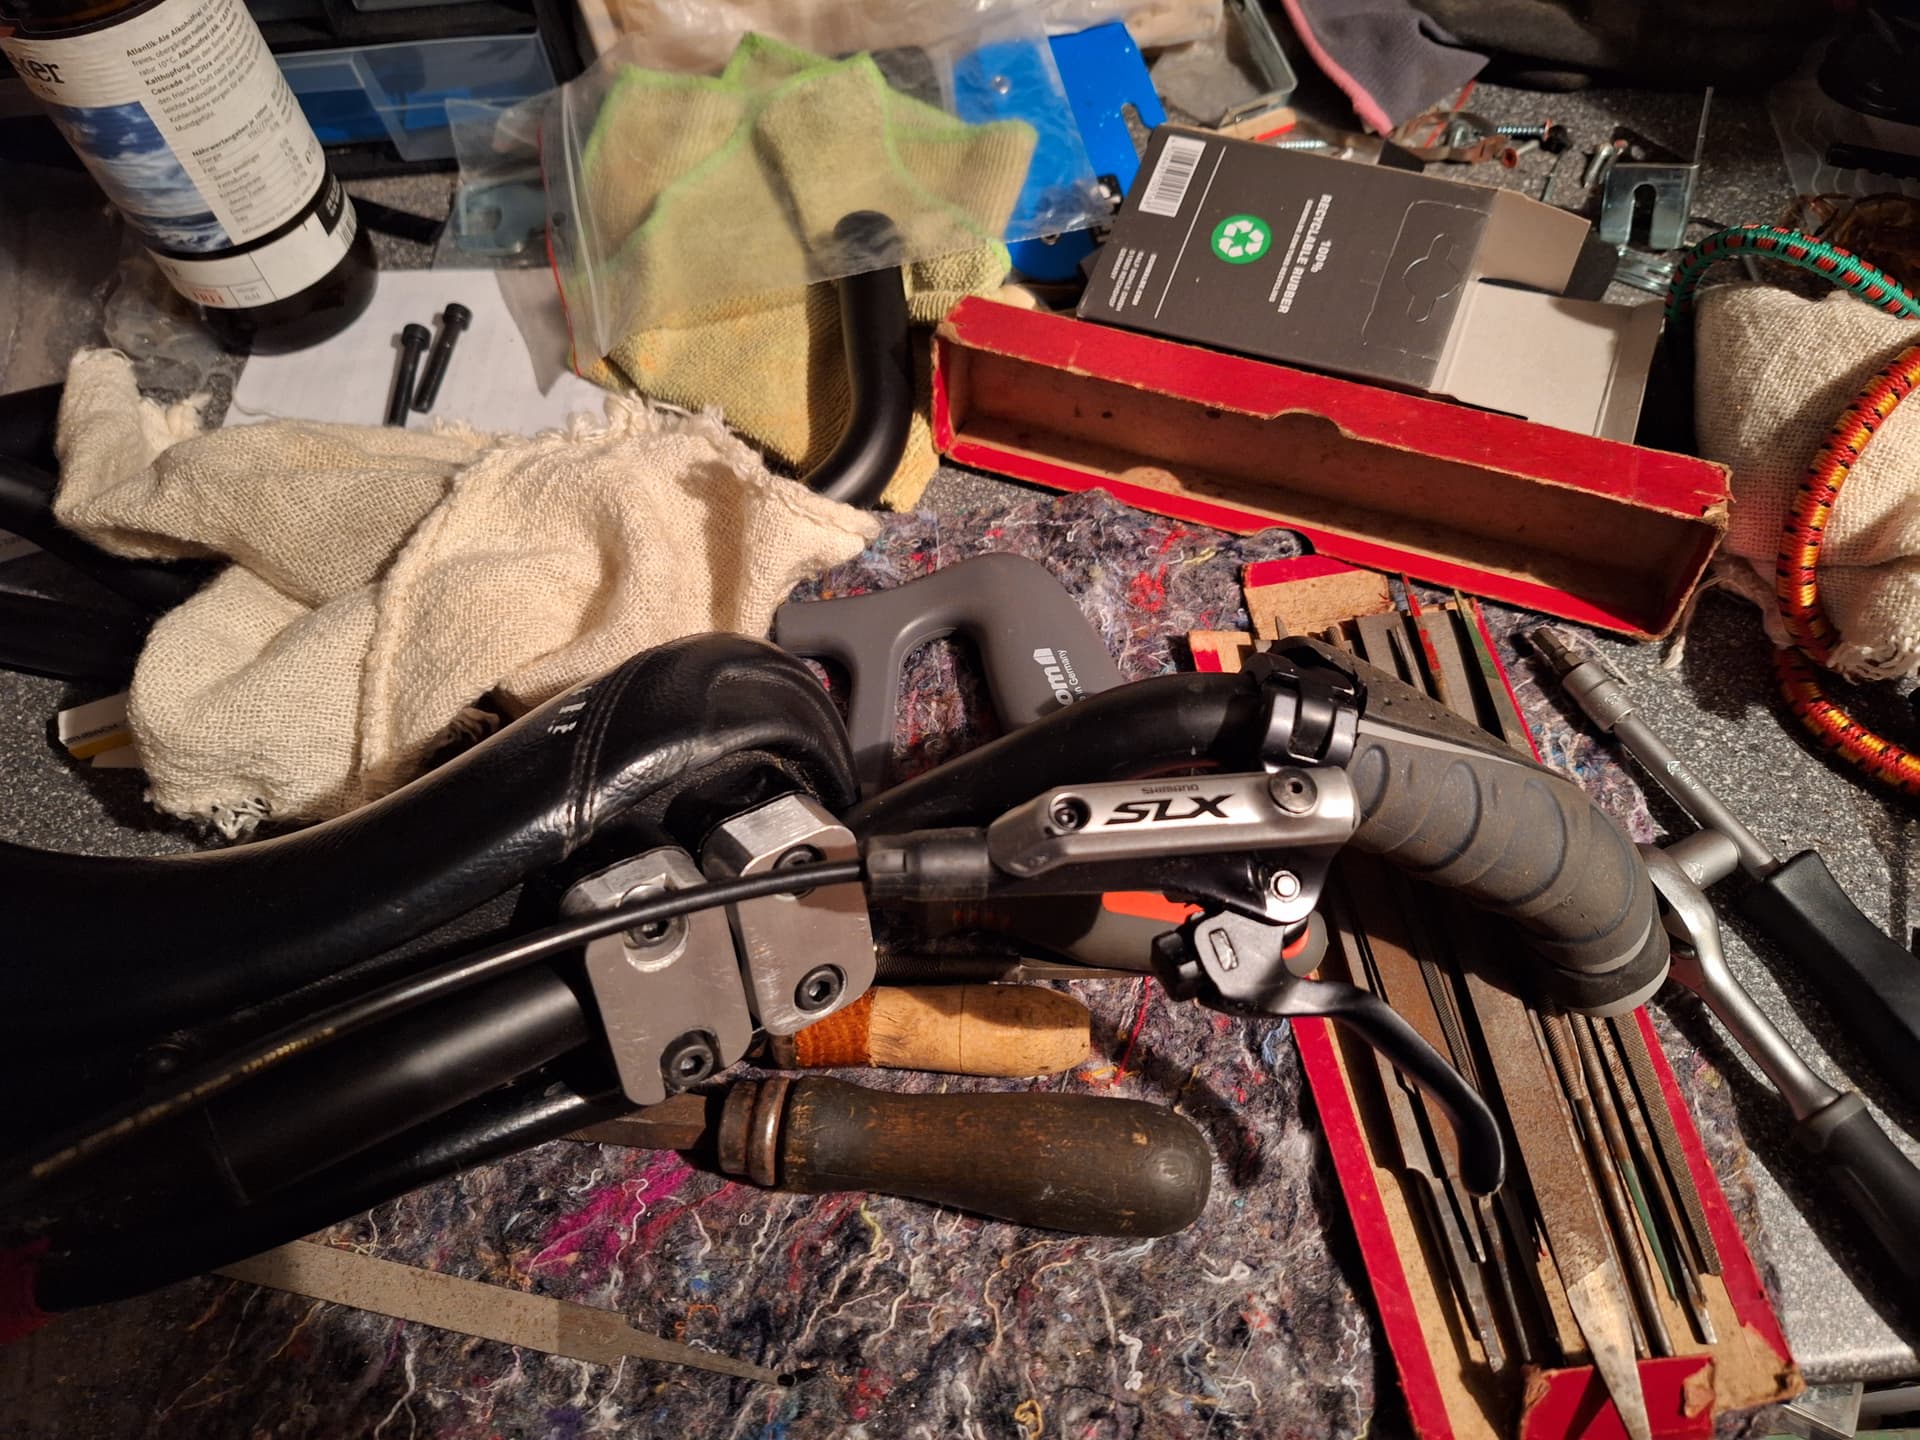
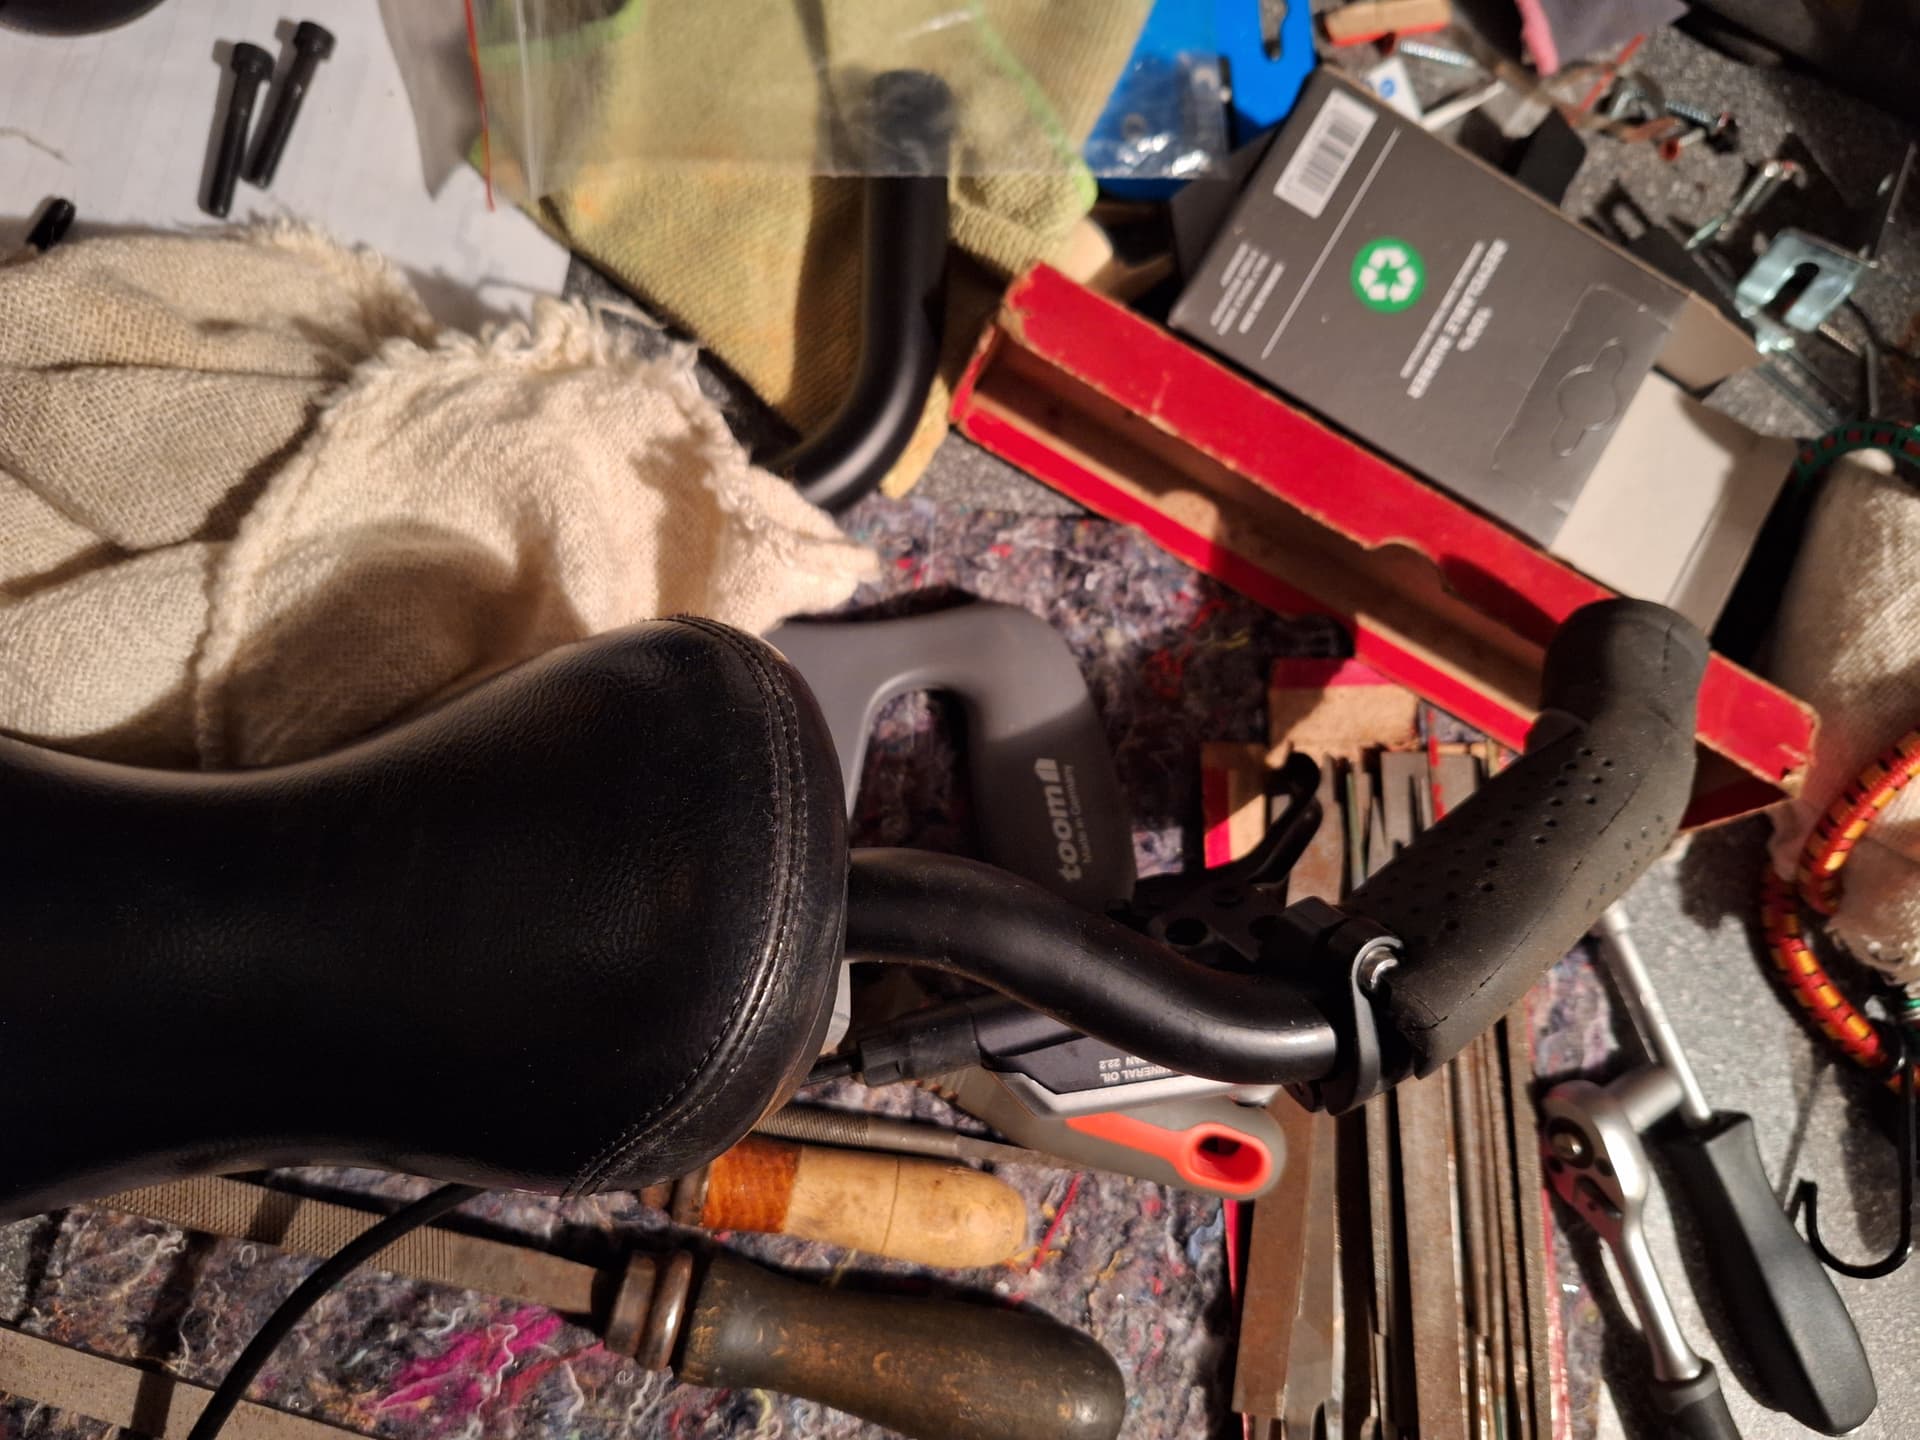
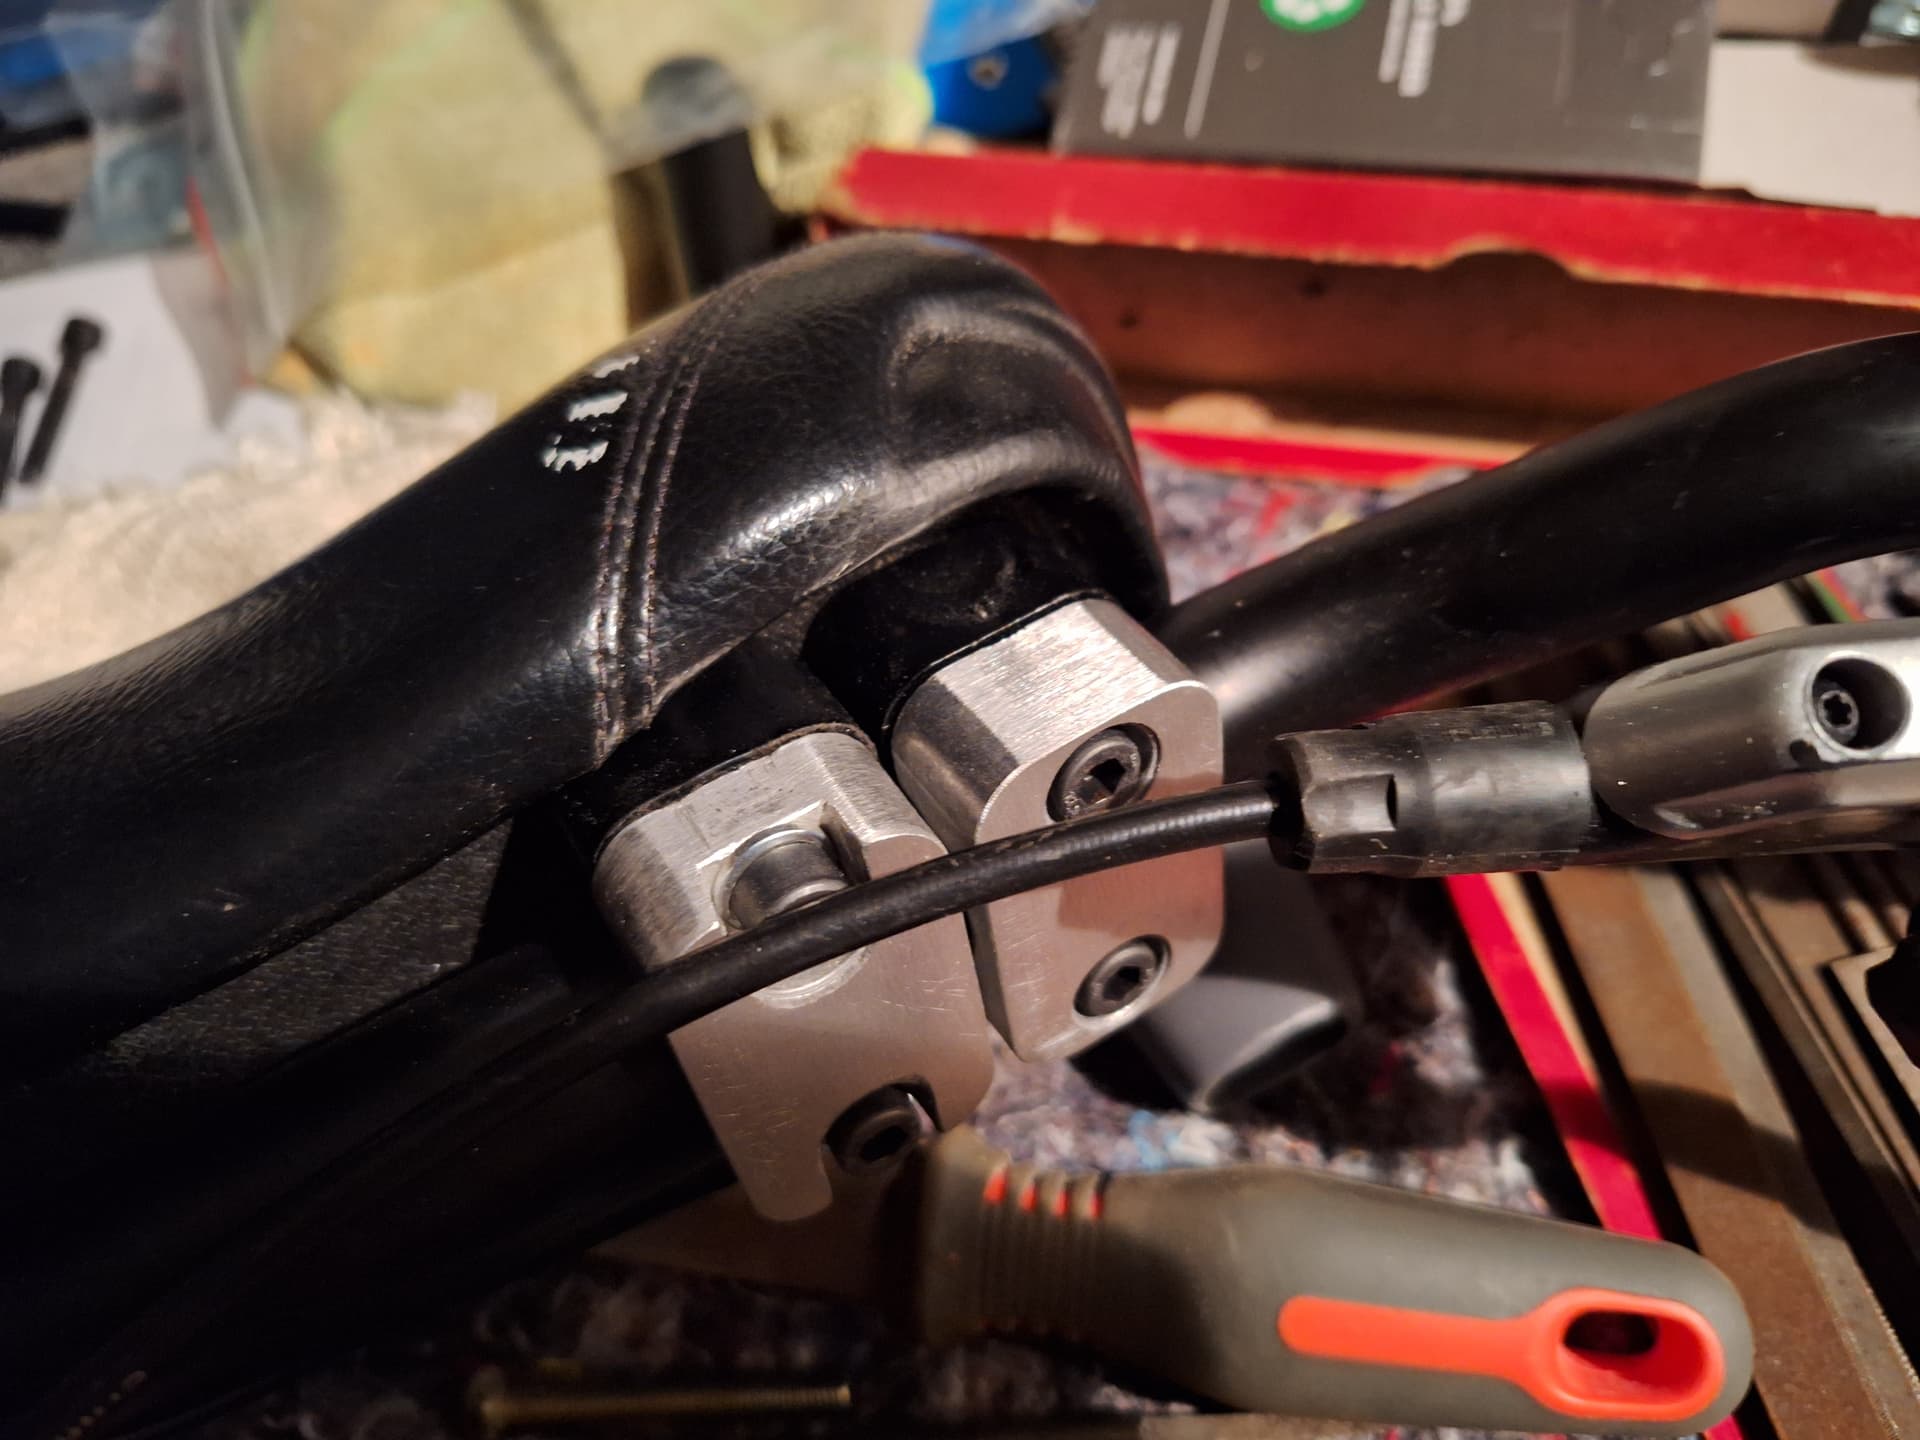
I like the bicycle handle solution. I’m currently looking for a solution to have such a handle on my ISM saddle…
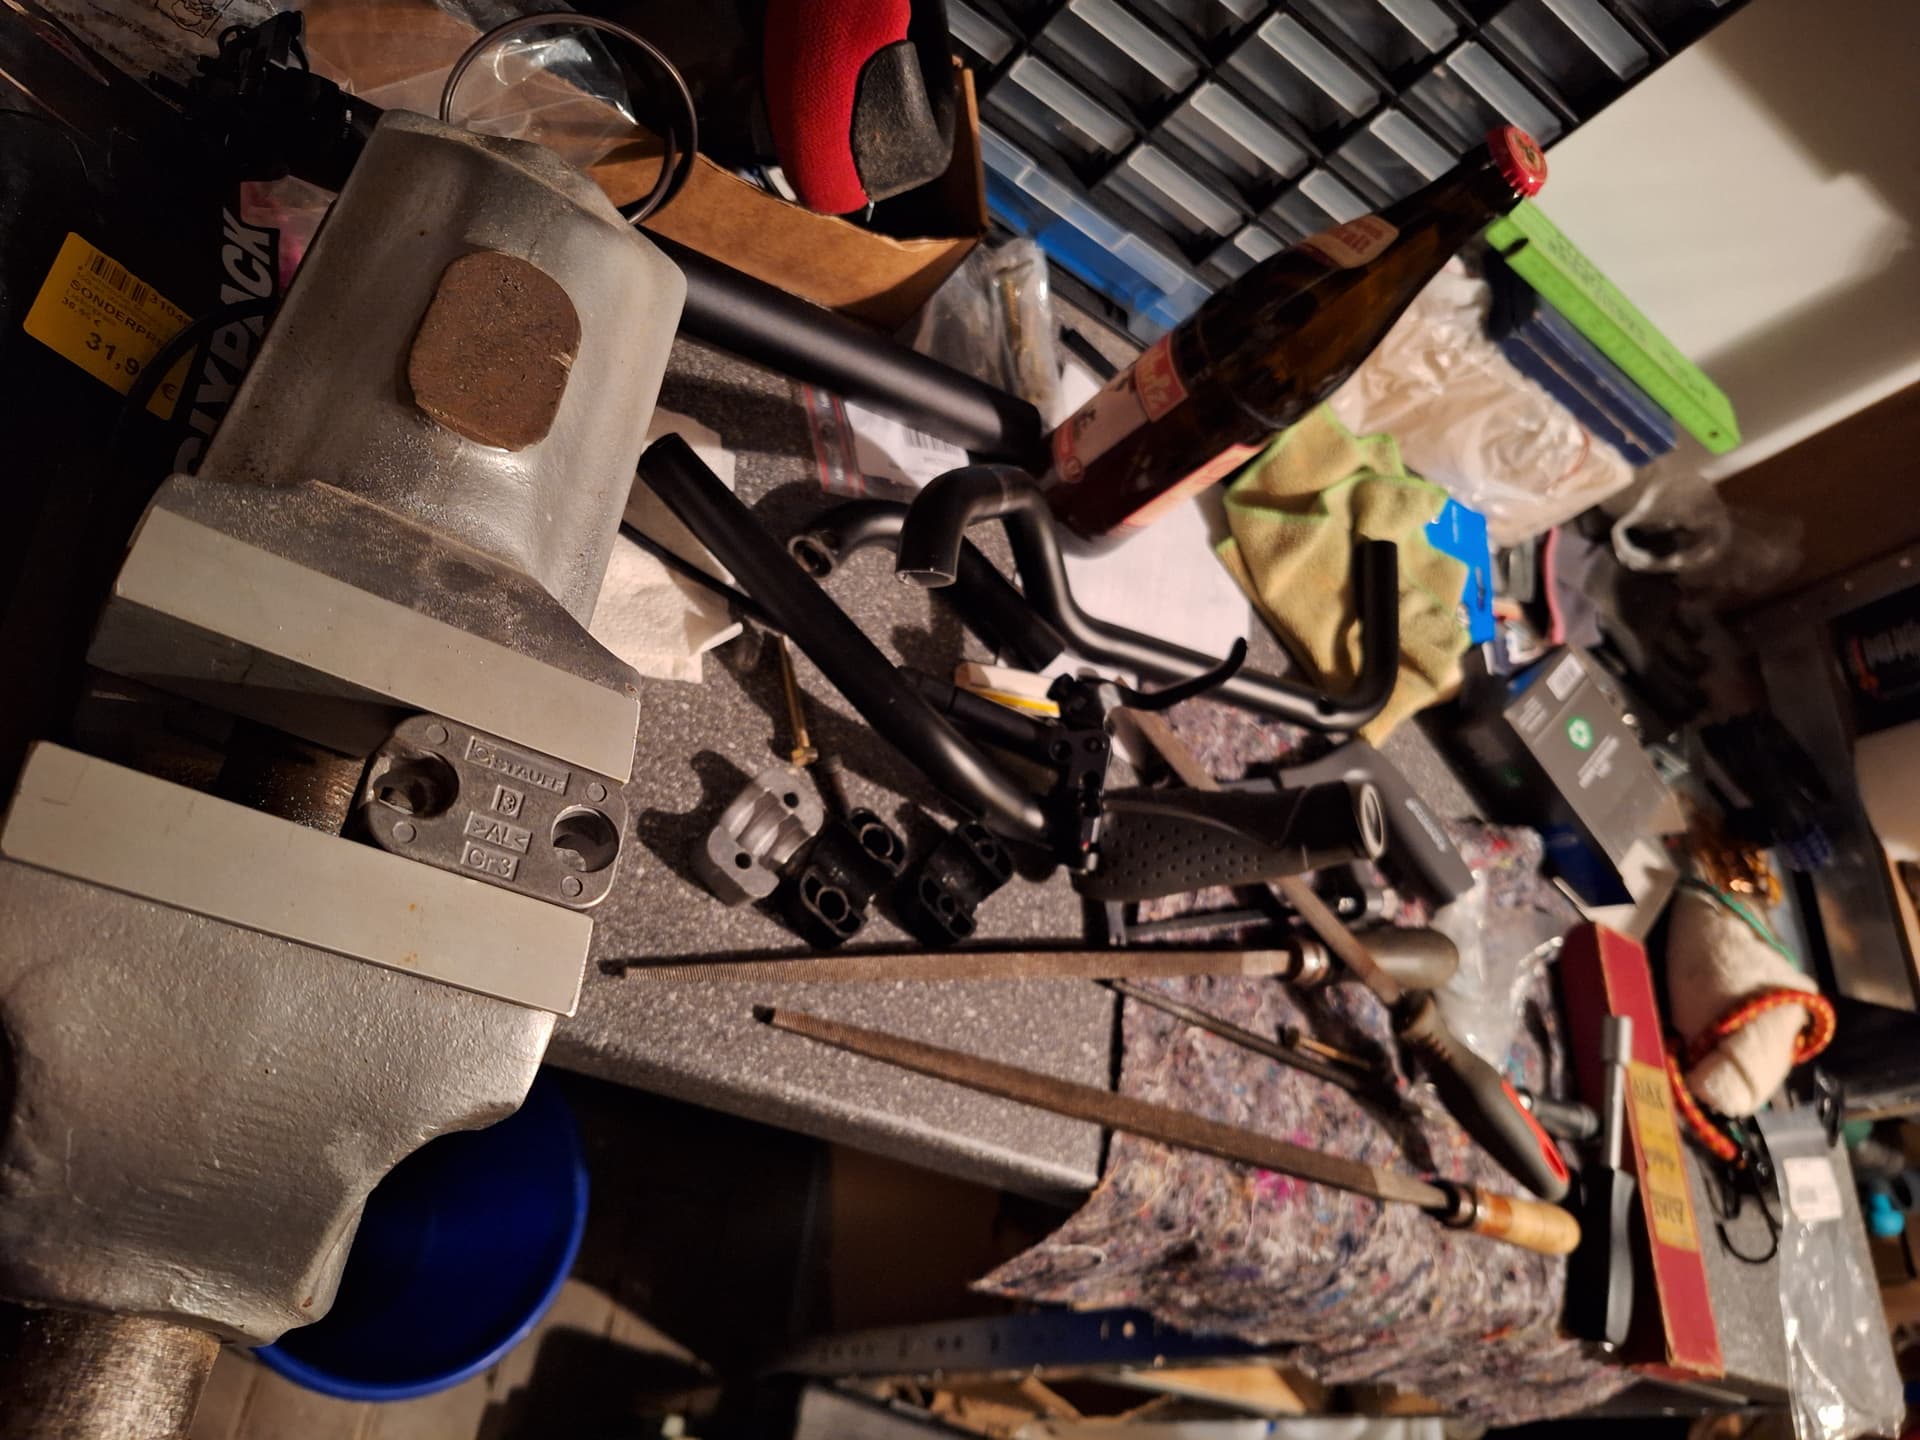
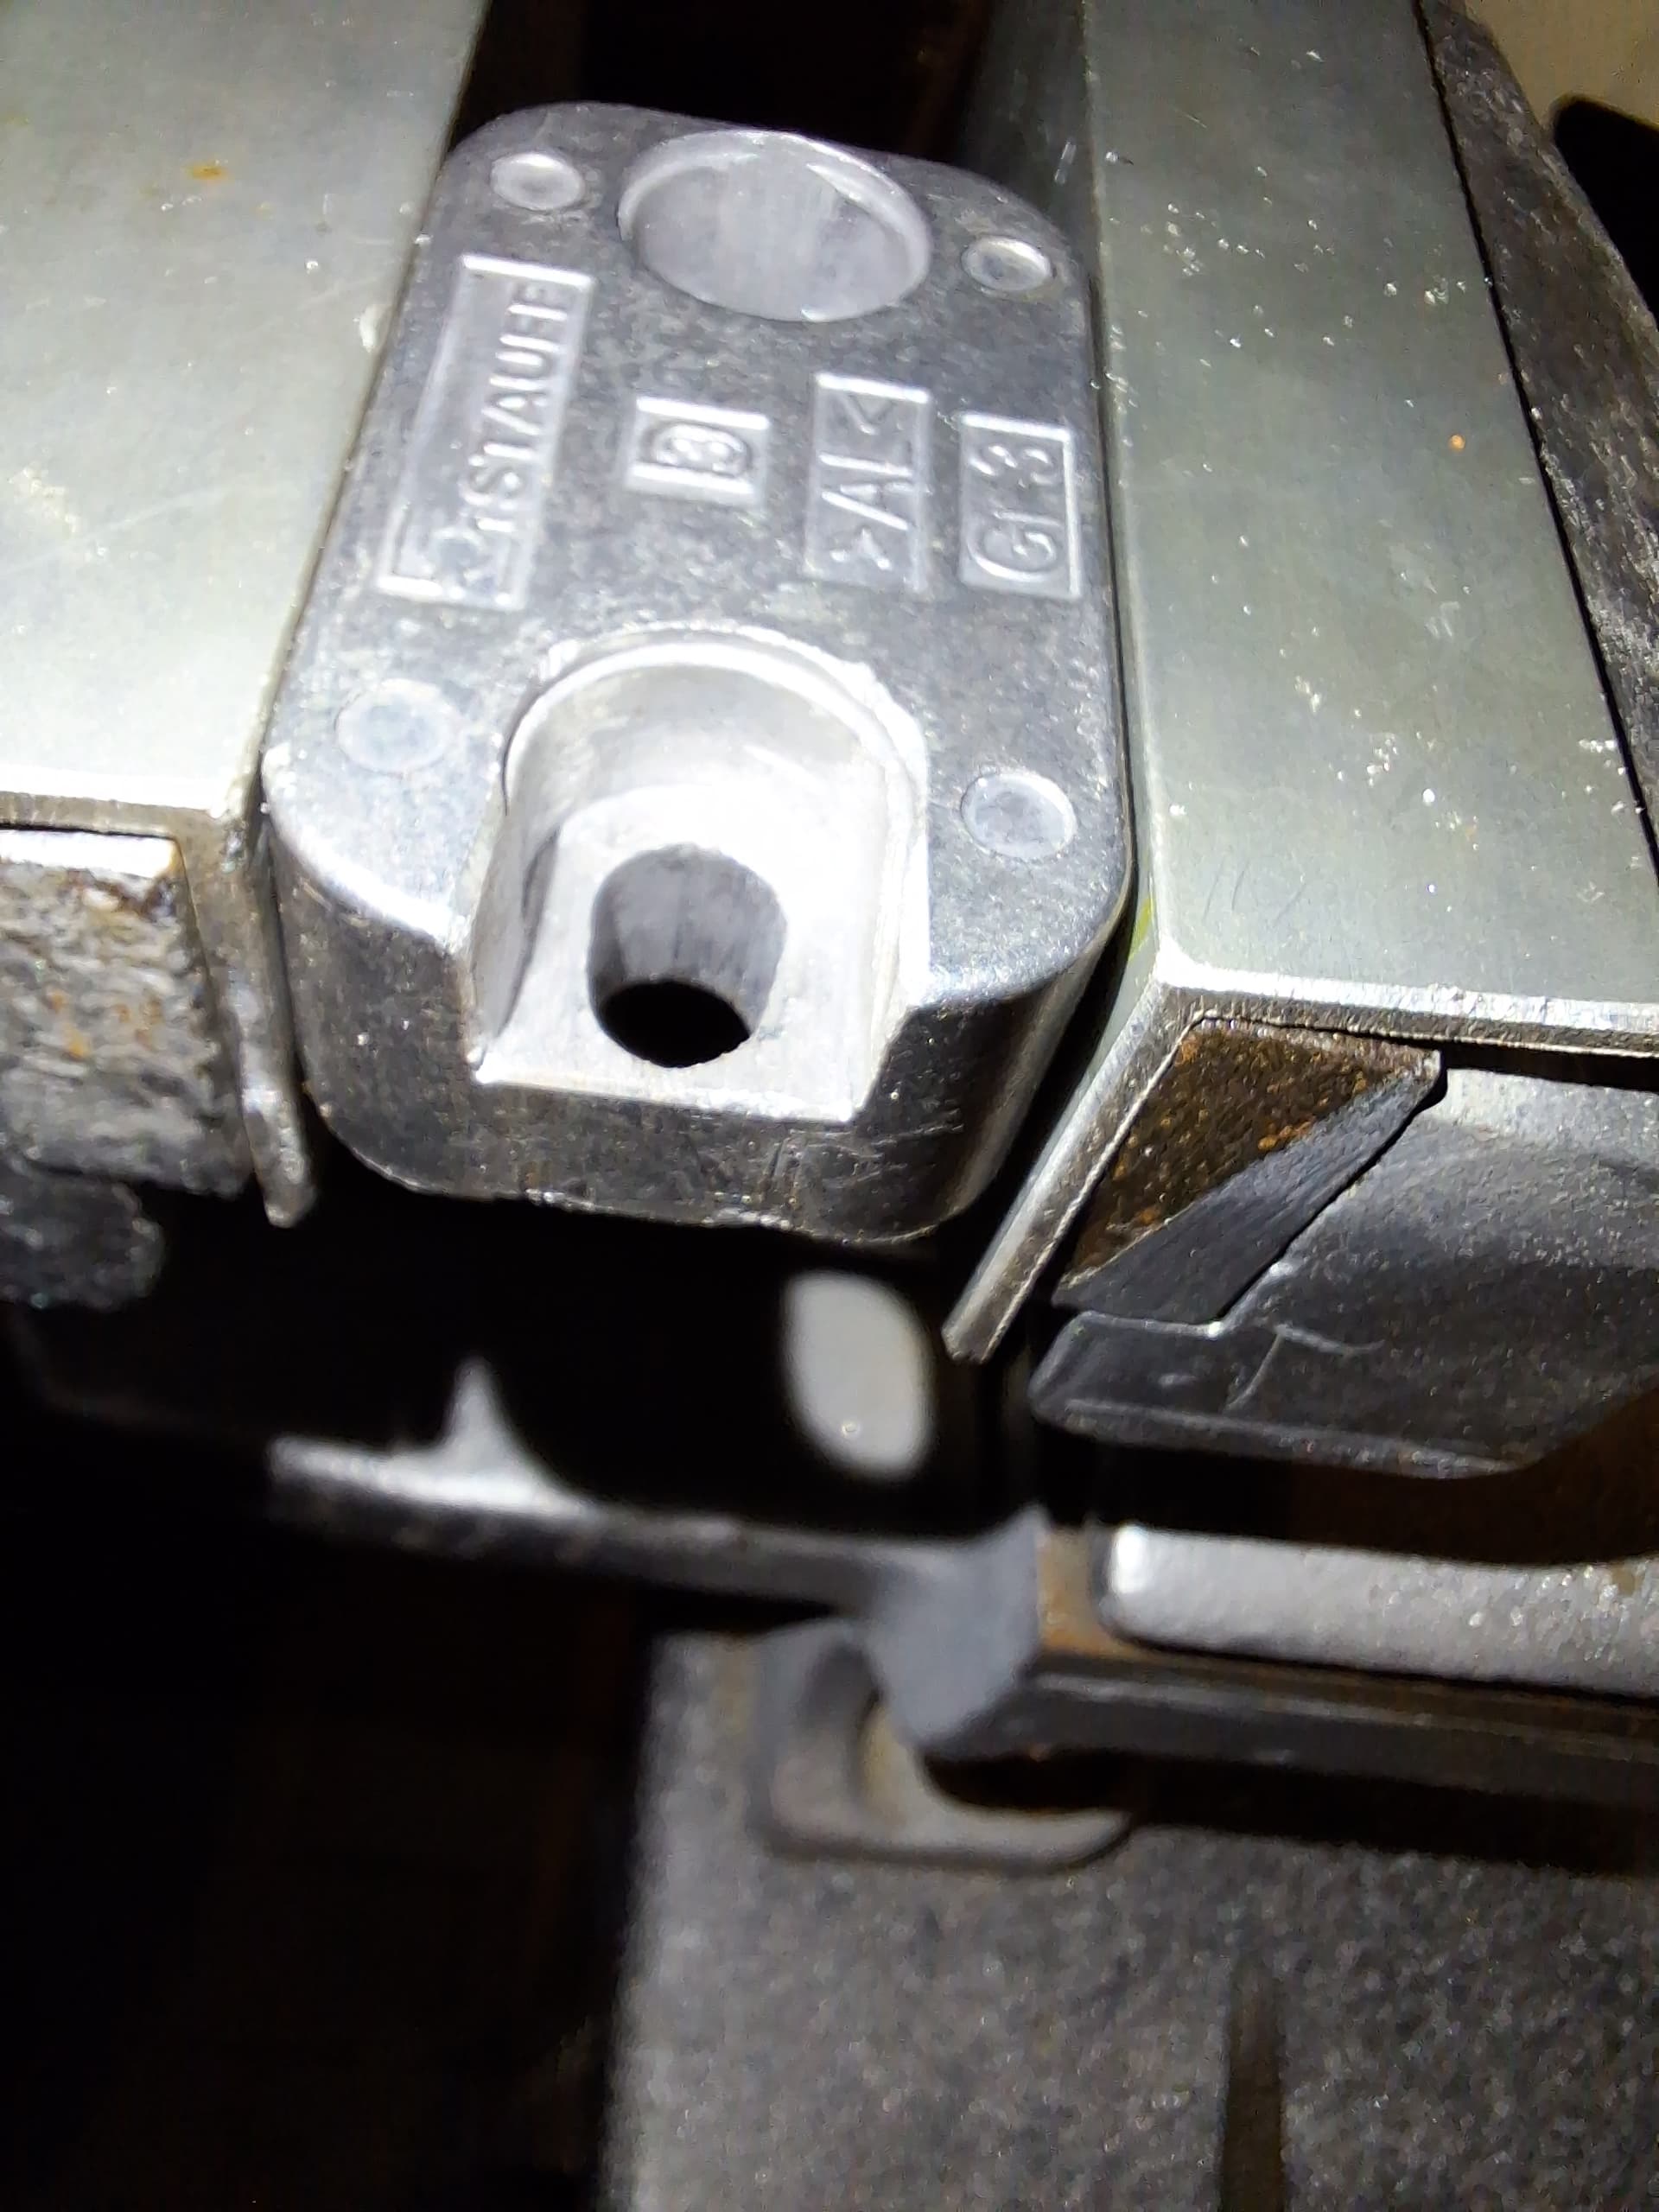
Sometimes simple is the way to go:
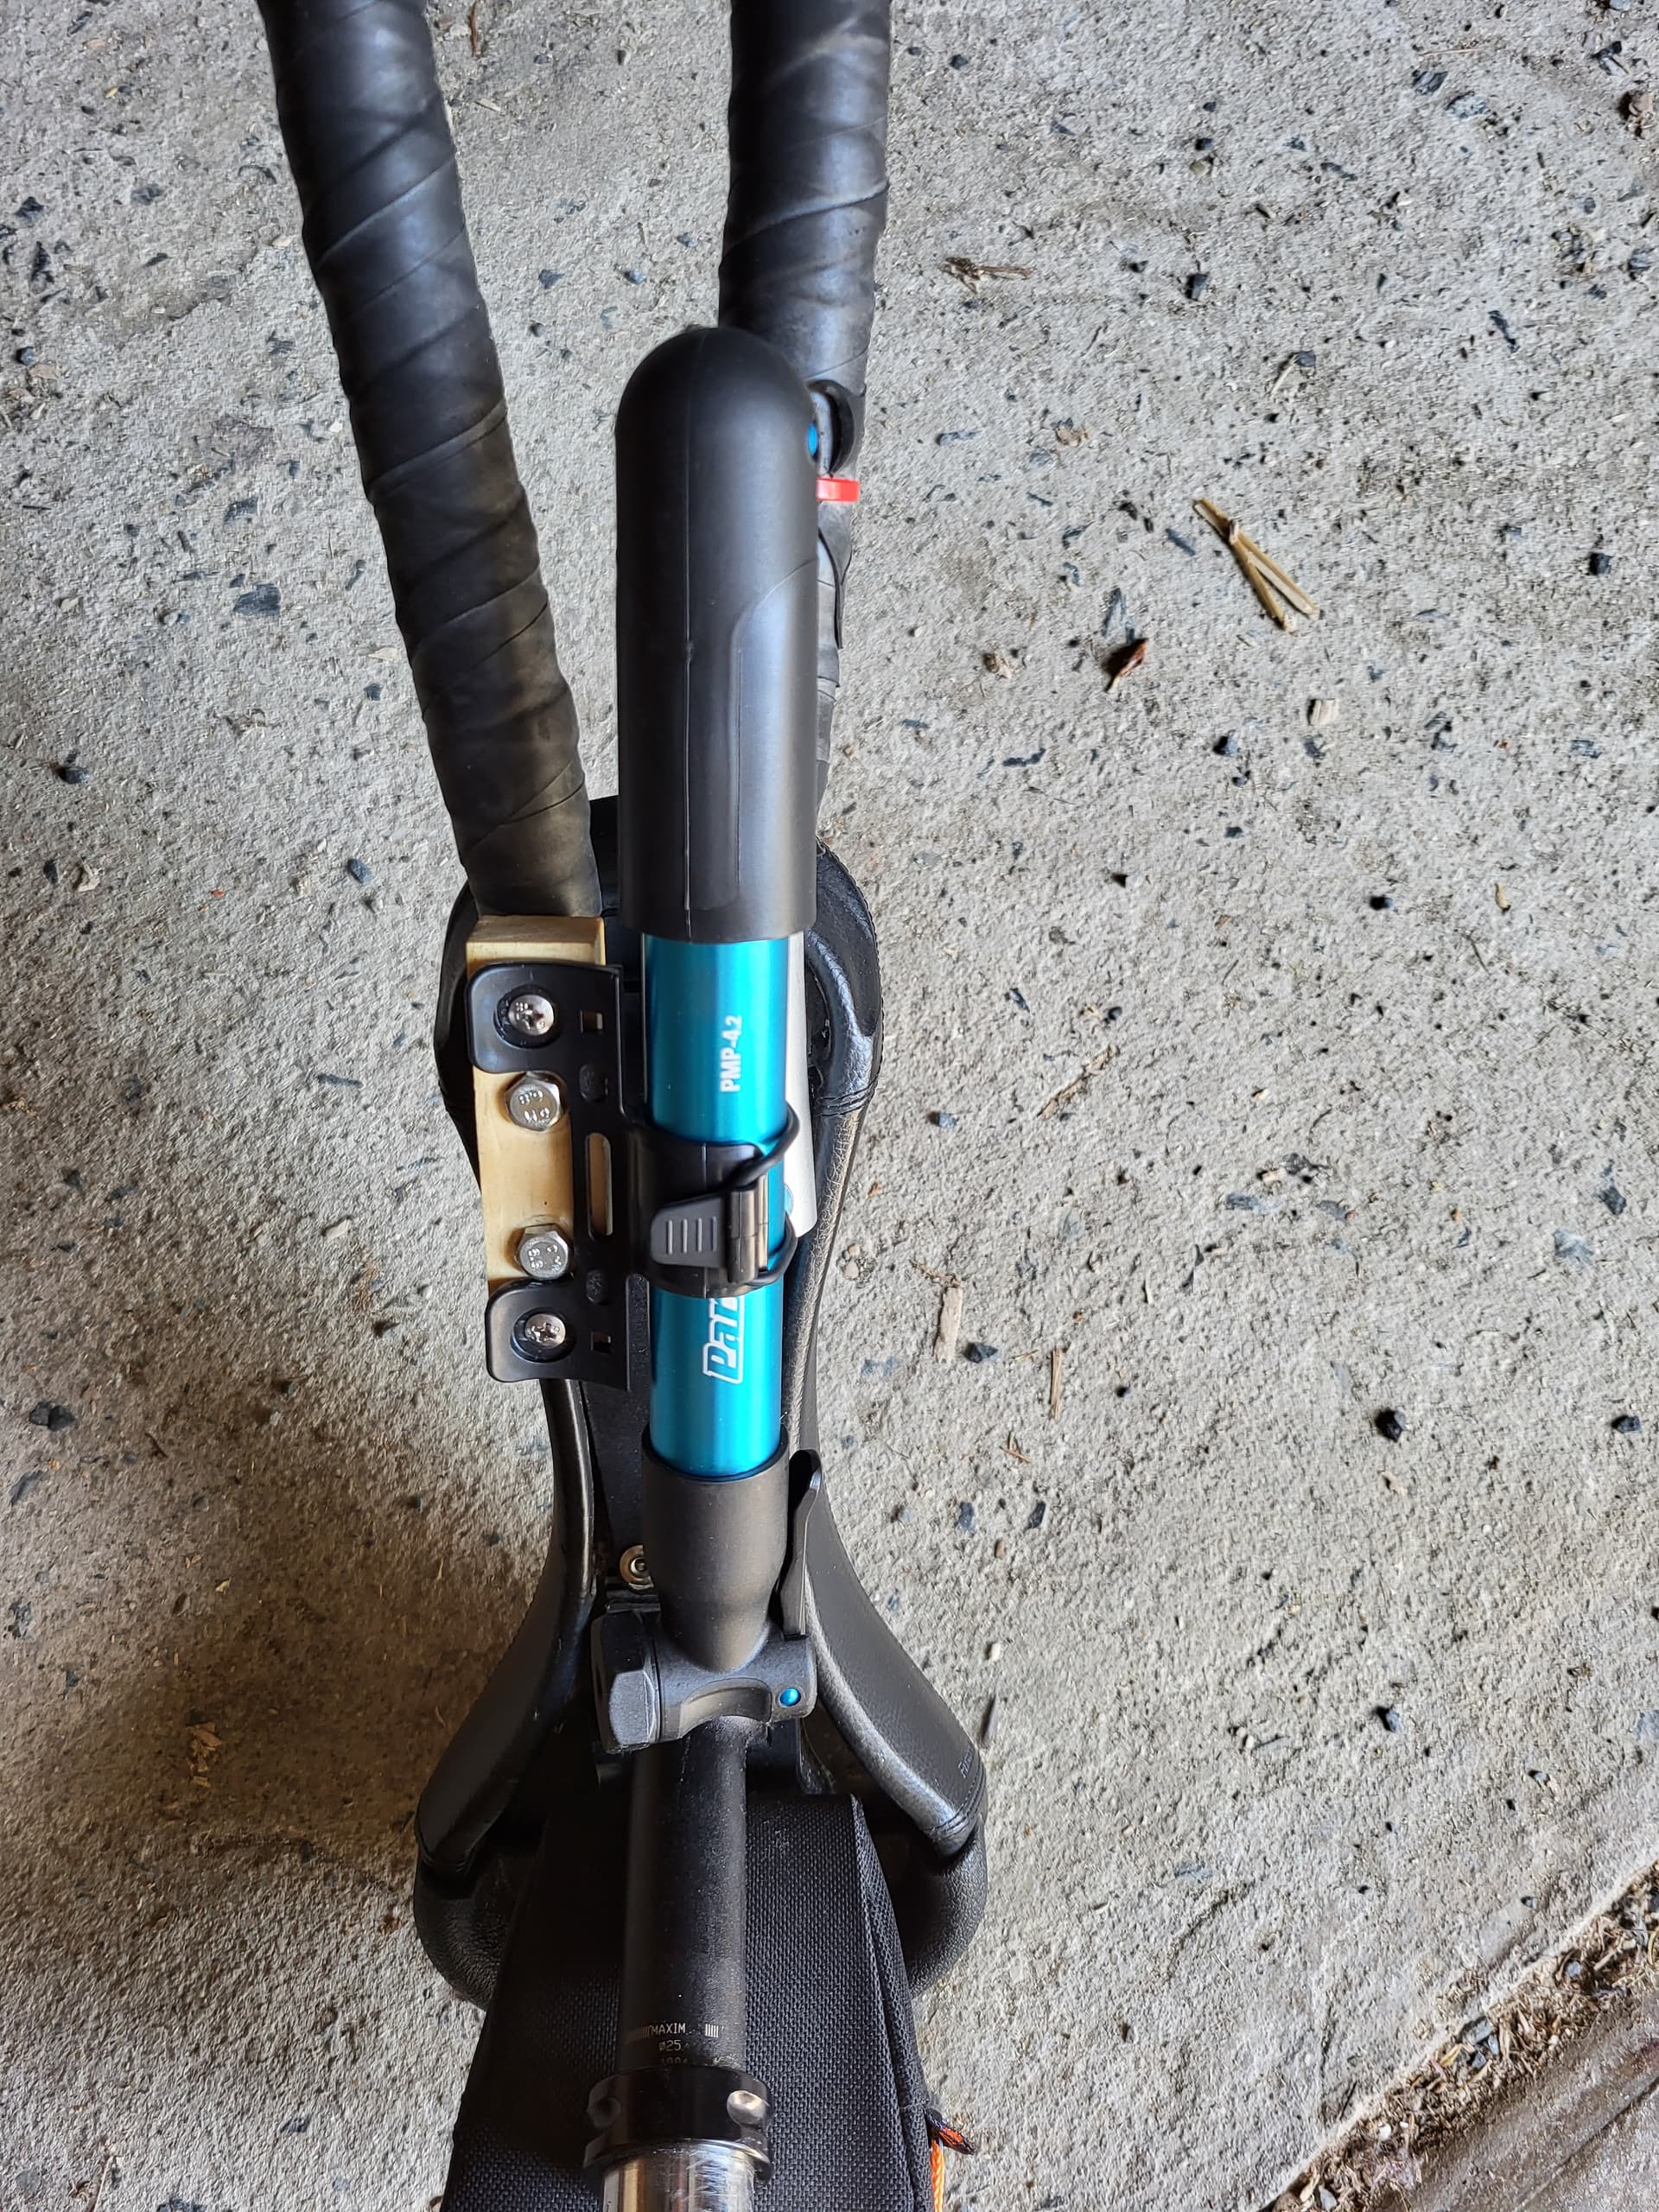
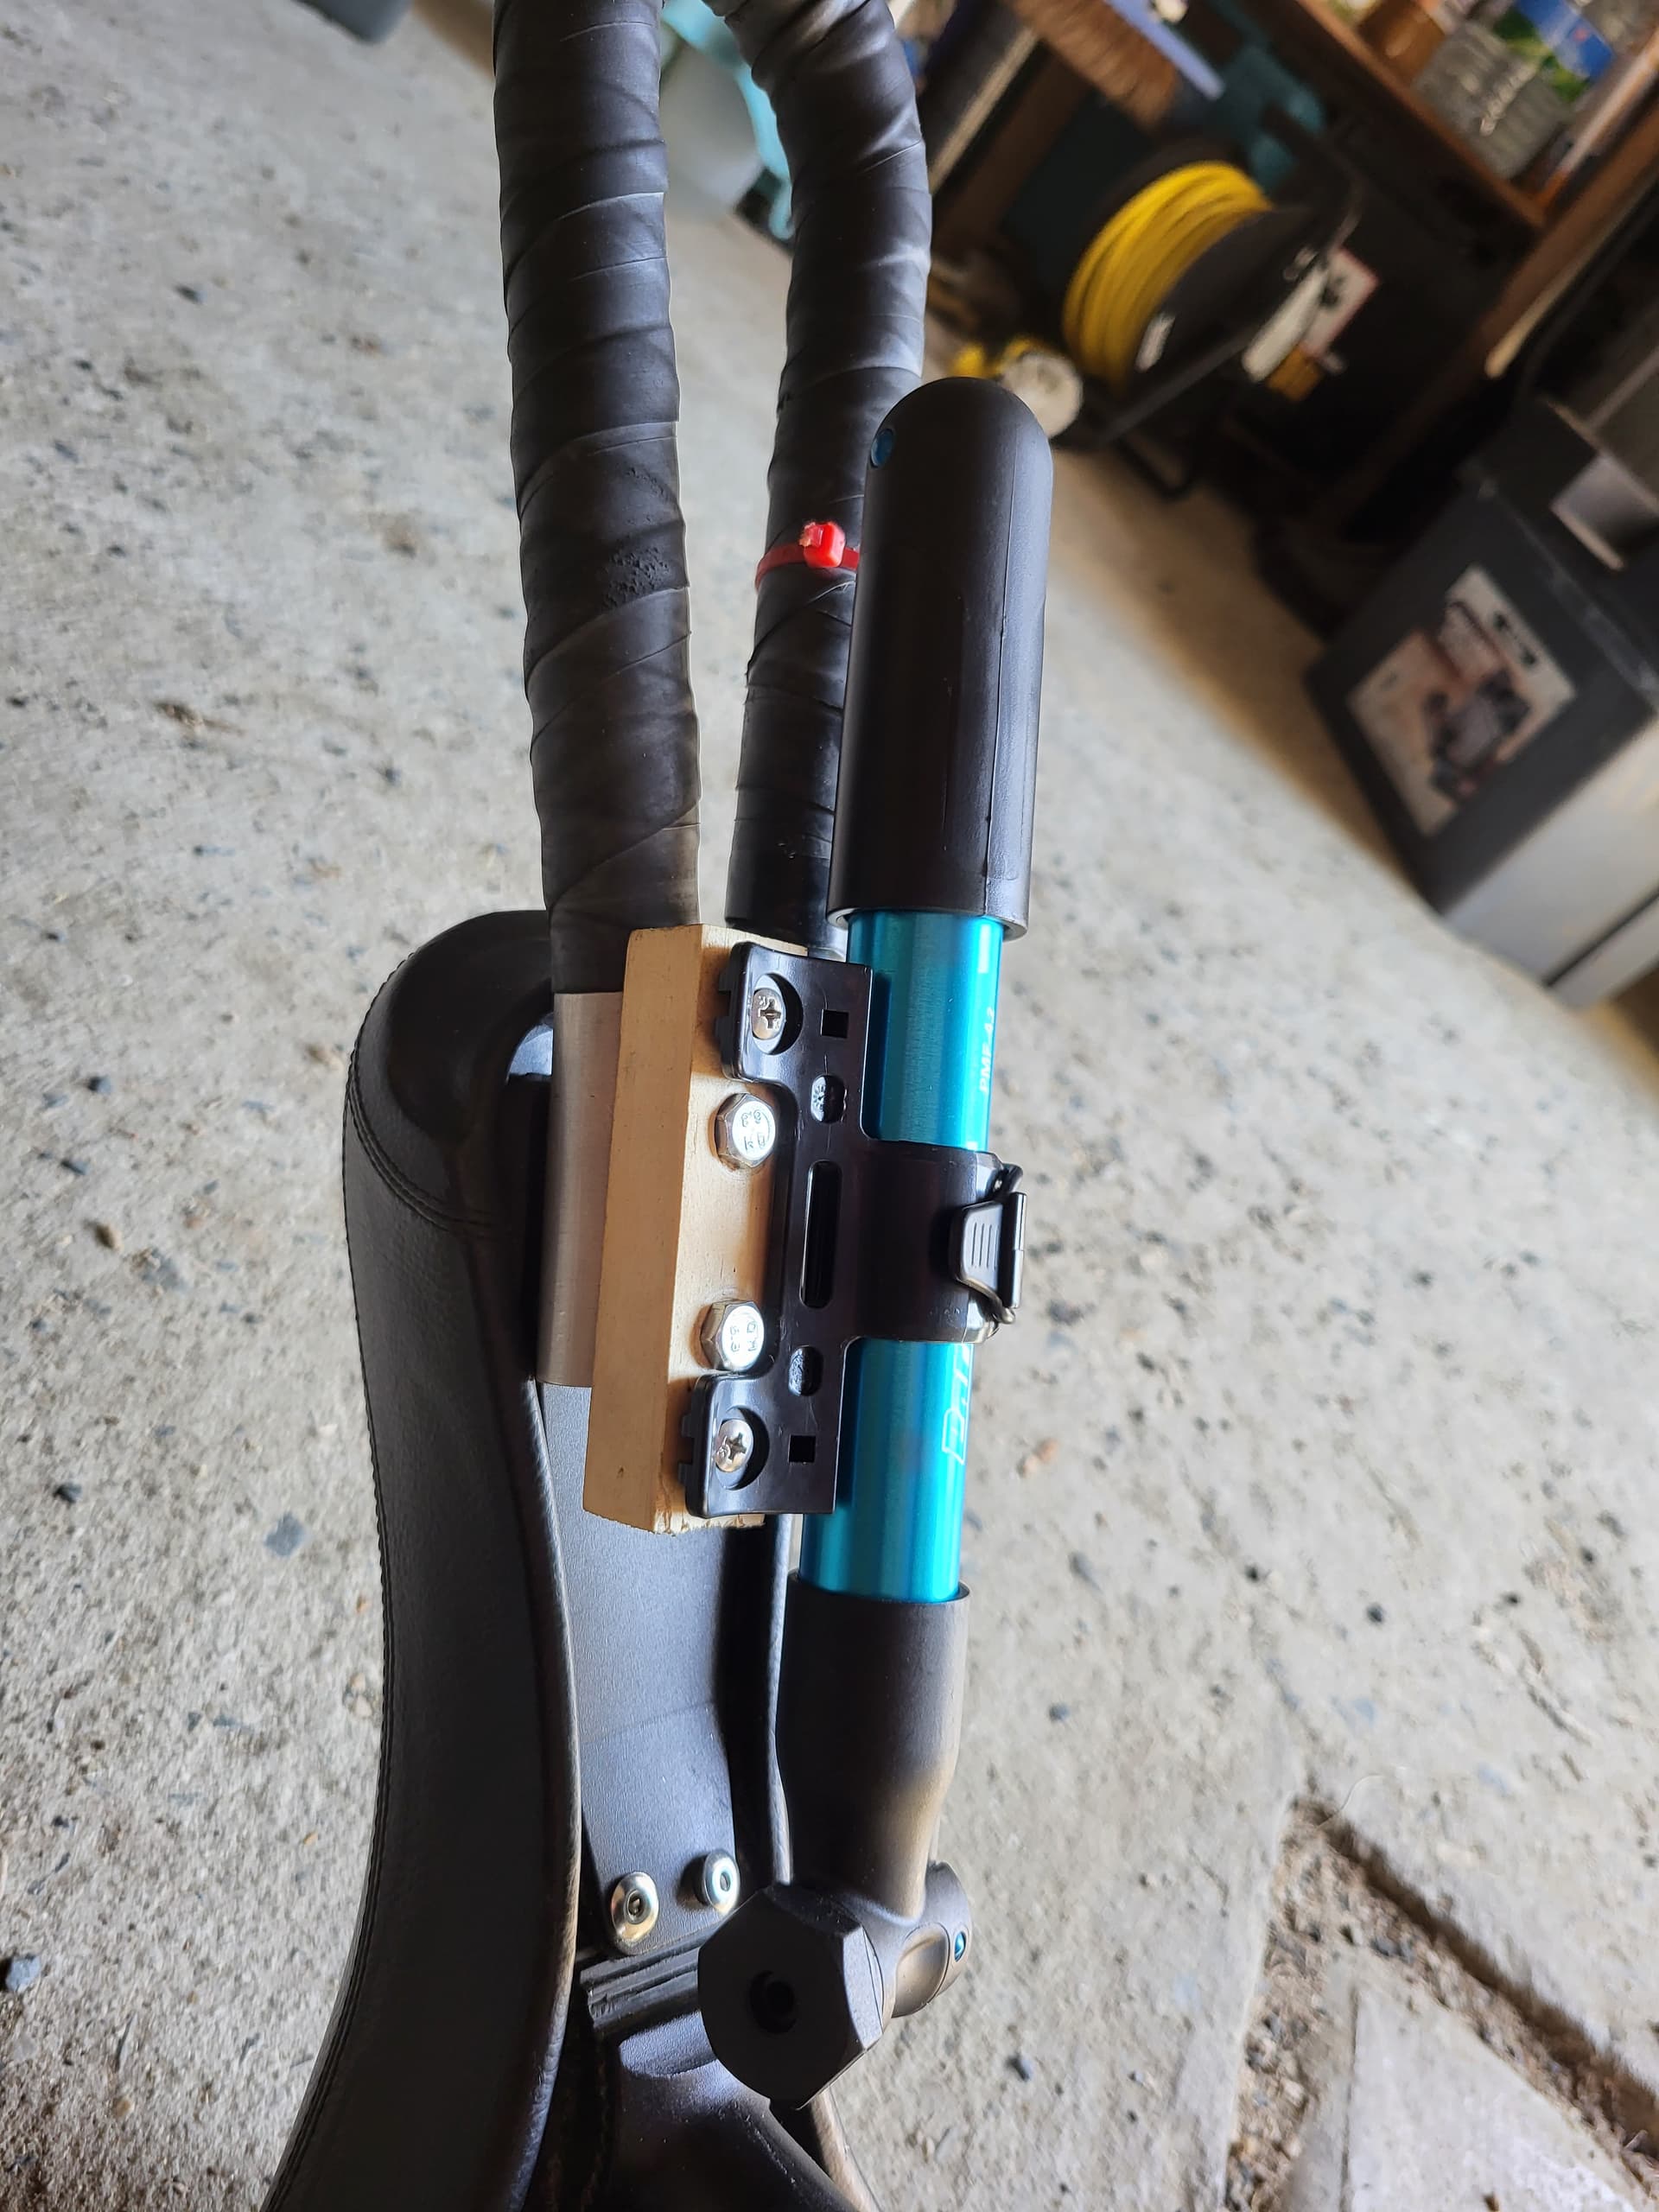
A ppiece of wood that was around, longer bolts and I am ready for the next tire pressure need ![]()
3 Likes
Hello,
a projekt I’m trying to realise at the moment:
I’d like to use my hiking poles for walking uphill, so no muni pushing with my hands, but I don’t want to carry my muni on my backpack, either. Since the muni has this wheel anyway, it could roll along behind me on most ways, with a connection to stabilize it, most of the wheight could be off my shoulders. So I’m trying to figure out, how to build something like a trailer coupling between my backpack an the muni.
This is not exactly what I have in mind, but it’s in the same category:
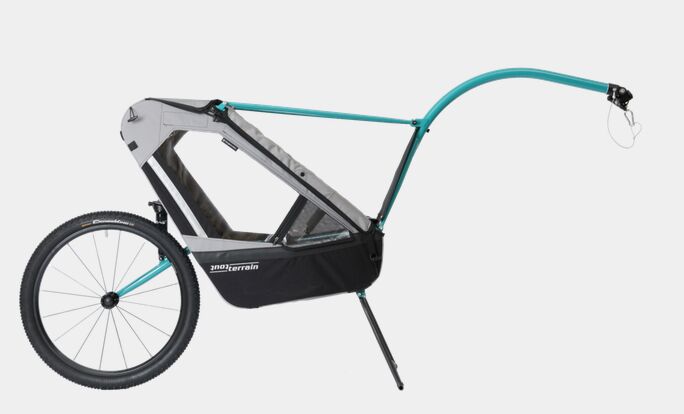
I just startet, there’s not much to take pictures from yet. Has anyone out here done something in this direction?
1 Like
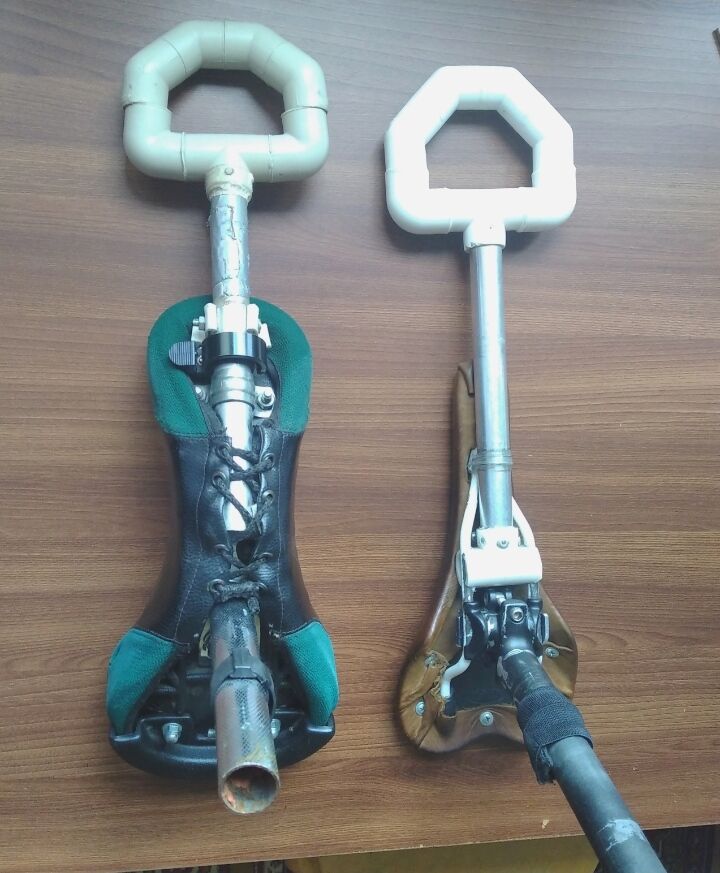
It is my fresh invention.
Pedals wrench with magnet for unicycle:
8 Likes
I like this one. ![]()
1 Like
Wow! Simple and amazing!
I’ve had a CyclePro 20" that I got from a garage sale for $20 a while back. As bought, the seat was backwards and the pedals were loose. I soon corrected that, though the seat post was too short for me and the bearings were shot so it just kinda sat.
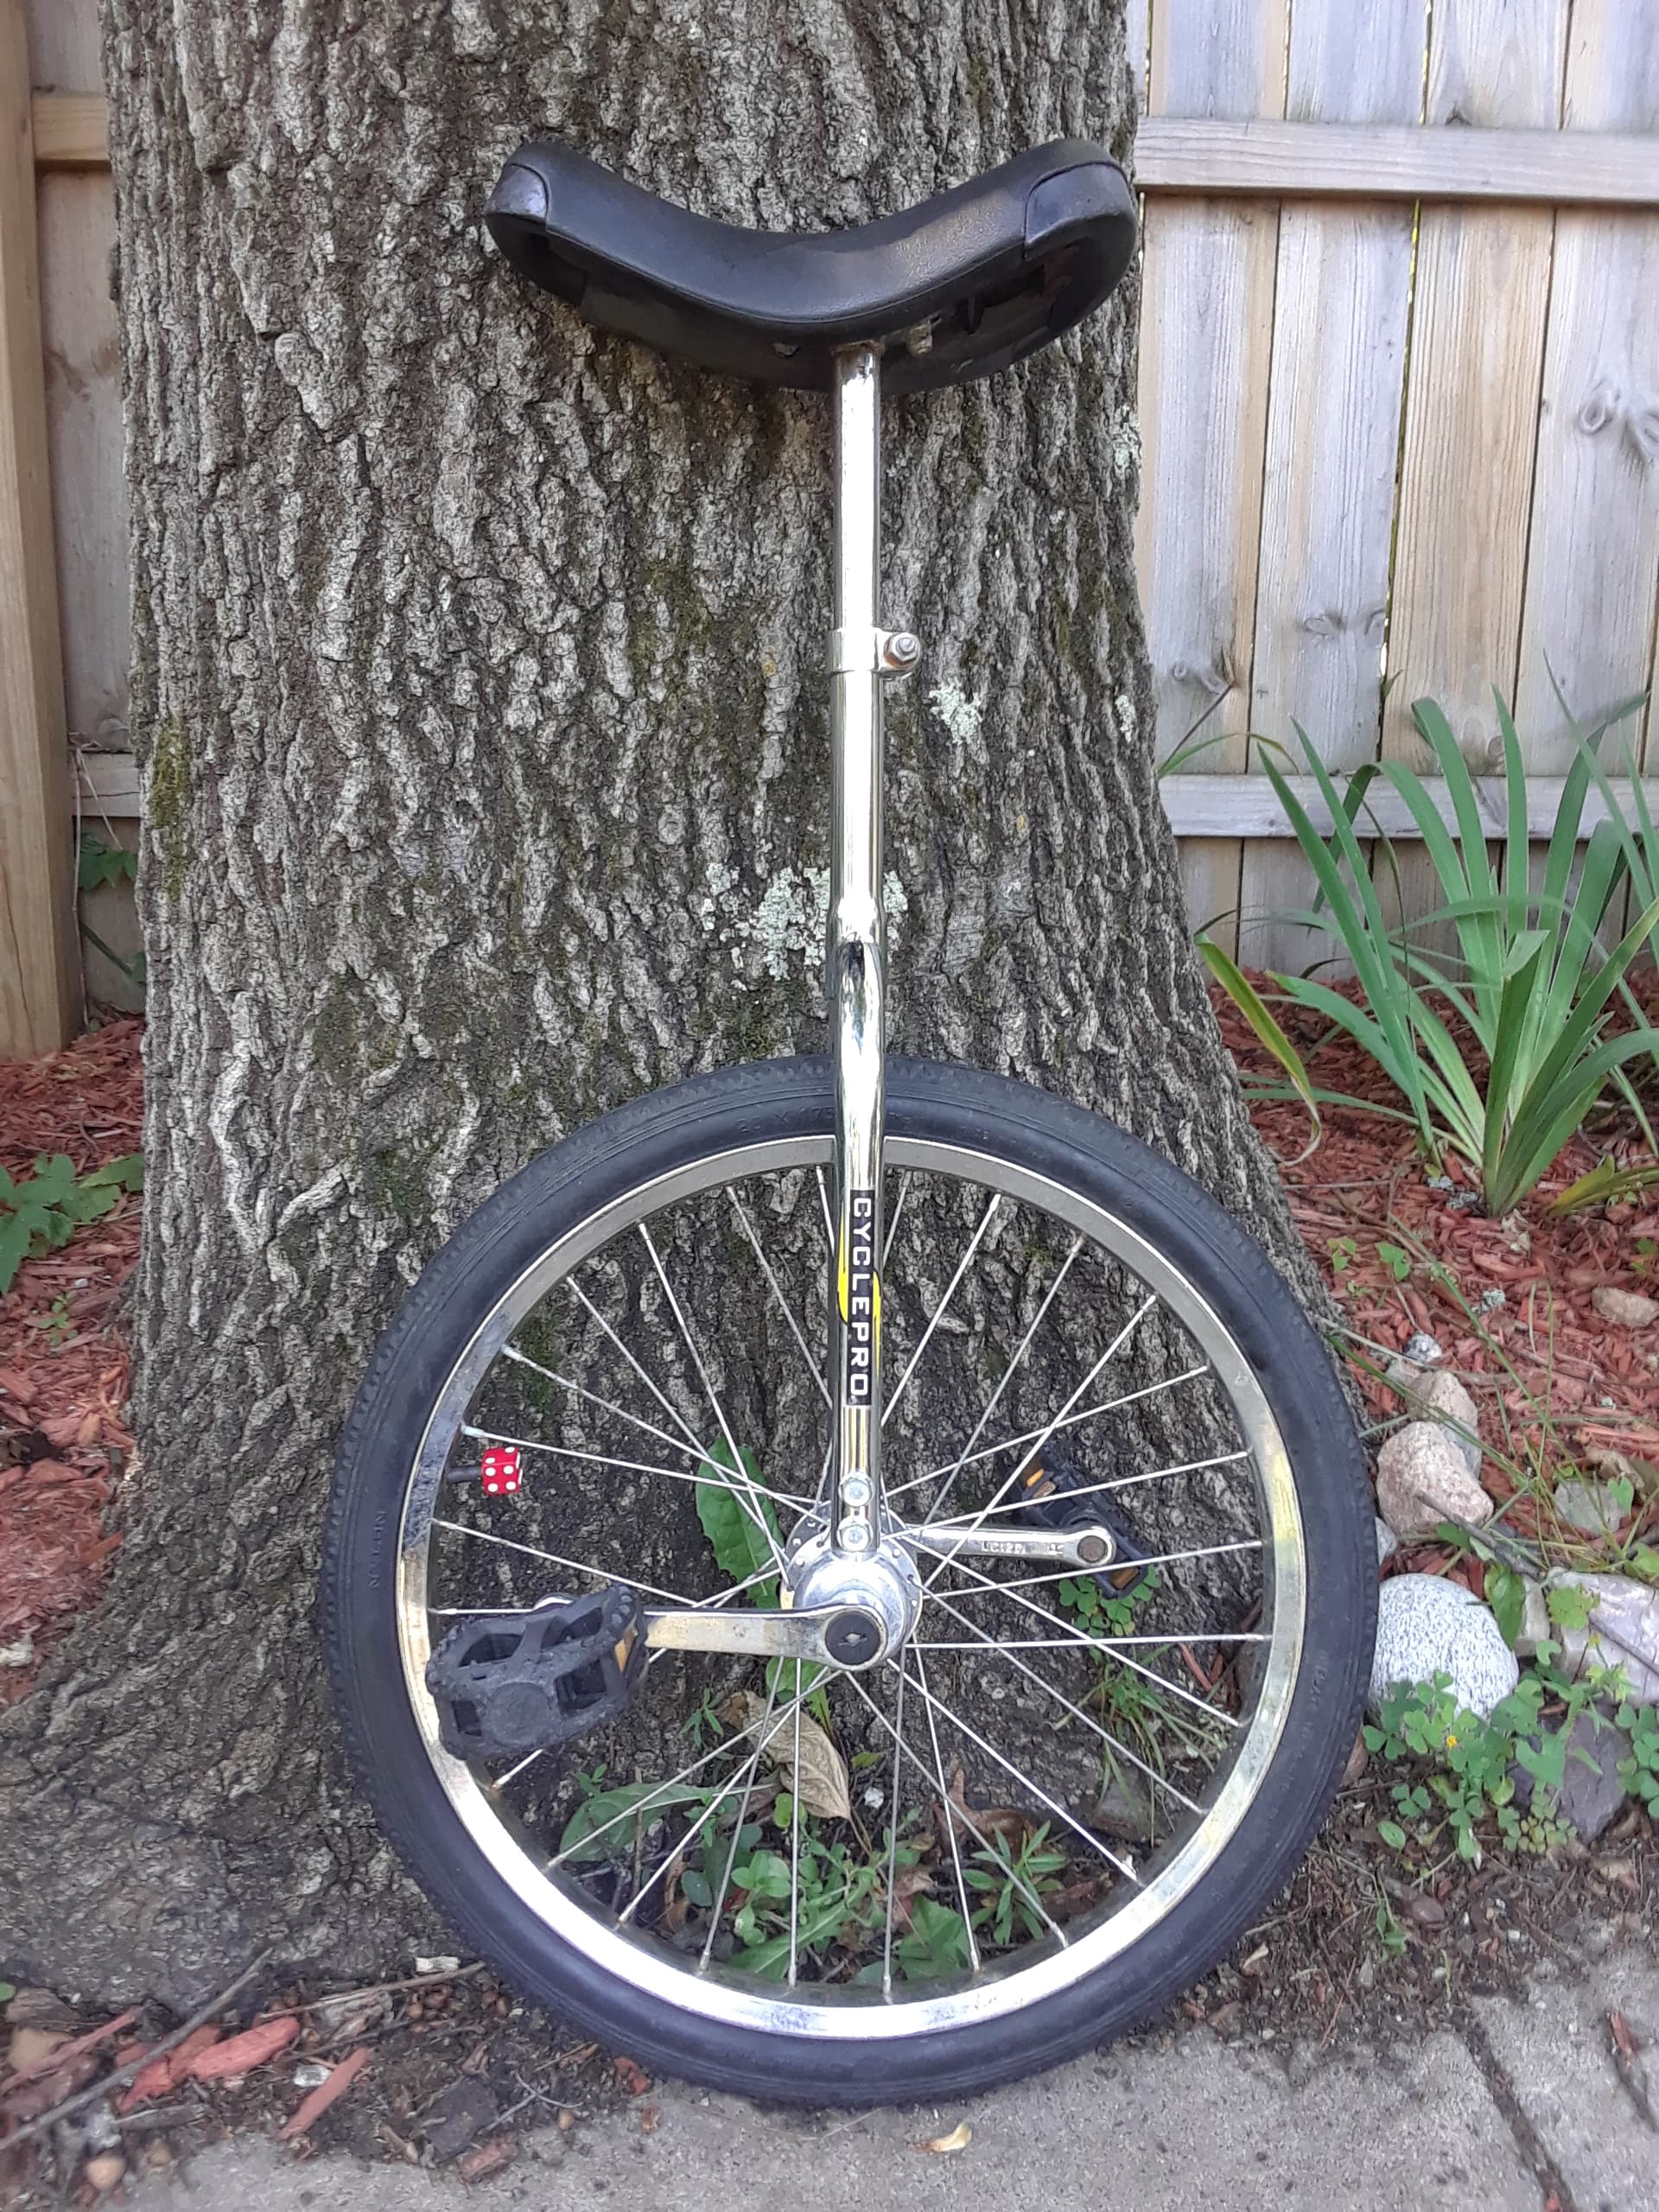
Recently I decided to give my forgotten uni a bit of attention…
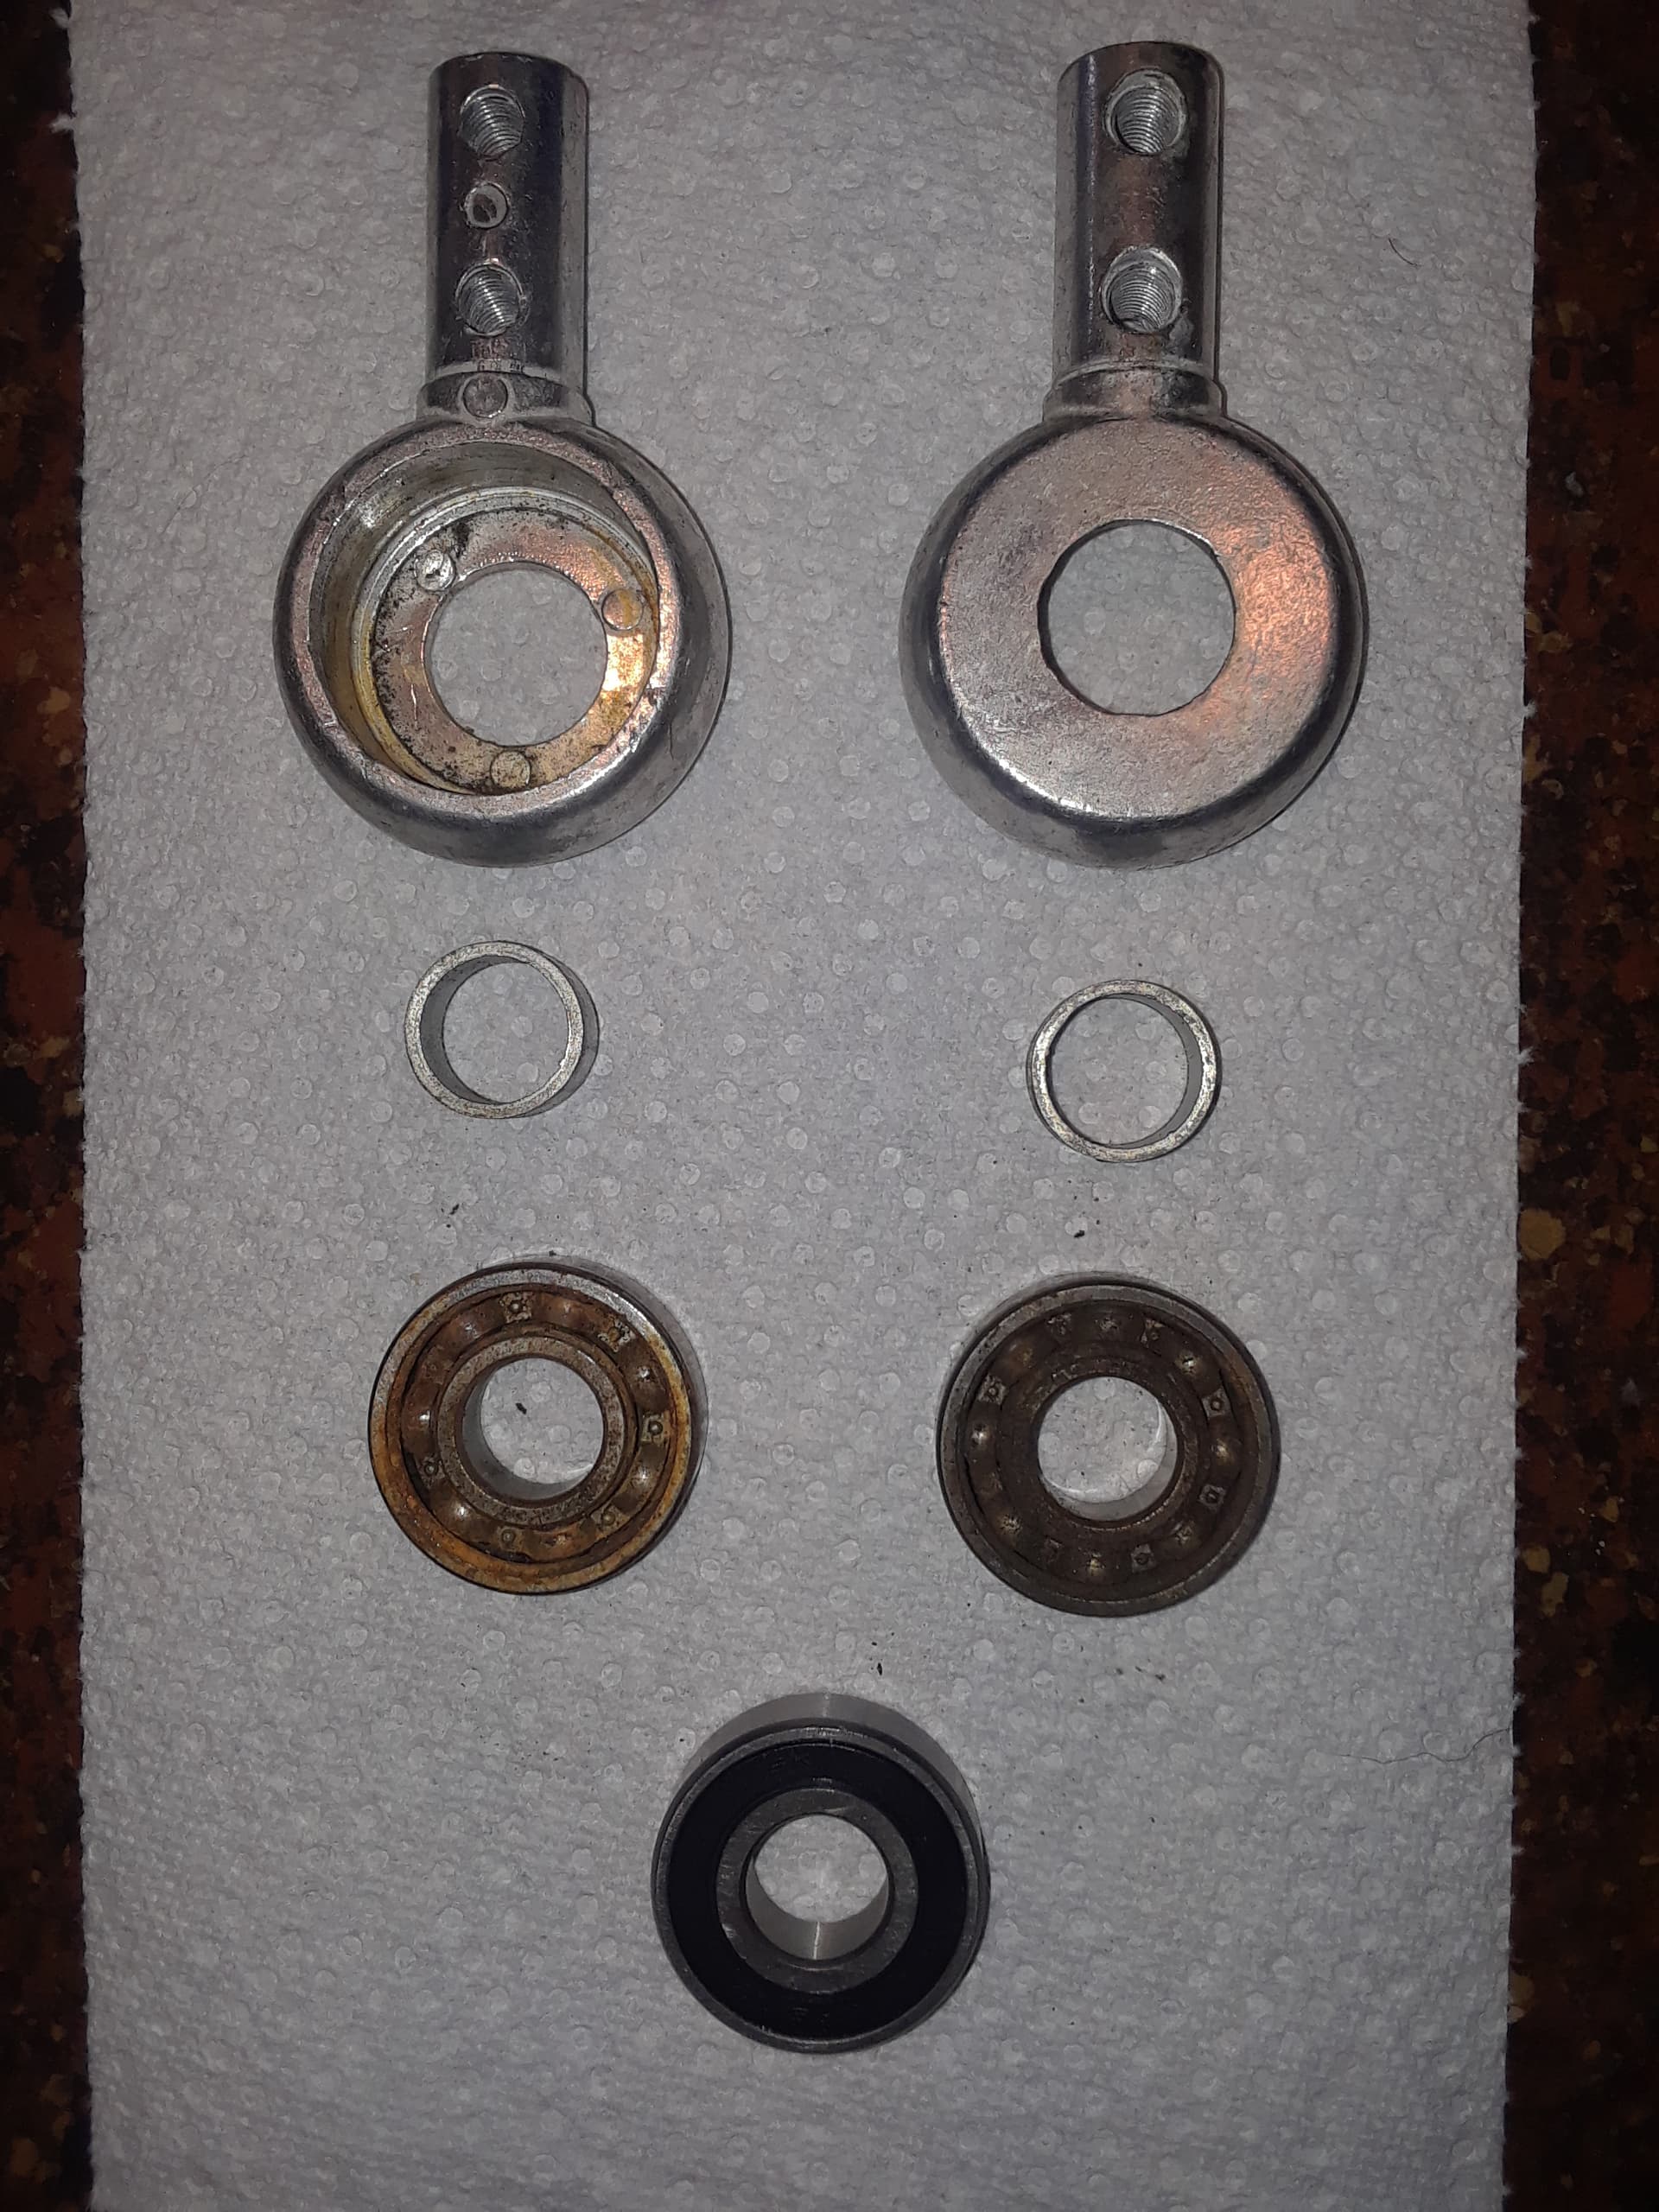
Mmm… Silky smooth new bearings on it now!
The bearing on the left was especially bad. With the bearing holder still installed on the wheel, I could position it in any direction and it would hold. The uni also made a comical squeaking sound when I rode it. (Also… Single seal bearings?? No wonder they were so bad!)
I also went ahead and bought a longer seat post for it, and now I can say it’s a unicycle that I want to ride ![]() I’ve been trying to learn to idle on my 26" Club, but even after so long I haven’t quite got it yet. I can already say I’m having more success with the CyclePro. I still plan on getting a more sturdy quality 20" for when I try learning more intense tricks, but this will do for now
I’ve been trying to learn to idle on my 26" Club, but even after so long I haven’t quite got it yet. I can already say I’m having more success with the CyclePro. I still plan on getting a more sturdy quality 20" for when I try learning more intense tricks, but this will do for now
3 Likes
Them old unicycles can be brought up to a good state with some TLC. Well done.
I say they are worth taking care of for people to learn on.
I was going to say that this uni was pretty much identical to my first one, and that it was perfectly useable if you‘re gentle with it. Mine must be over 40 years old. Then I realised that yours even has cotterless cranks! You‘re really spoiled with such a sturdy machine, enjoy it.
So I decided to give wheel building a try yesterday. I’ve been toying with the idea of building myself a 700c road unicycle (some great threads here that made me curious), and I figured I could practice lacing and truing some wheels on some old bike rims we have lying around in our garage.
So far I’ve disassembled and re-laced and trued two rims, a 36 spoke 3 cross rim and a 32 spoke 3 cross rim. The first one I did had a rim that was pretty out of shape, and I had spent a solid three or four hours trying to straighten it out. As a guide I used a zip-tie on the fork I was using, and it worked alright. By the time I called it quits on the first rim, I got it to a point where it was “livable”, though still not quite a true rim.
The second rim I did (the 32 spoke) I had a much easier time truing thanks to two things… For one, the rim itself was fairly straight. The other thing that made it easy came from a bit of a “Eureka!” moment I had when looking at some stuff on my desk ![]()
Pro tip from a complete amateur: Don’t have a truing stand but you still want some precision?
Solution: Use a compass and enough rubber bands to keep it firmly in place… Boom, precision!
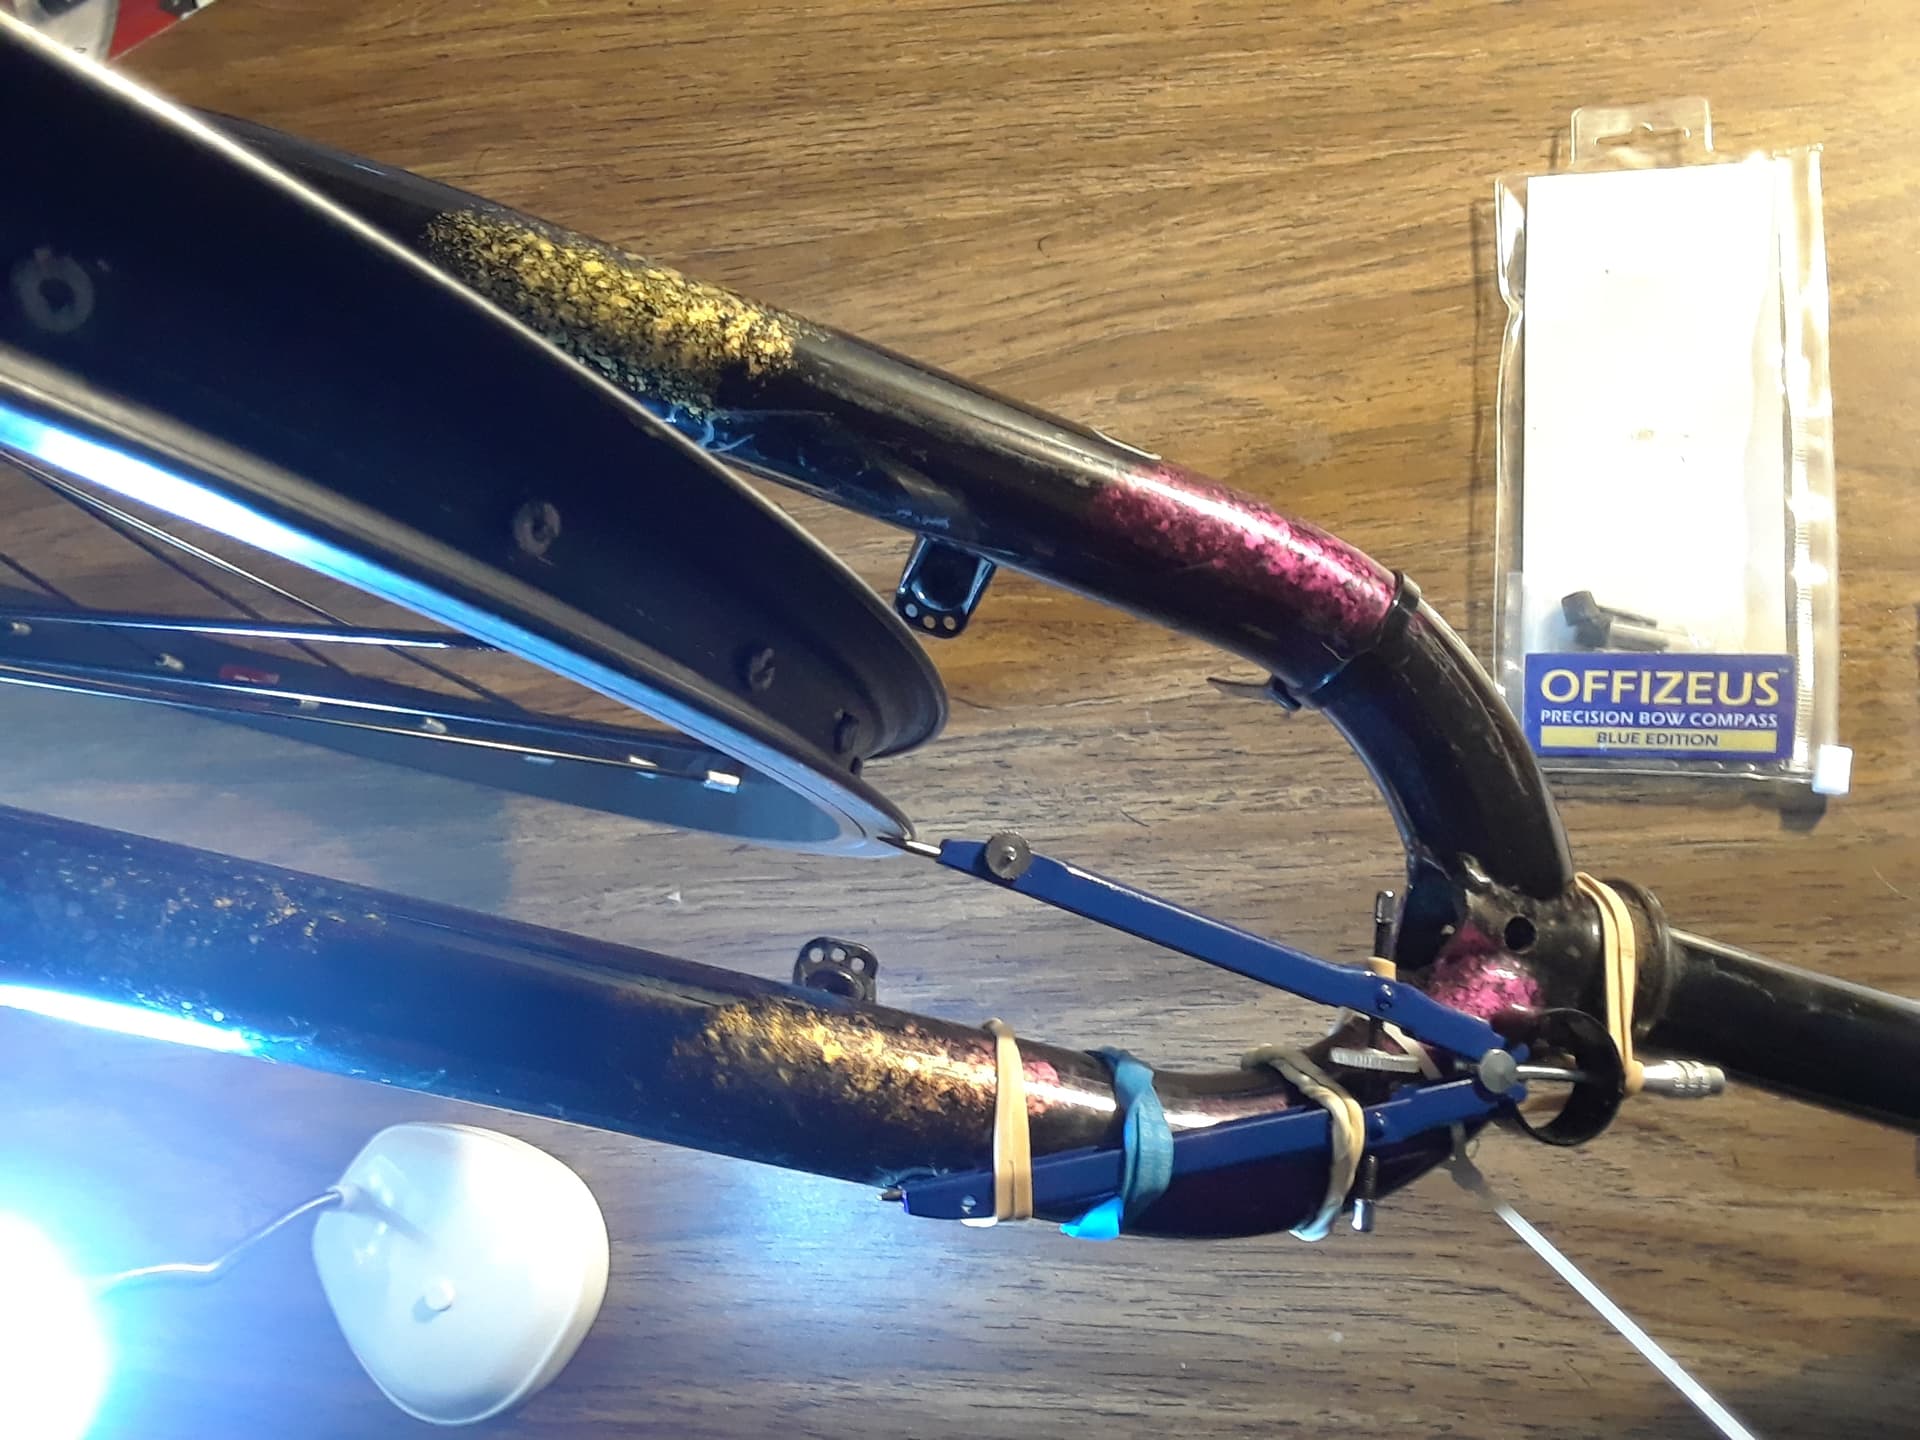
For me this worked better than using a zip tie… For the next couple practice wheels I know what I’m doing right away lol
4 Likes
Hello friends.
This is my fresh invention for unicycle.
Pedal friction for easy mount.
6 Likes
So, you mean you prevent the pedals from turning freely? Doesn’t it implies that you’ll lose some power when pedaling? ![]()
To prevent EXTRA freely turning only. To prevent it turns themselves from vibtation or from the wind. I get a lot of comfort and safety, if pedals stay in correct position by rolling mount.
1 Like
When the pedals spin freely like that, the best solution is to take them apart, and re-pack the bearings with an appropriate grease.
Many years ago, I added some lead weight to the bottom of my pedals, so they had a tendency to stay in a flat position for easier mounting - it worked (sort of), but I just have normal pedals these days, and do an “auto-foot-adjust” at the top of the pedal stroke if my foot lands off center due to pedals spinning away from the flat position.