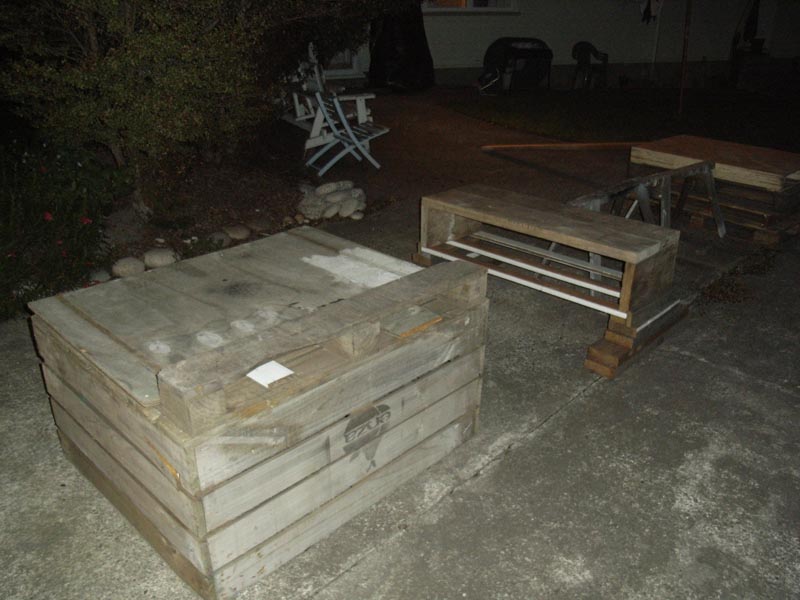
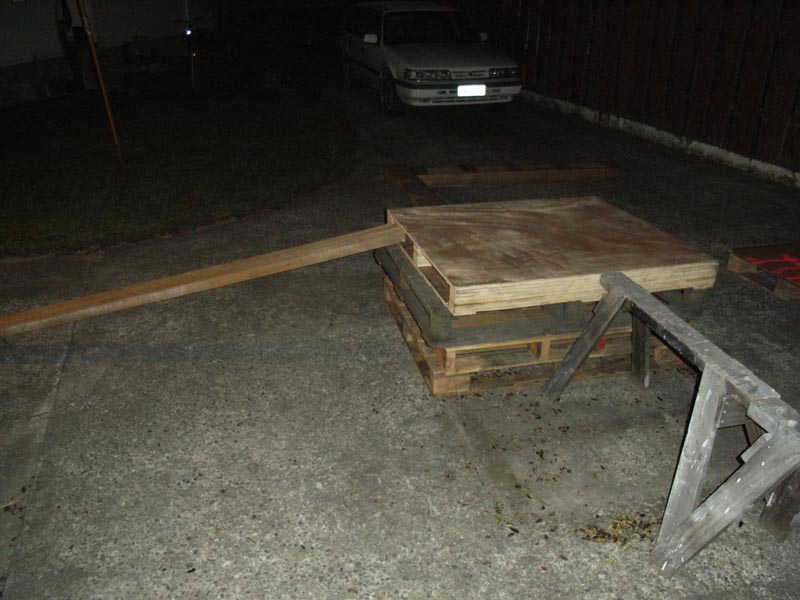
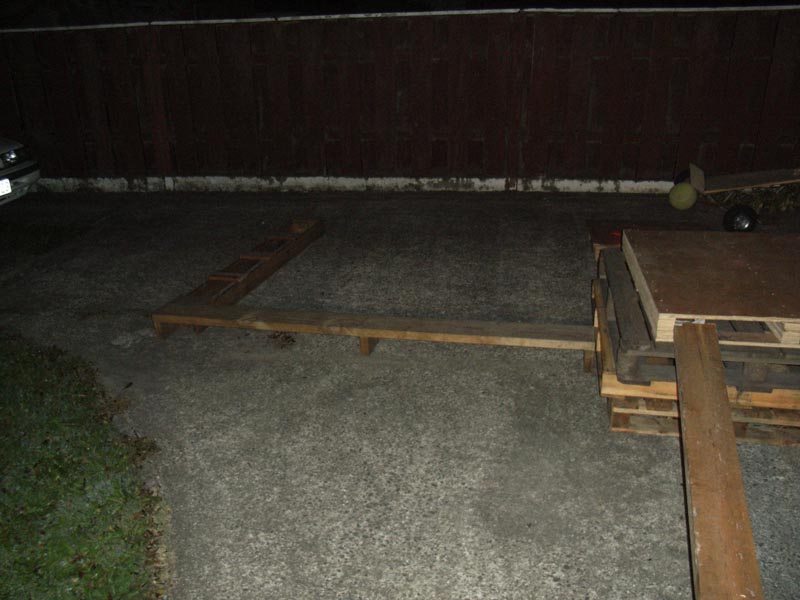
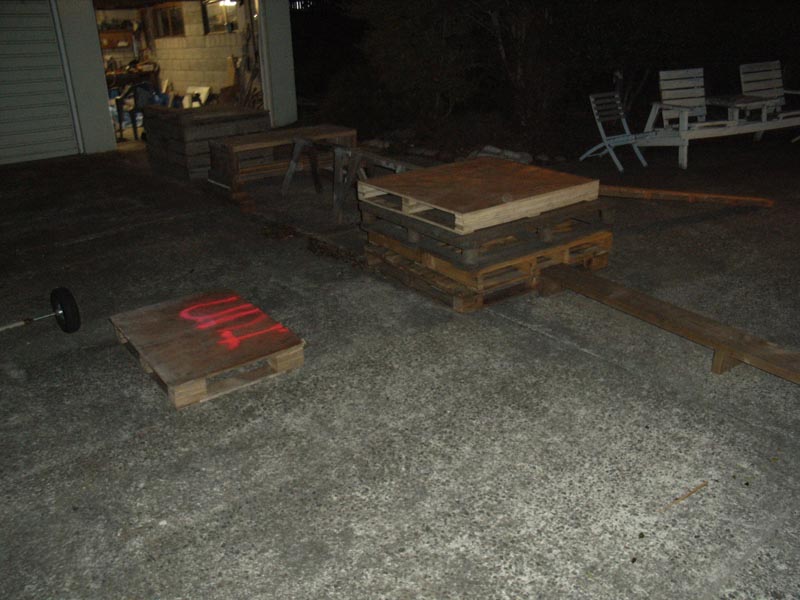
Some more:
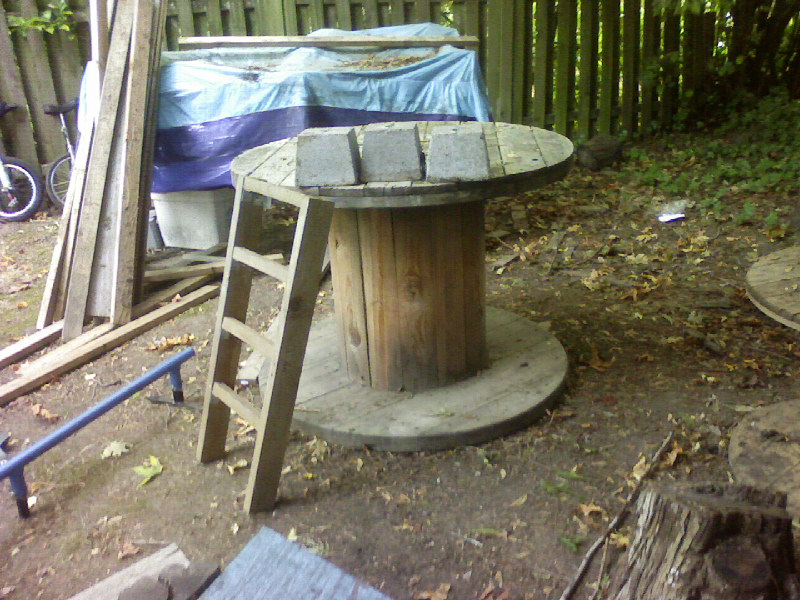
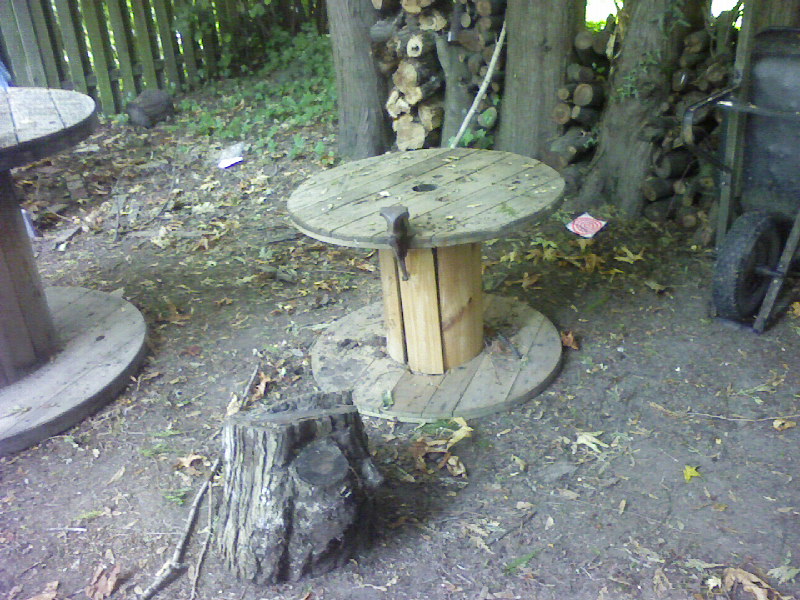
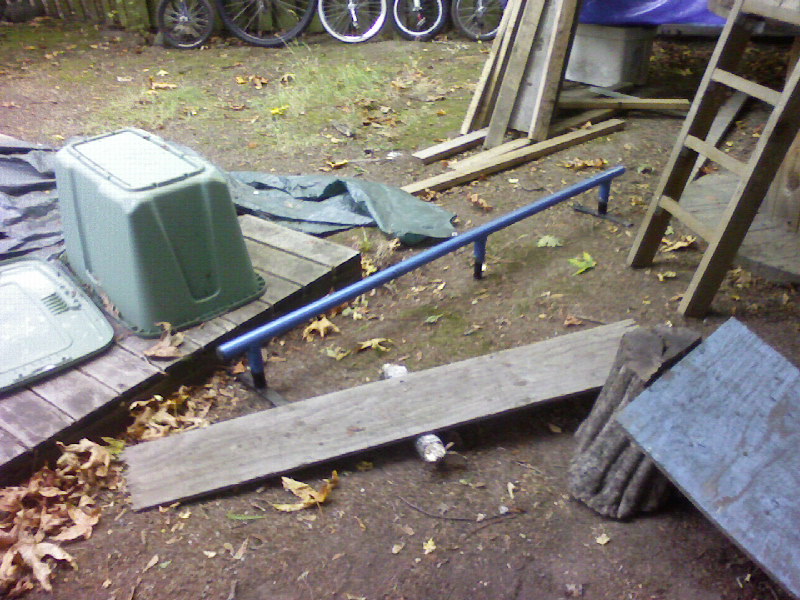
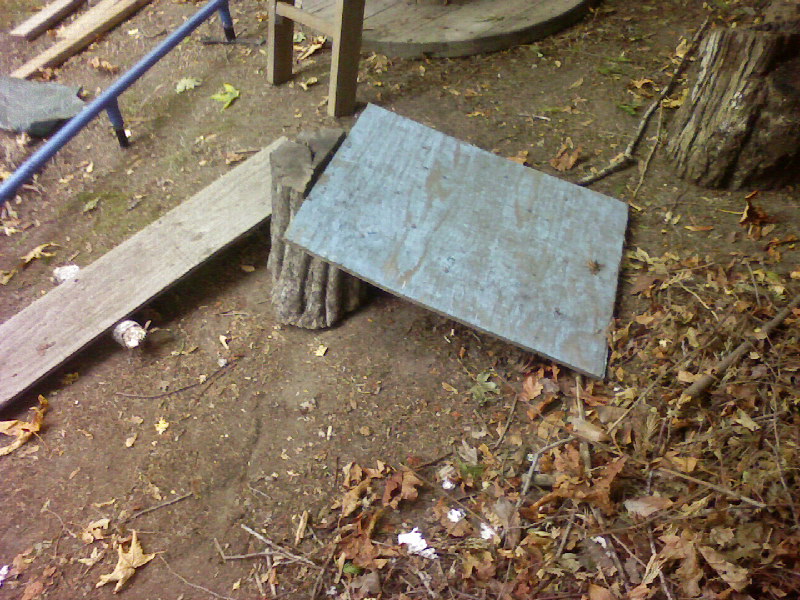
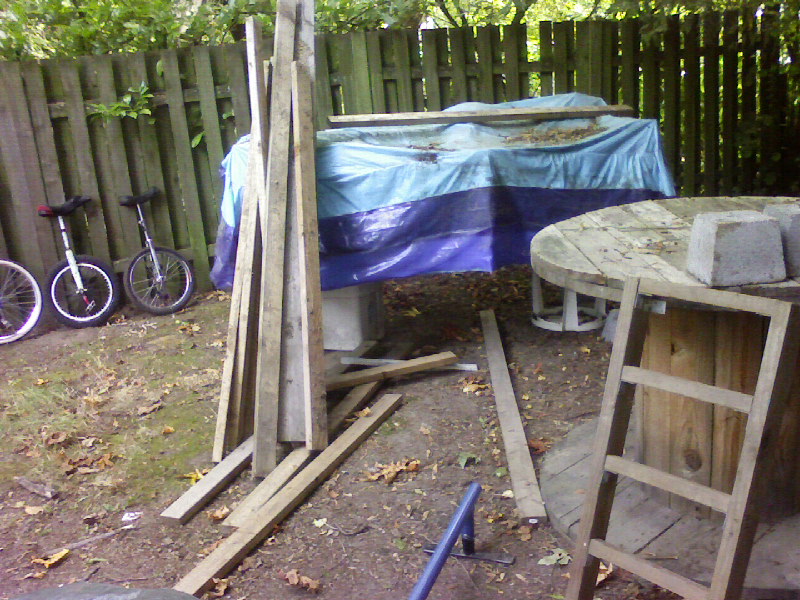
I have 30-40 pallets and a cable reel and stuff which I often set up on my lawn as a pretty awsome trials corse. I dont have any pics but there are a few shots of me riding it in my video.
yeah my parks changed a buch since then (new pallets and ive improved so theres better stuff!) ill get some new pics soon (hpoefully;) )
I was searching through some old e-mails I sent to myself and found this from Andrew Carter’s now defunct Unicycletips.com site:
Trials Obstacle BuildingTips
Sandwich Boards
Sandwich boards are probably the most versatile trials unicycling obstacle and are also very easy to make. They are light and portable, and in my opinion one of the most important elements of a good trials course.
Materials
20mm (or more) thick sheet of wood
35x70mm (or similar) planks
50mm long screws
2 solid hinges
Solid string or thin rope
Wood glue
Building Instructions
Cut the sheet of wood into two identical bits that are preferrably almost twice as wide as they are high. A standard size is about 250x400.
Cut the planks to the same width as the sheets.
Place one plank on the long side of the sheet (70mm face down), glue it into place, then add at least 5 screws placed diagonally. Repeat for the other sheet and plank.
Lay these pieces down flat, side by side with the planks together and facing up, and separate them about 5mm (maybe less if you?re using a smaller hinge).
Place the hinges slightly in from the sides and mark where each hole is.
Screw the screws (usually provided with the hinge) in loosely starting with the outer ones. Check the alignment of the hinges and planks. Tighten each screw.
Drill two holes in each sheet in the two remaining bare corners. Make the holes only slightly wider than the string you have chosen.
Open the sandwich board to your desired angle (around 60 degrees) and feed the string through the holes. Tie knots on the outer side of each hole making sure that the strings are equal in length.
Cut off excess string and lightly melt the strings at the cut and also at the knot to prevent it from loosening.
Ride on your new sandwich board.
Applications
- Gapping between sandwich boards at various heights and angles
- Supports for planks and balance beams
- A unicycle stand for running suicide mounts
Practice Rails
The handy thing about this type of practice rail is that it?s very portable. It allows you to move it around and also to change the length of the rail. This design uses the narrow face of a 35x70mm plank as the riding surface. It’s not quite as challenging as a 2cm diameter round railing, but it’s narrow enough that the rider has to focus on staying on top of the uni rather than moving the wheel side to side underneath them…more of a moving stillstand.
This particular design is for a 5mx35mm rail that?s about 20cm above the ground. These dimensions can be easily changed to suit your preferences.
Materials
35x70mm (or similar) planks, one 5m long
60mm long screws
Wood glue
Building Instructions
Cut the planks into the following pieces:
- 400mm pieces (4)
- 300mm pieces (6)
- 210mm pieces (10)
- 160mm pieces (3)
- 90mm pieces (2)
- 5000mm plank to ride along
Glue and screw together the pieces as in the diagram. Shown is the end support. For the middle supports, use the 160mm pieces in place of the 90mm pieces and have them extending all the way down. Also, attach the two 300mm pieces to the sides of the middle supports (in place of the 400mm pieces) so that they rest on the ground and face perpendicular to the 5m rail.
Slightly sand or plane away the sides of the 5m rail where the supports sit if necessary.
Place the two end supports and three middle supports on the ground in a line and fit the 5m rail in the slots.
Give it a test ride.
Note: The rail should sit approximately 20mm above the top of each support. This allows an uninterrupted ride along the rail.
Applications
This practice rail is perfect for improving your rail riding technique. It is low to the ground so that you can build confidence in your skill level and then move on to higher rails if you choose. Once you can ride all the way along, practise riding it slower and slower. This will force you to keep your balance longer and develop your still stands.
Hopping Posts
These are particularly challenging to use and therefore good to practise on because the landing surface is so small that the rider must concentrate strongly on his or her balance in all directions. If you land wrong on one of these (even if you don?t) it?s very easy for most of us to lose balance.
Materials
35x70mm (or similar) planks
60mm long screws
Wood glue
Building Instructions
Cut the planks into the following pieces:
- 500mm pieces (3)
- 300mm pieces (3)
At the midpoint of one of the 500mm pieces, cut out a 35mm wide section that extends only half way across.
Repeat for one of the other 500mm pieces.
In the final 500mm piece, mark the midpoint and offset that line 35mm in both directions. Offset these new lines another 35mm and cut out similar sections as in step 2 between the outermost lines on each side.
Place the two pieces from steps 2 and 3 in the slots you?ve cut so that the two planks are perpendicular to the third one. The slots of the connecting pieces should face each other to create a flush join 70mm high when sittingo n the ground. This is just a test to see if the slots have been appropriately cut.
Extend any slots that aren?t cut deep or wide enough.
Glue and screw together each of the three 300mm pieces and the 500mm one as shown in the picture. Start by joining two together with one raised 70mm. Then, join this to the piece with the two slots cut out of it. Finally attach the last 300mm piece. Be careful not to place the screws too close to each other.
Finally, glue and screw the remaining 500mm pieces onto the third as mentioned. You may also want to screw these two pieces to the middle structure.
Allow the glue to dry before using the obstacle.
Applications
- Gapping onto and off in trials lines.
- Holding up narrow balance beams (with extra screws attached)
Gapping Bars
Gapping bars are generally used in the same way as sandwich boards (gapping between the tops of them) however they can be made to have a much smaller landing surface. The landing surface of these particular gapping bars is 35mm wide and also flat as opposed to v-shaped like the sandwich boards. The v-shape helps to catch the tyre and prevent it from rolling off, however this doesn?t happen in the case of the gapping bars. Gapping bars are great for training for really technical and narrow landings and are a lot of fun.
Materials
35x70mm (or similar) planks
60mm long screws
Wood glue
Building Instructions
Cut the planks into the following pieces:
- 400mm pieces (2)
- 140mm pieces (8)
- Approx. 1000mm (1)
Using one of the spare cut pieces as a guide, glue and screw two 140mm pieces to the side of the 400mm piece. Place the guide in the centre and secure the two pieces either side of it . When attached, they should snugly hold a 35x70 plank between them. You may need to place some more spare pieces underneath the two shorter ones for support while screwing them in. That way you can push down firmly on them with your foot and they will stay in place. Use two screws for each piece, inserting them on a diagonal. If you put the lower screw too close to the end of the piece it may split.
Repeat for the opposite side of the 400mm piece, inserting the screws on the remaining diagonals (so they don?t hit the first set of screws). Again, use spare pieces to line up the angles correctly and support things while working. Throughout steps 2 and 3, keep checking the alignment of each piece. The final product should sit firmly on the ground and snugly hold the 1m bar perpendicular to it.
Now that one support is done, repeat for the second.
Allow the glue to dry, then place the 1m plank in the 35mm wide grooves and use your gapping bar.
Build at least one more to get the most out of them.
Applications
- Really technical gapping
- Long distance gapping to small landing surfaces, 180?s between them.
- Holding up narrow balance beams in the groove.
Northshore Structures
From: http://www.unicyclist.com/forums/showthread.php?p=204328#post204328
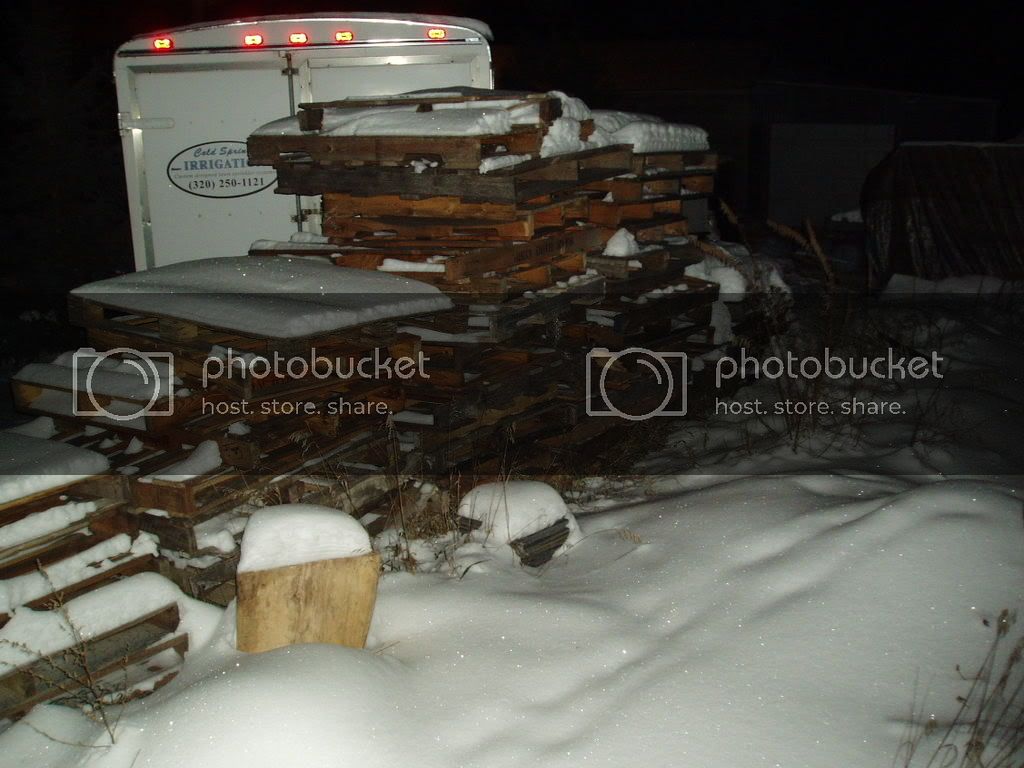
well, heres what i got, it got a little cold for bare hand and a metal flashlight (-3 degrees F + bare hands = cold joints) but… Everything is covered in abou 1ft of snow at the least.
Every unicyclists dream for supplys
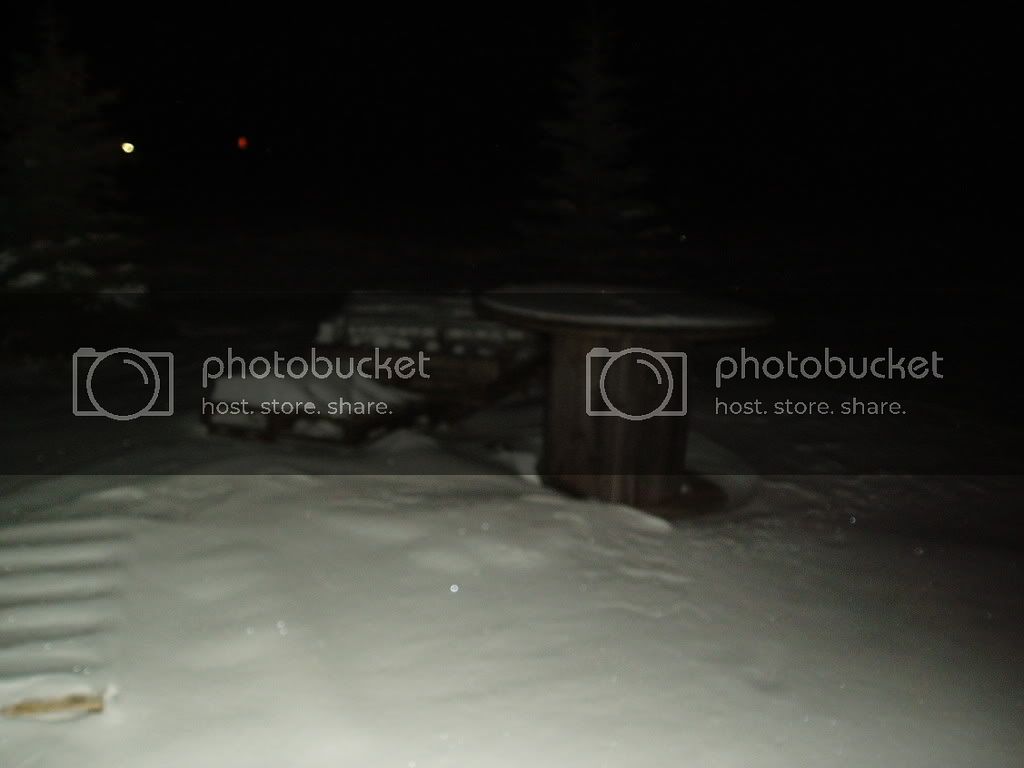
and, my actual setup, its not much, and covered in a bit of snow
well, a few of the pallets in the first pic are a little rotten and weak, but there are some more industrial pallets that will not break no matter what lol:)
oh um also, the pic of those pallets i have, doesnt catch it very well, theres suposed to be like 2 rows of pallets, so its… about 40-60 pallets, in the least
whoah, it is so weird seeing pictures of snow.
are you joking? because for me its normal lol… All i need to do is go look out my window… or at my deck lol… well, yeah i guess, the pic of my set up wasnt too good, i was getting a little cold. Ive got too many pallets on my hands lol… And atleast a foot of snow to walk through to get to them/my trial setup
and im bored
The site isn’t defunct. It’s still there under http://munimanpete.unicyclist.com/ I own the domain name, but there’s something going on with it, and I haven’t had time to look into it, until only recently. I hope to have it back to where the website comes up under unicycletips.com, within a couple of weeks.
cheers.
I found it, thanks to captainkrunk61.
http://www.unicyclist.com/forums/showthread.php?t=61833
Hear’s some simple stuff, thanks to zfreek220 (don’t know whose it actually is:o)
your link didn’t show up for me, so here it is:
It was an Klaas Bill’s site, so credit should go to him.
Is there any secrets or special tips to building those train track pathways that you see in Muni a lot?
latter something?
Or are they just boards on two main logs?
Surfer,
Could you post a tutorial on how to make that triangle wood thing. (I saw it at the end of your trials line.
Thanx
it’s called a sandwich board and there is a little blurb about how to make one in the link zfreak posted from Klass Bill’s Web Site.
http://www.unicycletips.com/building.htm
Thats what I used. Download the pdf for pics with the sandwich board tutorial.