Thanks so much for all the info for your new 36” Schumpf - and contacts for Roger. The build looks fantastic.
I’m about to build my wheel with the 125 Schlumpf and Dominator 2 rim. I could only get 367mm long spokes from unicycle.com Australia, and it seems that I need 360mm (359.57) Disc side and 362mm (361.95) non-disk side.
(Results calculated from unicycle.com spoke calculator.)
If Roger reads this, could I ask if those are the spoke lengths you used for that wheel build. Also interesting, that you used spoke washers, I might follow…what was the reasoning for using those.
With spoke lengths, I’m thinking of getting a thread cutting/rolling tool to add more thread length to my 367mm spokes and then cut to 360mm and 362mm (maybe cut 36 spokes to 360mm) I also have the option of getting a wheel builder to build the wheel or just cut and thread the spokes for me. I have a couple in mind, but any info from this forum would be much appreciated.
What threading tool was used for the 36” schlumpf? Cutting or rolling.
I don’t have much direct advice on this aspect really other than if you got really stuck I know UDC UK do ship internationally - but I’d picture any decent bike shop who can build wheels will have some spoke cutting and threading option.
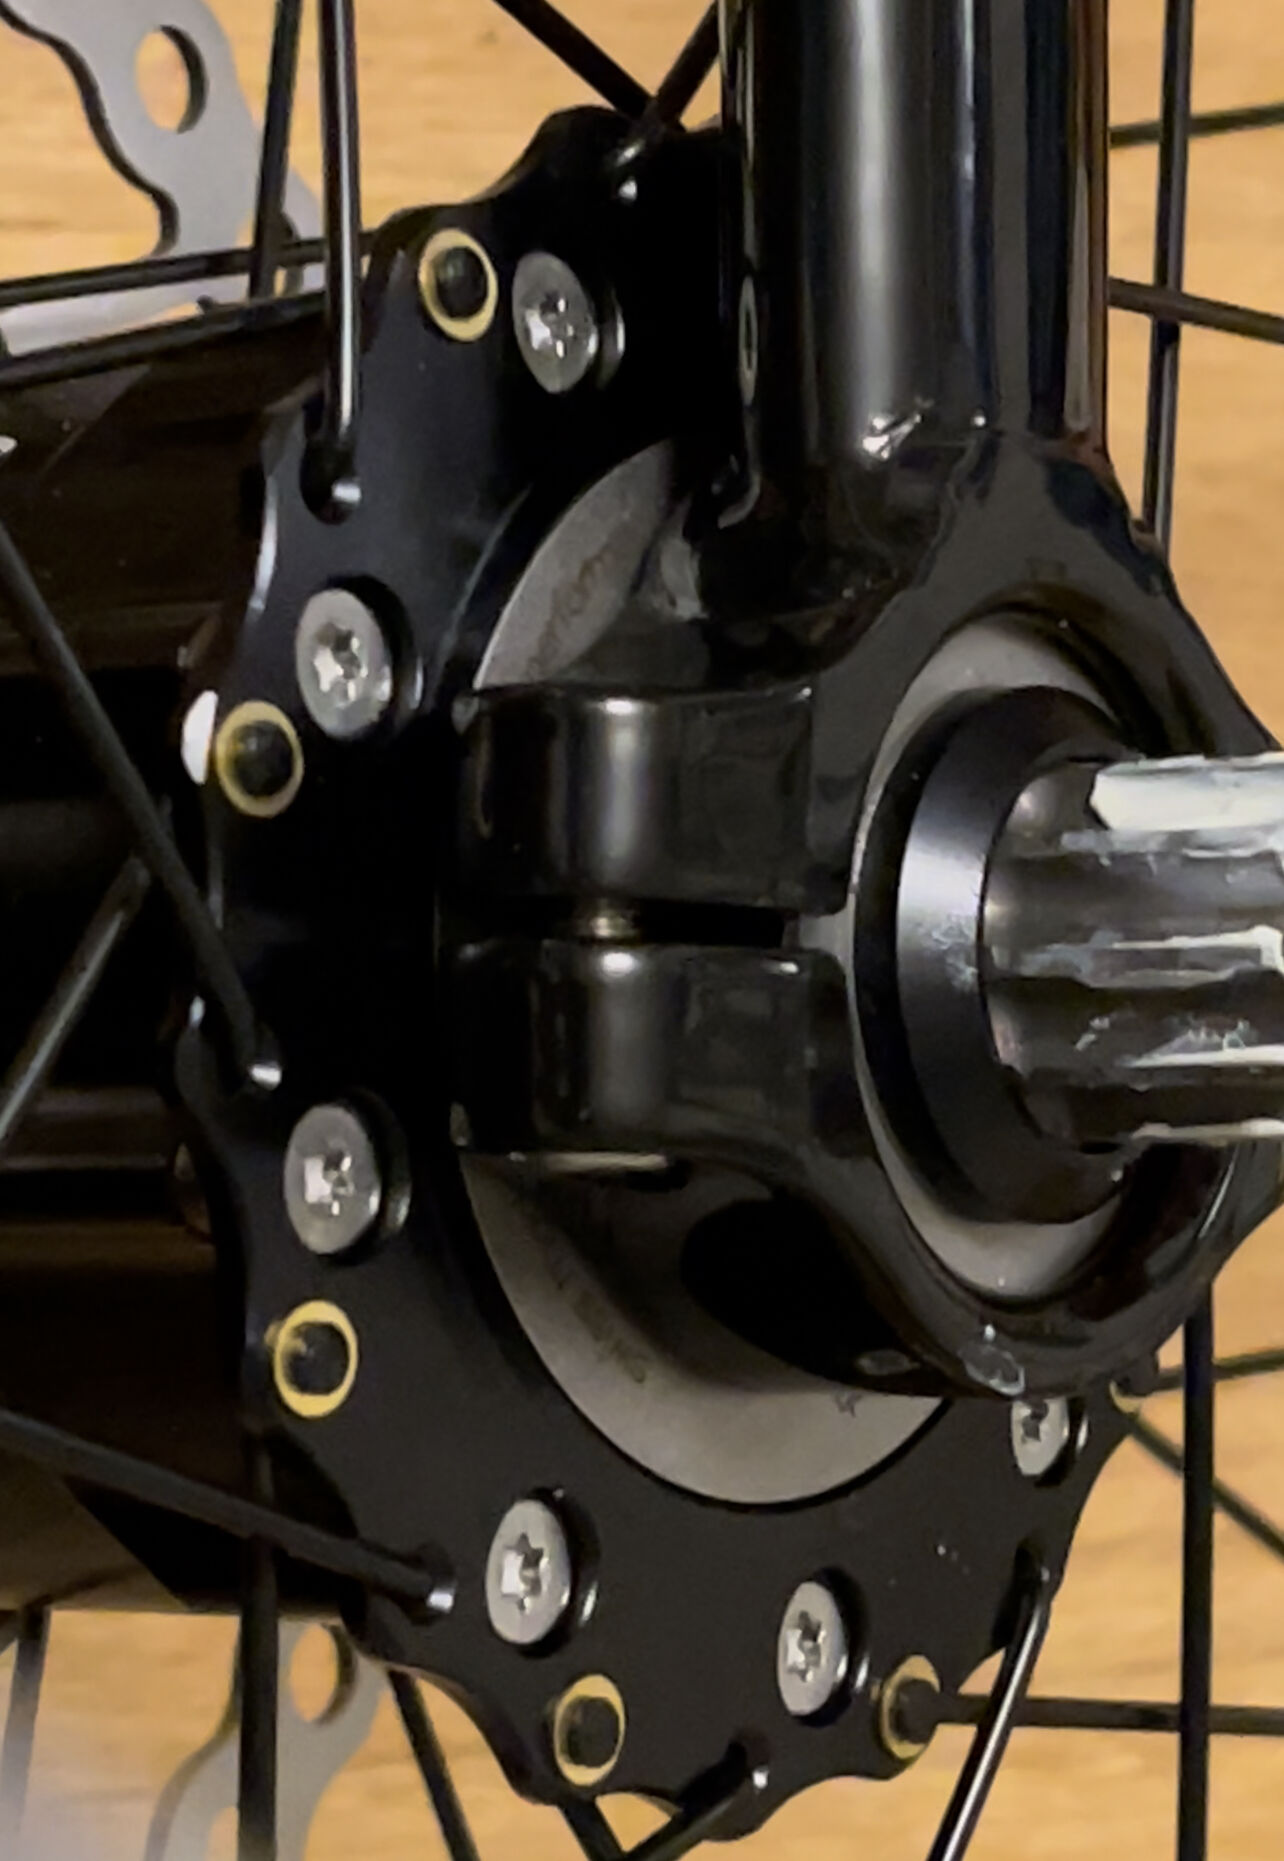
This came in part from my highlighting that on the wheels built here - down the road from me in Bristol, UK - Ryan used washers, two on outwards facing spoke heads and one on the inwards facing one for the non-disc side.
With this 125mm hub, on discussion and advice from Roger we opted to use just 1 washer on each spoke head, each side for the non-disc side, but 13g spoke washers which I am advised helps bring spoke tension to near equal levels when built up. The main reason for using them on that flange is due to it being thinner than the disc side flange which doesn’t need (and couldn’t take) any washers.
Nice pics @mindbalance - you asked about the logo - I got an inscription on my 125 hub when delivered - the word “Eternity” in italics (so NOT a logo which would have needed a .dwg file). This was inspired by a famous “weirdo” in Sydney in the 20th century who spent years writing the word “Eternity” in chalk on footpaths all around the city. (Also, I didn’t want anything too personal in case one day I wanted to sell the hub). By the way, I would love to see your future feedback on the saddle and bar combo (can you still get Ursli bars?).
Florian has been quite flexible in my case: engraving provided, allowed change of brake rotor size and then hub size at a late stage, sent some new shorter Torx screws for the disc at no cost without being asked. Interestingly he must have been intrigued by my choice of the word “Eternity”, as one of his artistic clocks which takes 10 thousand years to complete a turn is named “Eternity”, and he included a color brochure of that work of artistic machinery in my hub delivery box.
@Unicyc regarding spoke cutting, you can definitely get them done at some local bicycle shops. My build is a 125 hub to a Nimbus Oracle 26 standard rim. A local “Pushys” shop did the job for me, they used an expensive high quality rolling machine to do the job. The cost was very reasonable (forgotten exactly how much as since then I was overseas for a month before trying to get some time to resume my build). And I was surprised that they were even able to cut some old spokes with existing thread about halfway into the threaded part and continue that threading. I asked for the thread length to be a bit longer than normal to allow for the possibility of the spoke being a bit long. And I used standard brass nipples. (I favor practicality over light weight and beauty!). Regarding bicycle shops, one other “high end” shop claimed that Pushys were no good and wouldn’t have the equipment and would probably have it done by someone else, and they showed me their own machine (which was NOT as good as the one I later saw at Pushys) and said that they could do it for something like $5 a spoke, which is absolutely outrageously expensive! So, you should shop around.
Regarding the spoking, I mounted my unicycle frame inverted on a wooden support and put a piece of wood with a notch cut into it across the down tubes to make a guide for truing the wheel. Keeping it centered left to right is very important with this hub I think, because of the asymmetry and the non-disc side spokes tending to pull the rim off center. Ideally, I would have got an asymmetric rim, but the Nimbus Dominator rim was already there, and is nice and solid and easy to spoke. Also ideally, I could have got thinner spokes for the low-tension non-disc side, but I didn’t.
Regarding the spoke head washers, I just used one brass washer on the 9 spokes which were on the non-disc (thin flange) side, with heads facing out. It looked to me like the other 9 spokes on that side with heads facing in were sitting OK, but this might be different between my build (125mm hub to 26in wheel) and your build (125mm hub to 36in wheel) because of the greater inwards angle in my case.
I didn’t get the logo done, there was an issue with the file I sent and I was happy to just get the Hub on its way to me.
Re: the spoke lengths did you get both the 360mm and 362mm lengths made, I read somewhere if the spokes length required are within 3mm, you can get away with all spokes either one or the other length.
Re: Axle bolt deforming, could you give me an idea of where you are ordering another axle bolt (from another source) for pre tightening purposes.
By the way, thanks for the great you tube video installing cranks on schlumpf hub
Thanks so much for the info Gocup,
I found a bike shop in Belrose with a spoke cutting and thread rolling machine and he said on the phone he would “do “ my spokes for $2.50 per spokes. Might get some washers there too.
I don’t think I’d personally want to do that with such an expensive hub as the 2mm difference is what will allow for a proper dish and accommodate the fact the rim doesn’t have any off-set.
I first posted the link to a M14 bolt I found on eBay here:
I ordered a set from them but after a month of waiting and chasing due to it not turning up I got a refund. However you’ll see that @Mayor_McCheese did get a bolt so perhaps they’re more able to cope with shipping to other countries like the US etc than UK and Brexit complexities.
I then contacted Mayor_McCheese and he was kind enough to send me his spare bolt at the cost of the postage. It arrived yesterday but I’m sick at the moment so my planned video on how it works is on the back burner.
The other good news is that I mentioned this bolt and the steps taken so far to make a pre-tightening bolt to Roger at UDC UK and I know he’s gone out and ordered some locally to make up in house as pre-tightening bolts - so you might find it easier to contact them and see what the timeline is for them being ready.
Thanks. Glad it was useful. Seems to be a dearth of guides to schlumpf stuff on YouTube so I realised I may as well film my struggles and thoughts.
—
@Canapin hello do you think you could move these last few conversations replies to the topic: Schlumpf 2022 Build Questions - from here to this last message I’m writing now Thanks!
@Unicyc
Those M14 crank screws are not the easiest to find online; thanks for the first ebay link @mindbalance.
I was also able to find some other options and these RaceFace ones look like they don’t need any drilling (pretty sure based on a YT install video). Most of the sites that list these are out of stock but I found 3 2 promising sites/listings:
That’s a great round up of links. I know how hard they were to find. Seems like no longer being actively made.
Only thing to watch out for is many are made of aluminium whereas we would need steel.
I am convinced the ones from the ebay link work the best due to the double washers - which allow for it to slip more easily and not get bound up in the crank inside surface.
I actually purchased one of these at the same time as I bought the other ones on eBay. I was surprised to find that it was constructed of some sort of plastic material. I did not and probably wouldn’t recommend using it.
Looking for advice for brake set for G36.
I am anticipating riding my new (to be built g36) in high 20’S low 30s’s on roads so am asking for advice for a decent hydraulic brake set.
Recently I have been enjoying hill climbing and downhill runs around Sydney… Bobbin Head, Berowra Waters… Galton Gorge this weekend. Typically they are 3 - 4km climbs then 3 - 4km downhills (x2 times for session) average grade 6-8%. I would like to do these routes on the G36.
Main intended use of G36 is commuting. Currently on KH36, I average 15kph (max) for 15km route according to Wahoo computer with speed sensor. Max speed is 23kph. On a 1km straight on road next to rowing course I can maintain 23kph (x 6 runs in session) the standard brakes on the KH36 seem ok for stopping. Not sure if they actually over heat.
Do I need 4 piston brakes on the G36? What is the best (less expensive) 2 piston brake?
I’m looking at getting vcx cranks 100/125/150… set to 150 for learning, 125 when proficient and have the possibility of 100 to keep my options open (may not be possible strength / torque wise, but worth a try)
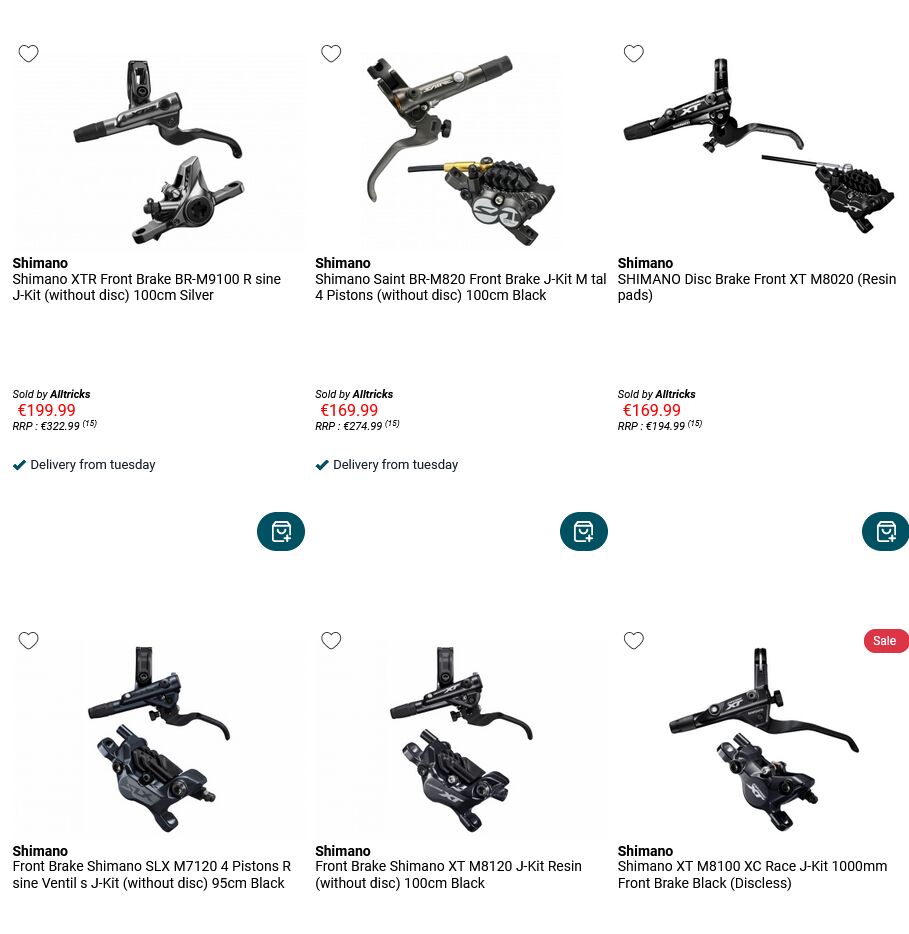
I would definitely say you need a 4-piston brakes on a G36. A 4-piston brake offers more power and more progressiveness than a 2-piston brake.
If you still want a 2-piston brake, you should have a look at Shimano’s brakes. SLX, XT and XTR ranges are great. But I highly encourage you to get a top-end 4-piston brake, such as Shimano Saint or Hope Tech4 V4. The difference with cheaper brakes is amazing and I wouldn’t ever go back.
150 are great for hilly roads and 125 for flat rides without much stops. I don’t think I would ever like to use 100 on a G36. (Even on a G29 I’m still hesitating!)
V4 has more power (bigger leverage ratio due to larger pistons in the caliper). The question was if the extra power is really necessary. Since my comment I seem to have solved my brake troubles, somehow I had a disc that was worn with a taper that was causing all kinds of weird issues, so now I’m happy with the tech3 e4 setup.
It will not work with the hope tech. Shimano uses mineral oil, hope uses dot brake fluid and you can’t mix the parts for those (all the seals will leak). Going with a shimano saint (or similar, I think SLX, Zee and XT are usually better value for money) is probably the easiest option.
I also thought Saint were more expensive than the ones you have listed, but I found out it is not always the case. On Alltricks, one of the most famous French online bike part shop, Saint are at the same price than others:
I guess Shimano is trying to get rid of old stock then, I saw some highly reduced prices too. If you can find deals like that, I’d obviously go with the saint too, but normally they seem more expensive for barely any actual upgrade to me.
I’m permanently confused how Shimano gets away with their prices anyway. Hope can manufacture in England, offer lots of colours, sell spare parts and sell at very similar prices to high end Shimano. The high end brakes must be a massive moneymaker for Shimano, 95% the same parts as SLX but much more expensive (at normal prices).
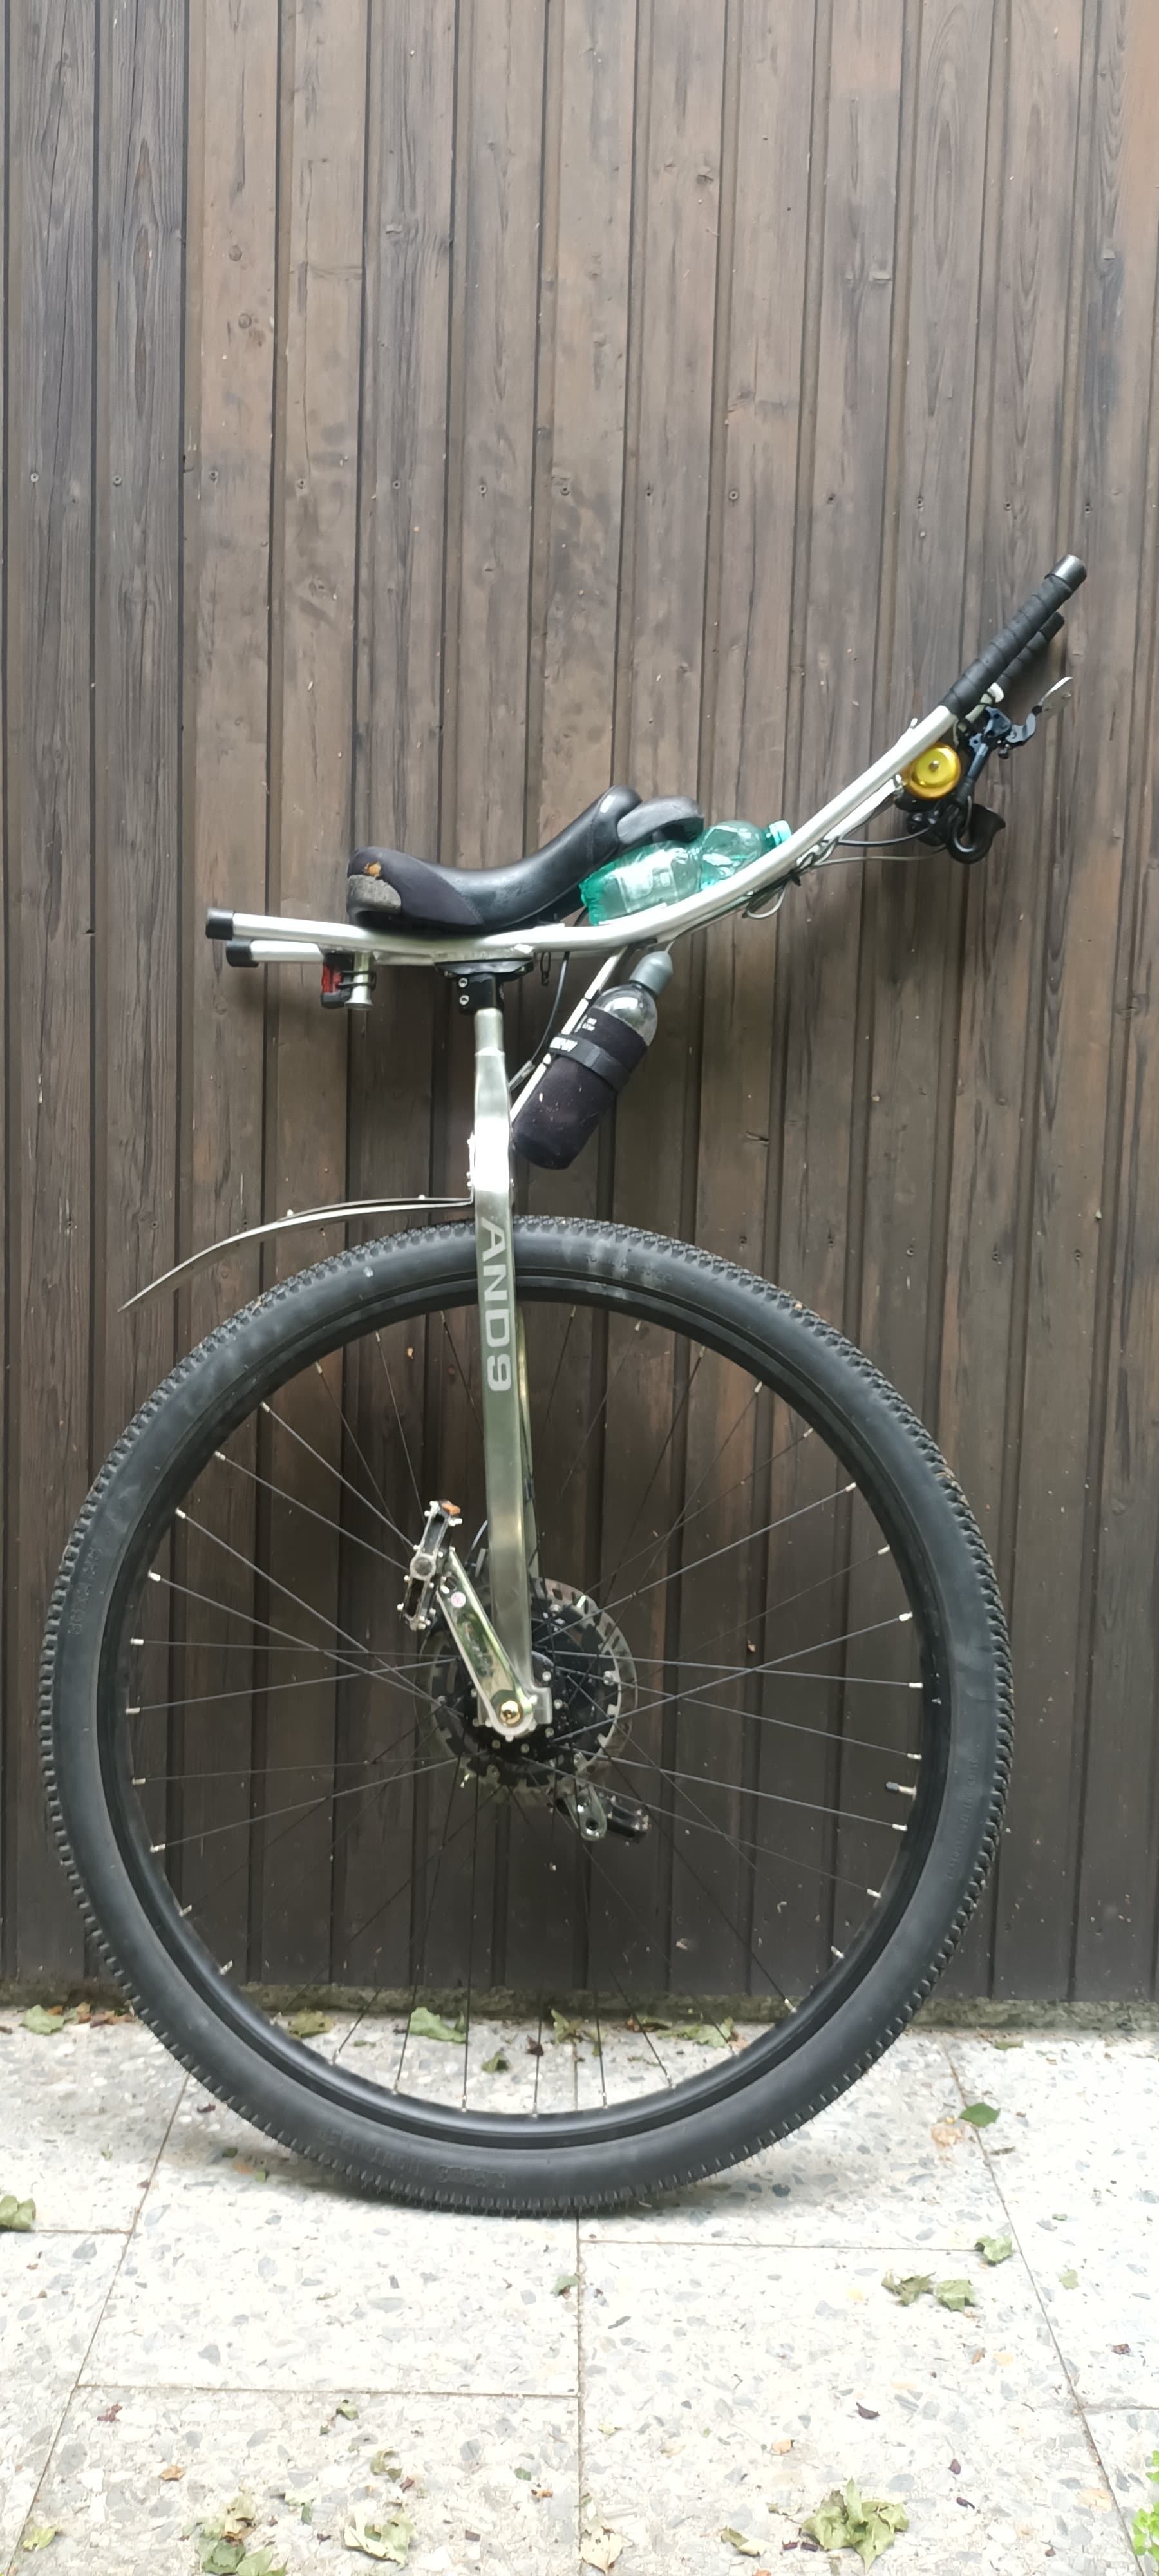
So here are my experiences with the new 125mm Schlumpf:
The hub works really fine.
Just a little bit of oil outside but no problem.
Brakes:
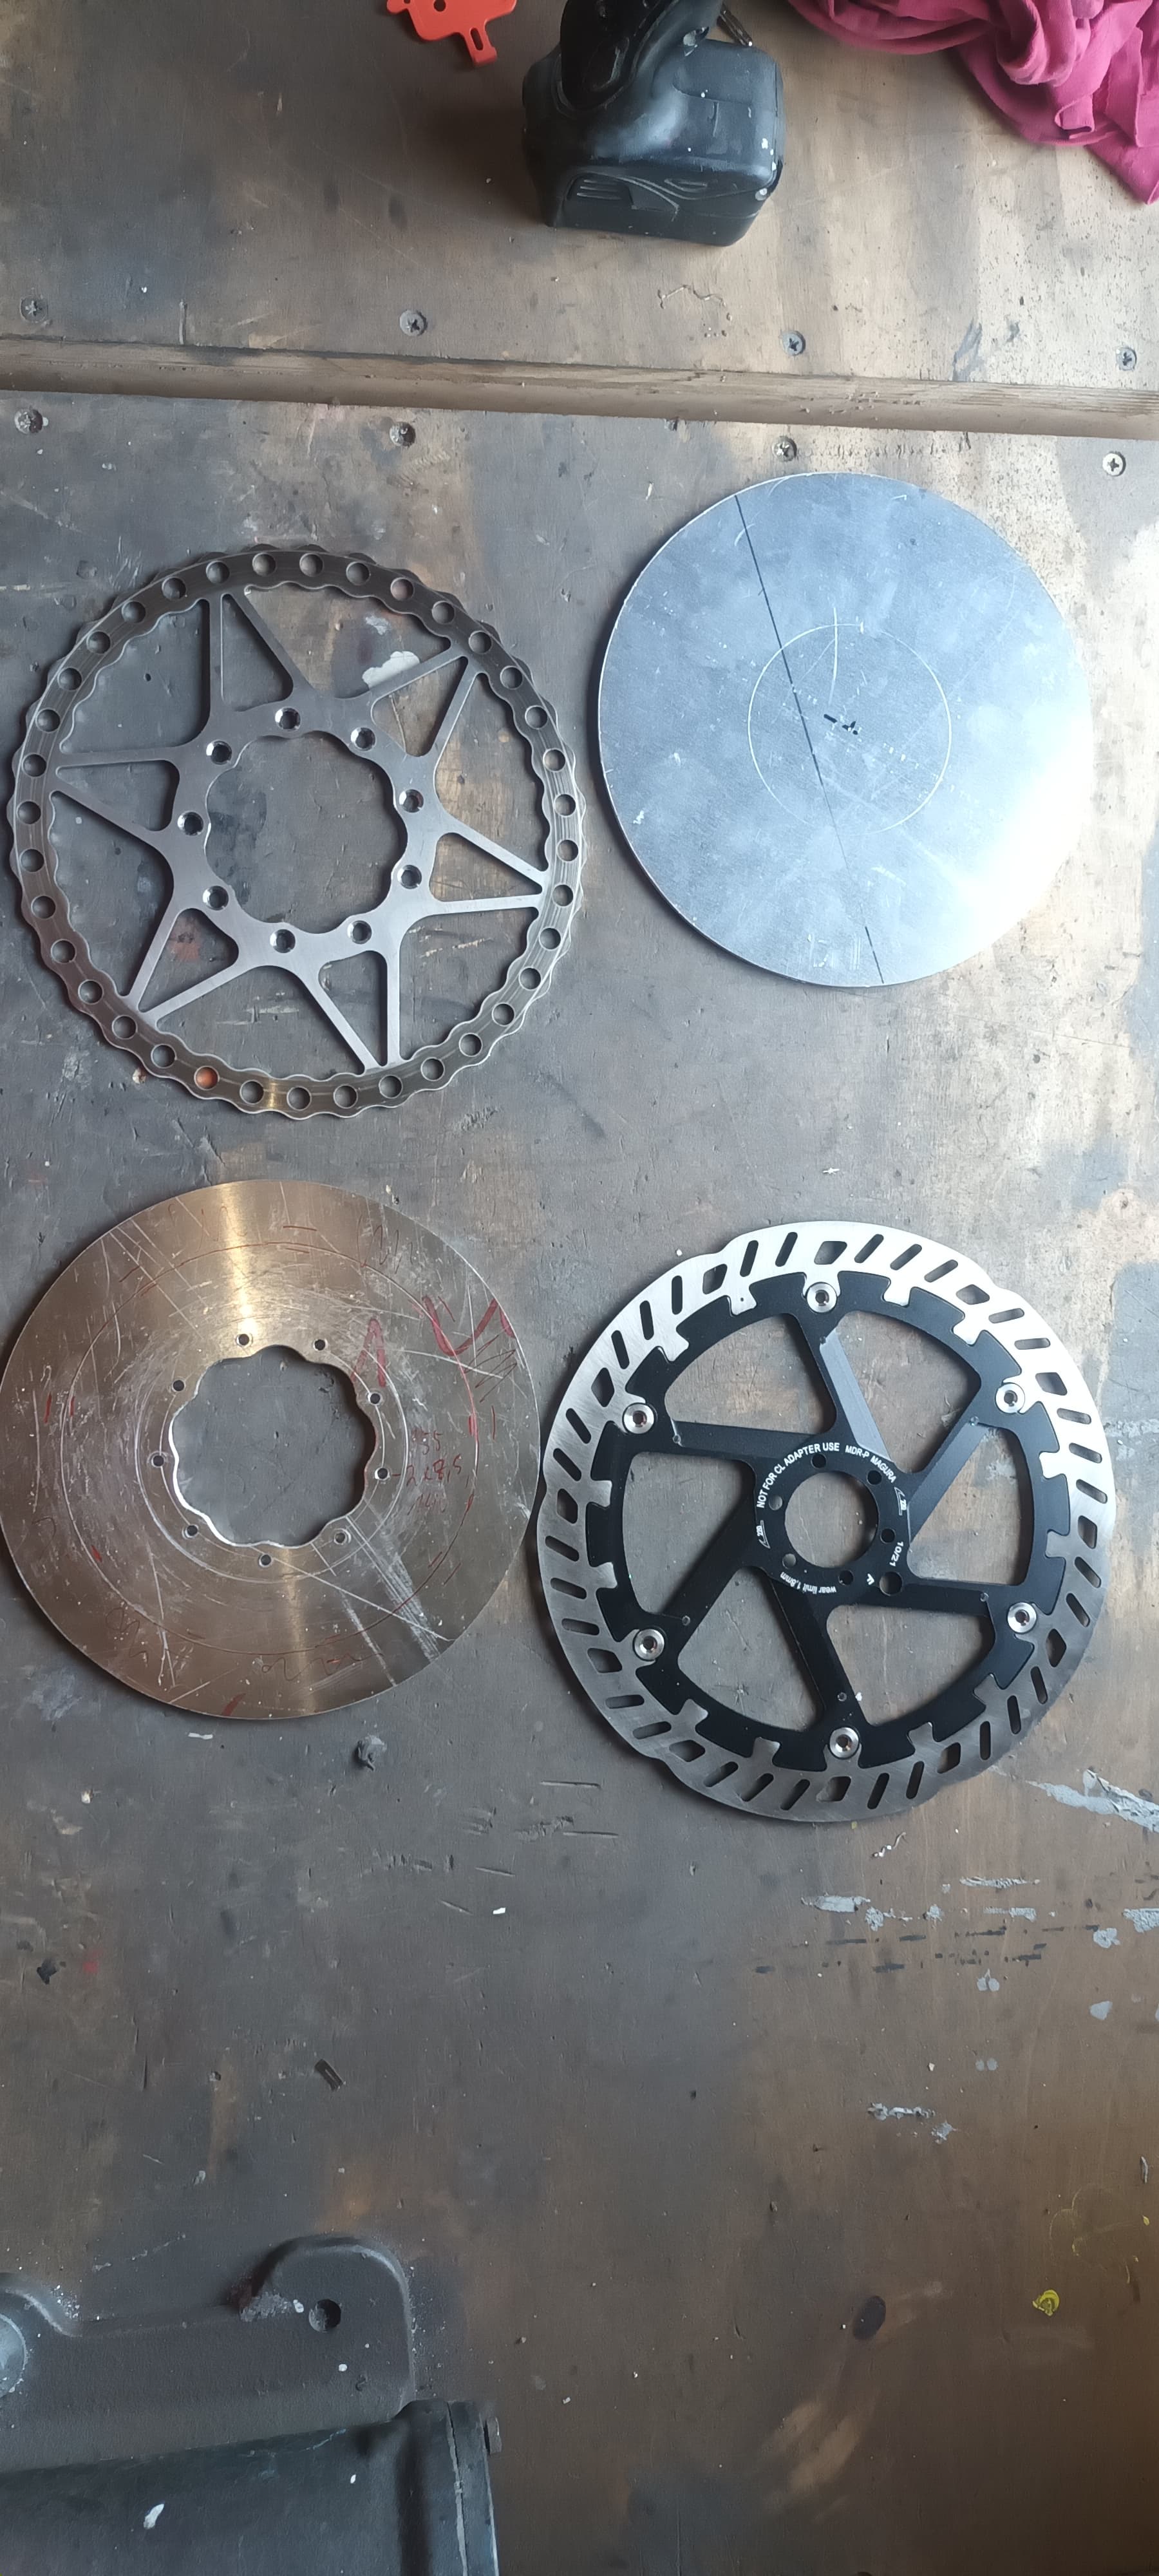
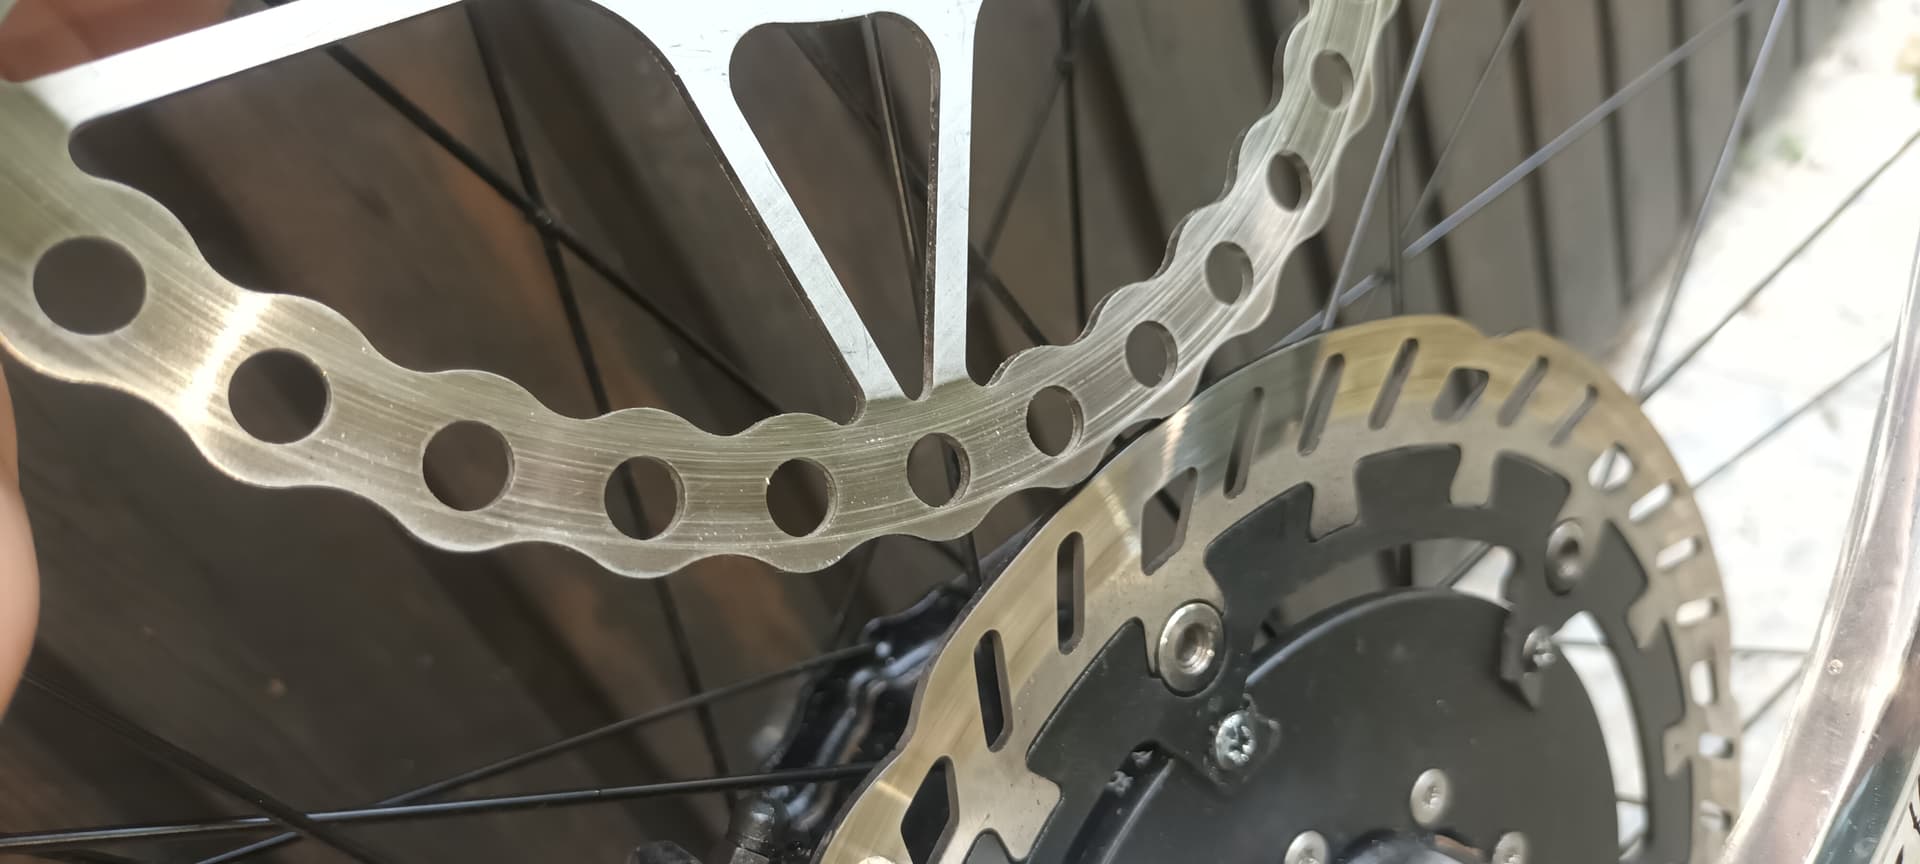
I first built it with the 203 schlumpf rotor and a magura mt5 brake. As the magura needs a lot of clearance to the spokes, i built a 4mm distance.
After this i had no more noise and a good brake force.
But the magura mt5 had a really bad brakepoint which did not get better by bleeding.
Never had this problem with shimano.
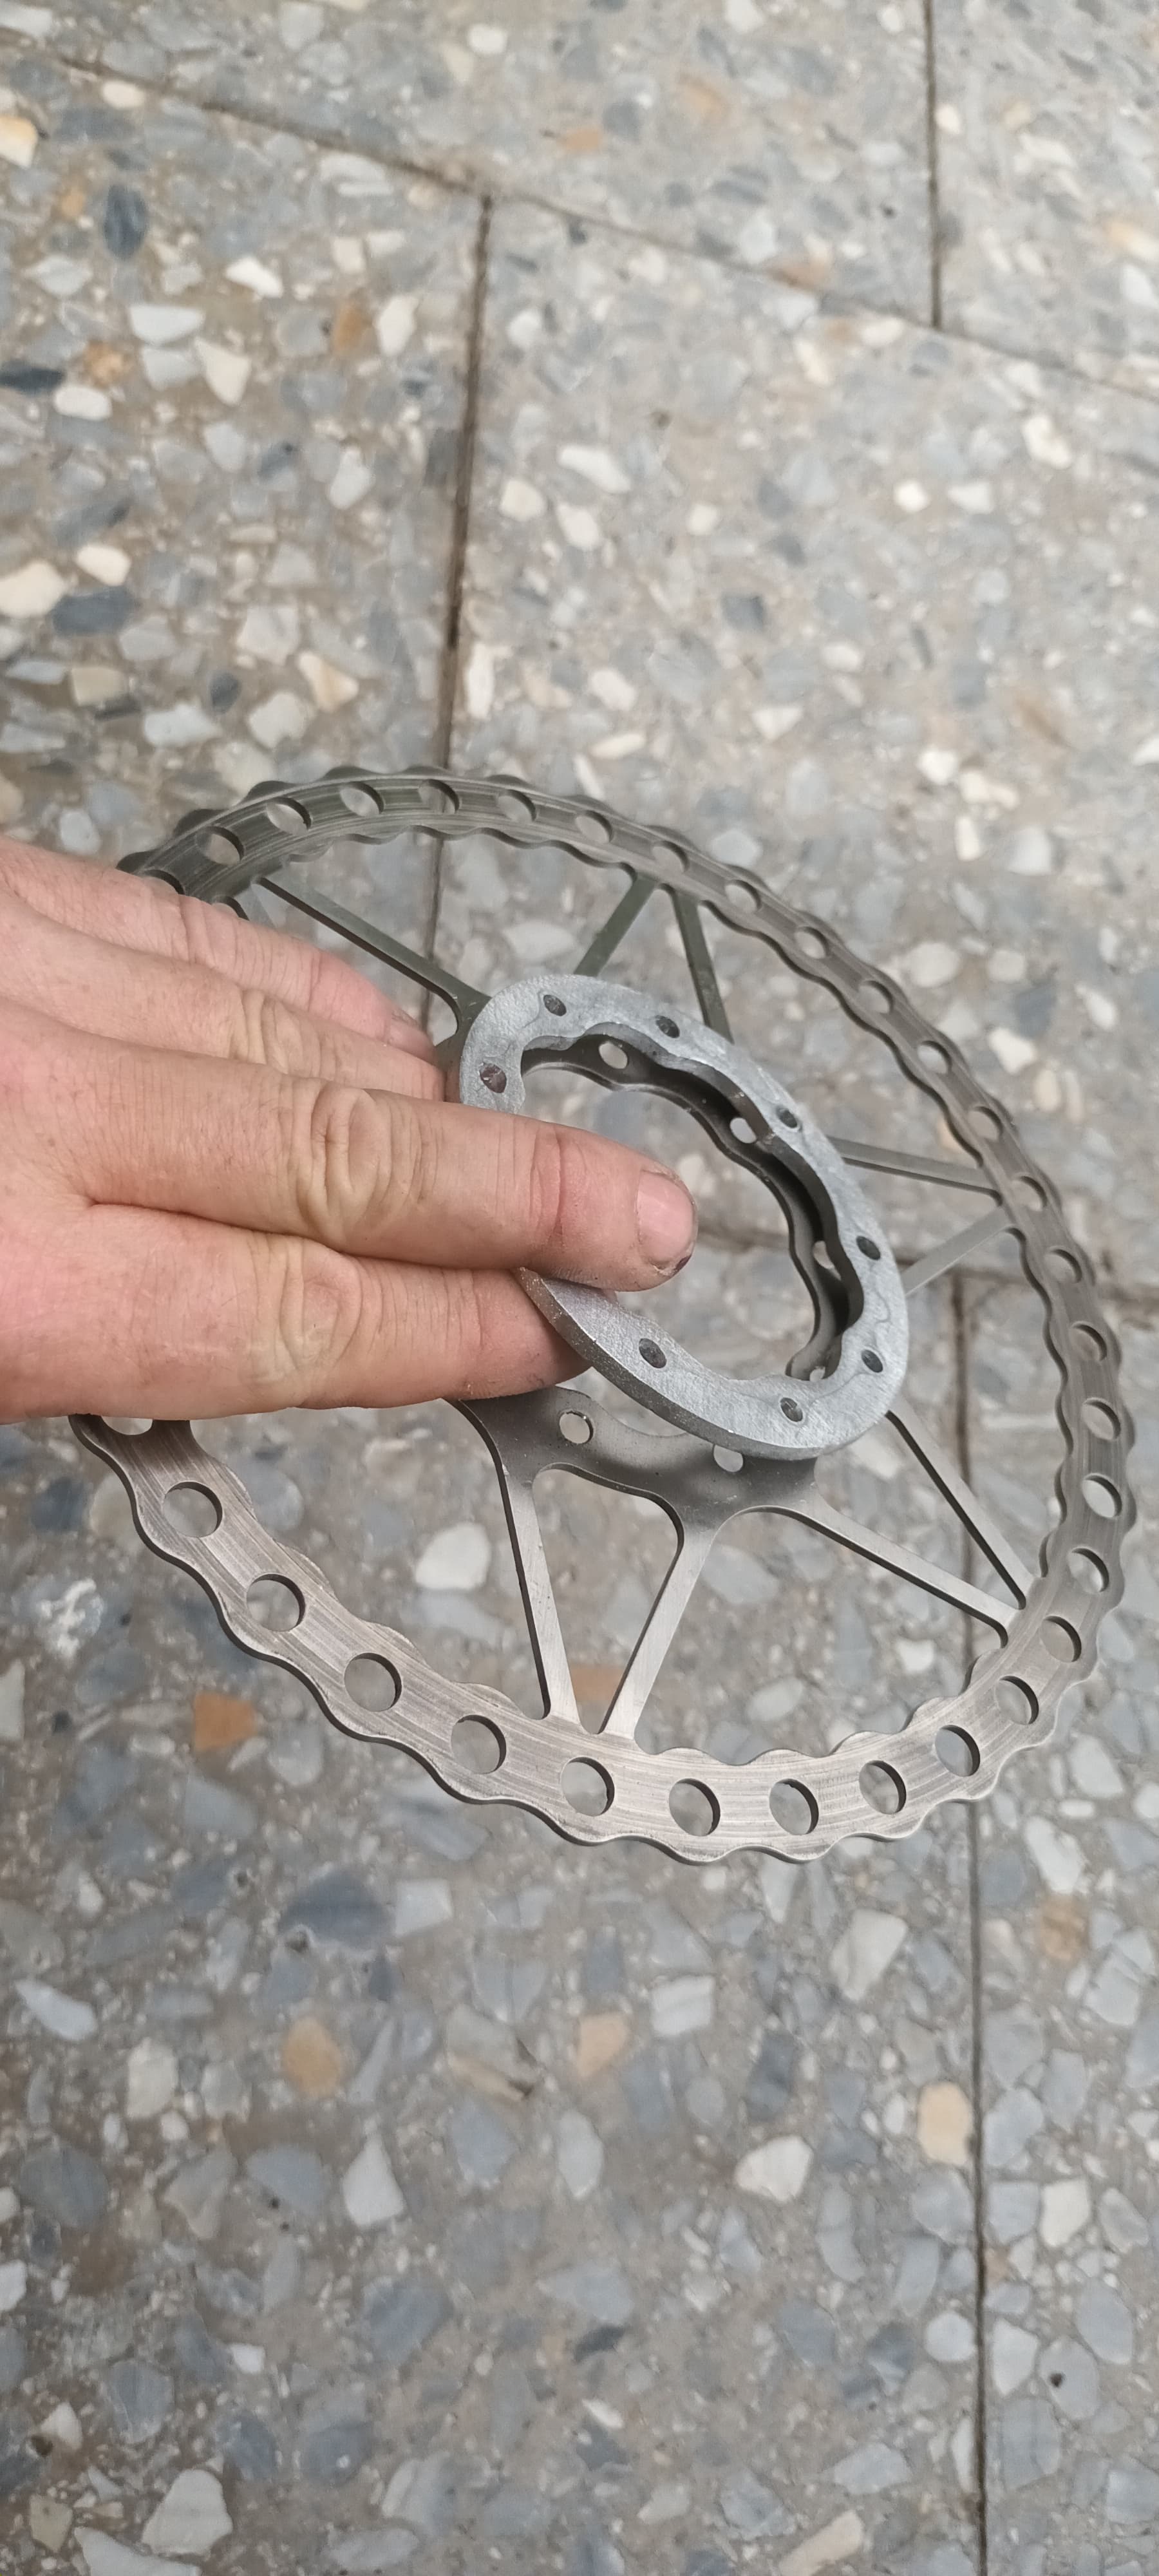
So I changed to shimano slx and modified a 220 magura rotor which was not in stock when i ordered the 203 magura rotor. A 230 shimano rt86 rotor was not in stock. It would have been easier to modify.
Thats the setup for the last 800 km and i like it.
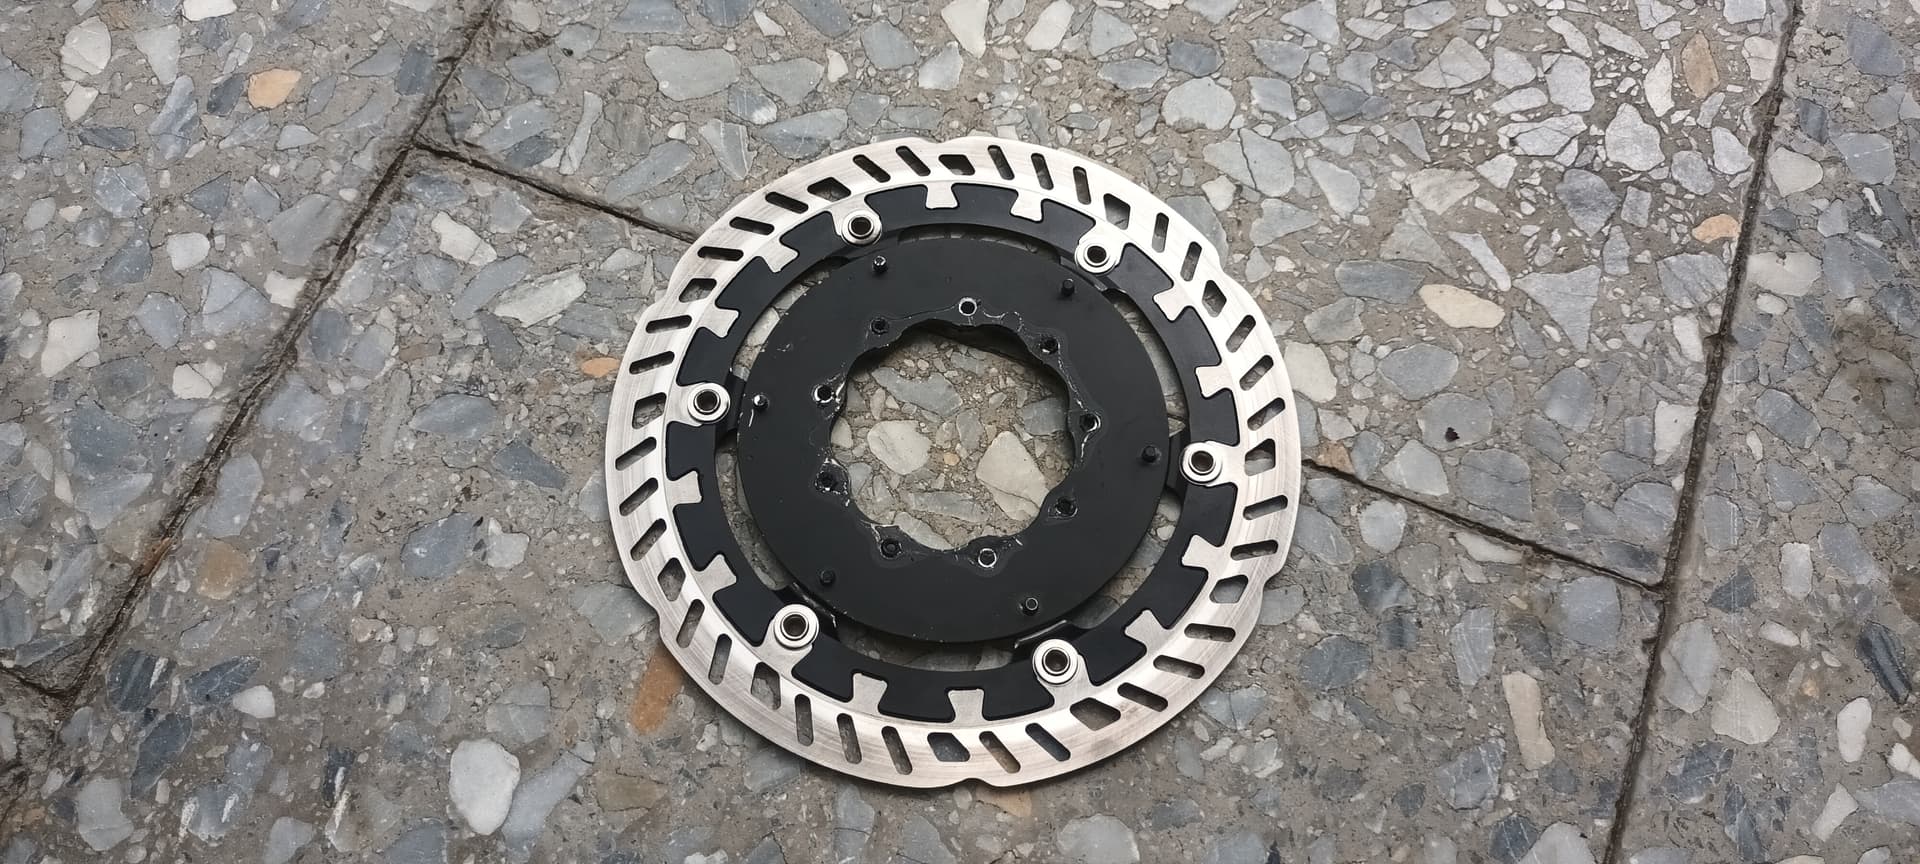
The schlumpf rotor already starts tu dish. I think the problem is that it is built symetric. So the " spokes" can not “move”.
Does someone need my “old” magura 203 rotor with 4mm offset?
gruss Aws


: Pre-Tightening Bolt [How-to]")