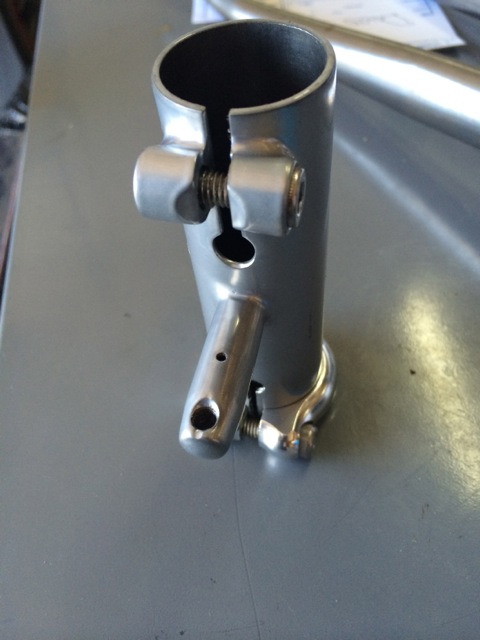
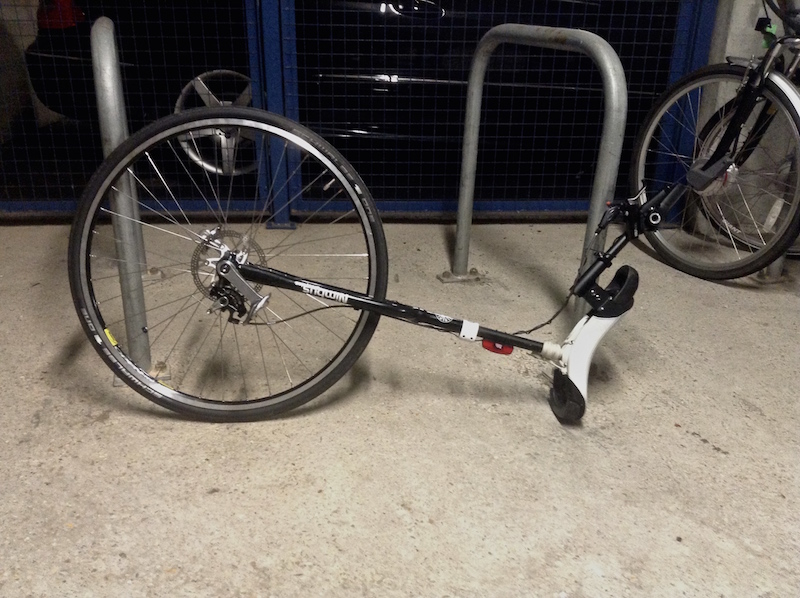
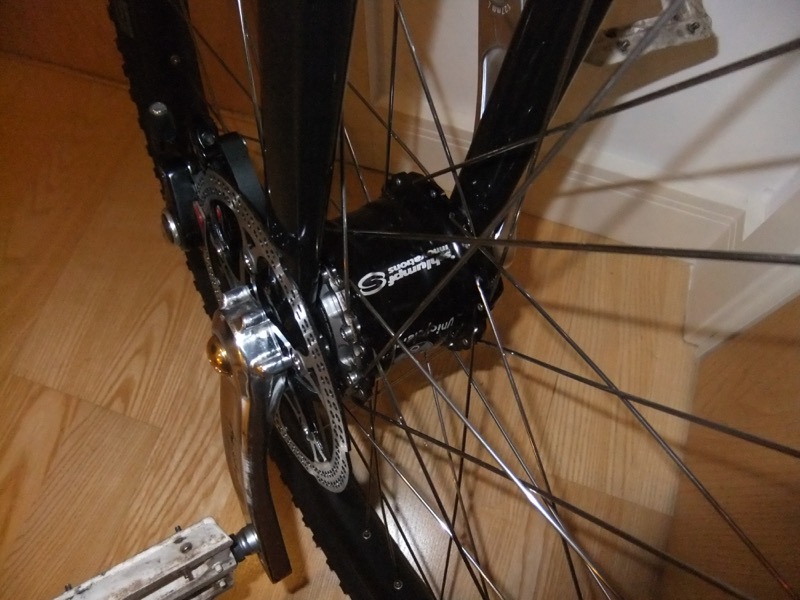
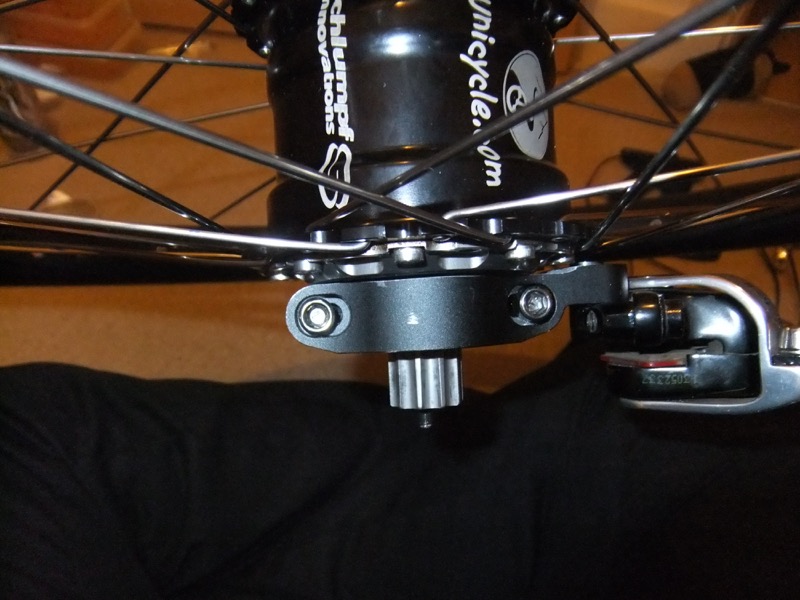
Adapter for attaching a unicycle saddle to a bike fork
I had a need to non-destructively attach a unicycle saddle to a 1 1/8" bike fork and was inspired by Jim Sowers’ BUNI to commission this adapter from Bronson Silva. The part already had a mount on it that I could have gotten taken off but it seemed unobtrusive and it could be useful for attaching lights or whatever.
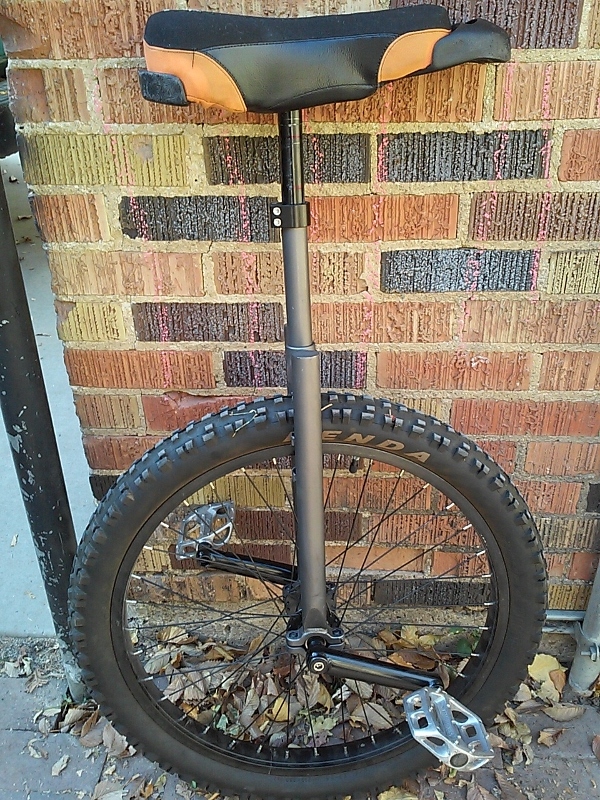
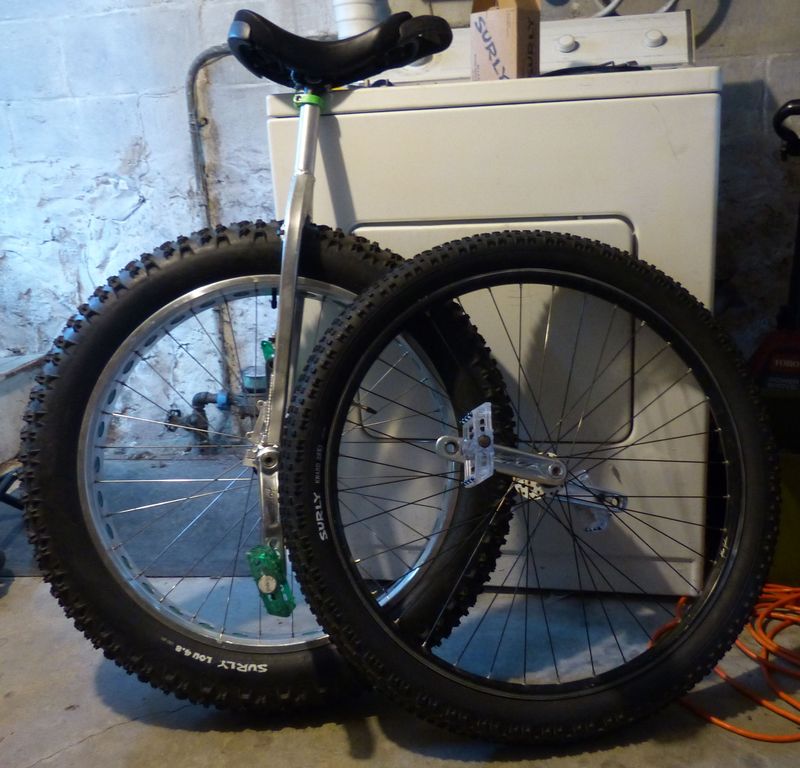
I already posted a picture of this in the fat uni thread but wanted to close the loop on this. After 6 months the project is complete. The 24" version of the On-One Floater still seems to be unavailable.
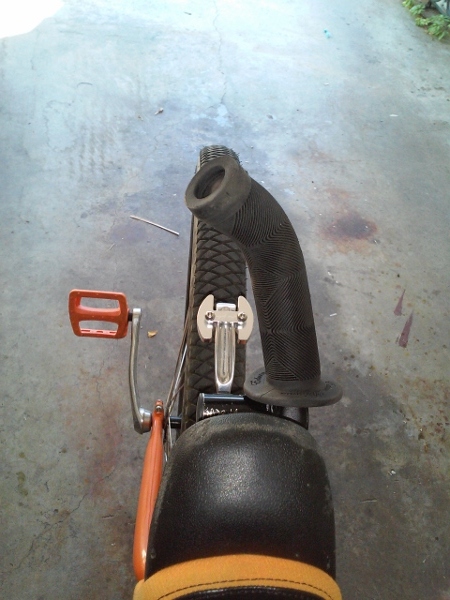
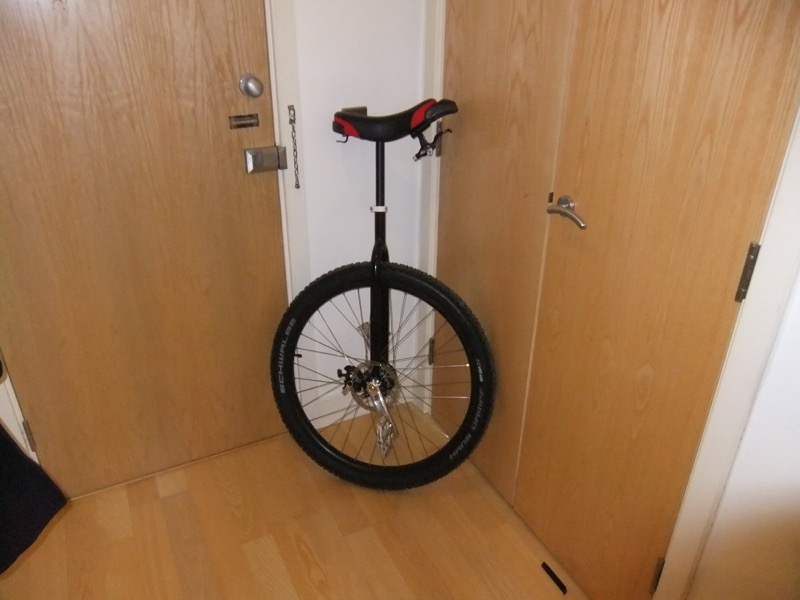
OCD kicked in so I figured I’d give the shadow handle one last shot for muni. Got out the saw and chopped it all down for a one “handle” bar. I’m going to take it out shortly to see but the few driveway circles felt good. I’m sure it will get some good comments too.
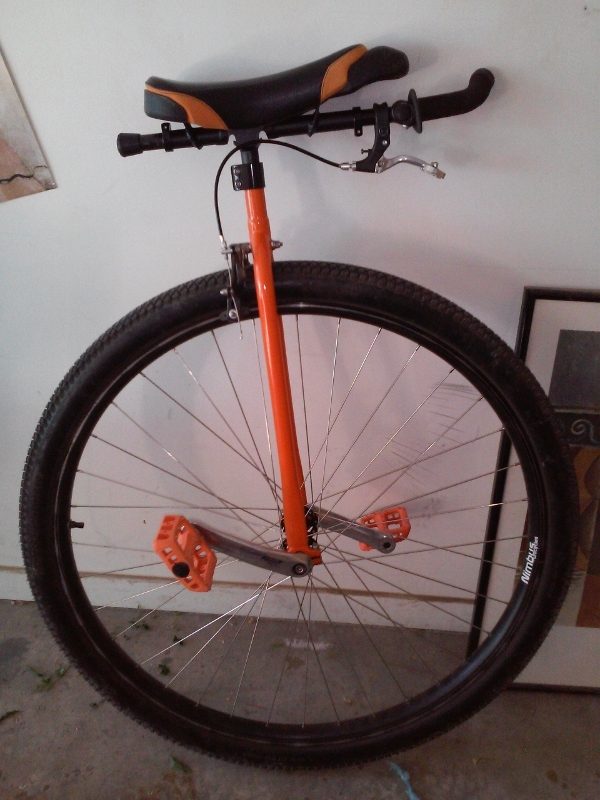
I’m trying to figure what else I can do in orange.. handle bar grips… and It would be awesome to paint the curved inside of the rim. Oh and the orange 36er tire where do I get one of those?
I have always hated the seat on my 1st unicycle(24" Torker) I have a flat Freeride and flat Street. The flat Street is by far my favorite saddle but being the cheap bastard that I am(not wanting to fork out $ for better seat) I decided to try flattening the Torker seat as well.
It worked fairly well and I didn’t have to oblong the mounting holes like I did on the KH. I also put a little reverse camber in the stiffener plate to help keep it flat. I tossed the crappy Torker seat cover and put on a KH Street I had laying around. I’m happy with the results and can’t figure why unicycle manufactures still build banana seats…
I hate using photobucket for posting pictures and for some reason the forum “manage attachments” always rotates rectangular pictures…
That reminds me of a project I had in the works awhile back for my Surly Big Dummy. I was planning on using a 2 bolt seatpost clamp for the larger diameter tube, and a shim to the lower diameter to equalize clamping pressure. Your version is nice, especially if you want to add a cantilever brake at a later date!
I posted this in response to a couple of other posts in the “Monster Uni” thread. I thought it might be better placed over here.
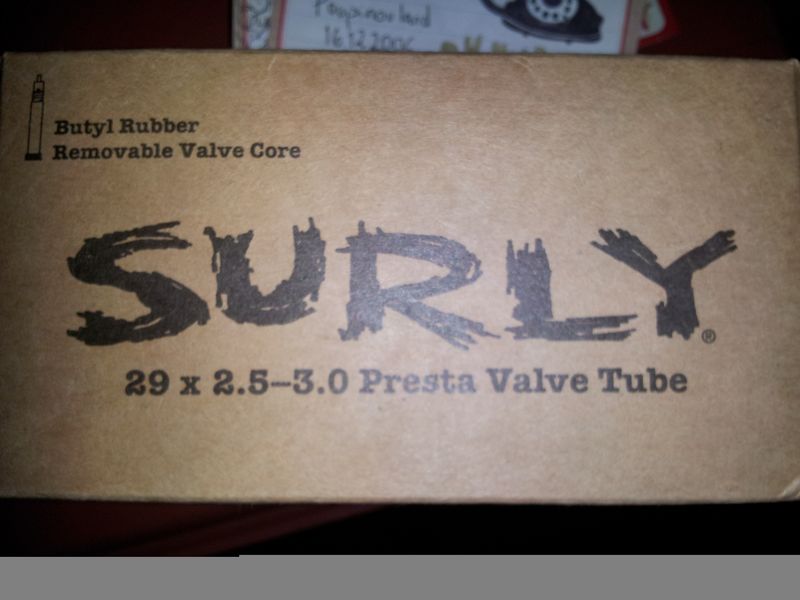
Anyway I’m a little intrigued about a fat uni, and rather than buying an Oregon I’m considering remaking my Nimbus 29 into a fat 26.
Nurse Ben suggested that a Nate 3.8 works well on 50mm rims. I have a Tryall 50mm rim, and I would just need the rubber for it. How would the Devist8or work on a 50? Price is more the thing at the moment, and $35 is a nice price for a 4" tire.
Is there enough clearance at the top of the N29 frame to fit a fat 26" tire? Maybe someone could measure the outside diameter of a couple of fat tires and I could figure it out.
I know you said that you are planning to go with a Devist8or tire, but for measurements, you can have a look at this thorough list of Surly tires measurements on a couple of different rims: Surly Tire Geometries.
Thanks for the link to the chart. Now I have to get my student who is borrowing the 29er to measure the radius from bearing cap to crown. I think I will be good if it’s around 375mm, for a wheel diameter of 750mm.
So I have finally finished the build of my G29 Oracle with Spyre. It took about a week of evenings to shave the frame and build the wheel.
An Oracle frame is not designed to hold a schlumpf. The inner flange of the bearing housing is 4mm wide with a 2mm flat section and 2mm sloping edge. This actually provides quite a good guide as to where to shave to. This took me about 3 nights after using too fine a file to start with and then finally going for a decent one on the third day. Regular test fits ensured that there was sufficient clearance between the flange and hub. I made the mistake of thinking that the flanges were actually too tall as well but this is actually not the case.
When shaving the D brake, I worked out what actually needed to be filed and marked it to keep the corner intact. With a new style d-brake (adaptor bolts not flush with surface) I had to shave a couple of mm off the top of the lower bolt. I could have used an older style one but knew there would be compatibility issues with the floating rotor I used as the bolts overlap with the rotor.
One of the hub bearing seals was slightly loose and even when fitted grated against the ample clearance provided. When I took it off, it was obvious why. Far too much glue had been applied on a prior fix. I removed it with a scalpel and drybrushed new glue onto the outer bearing surface. Once replaced the grating disappeared.
I built and tensioned the wheel at between 120-140Kgf using DT Champion spokes. The variation was due to reusing the rim. I’m not sure yet if I have overtightened them but I have used higher tensions on the disc side of my 700c with no ill effects.
Unfortunately this is where everything goes wrong. Having threadlocked the splines and fitted the disc crank, I picked up the torque wrench… that never clicked. I did not realise this until the disc side crank was fully installed into the axle with the crank flush with the end of the axle to 1/2mm from the circlip (I wonder if this is a spirit design feature?). Having done this once, I installed the other crank to the same position with a non-torque wrench. I dread to think what removing the cranks is going to be like or if the axle itself is damaged.
Despite tightening the cranks several inches beyond their lives. The disc bolts only rubbed gently against the unshaved frame so I finished the install and shaved a little off the outside of the bearing housing.
Having test ridden it briefly it’s going to be a while before I can swap it back to clipless or even think about riding to work on it. I am in need of a car park again :(.
All in all despite the bad crank install I think it has been a success. The Oracle frame may be better suited than the KH for a schlumpf with disc as proper advised torque can be applied to the cranks during installation.