What are the constraints of this tutorial ?
- it should not cost more than buying a KH One (otherwise it is easier to buy a KH One)
- it should be as non-invasive as possible (KH Zero having a stappled cover and a lot of people - including me - do not own a stapple gun)
What did I use ?
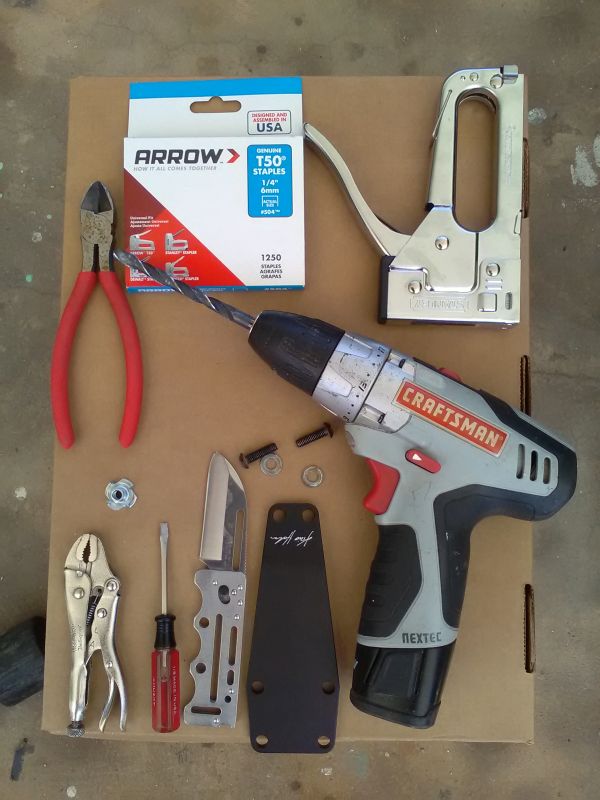
- a KH Zero
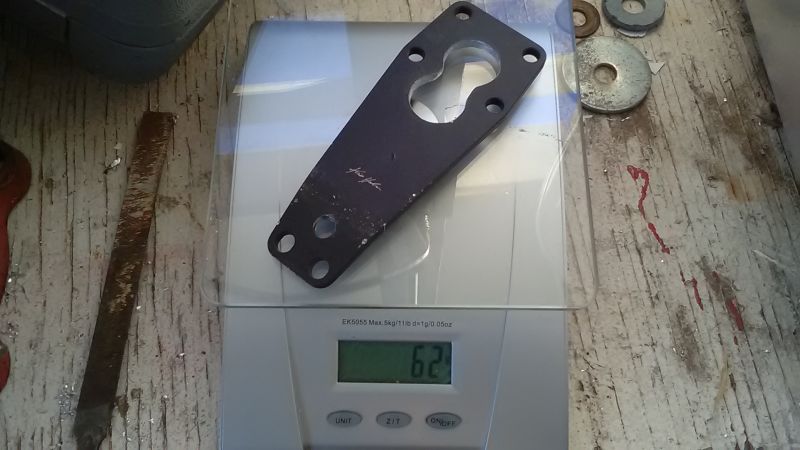
- a KH reinforcement plate
- a power drill
- two long pop rivets
- a rivet gun
- a drill bit matching the pop rivets diameter
- a handsaw/cutting instrument
- pliers
Step-by-step
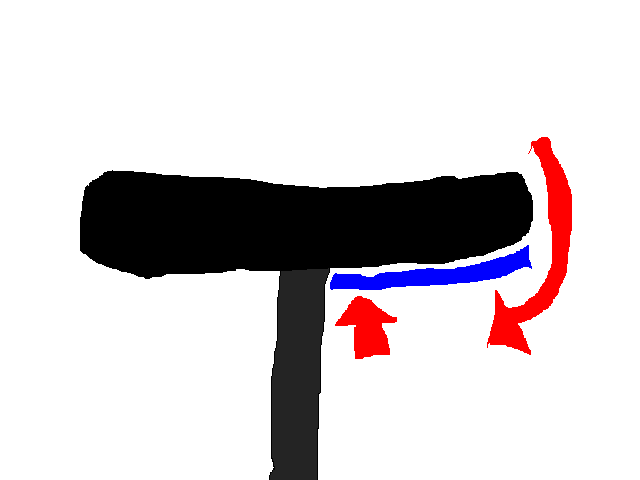
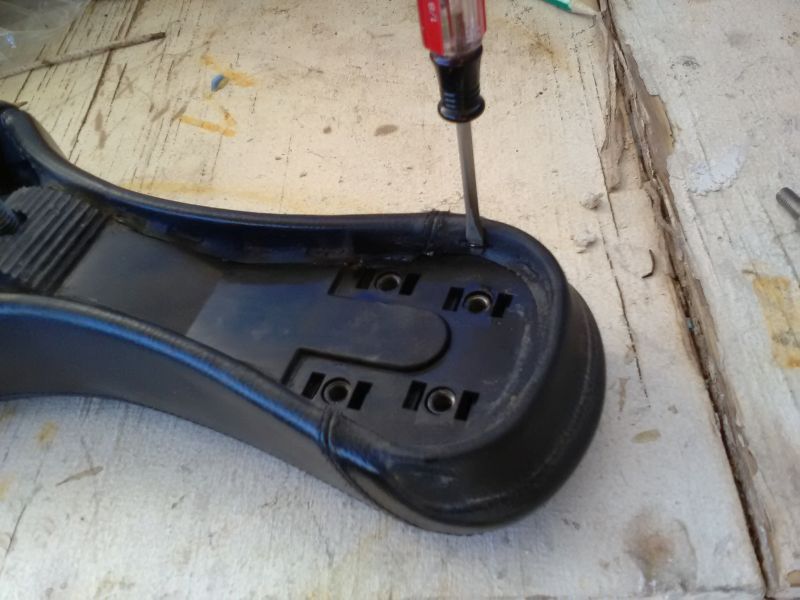
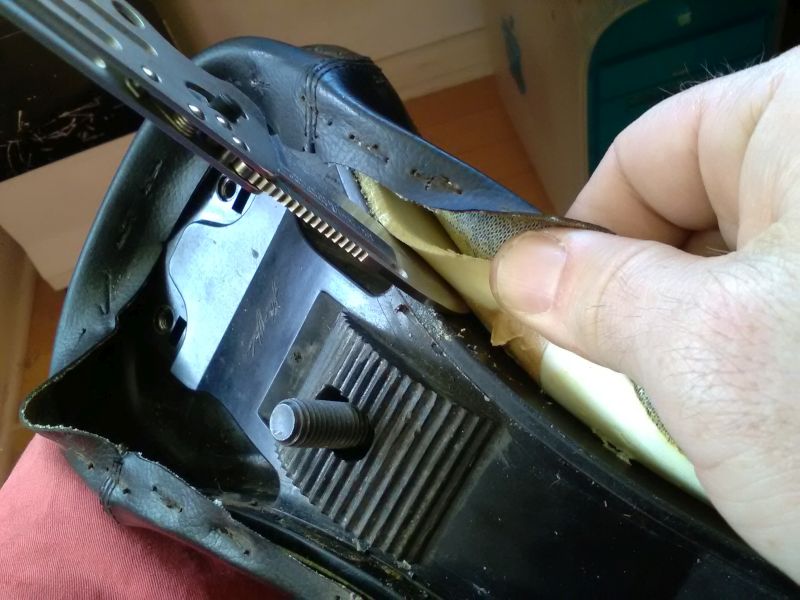
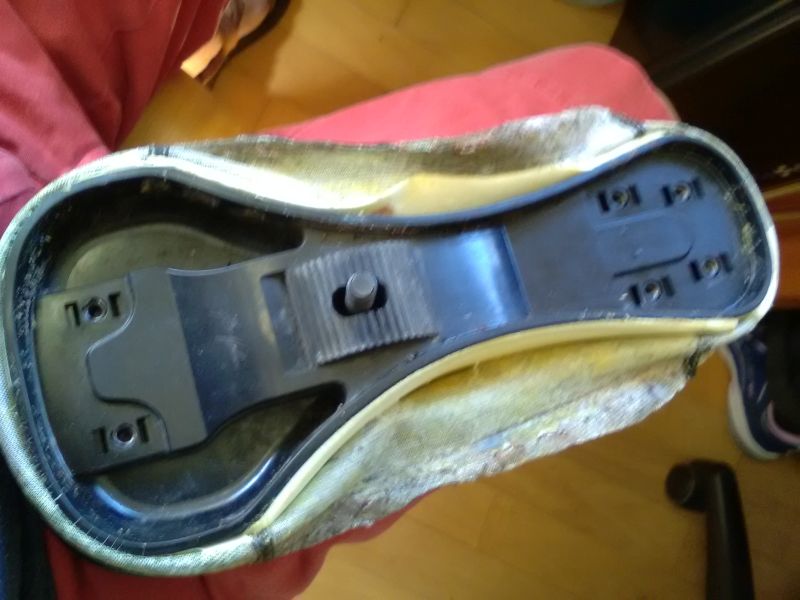
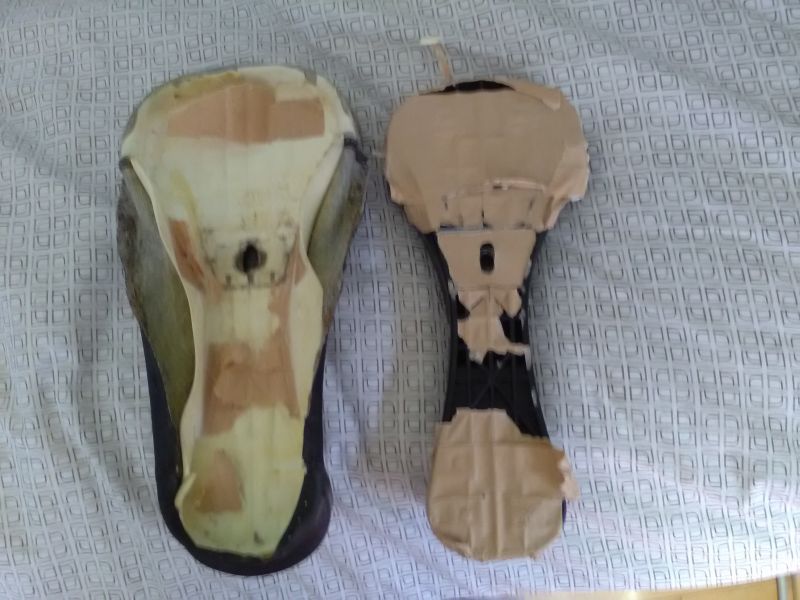
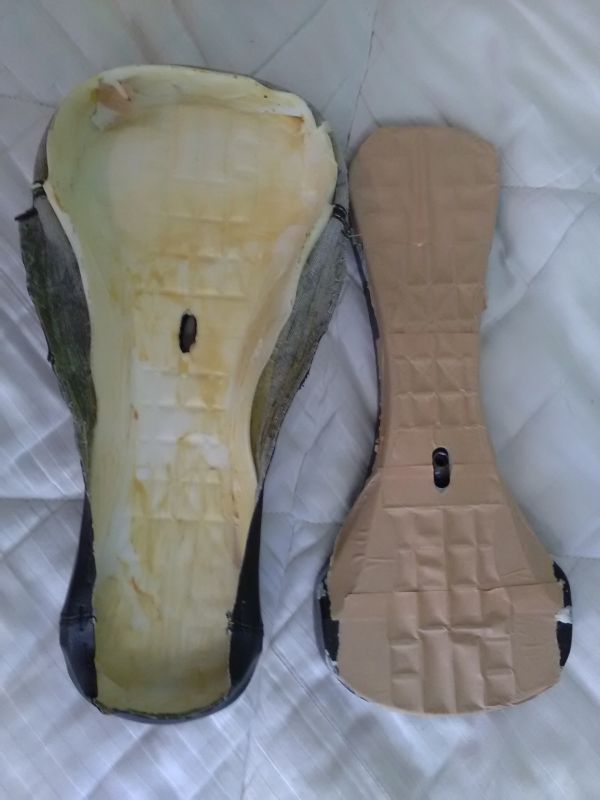
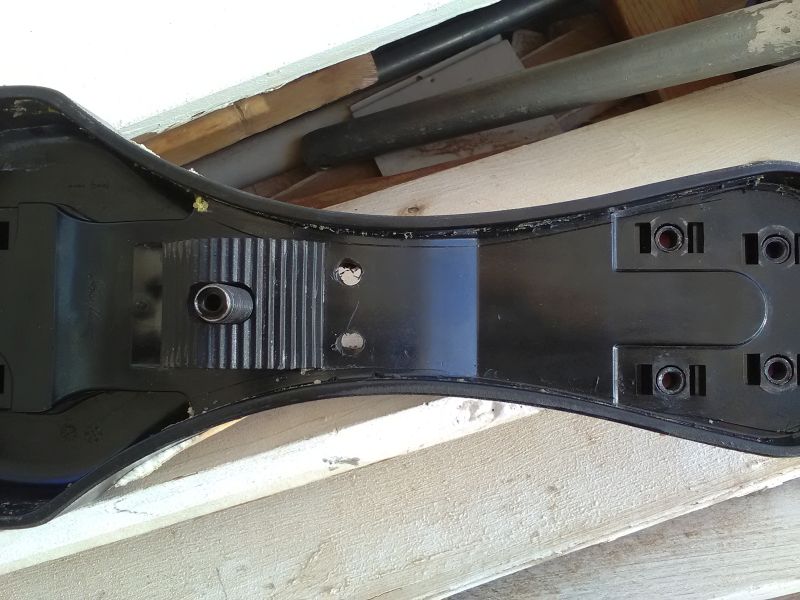
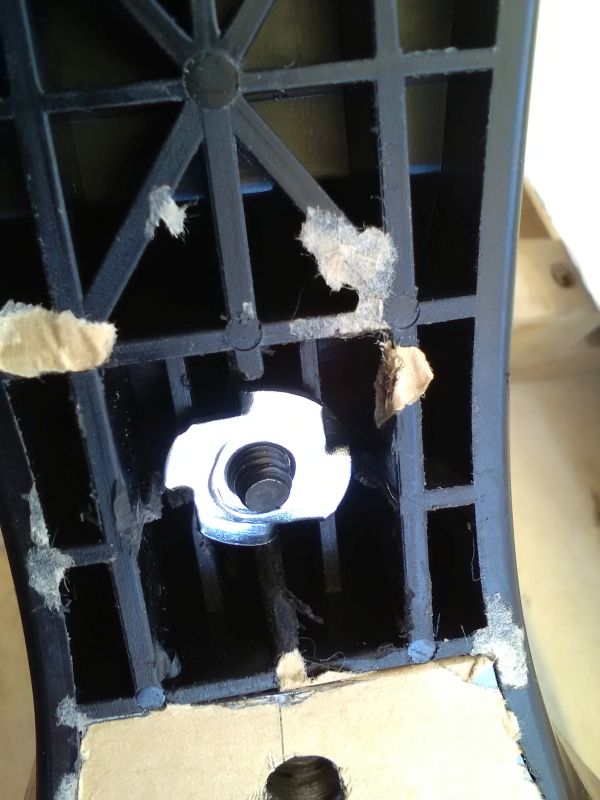
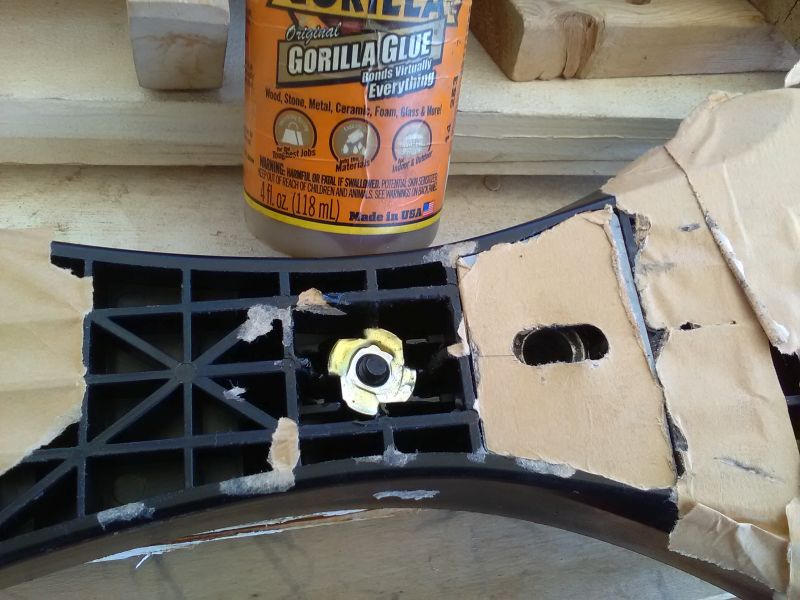
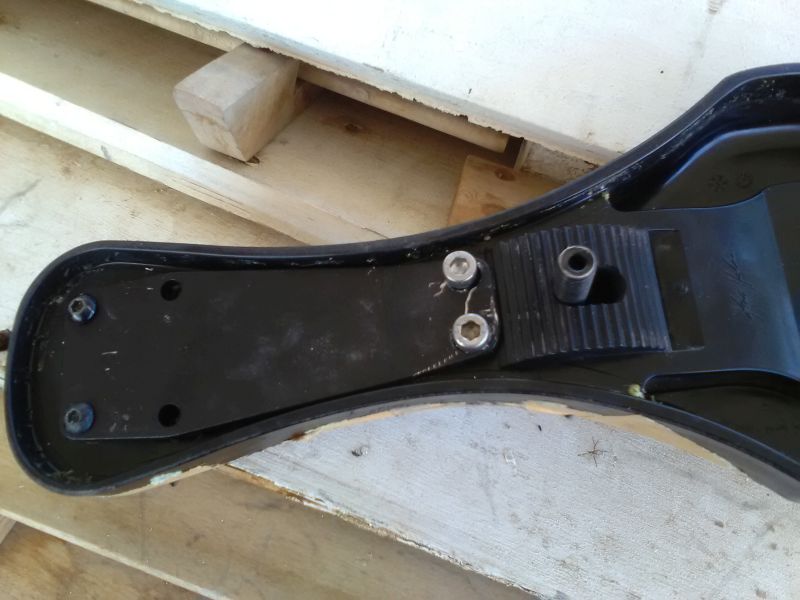
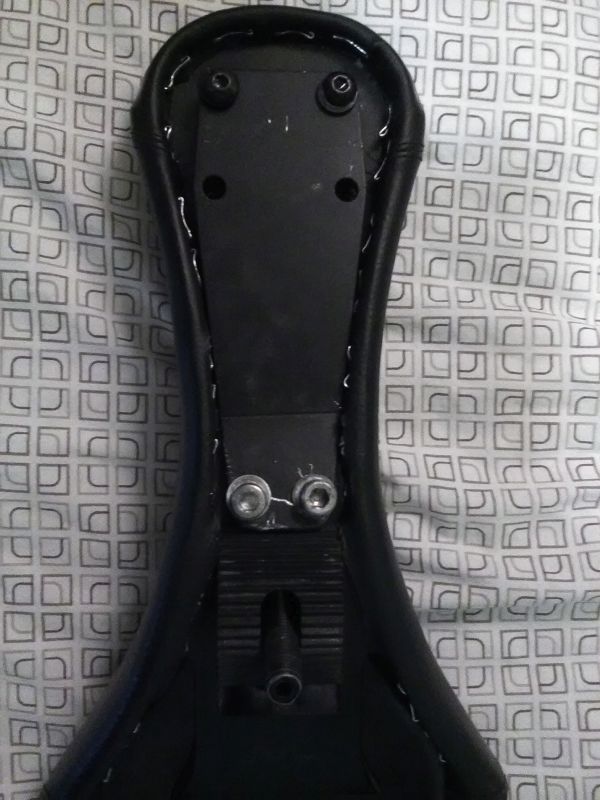
First, I got everything our of the way to check how does how the KH Zero is designed and how does the reinforcement plate was sitting.
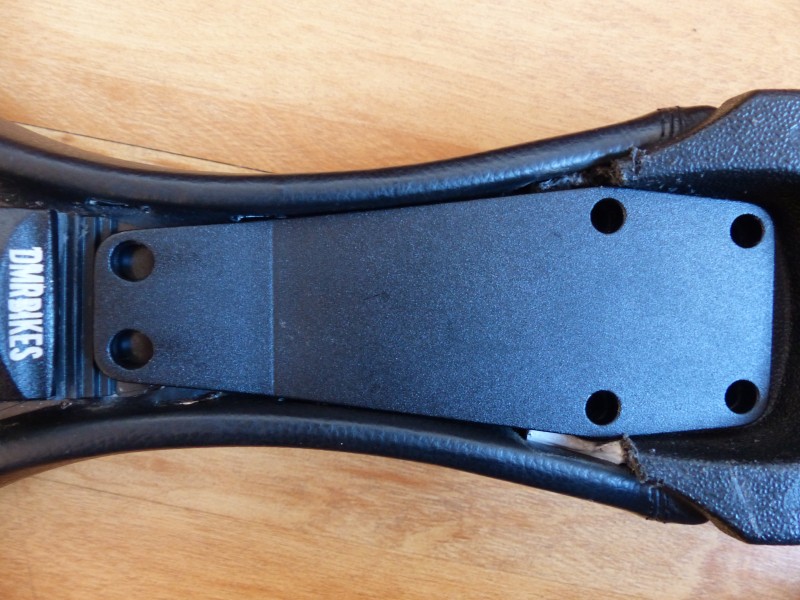
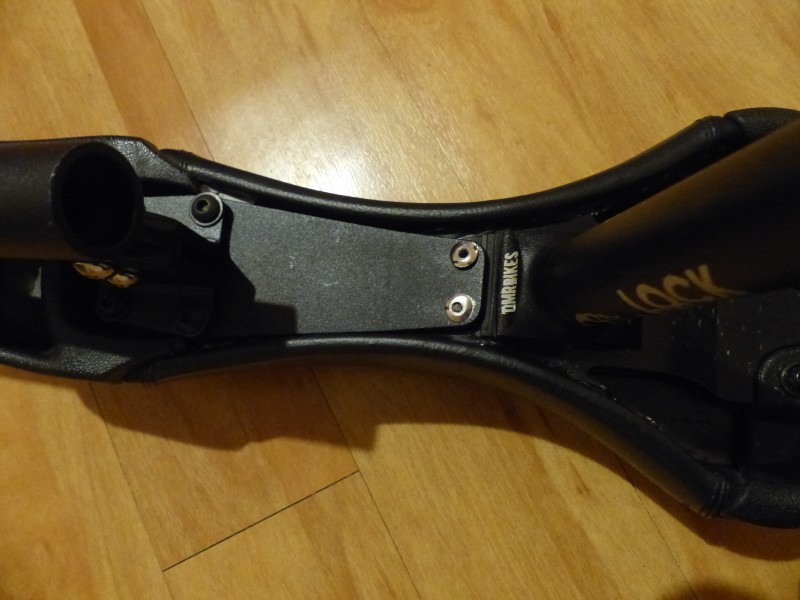
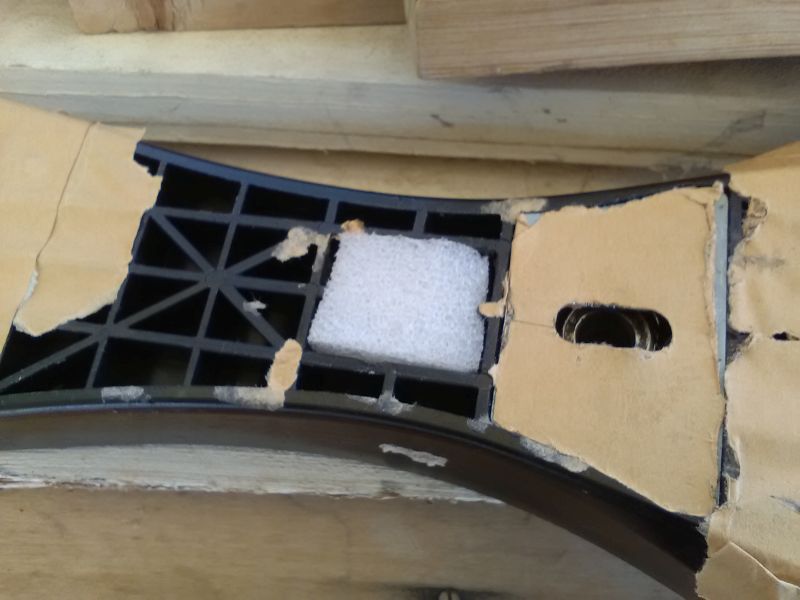
As you can see, the front bumper sits in a depression so having the reinforcement plate under the front bumper was not a solution. On the upside, the shape of the plate is a good enough fit when sitting on top of the bumper.
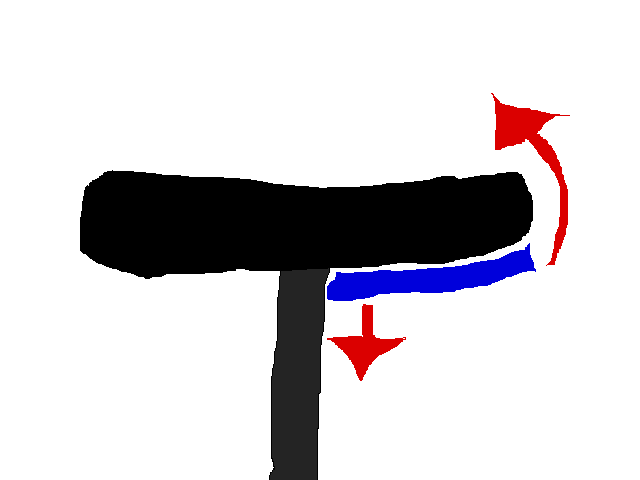
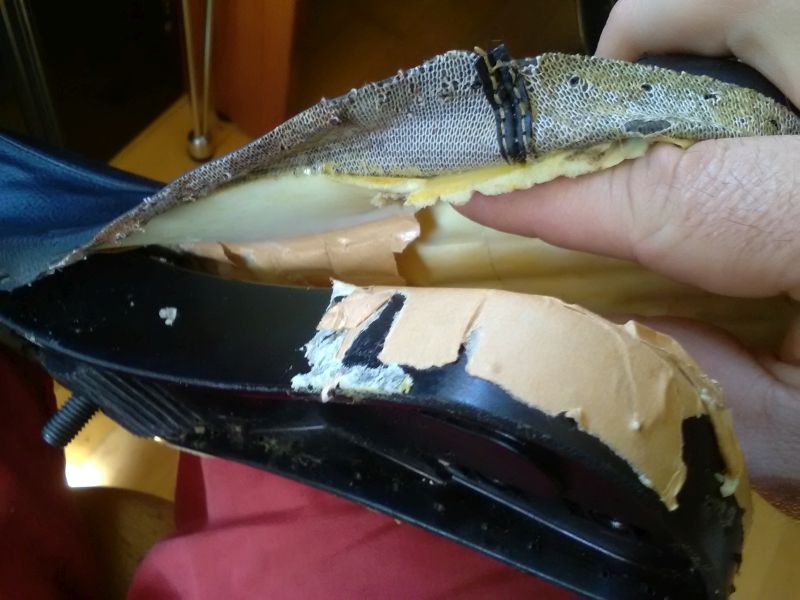
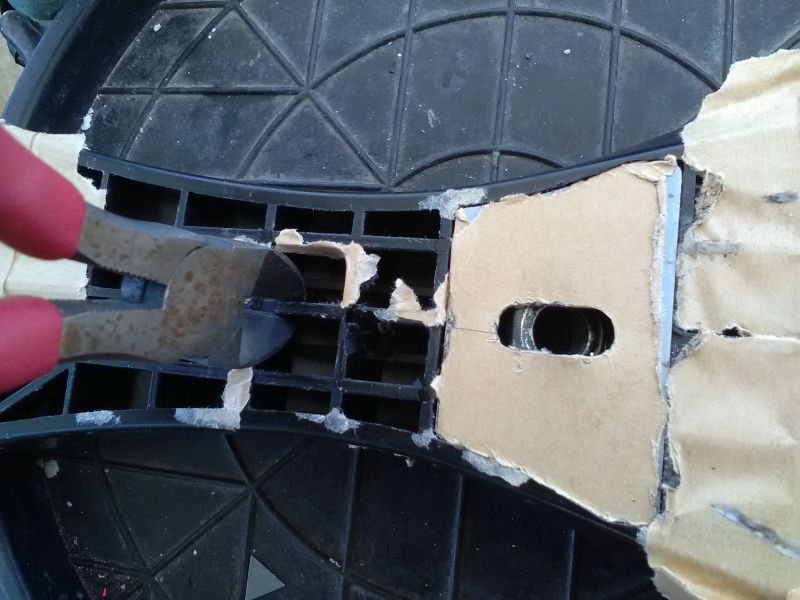
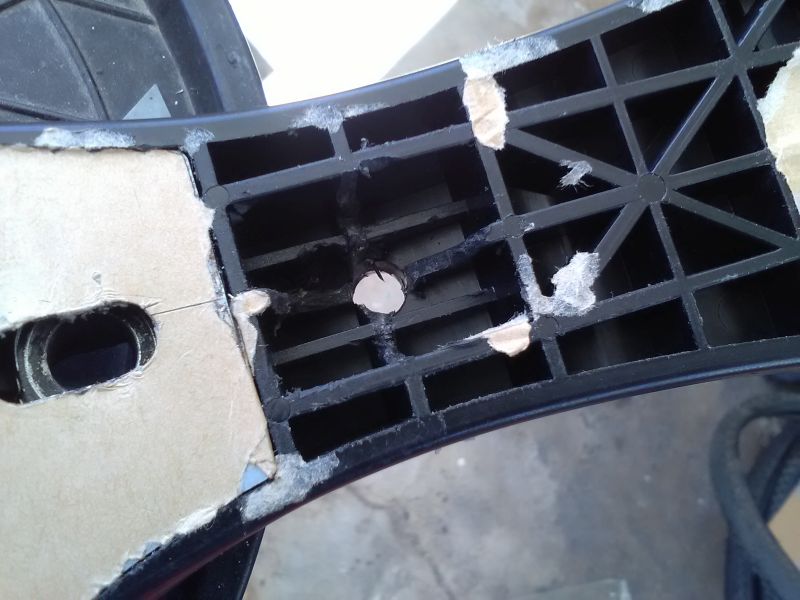
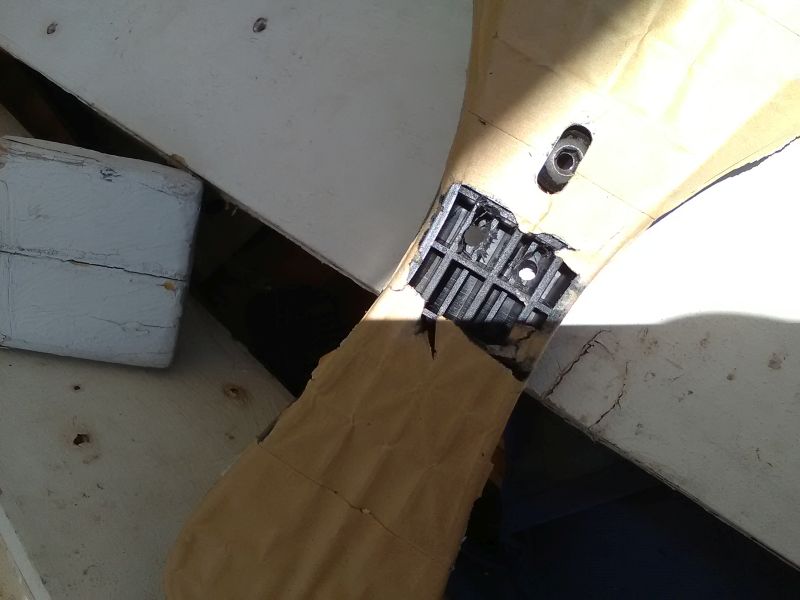
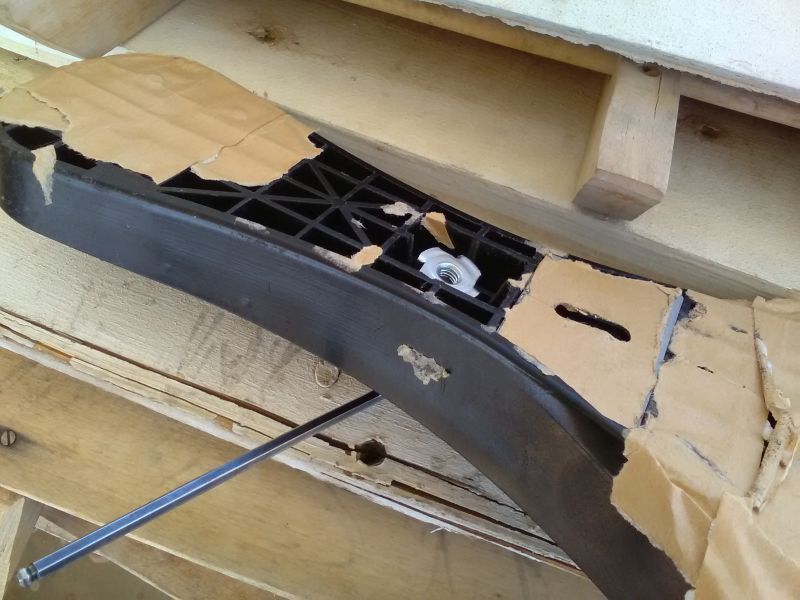
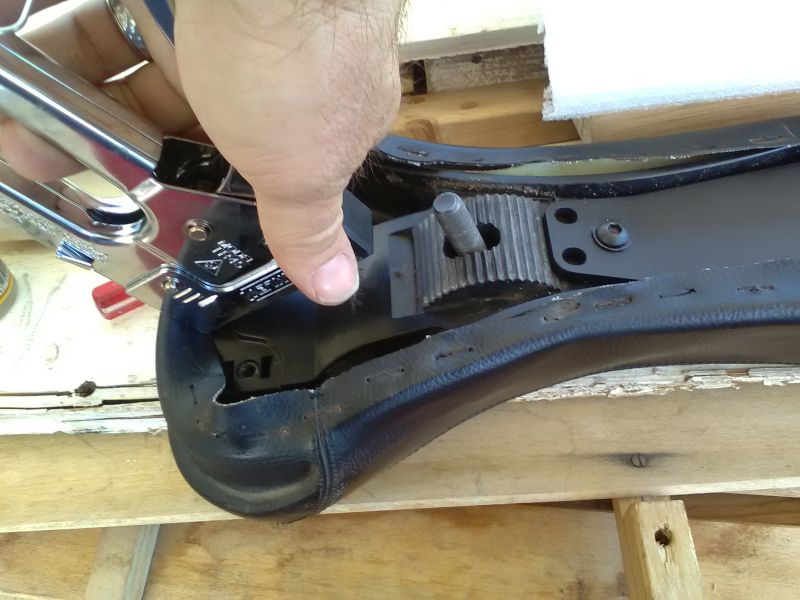
I did not like how tight the plate was when putting it in place so I decided to make some room for it.
I used a handsaw to make a vertical cut right after the bolt rounding and used the pliers to back-and-forth the piece into a cut (hence the white coloring). My goal was to have it as flat as possible. You can skip this step if you don’t want to damage your front bumper or if the fit is not tight in your case.
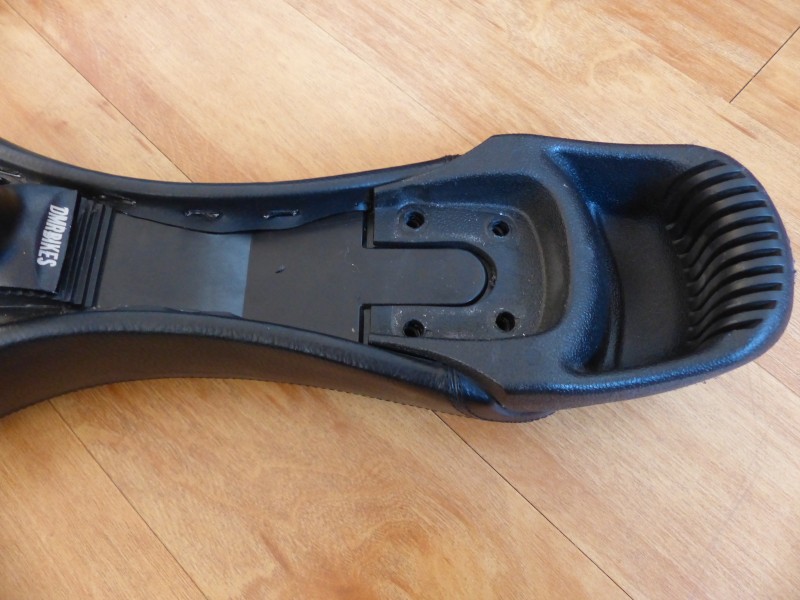
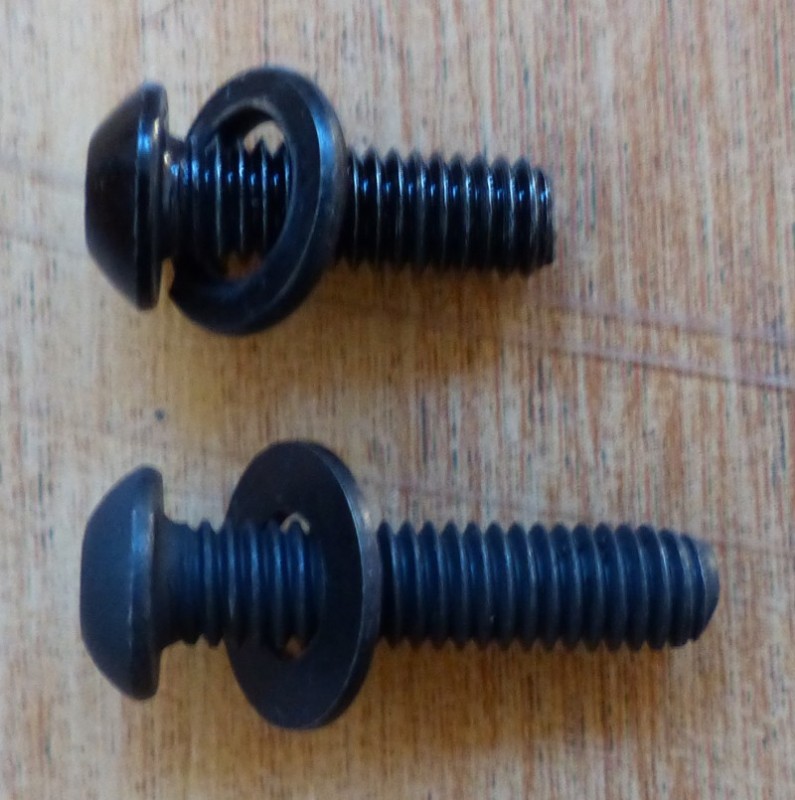
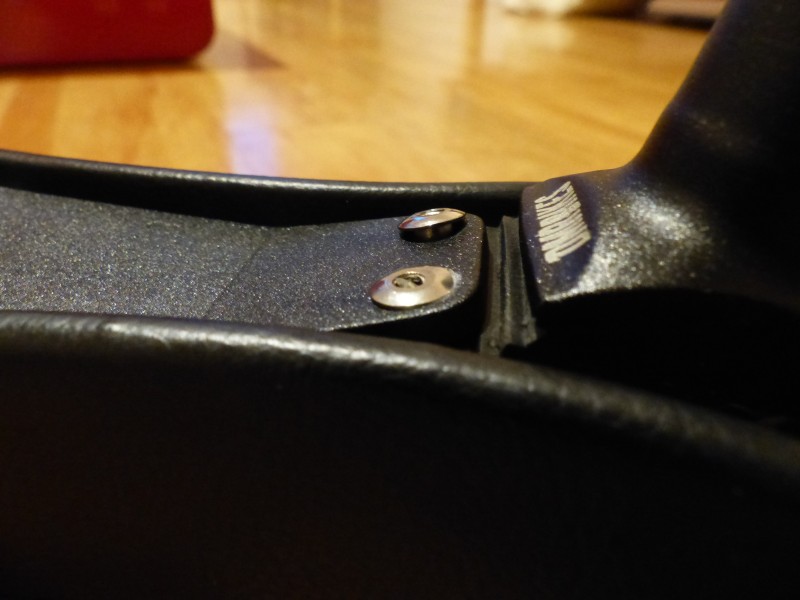
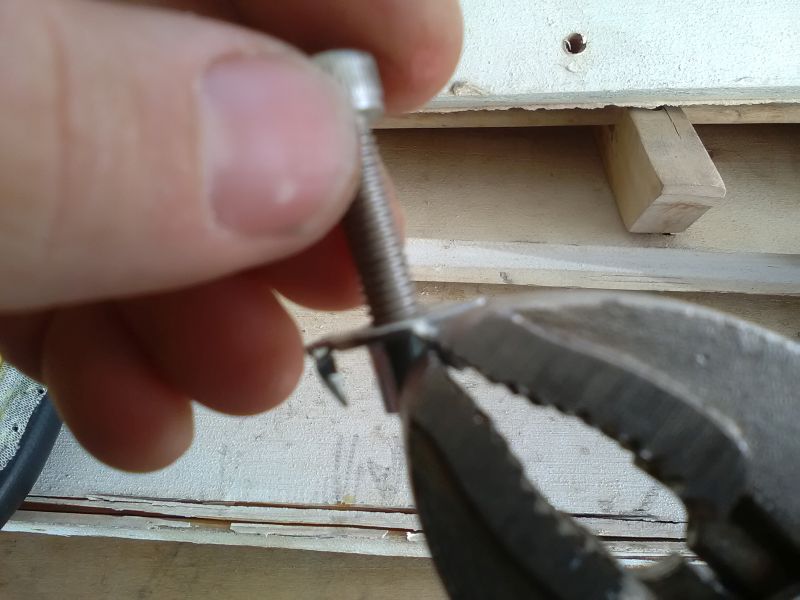
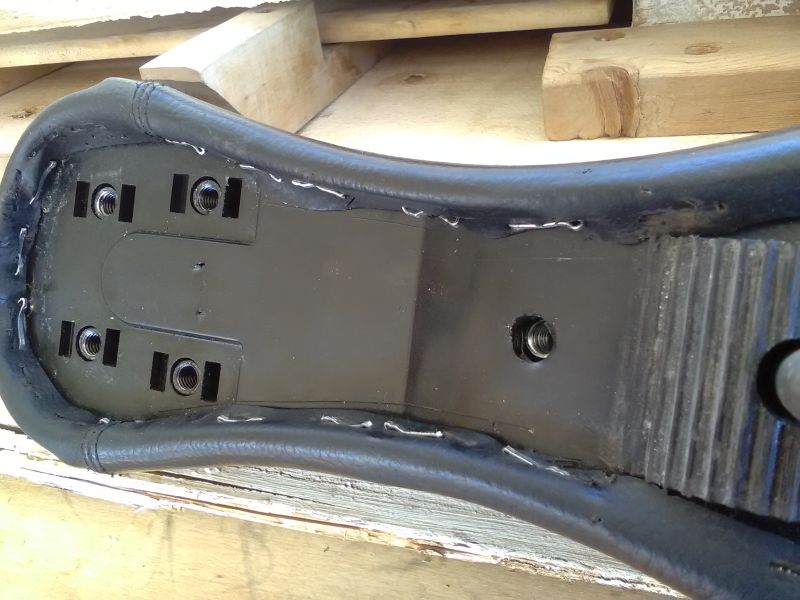
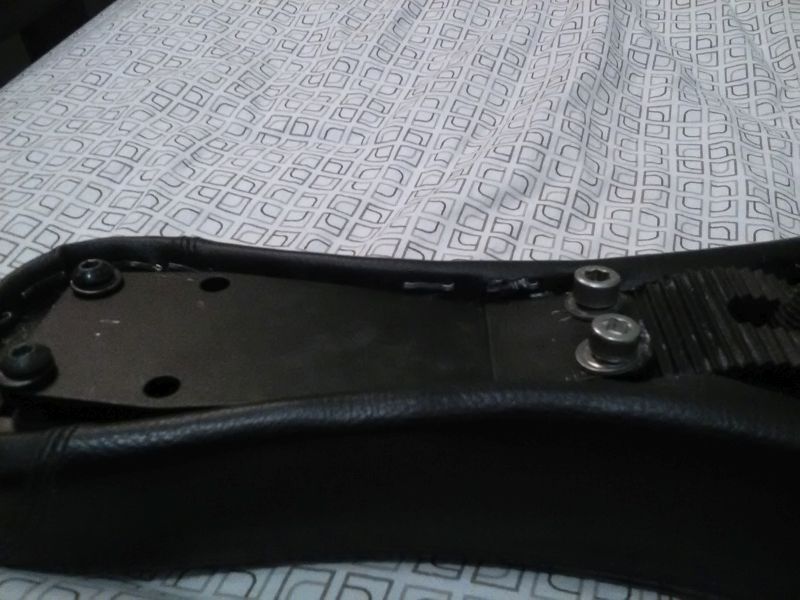
As you can see, the plate can rest well on the front bumper. Do not forget to carefully set aside the original KH Zero bolts and use longer ones that are provided with the plate (if I remember correctly). Otherwise, you can go to the local hardware store and buy 4.
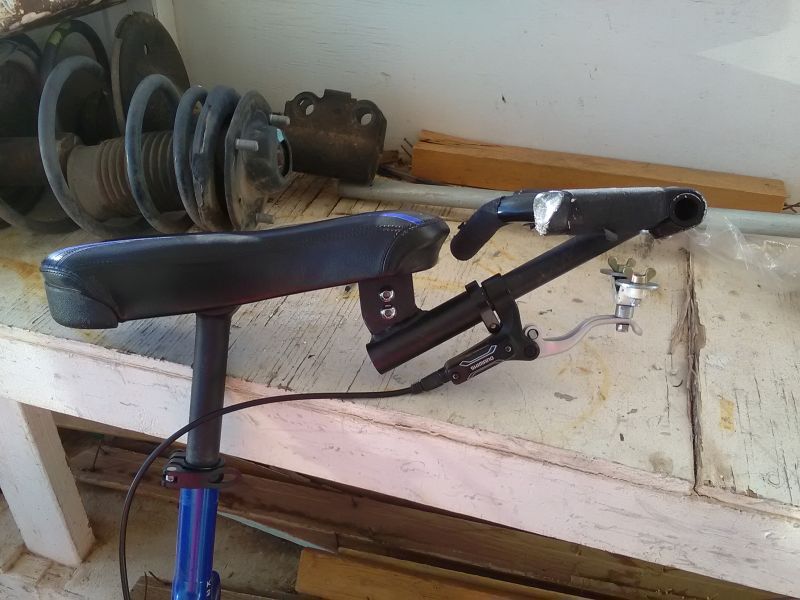
With the handlebar, it looks like any other saddle installation (and people in case 2 can go and enjoy their reinforced saddle).
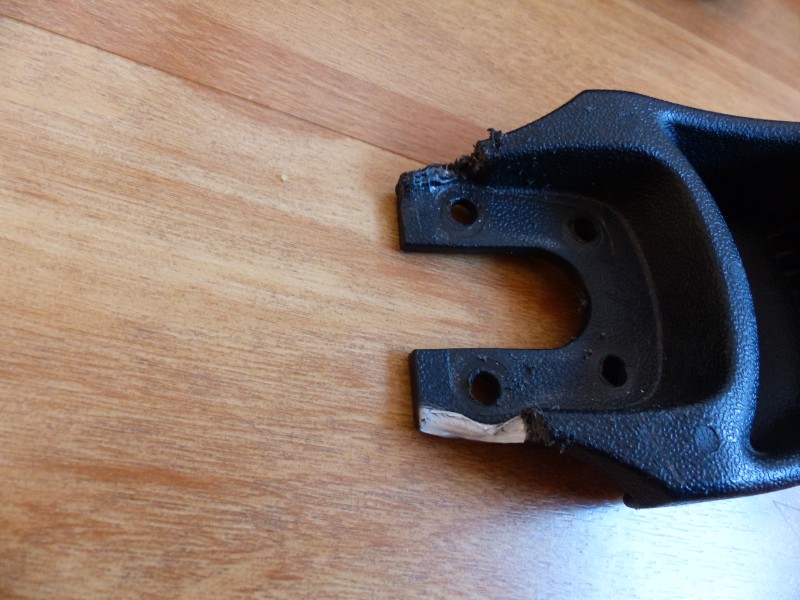
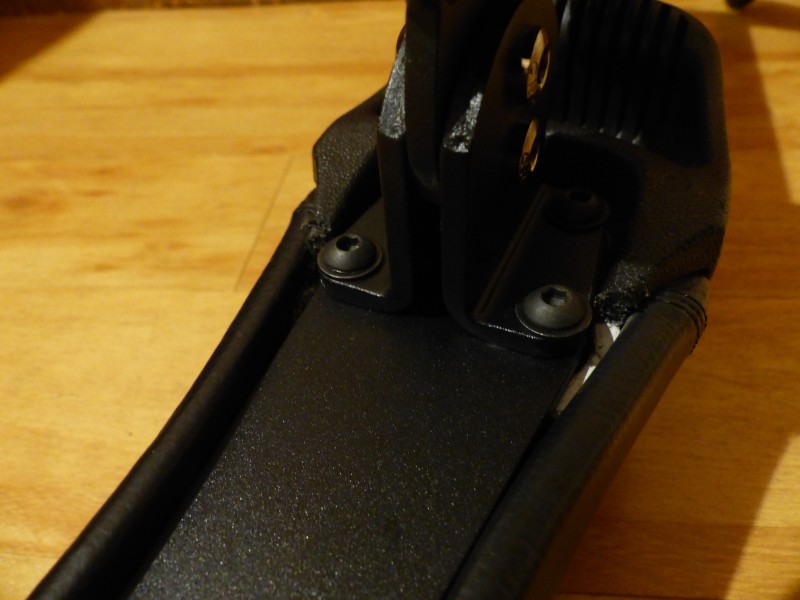
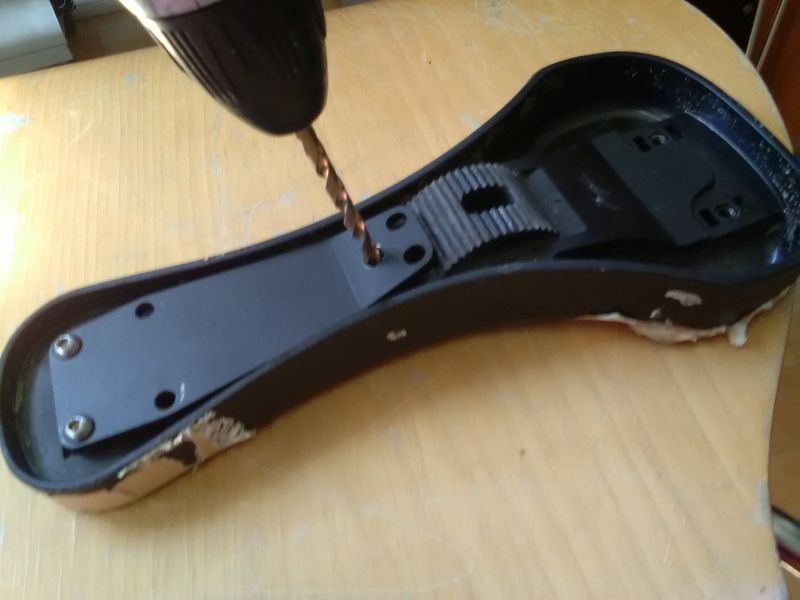
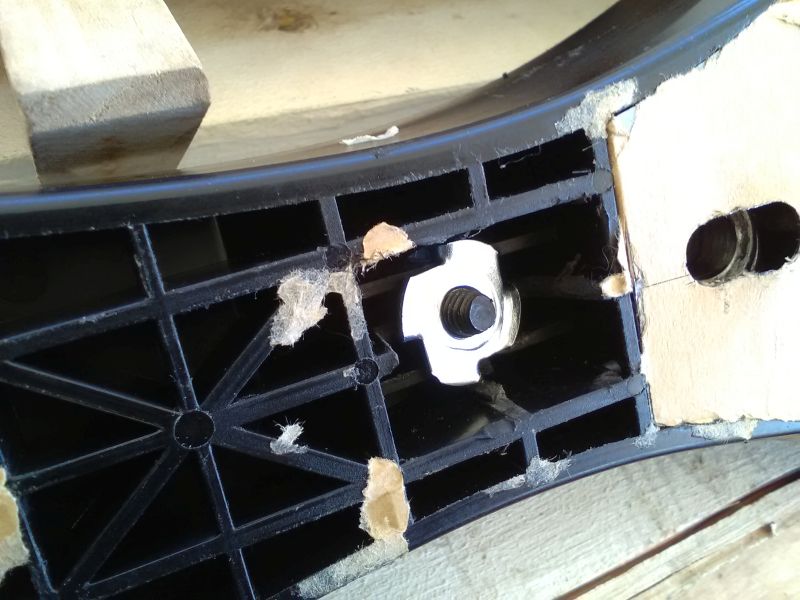
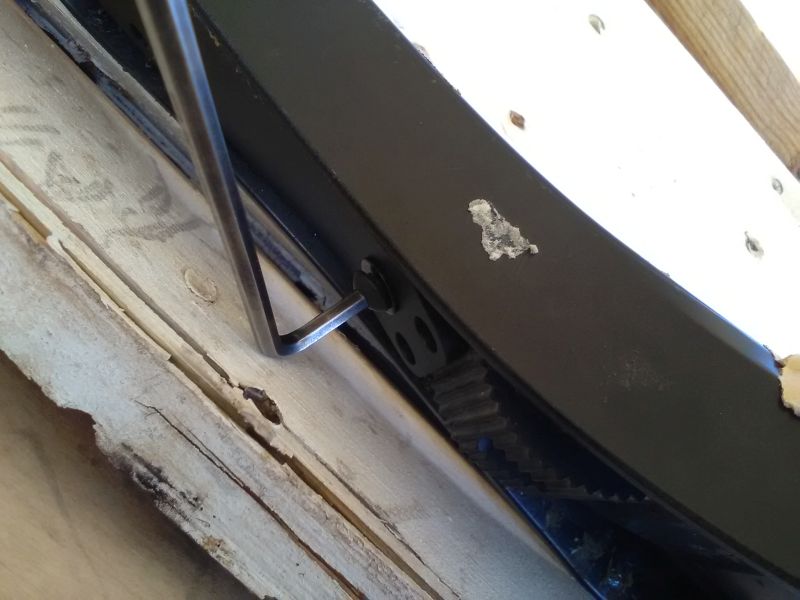
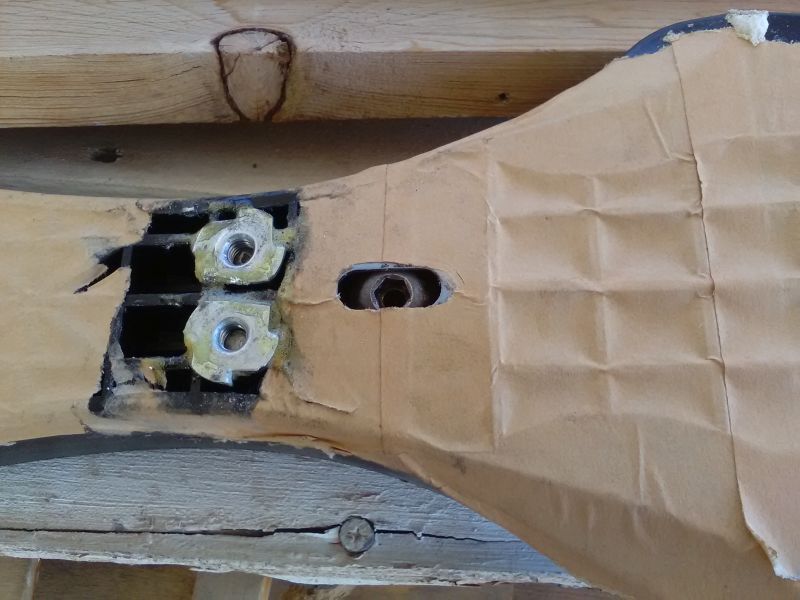
Now comes the part not for the faint of heart. You can notice that the rear of the plate is long enough to touch the pivotal interface. Fortunately, it should not interfere with the recommended settings. The pic is taken with the post in the 3 notches setup (muni recommendation) and it is easy to move it to 2 notches (road recommendation) without interference. Going to 1 or more may be more problematic but let’s hope it is not used (or seldom used).
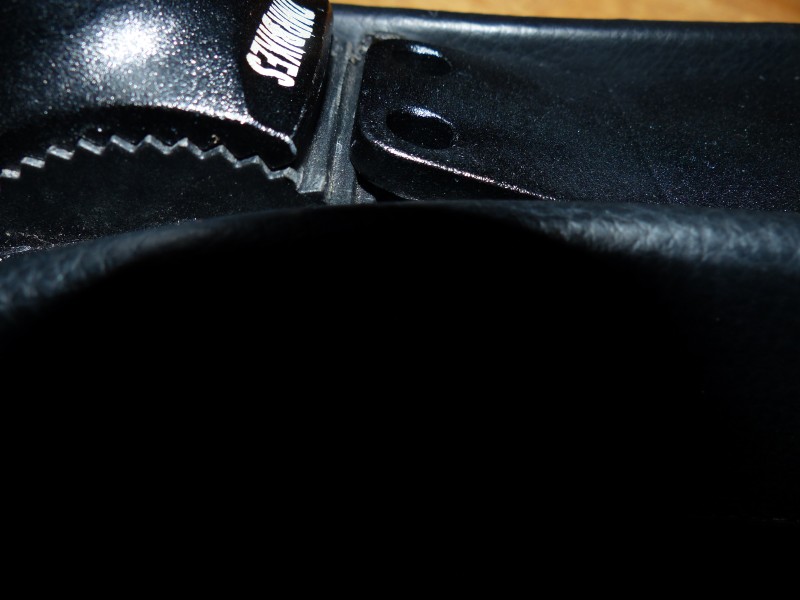
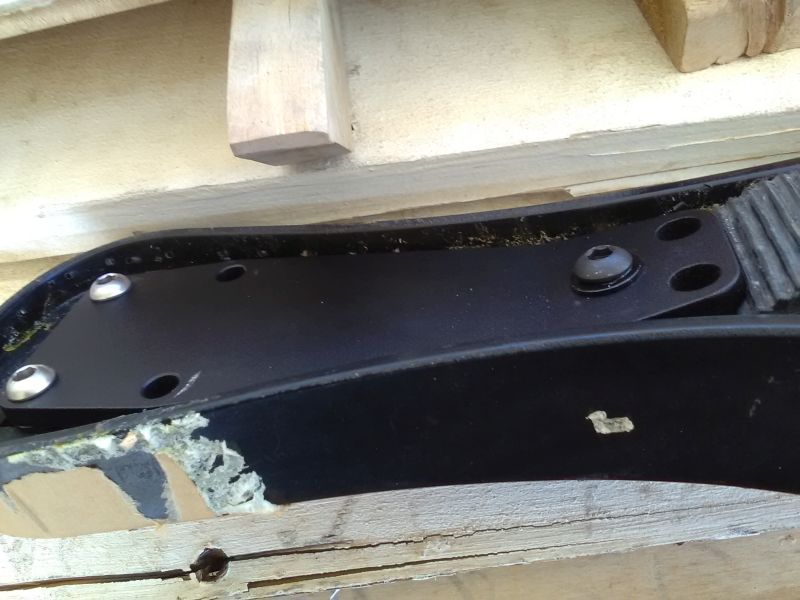
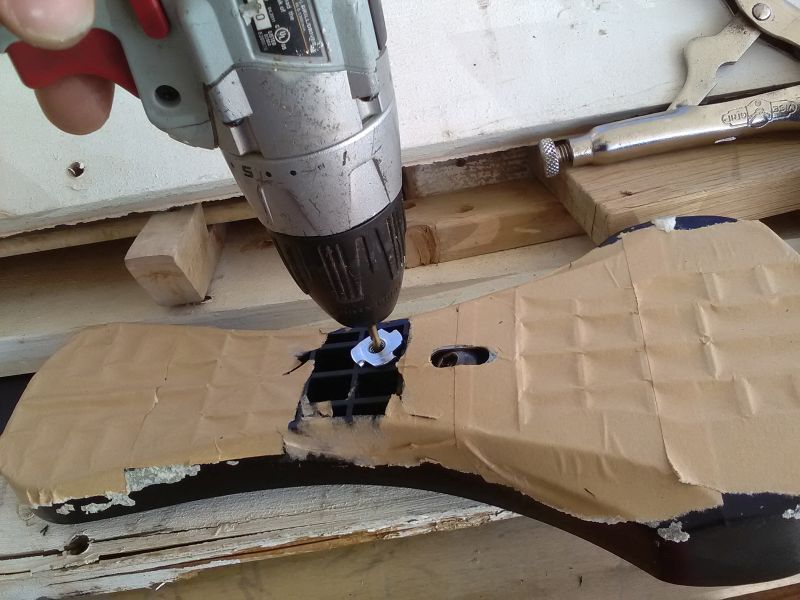
From there, it is easy to drill by using the plate’s holes as guides. Be careful not to push too hard as you don’t want to damage the foam or even drill (through). I don’t have pics for this part. From there, I used a piece of metal to try and guess the depth of the plate. I used some 30mm pop rivets that are given for a 21 to 25mm thickness to secure. It felt like forever to install them so maybe sorter ones can work too (25mm? 20mm?) but I wanted to be on the safe side ordering more than the 12mm I had. Be sure you have a proper rivet gun and strong hands as the last bit before it breaks is tough (at least with the rivets I had).
Fortunately, once done, it looks as good as it can (despite one being secured sideways).
I will post updates after a ride or two to see if it rattles or not. All in all, it should do the trick. If bad comes to worse, I will break a rivet and have to replace it. However, they seems mean enough to stay here for a good while.