For background on how this seat base was developed and brought to fruition, see this thread: The worlds best unicycle seat
How long riding: 4.5 years
Primary riding surface: Single track
General riding style: Rolling, minimal hopping, small drops 1-2’
Preferred wheel sizes: 26, 29, 36
Stats: 6’, 200#
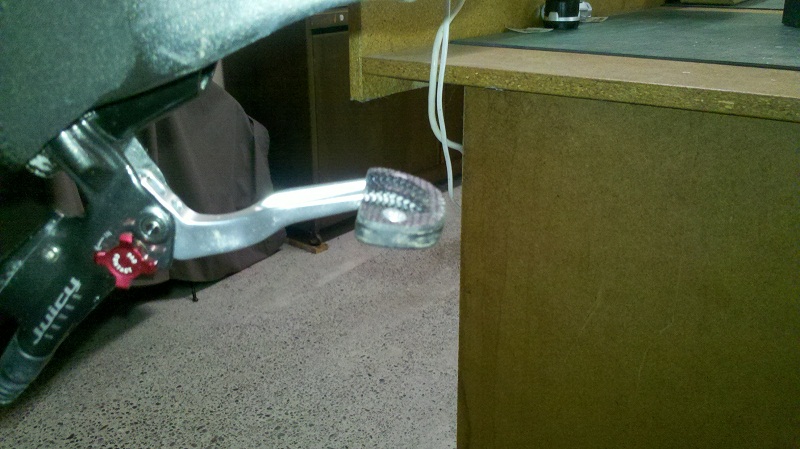
Uni used in review: Nimbus Oregon 26", KH Moment 150mm cranks, Vee Rubber Devist8or 4" tire
Reason for choosing this seat base: Discomfort in the “nether” regions
First things first:
The wait and the cost, the seat base is kinda pricey, but it’s the only game in town and Pete lays up some mean CF, so three weeks later I arrive home from work to find a lovely little bag covered in Kiwi stamps.
The hardware:
CF bases don’t generally come outfitted with hardware, so there’s the matter of picking the hardware, mapping out your mounting, drilling the seat base, gluing the hardware in place, all before you can consider the foam. Unfortunately, here in the good ole US of A, we are still working on the metric conversion, so I had too choose between metric zinc coated T Nuts or SAE stainless T Nuts. I wanted to use the factory 6mm bolts from a KH seat, so I chose the zinc coated T Nuts.
Selecting a donor seat:
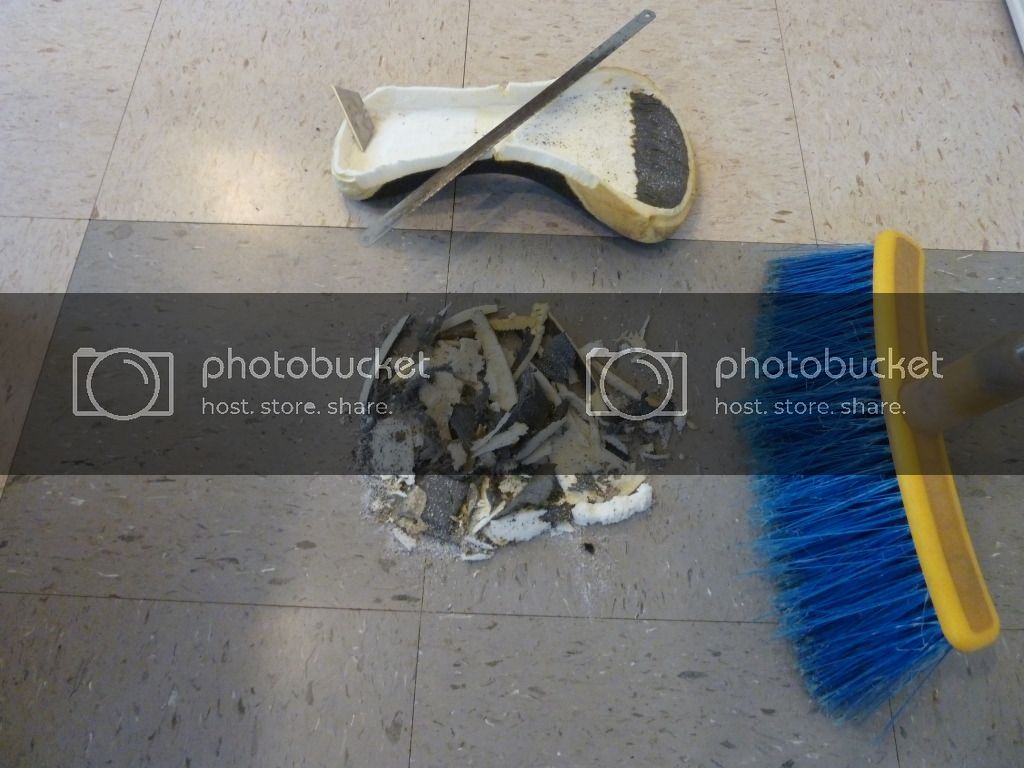
I had two choices, a KH Freeride and a Nimbus Gel. The Nimbus has thinner foam and it is a less expensive seat, so it won the contest. To access the foam on a Nimbus seat, you have to pull out a ton of staples, then peel back the cover, then carefully peel the foam from the seat base.
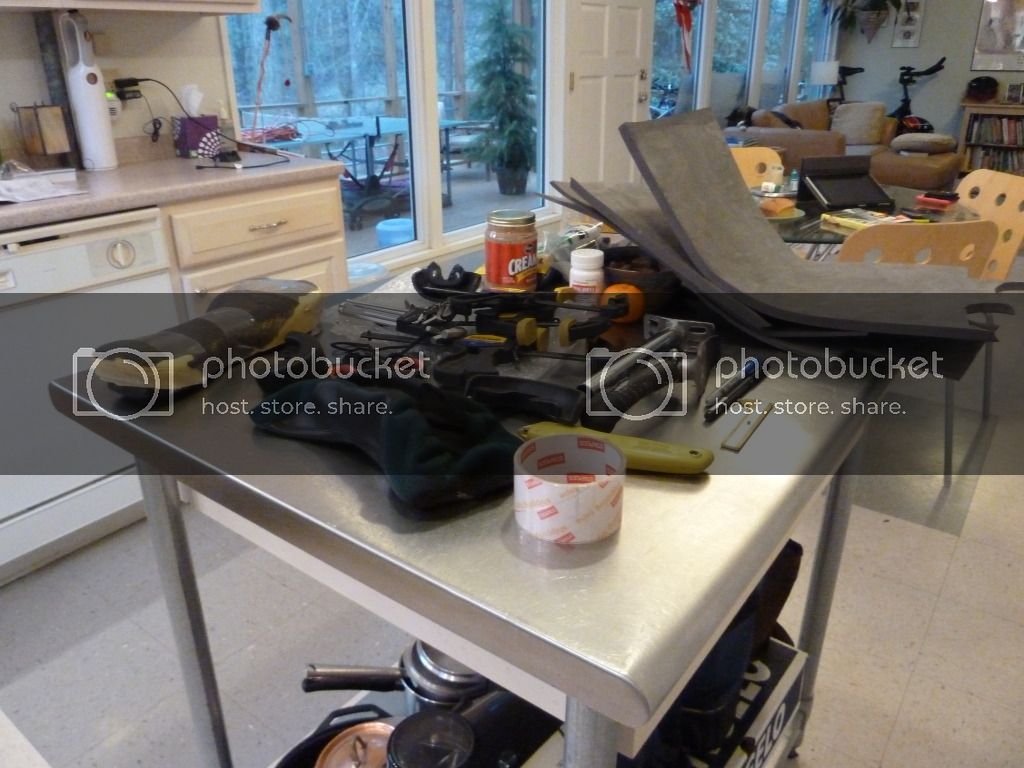
The mess:
Yes, I need a work shop, even a garage would do, but not anytime soon…
Preparing the base: (Do Not Fear, the Force is with You!):
Yes Dorothy, you will have to mark the holes and drill that seat base. Follow the old adage, measure fifteen times and drill once. You may be able to get your base pre-drilled, which I’d strongly suggest if you are not handy. Make your marks, punch your marks, use a smaller bit to make a pilot hole, then finish with a bit that is sized for your T Nuts.
Installing the hardware:
Pete recommends Gorilla Glue, which is what I used, it works well if you follow the directions: WET THE SURFACES! Yes, with water, because Gorilla Glue is activated by the water. Now you don’t need to soak it, dampened will work fine. In order to get good clamping pressure, install the seat post and bumpers, make me snug, this will get the hardware set at the correct angles. Wait a few hours before disassembling or the T Nuts may not be stable.
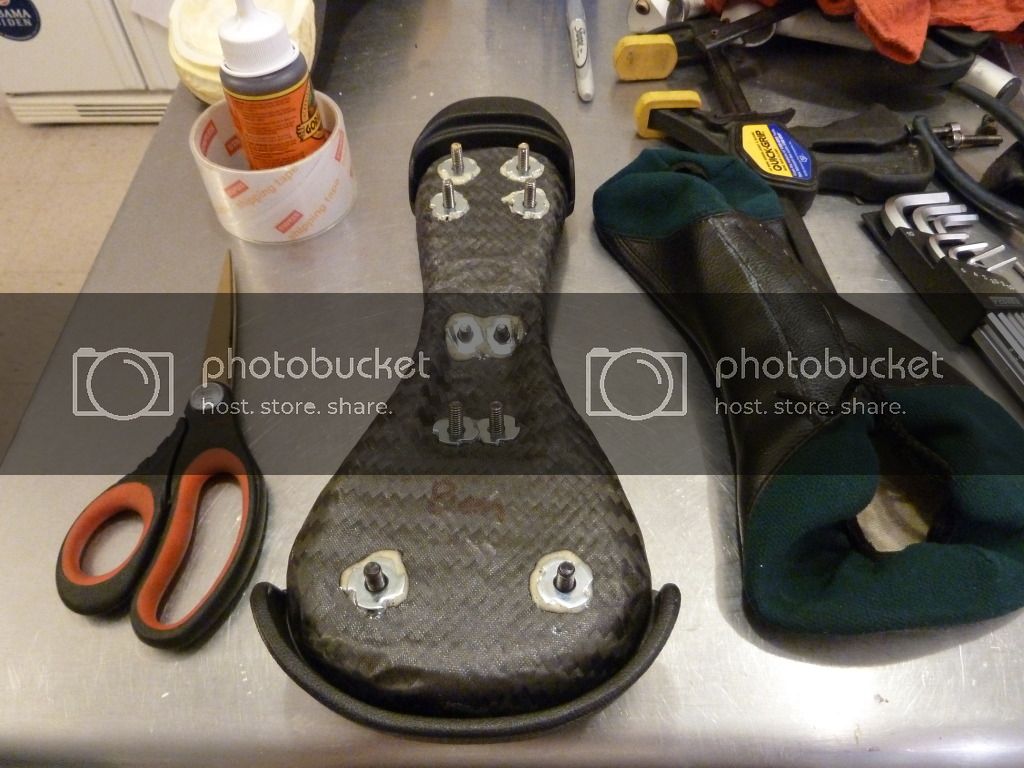
Tap those nuts:
What? Okay, so they have these things called taps, not the Taps they play when someone dies, but the taps that are used to clean up threads. You should consider running a tap through your T nuts so they don’t bind when you assemble the seat. If you are going to run a tap through the T Nuts, do this BEFORE gluing the foam onto the base; just in case the T Nuts spin.
The foam:
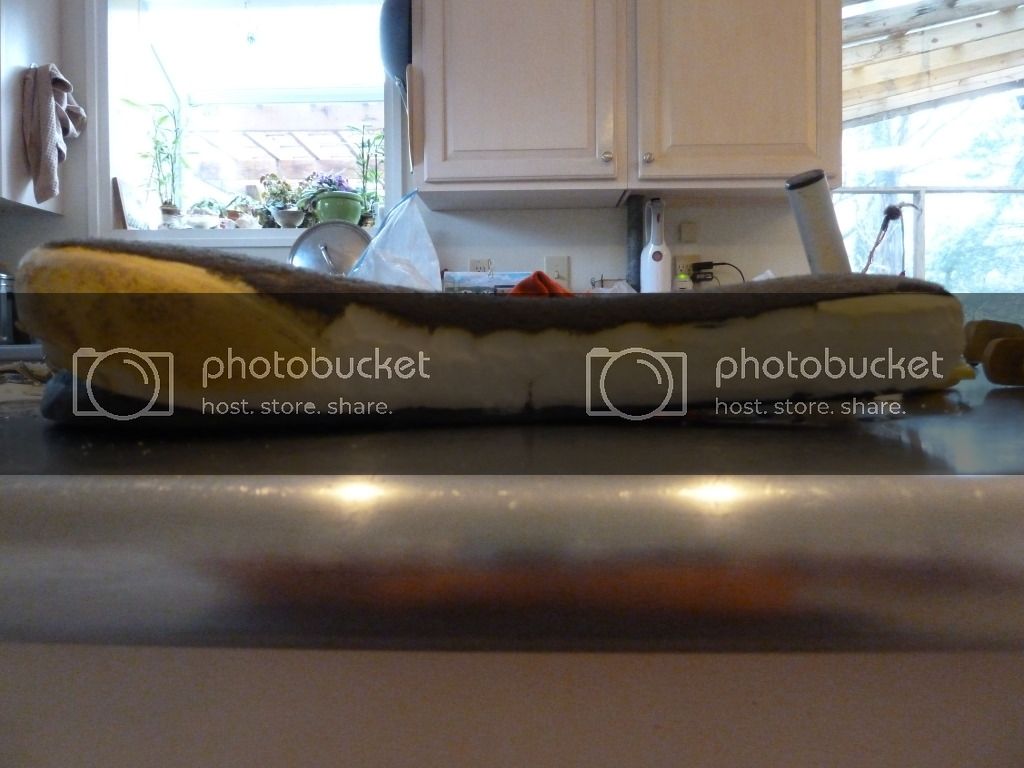
This is a biggie, mostly because you will be adapting foam from a seat that is molded to match a curved base. The foam will be curved and have varying thicknesses, in order to make the foam flat to match the seat base, you will want to do some cutting and filling. I use minicell grey closed cell foam in 1/4" and 1/2" to fill low spots. I filled in the depression over the seat post mount so that it was level with the seat base. I also added a wedge of foam at the rear of the seat to level the back of the seat.
The Carve
The Layup
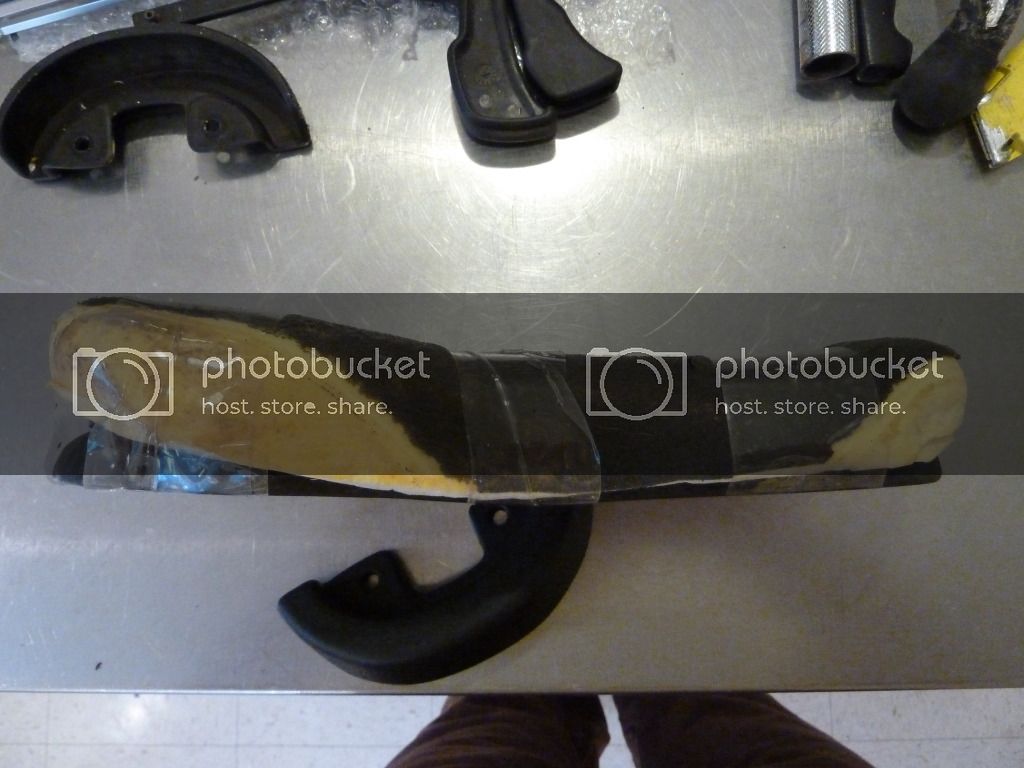
Attaching the foam to the base:
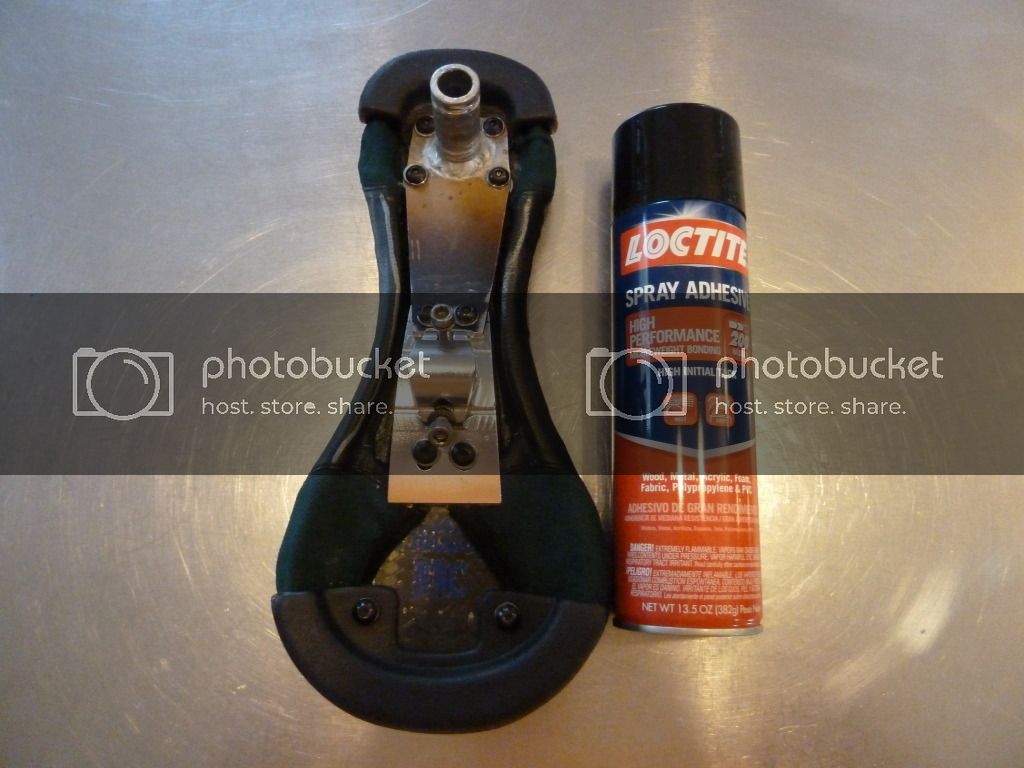
You will need contact cement, it will be sprayed/painted on both the foam and the base, there are a lot of contact cements available, each has its pros and cons. I have tried quite a few over the years and the best one by far is the Loctite Spray Adhesive, medium bond, high initial tack. This glue is awesome, it sprays out fine so no clumping or over-wetting the surfaces, it is quick to become tacky and has a long working period in case you lose track of time.
The Glueup
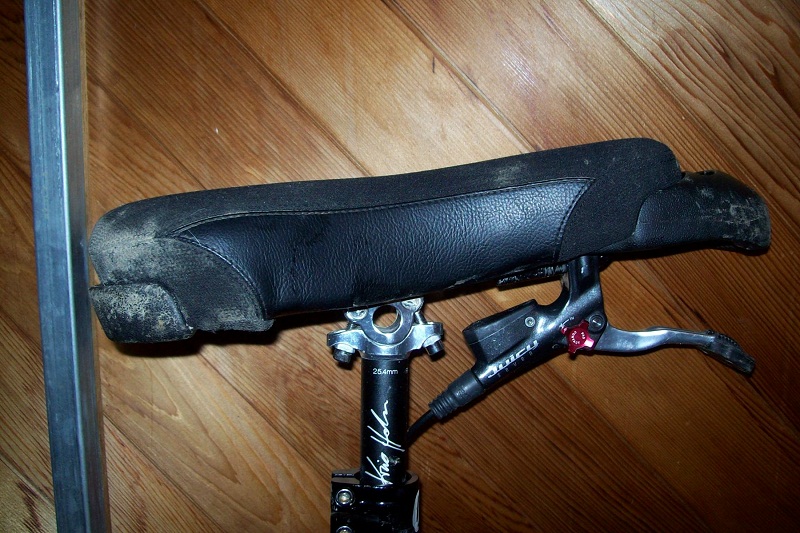
The cover:
Now that you have the hardware installed in the base and the foam cut to fit, there is the matter of a cover. Again, like the foam, you will be adapting a cover that is designed for a curved seat base and thicker foam. I stated with a KH FR vinyl cover. First I tried restitching the cover (fail), I tried installing grommets (fail), the cover just wouldn’t pull tight enough. In the end I did it just like a bicycle seat: I glued the cover to the base. It worked and it is very clean. I even could have used the discarded Nimbus cover…
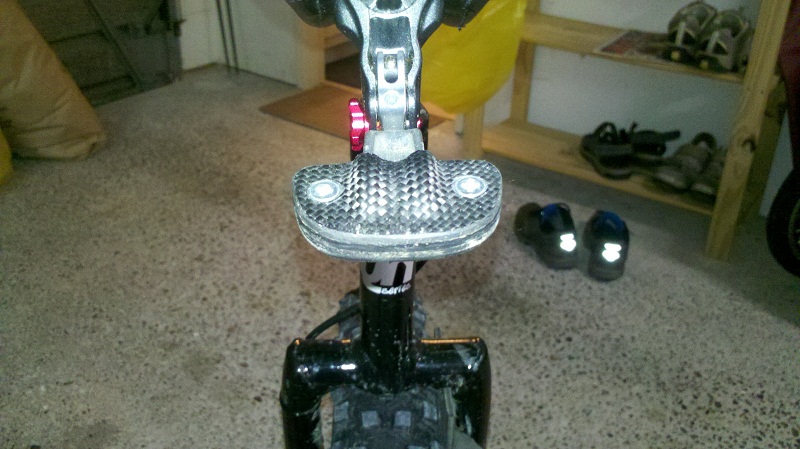
The final product:
I went for a slightly different profile, preferring to keep a “bicycle” style with a slightly higher position at the rear, with a slight tapering down to the waist, then flat out to the nose.
The cover is glued along the edges at the waist and nose, I did not glue the cover across the flat “sitting” area or the along the rear edges so that the foam could move and breathe. The rear portion of the cover is held in place by the rear bumper.
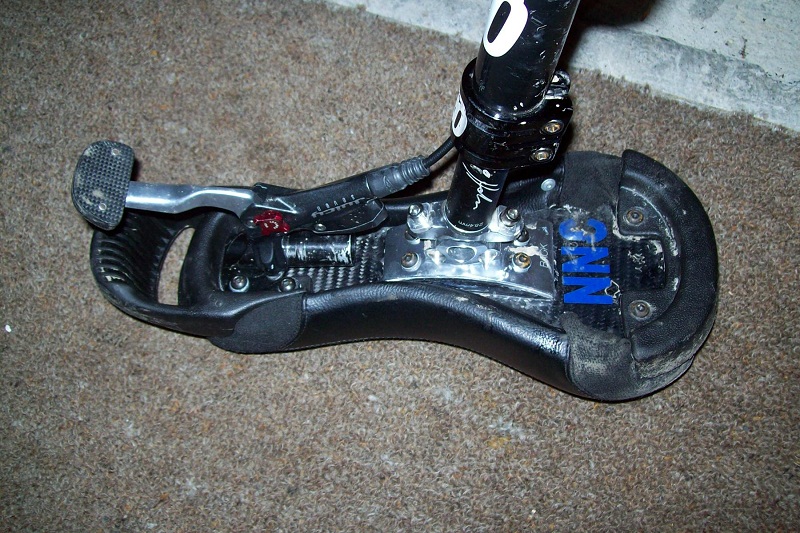
I had to modify the KH stiffener plate, both shortening and re bending the plate so that it would fit on the flat base. The aluminum is easy to bend using a hammer and a block of wood.
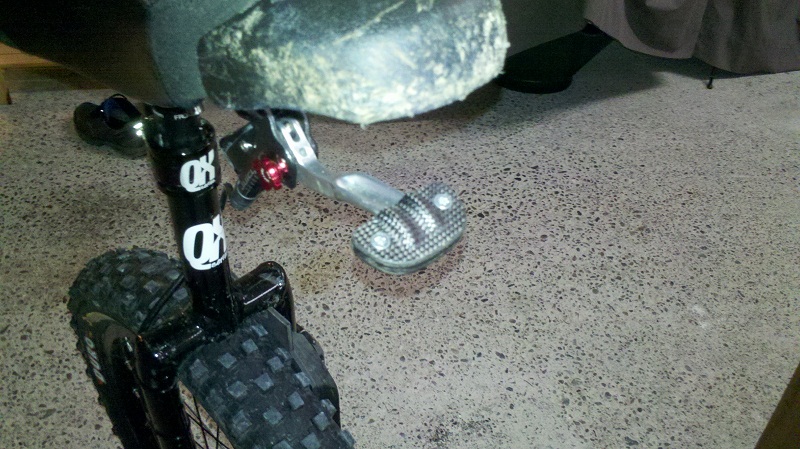
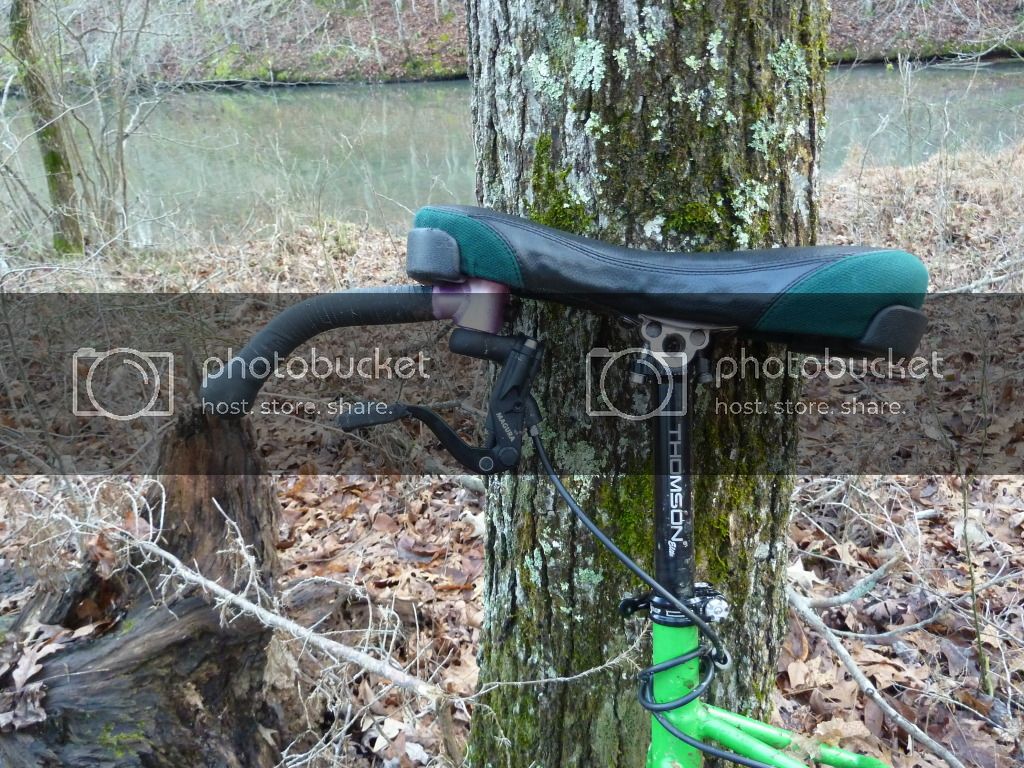
The handle and brake were swapped straight across from my KH Freeride seat. The handlle ends up being a tad lower than with a KH Freeride, so it feels akward. I will be making a revised handle in the Spring, with a upward bend to compensate for the lower nose on the Flatfish base.
The ride:
I was tight on time, so the first ride was an hour single track circuit near home, a mix of climbing, flats, and descending, some moderate tech with roots, rocks, water crossing, and mud. I adjusted the seat base a number of times looking for the ideal angle. I also worked on finding the ideal seat height as the thinner seat foam required a taller seat post setting.
I finally settled on ~12 degrees of seat angle which gave me the best ride feel and placed my sit bones in the best position possible. I would like to have been able to adjust the fore/aft position of the seat (like you would on a bicycle), as the ideal sit bone position was +~3/4" rearward, but I could not hold that position without rearward overbalancing the uni.
In terms of ride comfort, I’ll say this: On the drive home after riding it suddenly occurred to me that I had just gone for my first uni ride EVER during which I didn’t once reposition the jewels.


Criticisms:
Well, nothing is perfect, and even though the Flatfish is loads better than any other seat I have tried; and I have tried a few, there a few things that would make it better:
Pete essentially “flattened” a KH seat base, so the resulting base is slightly longer than it’s curved cousin. I think the base flattening alters the dynamics of the seat base such that it brings the pelvis forward relative to the balance point of the uni. This is not a big deal by any means, just a fine point that should be discussed as this style of seat evolves.
A slightly different base shape, one that shifts the widest and most padded portion of the seat area forward 1/2-1", possibly by shortening the waist rearward of the seat post mount. It is also possible that rails/rail adaptor would make sense on a flat seat; which would also work with the existing base.
Final Comments:
Two Thumbs Up!
Top Honors for Most Innovative Product 2013
A must have for serious unicyclists.