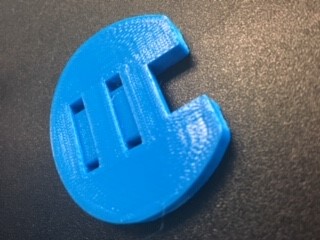
I made a 3D printed one, drew it very simply with the idea of improving it later, but I use it as it is and it works well. The width of your brake handle might be different; you can change the scale of the axis (x or y) in the 3D printing program to change the width of the part.
*Change the .txt extension from the attach file to .stl
brake grip.stl
I’m looking at the picture from the stl file and wondering how you attached this to your brake handle. I figure I could use zip ties but wondering how you did it. Can you please provide more information and a picture?
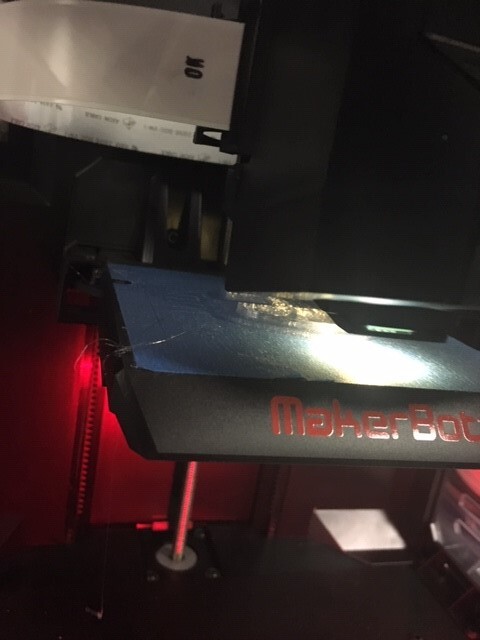
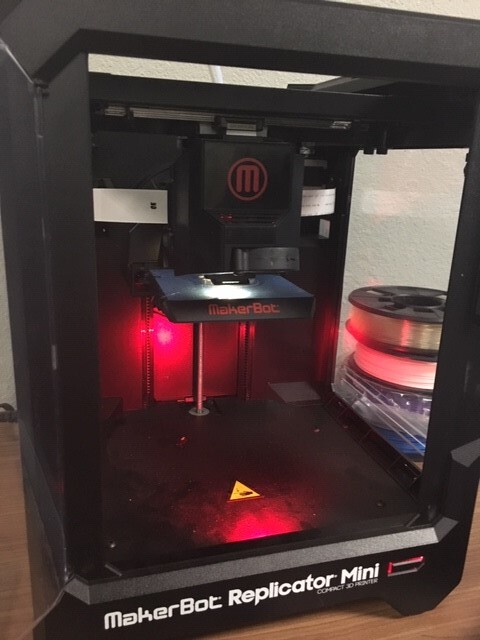
Here are some preliminary pics while we get the size correct for my brake lever. This initial attempt wasn’t quite wide enough where the lever should fit so we will try again.
Nice part!
You can make it wider by scaling that axis in the 3D printing program: divides the width of the brake handle by the width of the printed part, then use this number in the 3D printing program for X or Y axis.
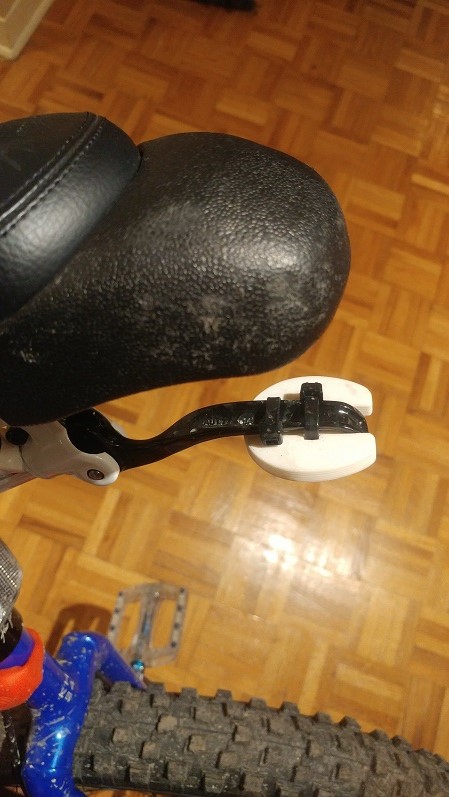
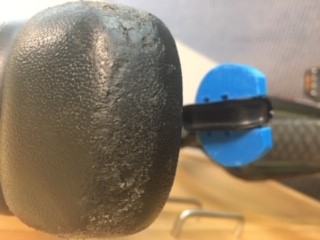
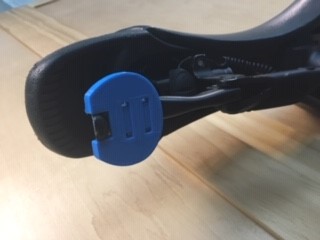
So, here is the final product (unless we tweak it more, which is likely). But at least it fits and the color matches my electric horn under the saddle. I’ll zip tie it on for sure when I get back home, at work now.
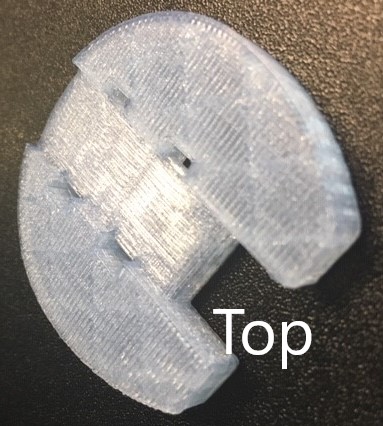
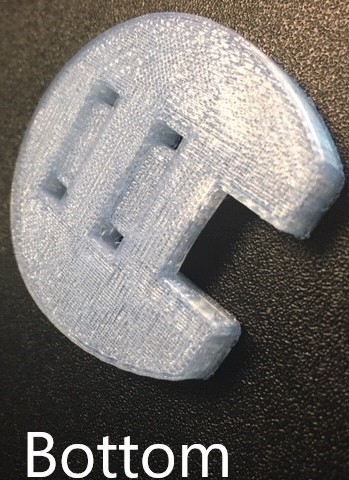
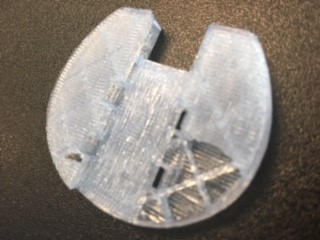
I also included a picture of our second attempt, which was still too small and part of it broke when detaching the building materials. But I wanted to show the crisscross pattern that is built inside the part for strength.