Here is a quick tutorial on how to cut and re-join tires to fit a different sized rim.
I have found through experimentation that it is best to use kevlar beaded tires as they are easier to get a good join at the bead than wire or cable beaded tires.
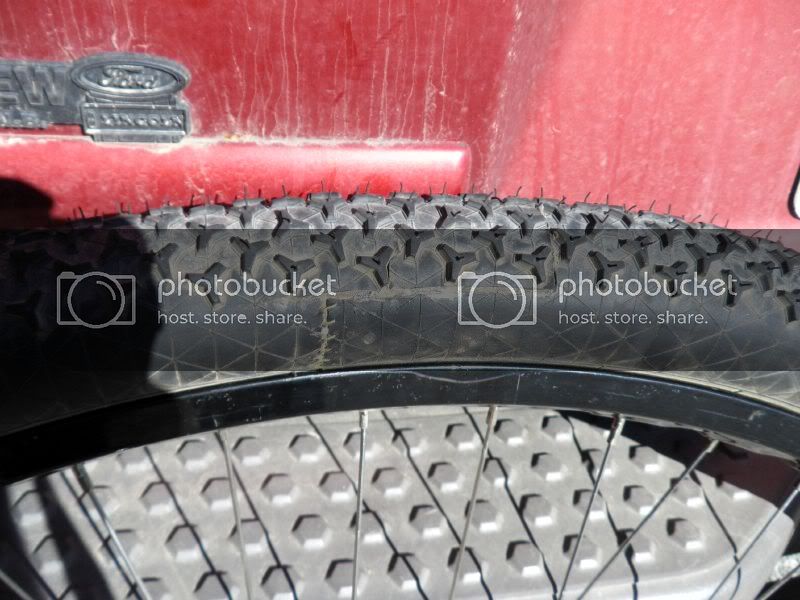
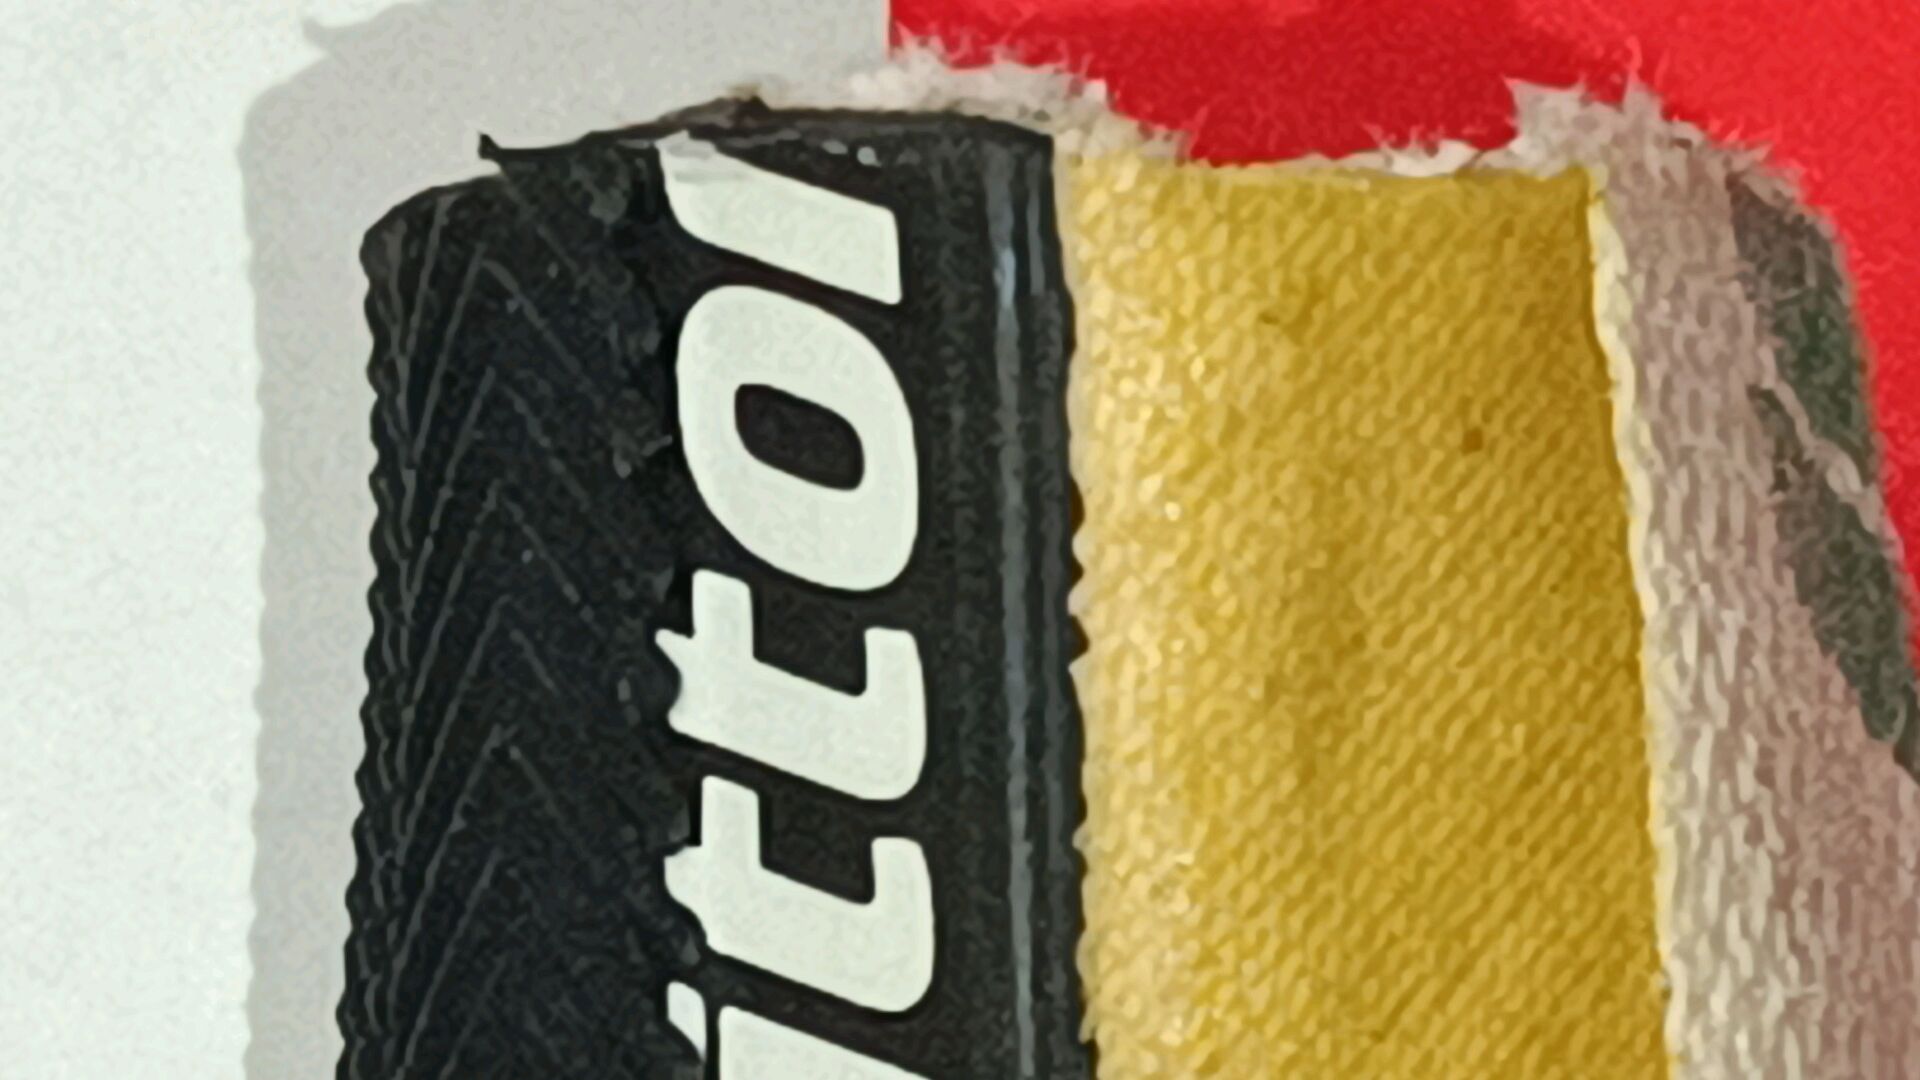
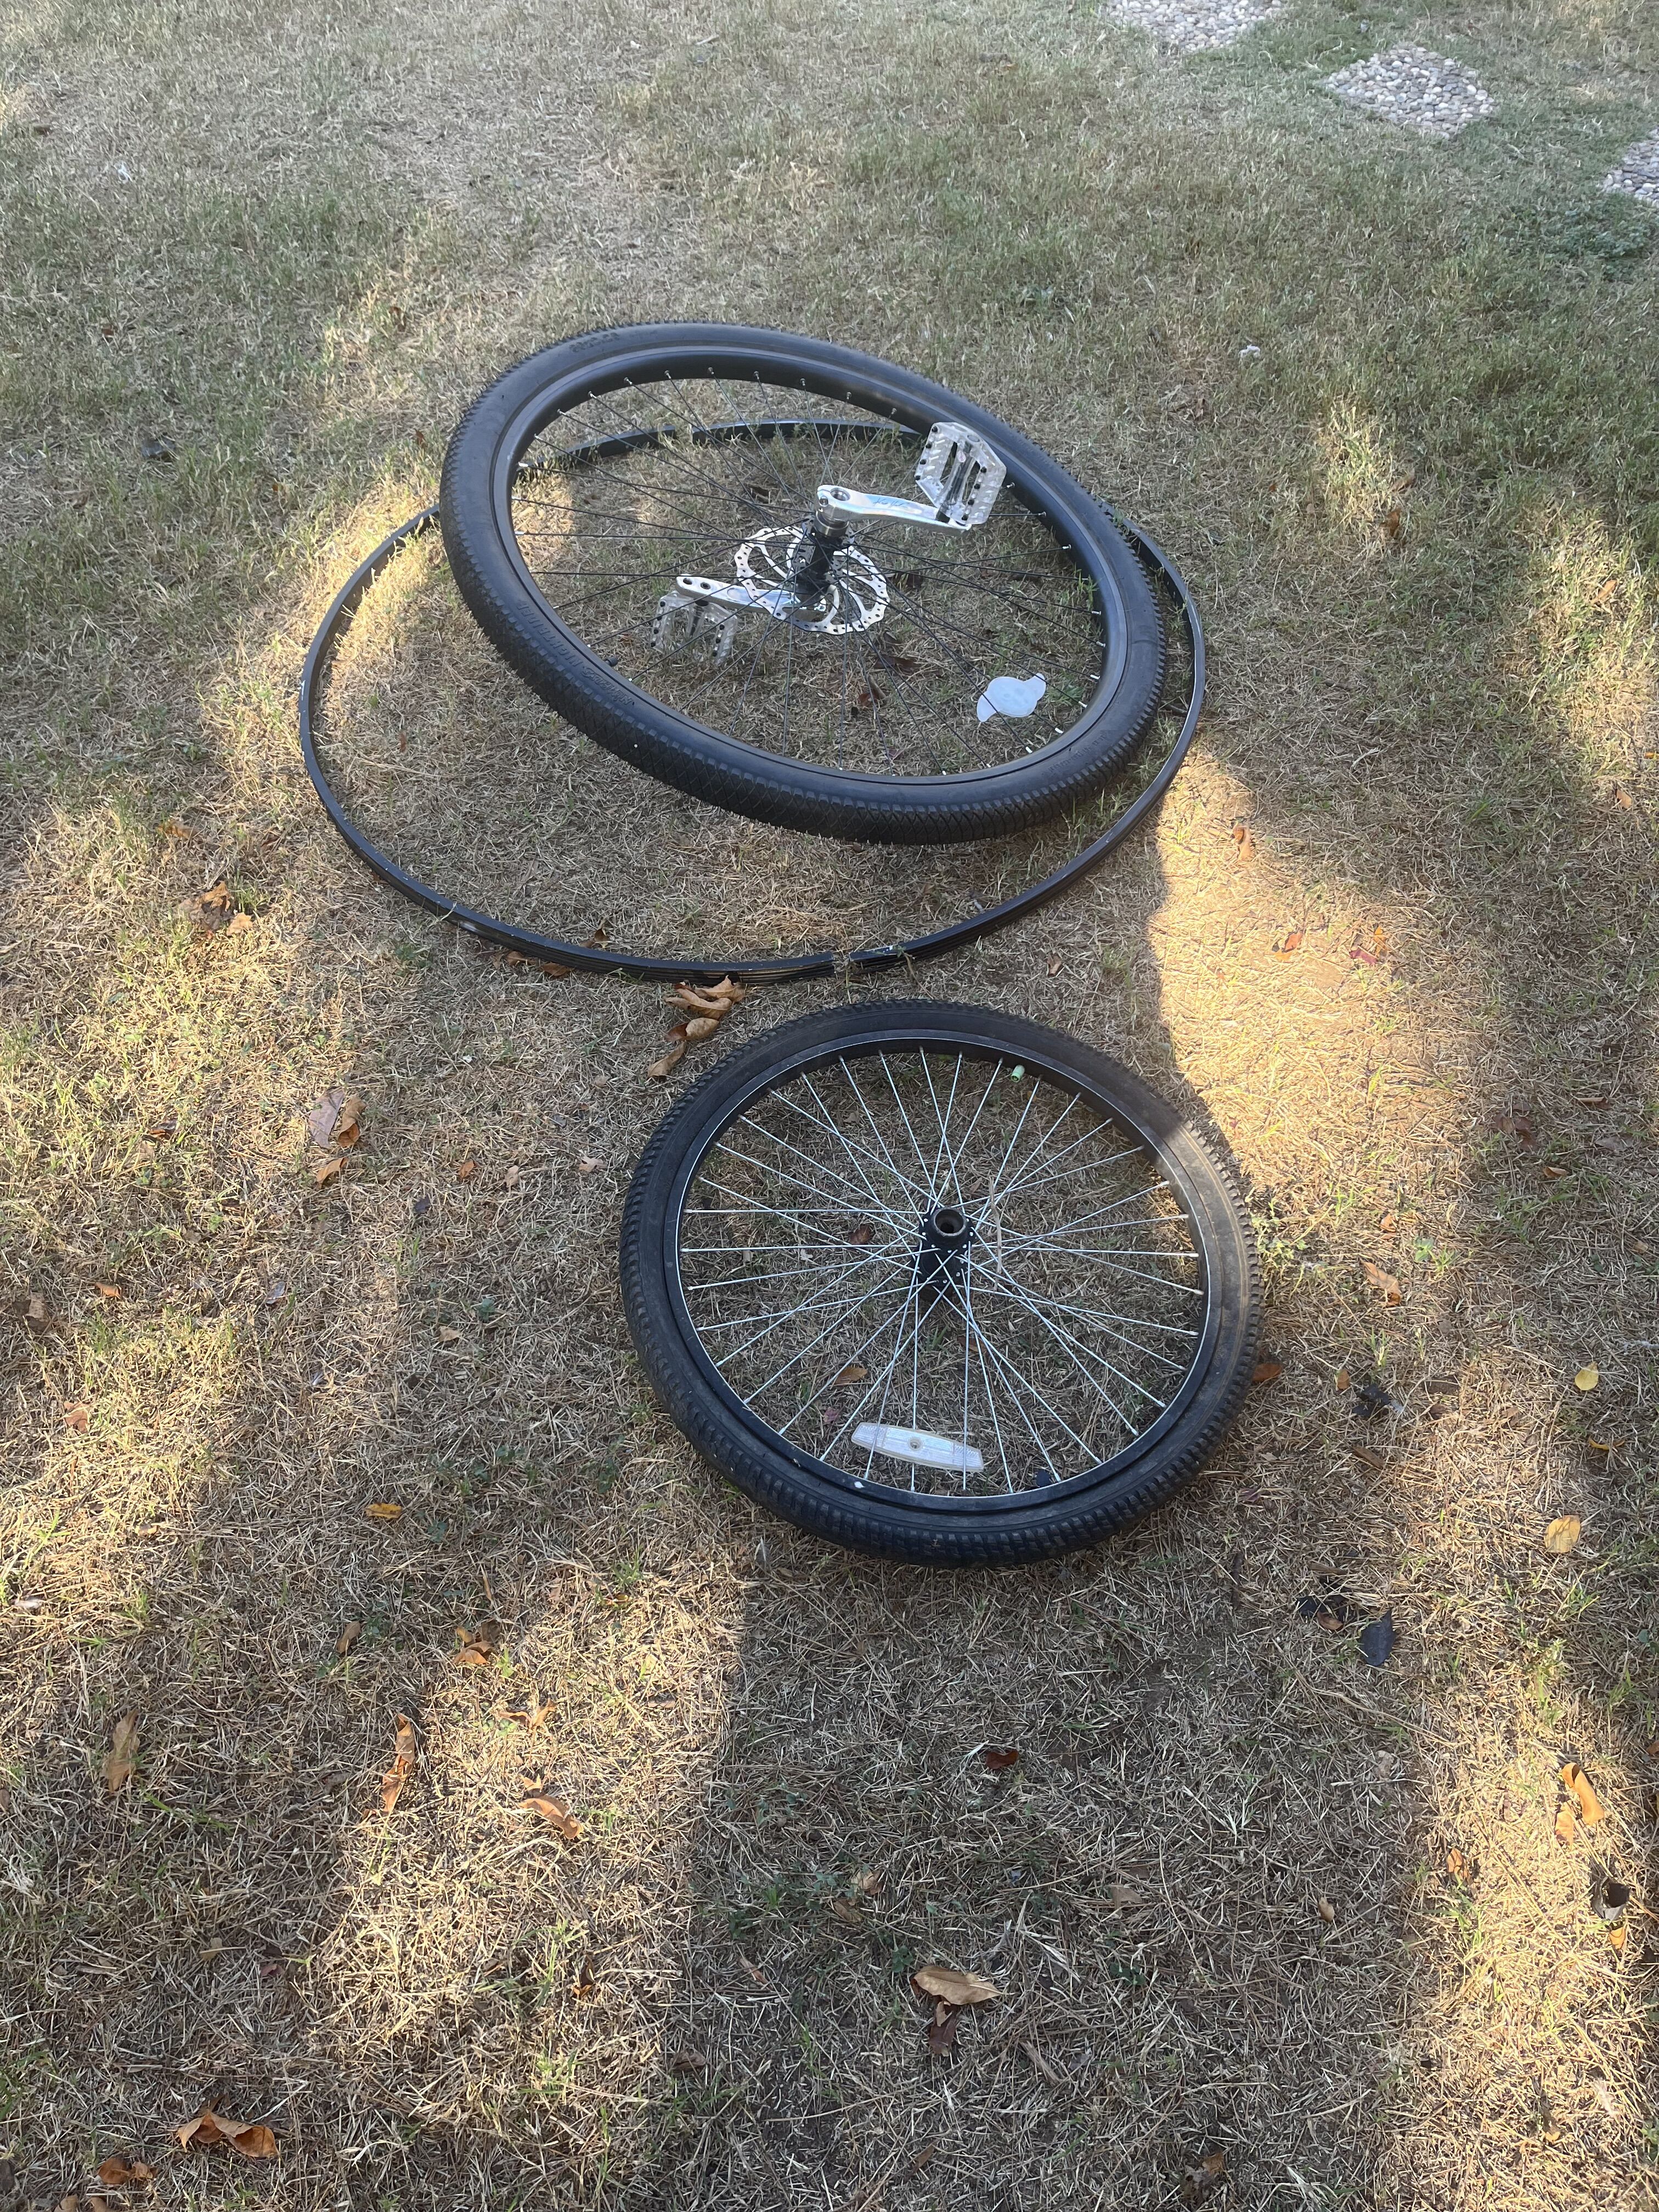
In this tutorial I am using 2 26” Vredestein Tiger Claw tires to make one 36” tire.
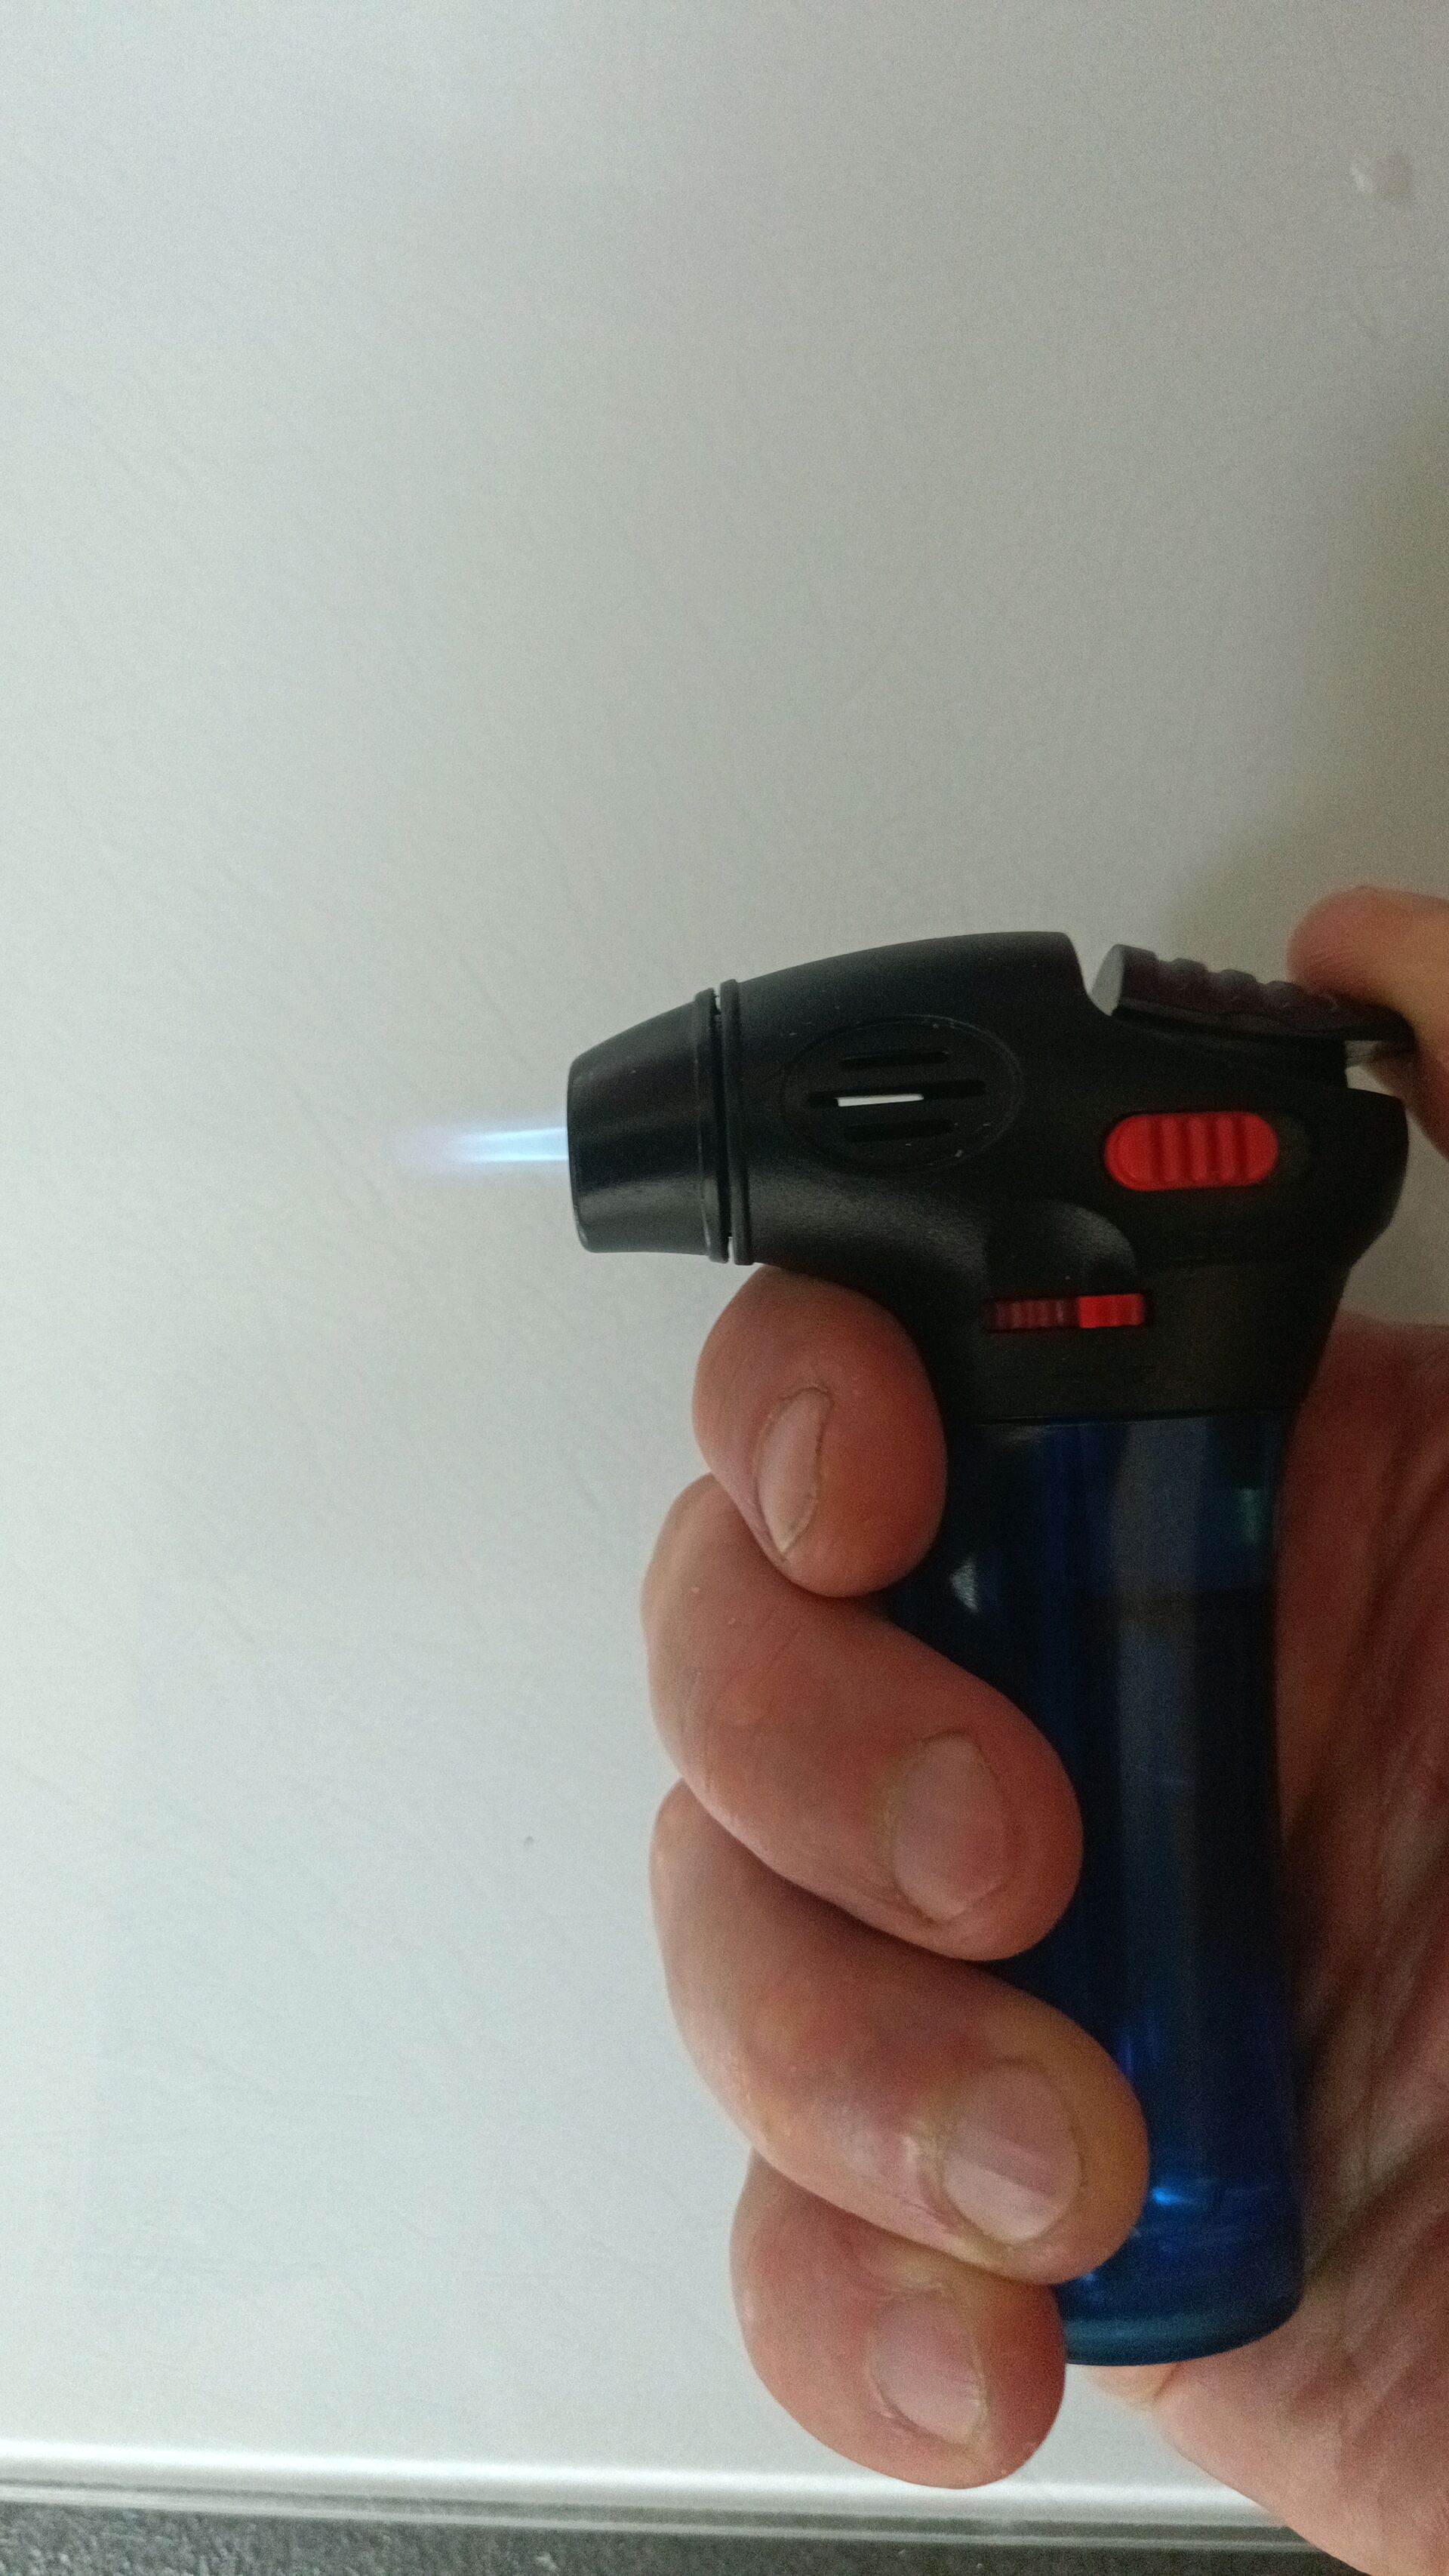
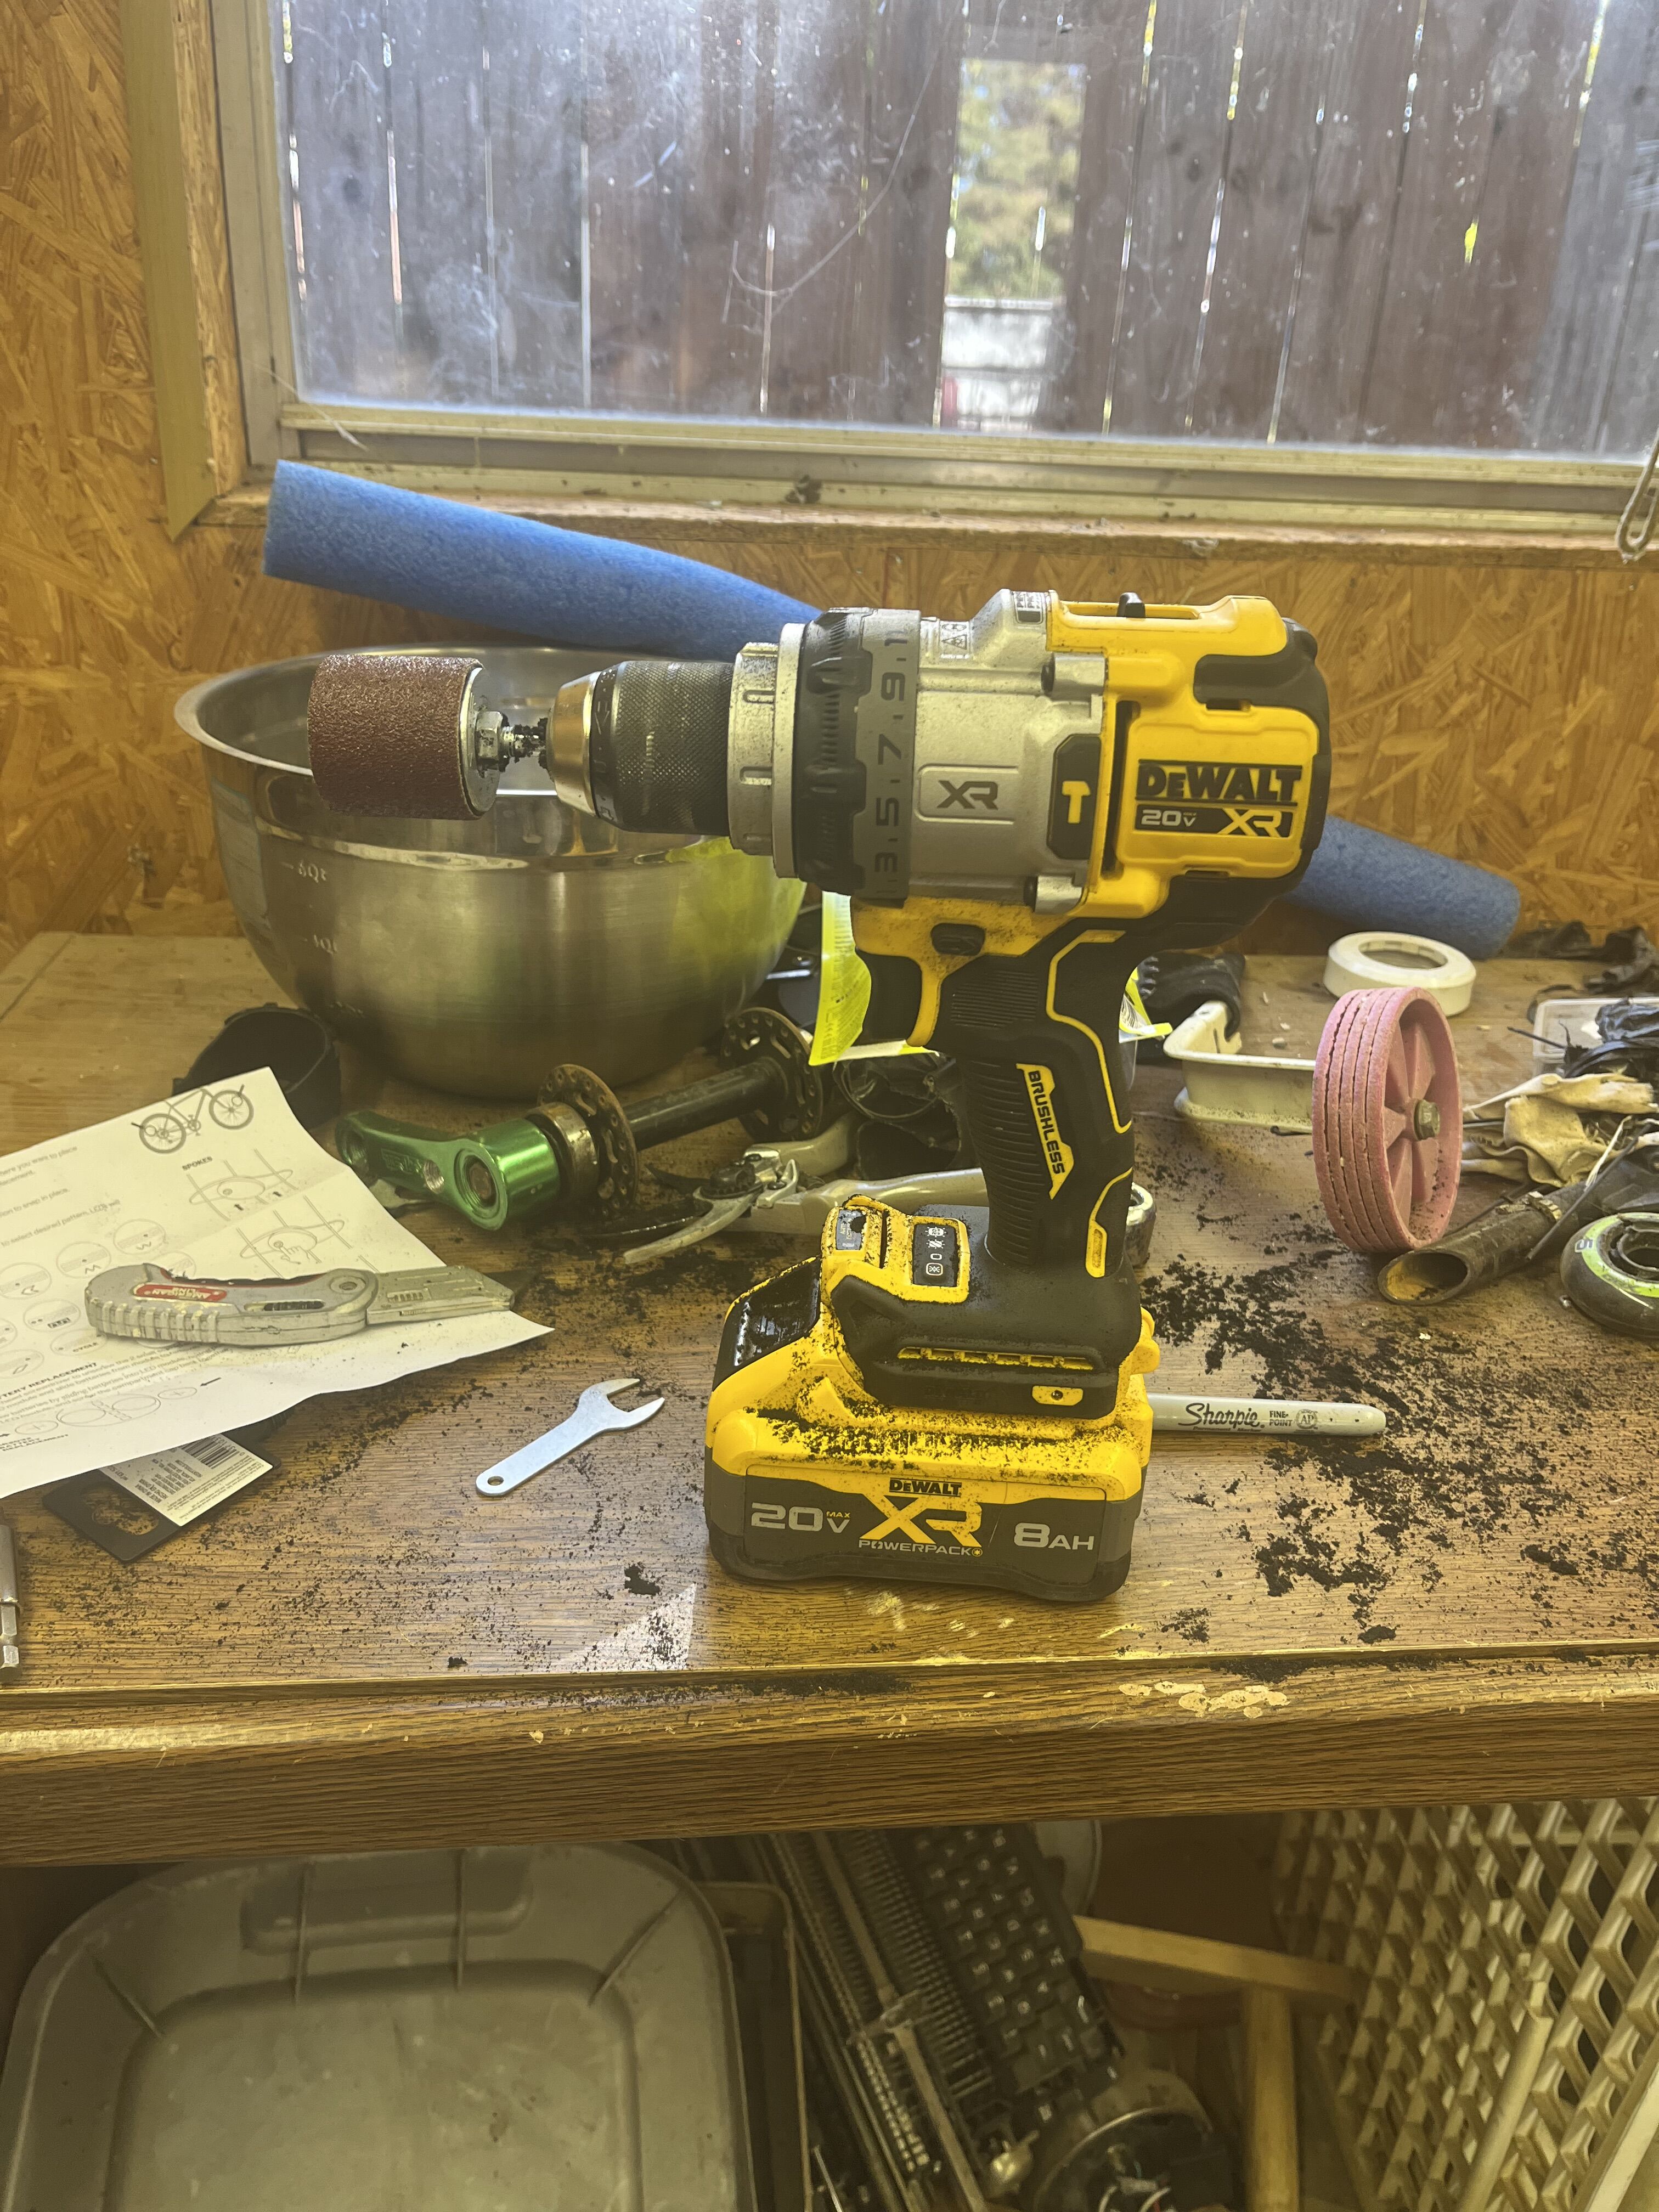
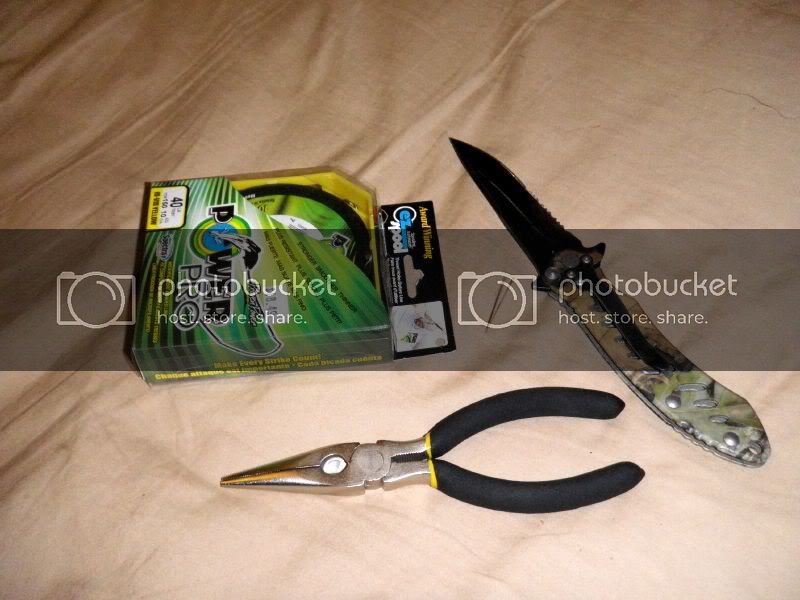
I used very basic tools/materials. My tools included a knife, pliers, Marine Goo, sewing needles and fishing line.
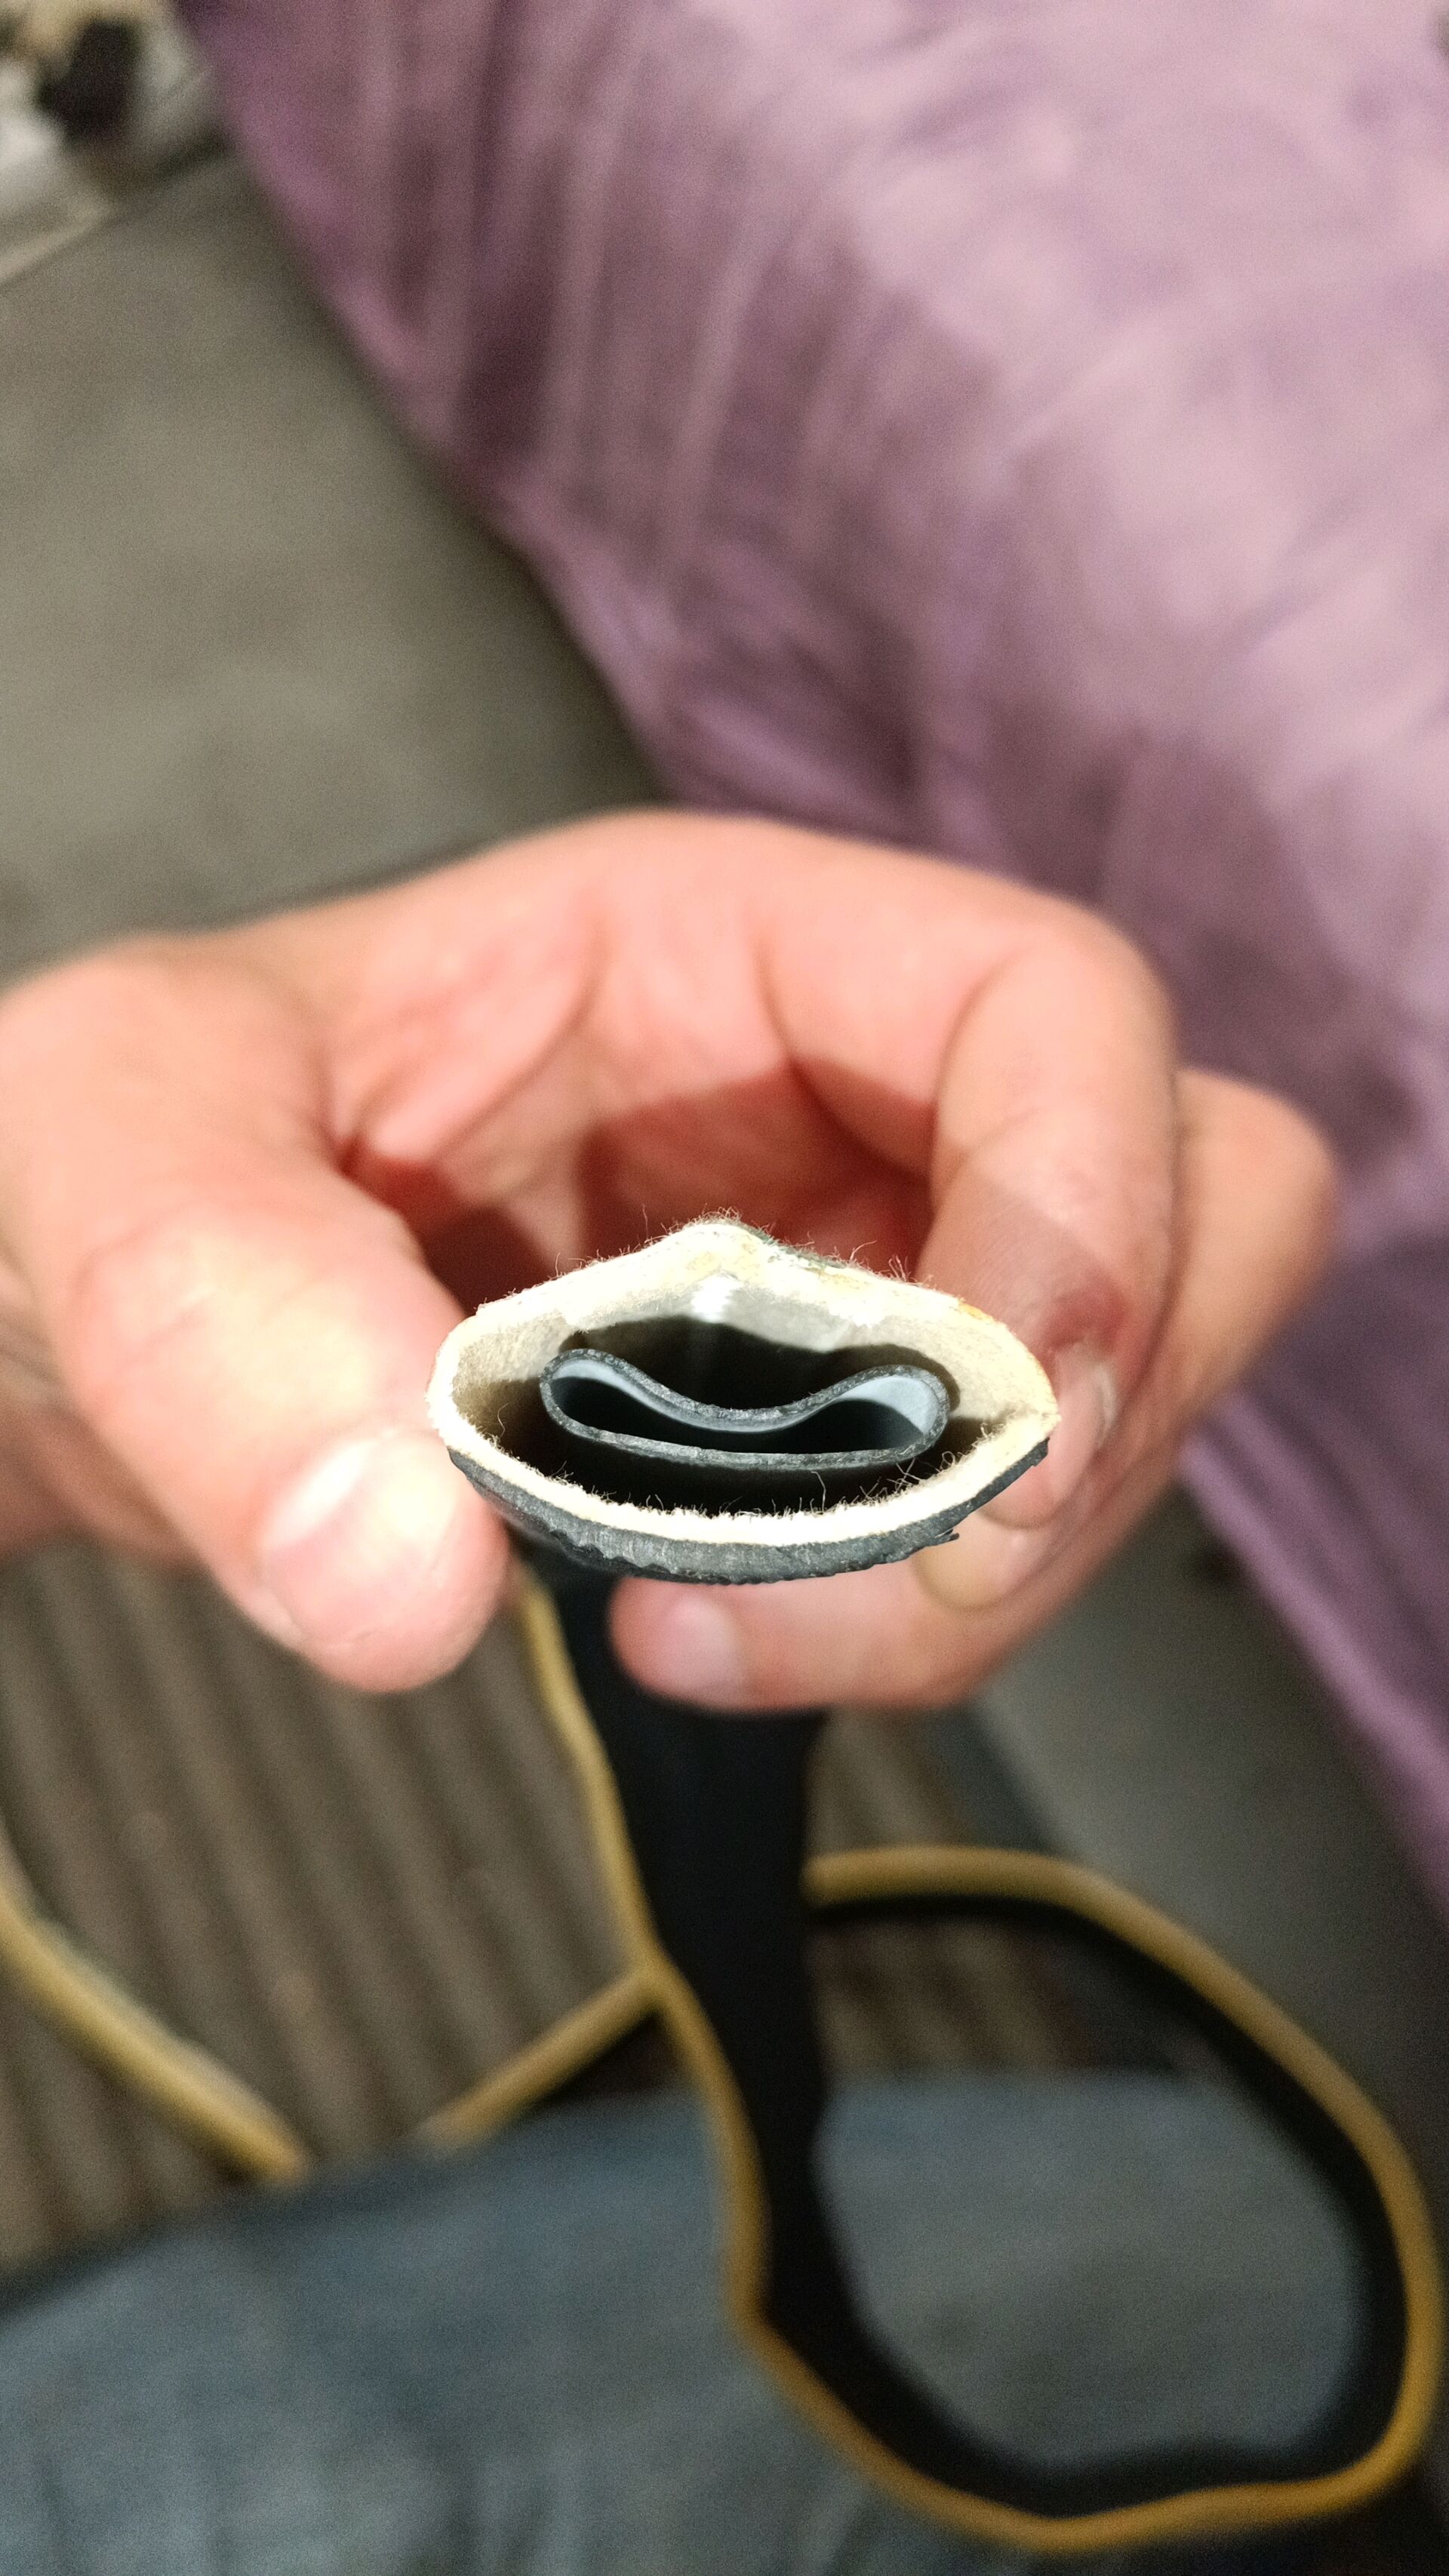
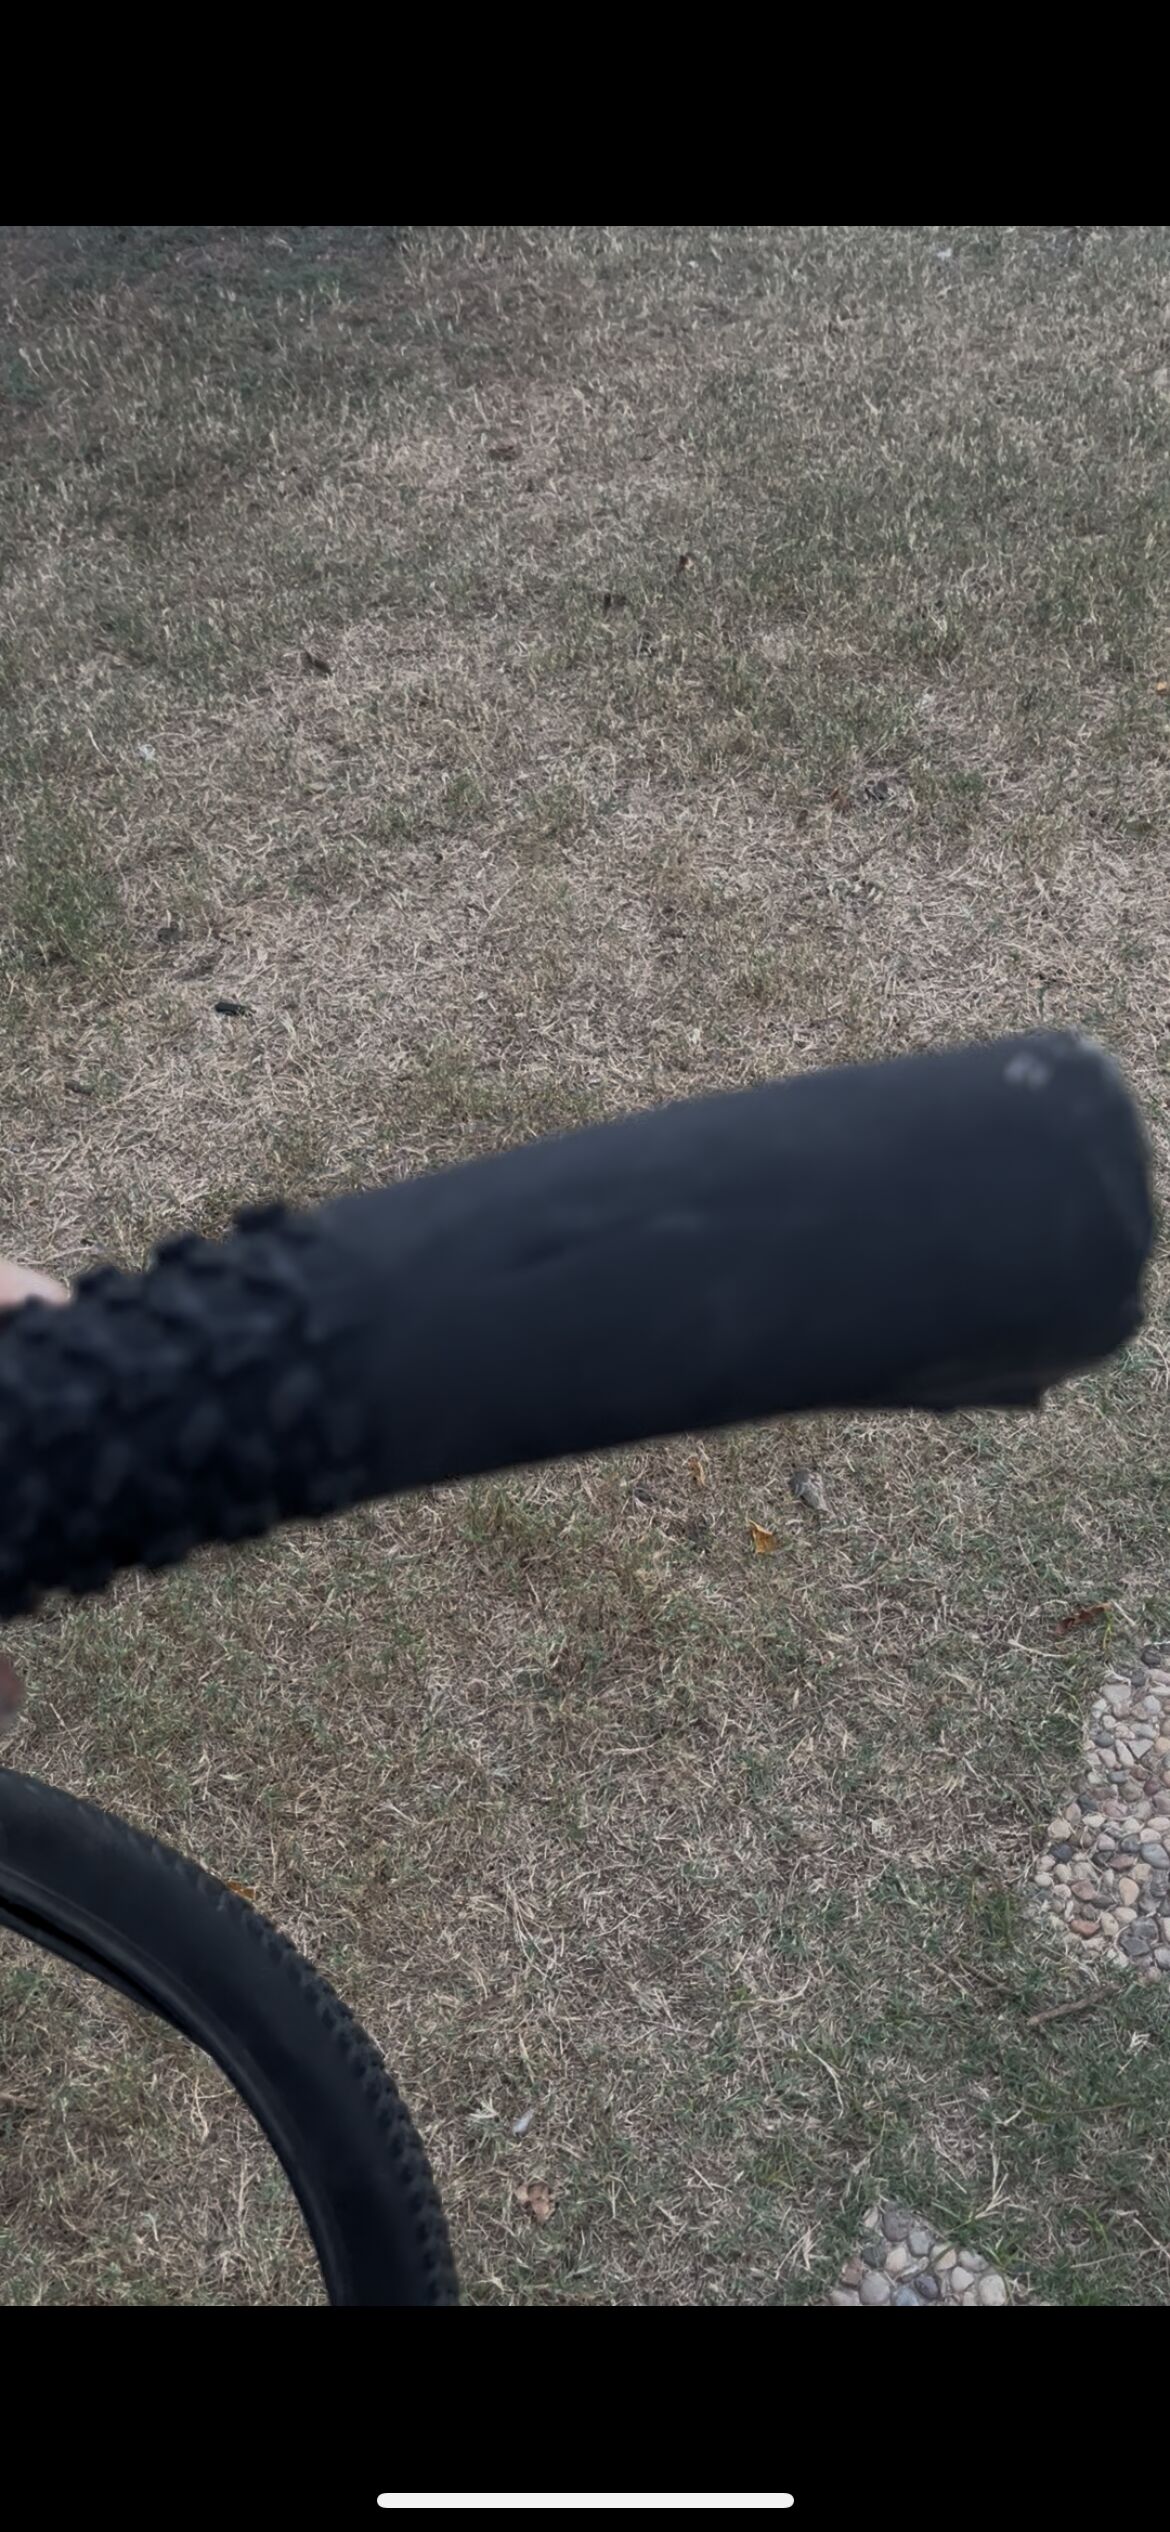
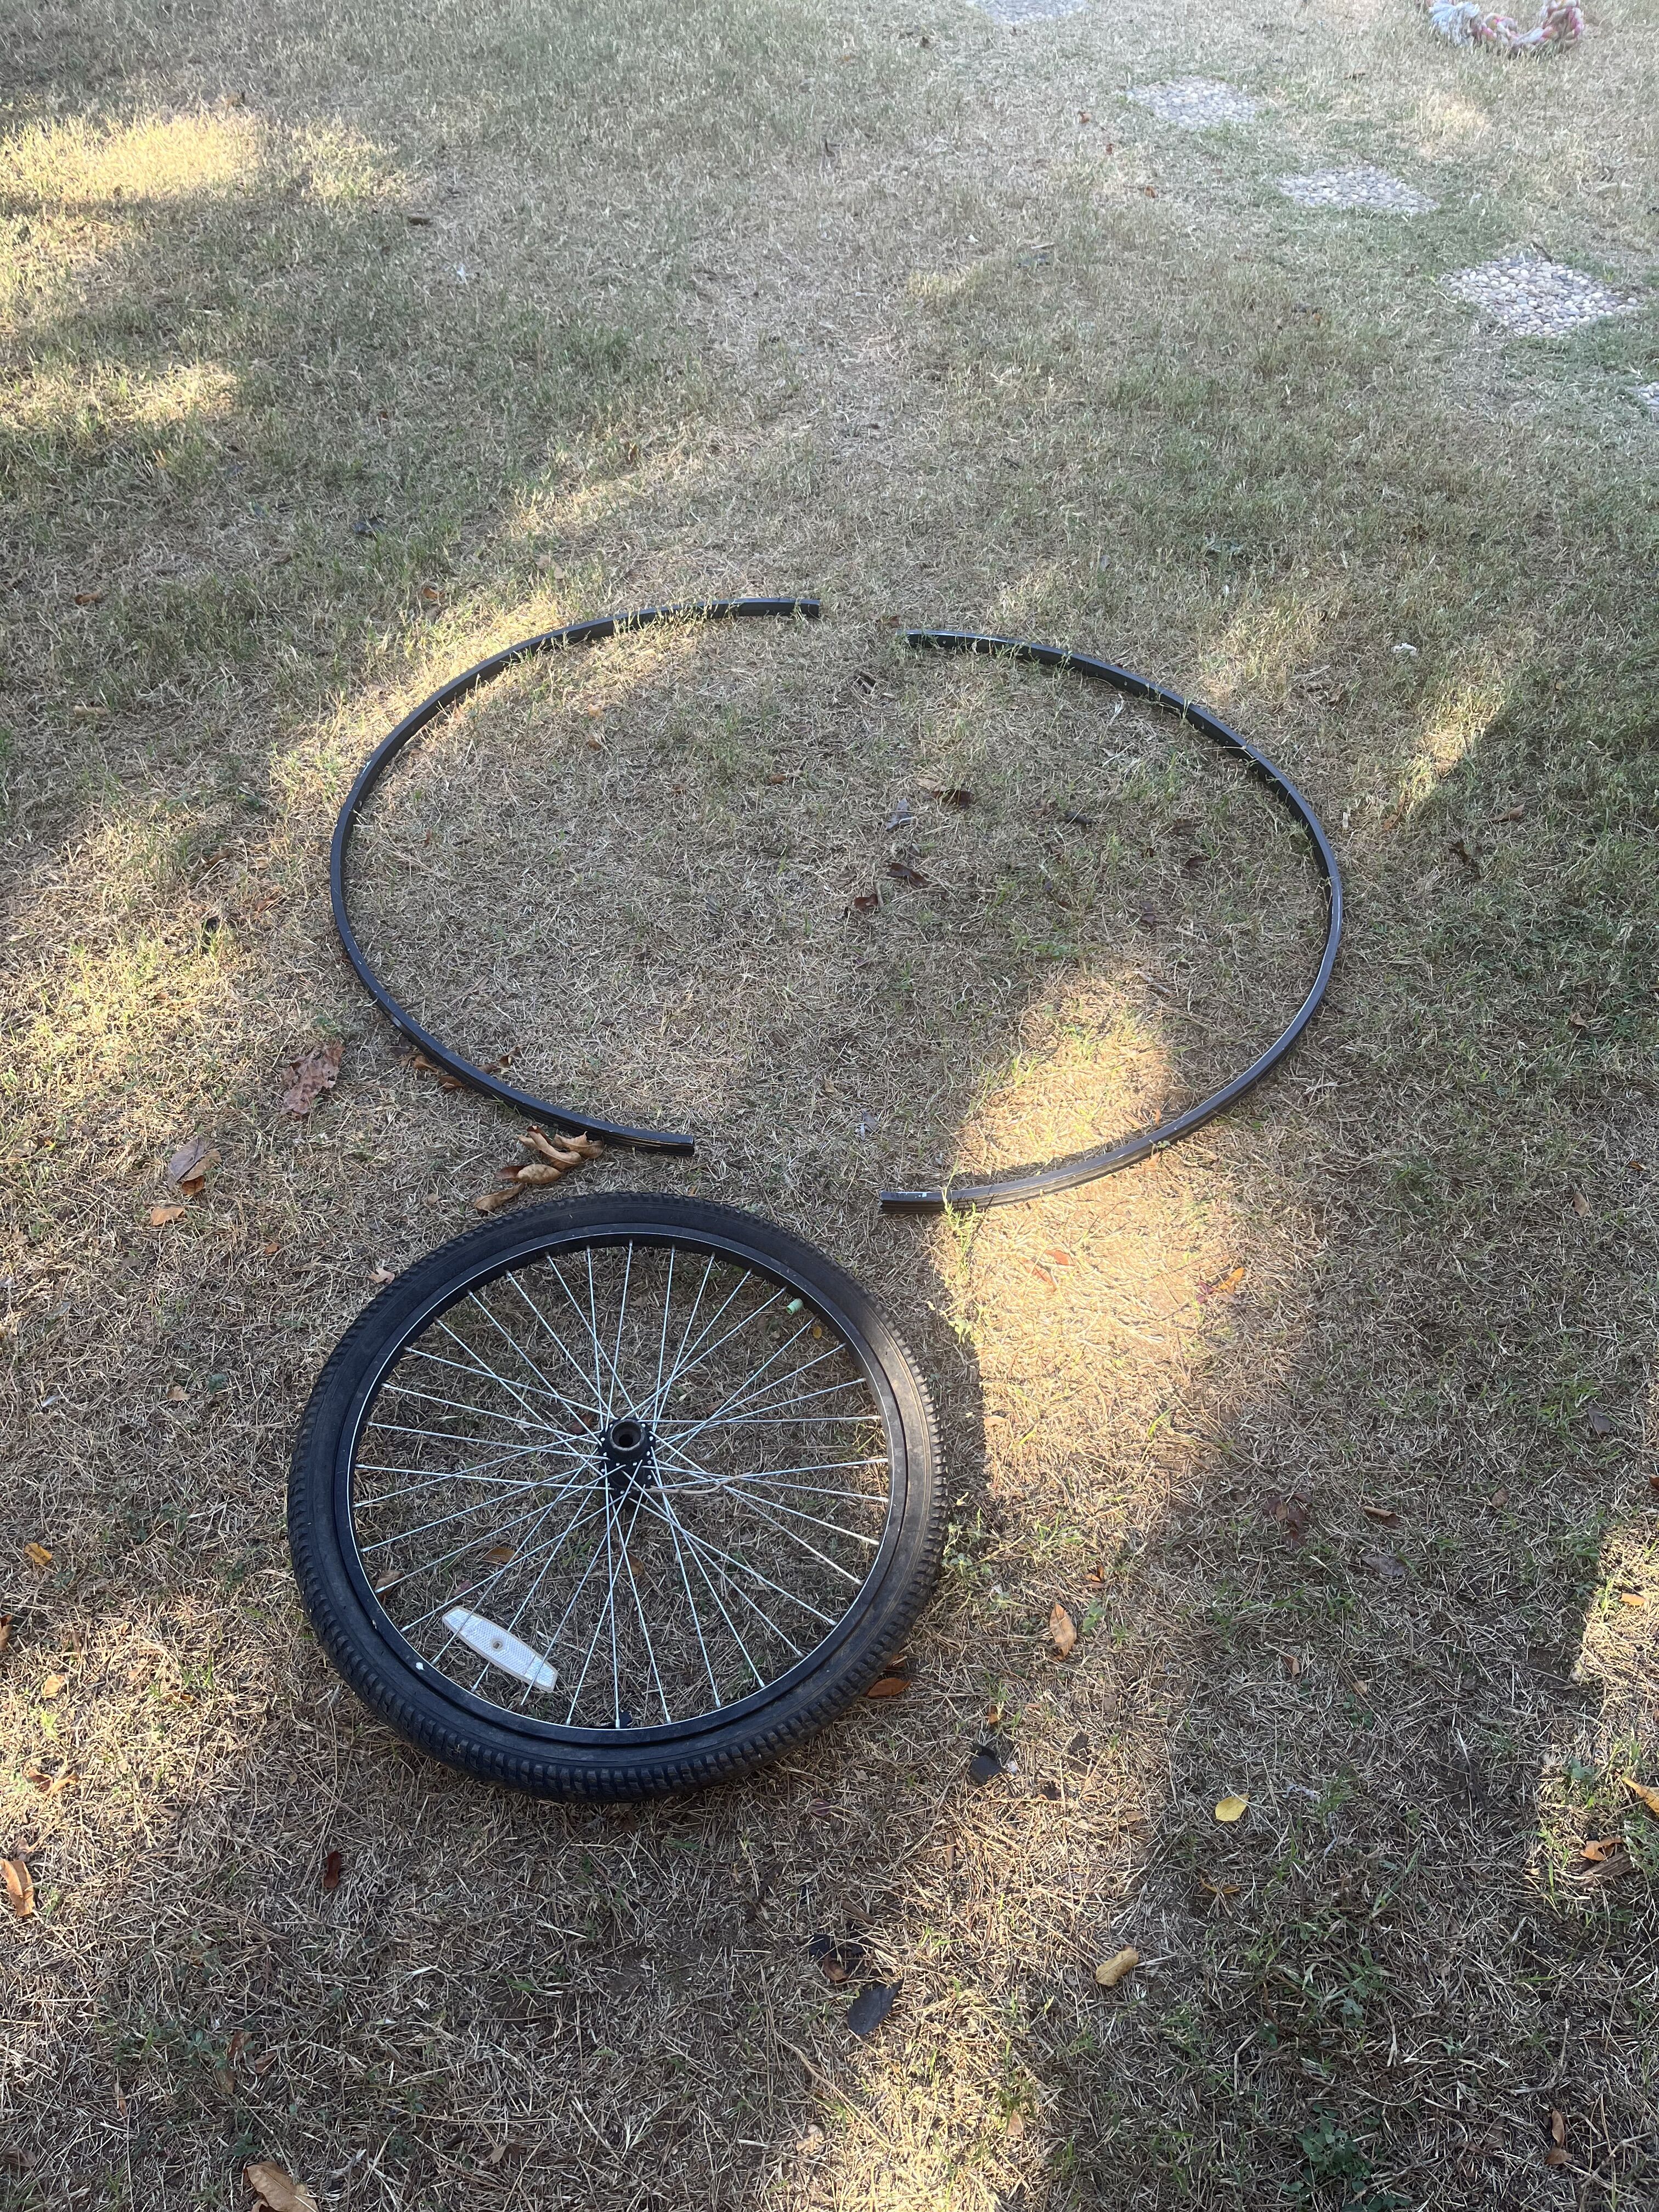
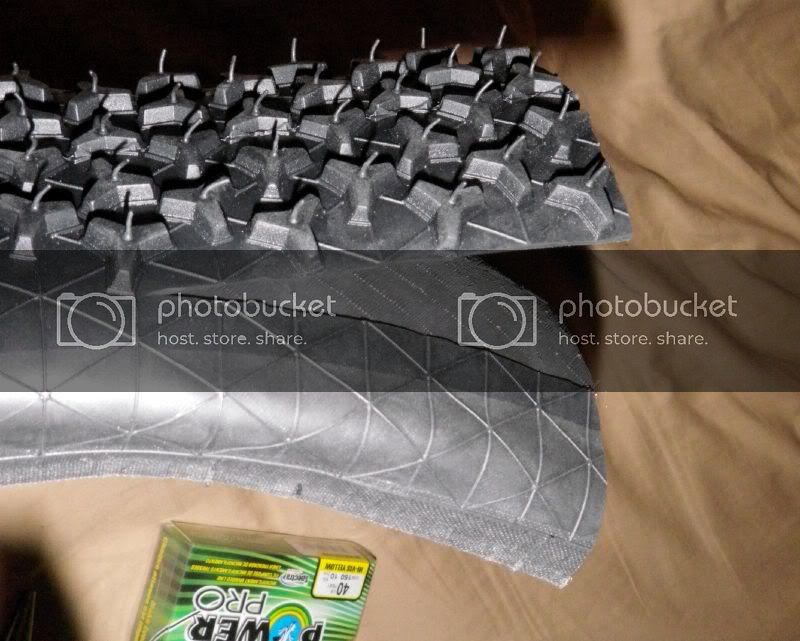
First I took a sharp knife and cut through the rubber in the tread section being careful not to cut the casing cords. Next I used the pliers to carefully peel back the tread rubber exposing the casing beneath. Peeling the tread rubber works better in one direction than the other due to the casings construction.
After peeling enough rubber back for the join you can cut the tire and peel the other side removing the tread rubber instead of leaving a flap.
Calculate how much tire you will need to add/subtract to get your target size.
I found that counting the tread repetitions and doing a bit of arithmetic worked better than trying to measure the bead lengths since the tires don’t lay flat and have a small amount of stretch. Remember than 24” tires have a 507mm bead diameter, 26” = 559mm, 29/700C = 622mm, and 36 = 787mm
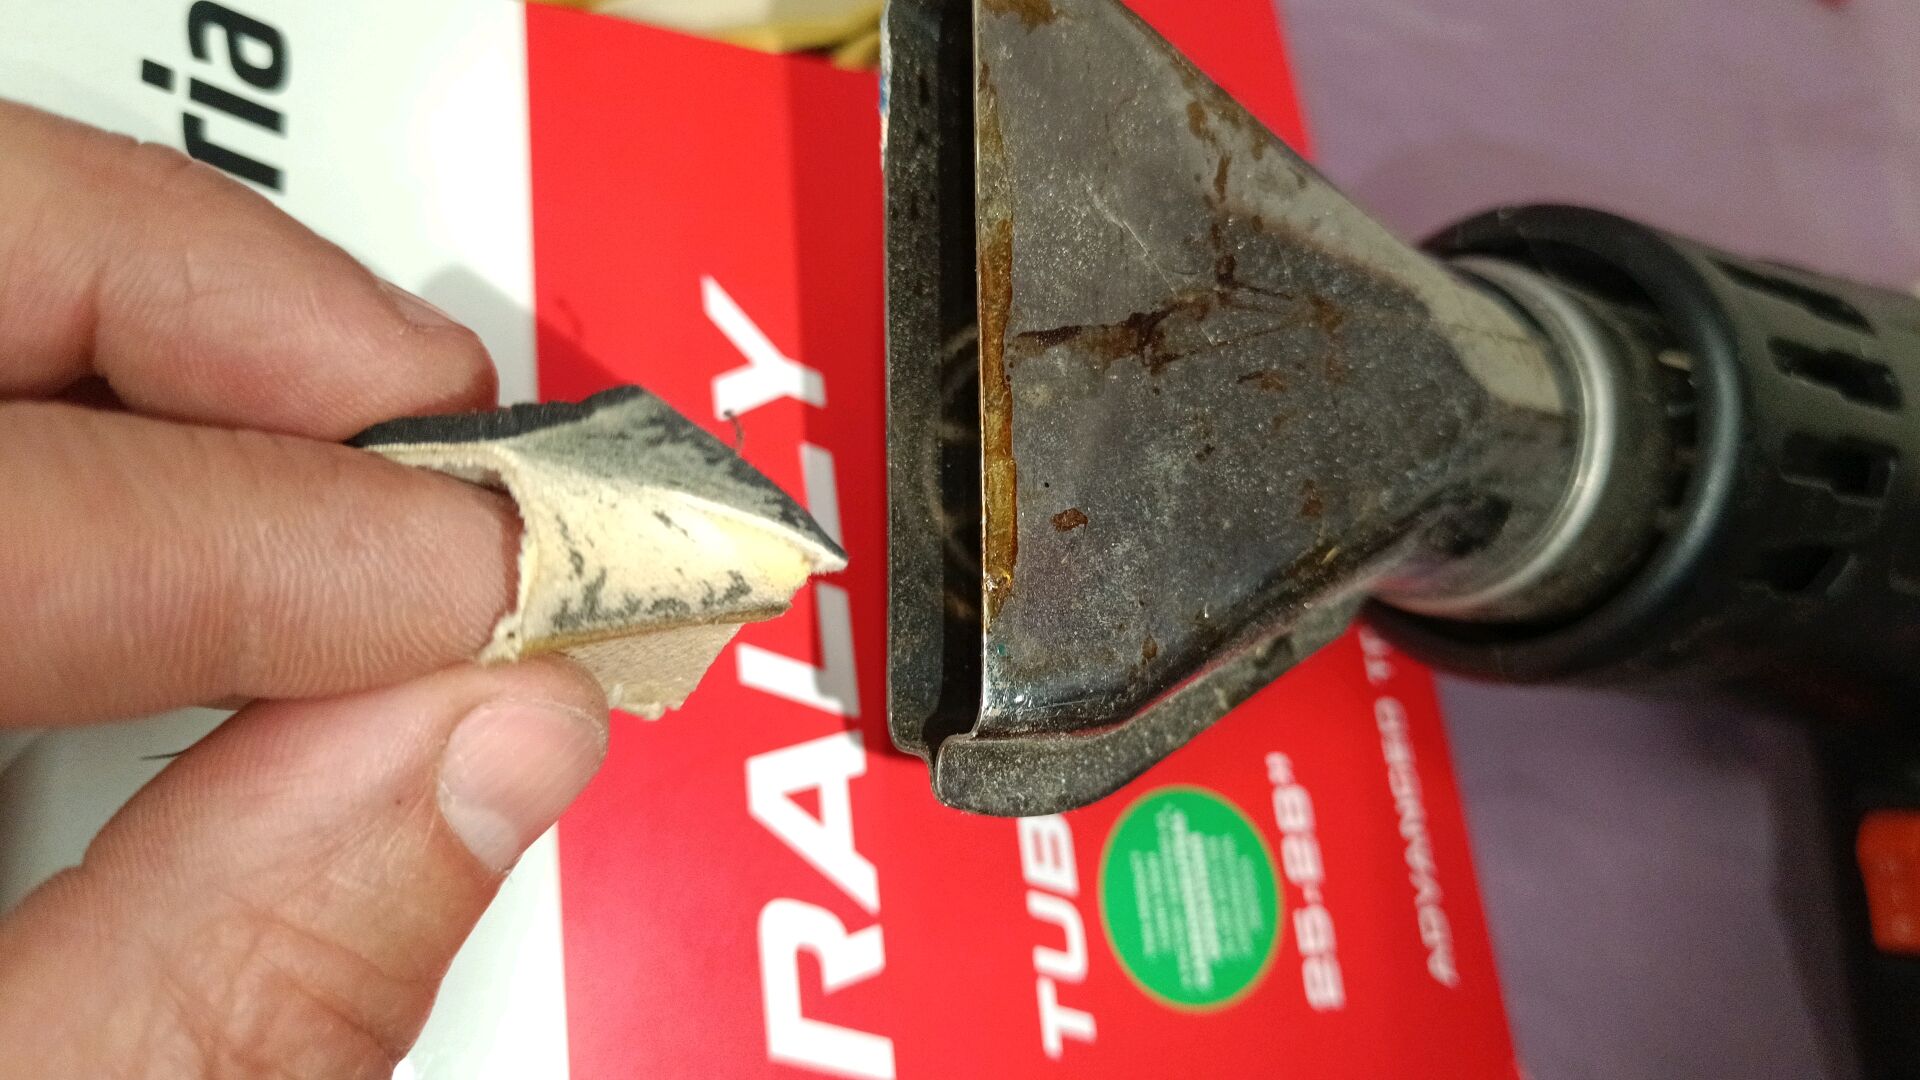
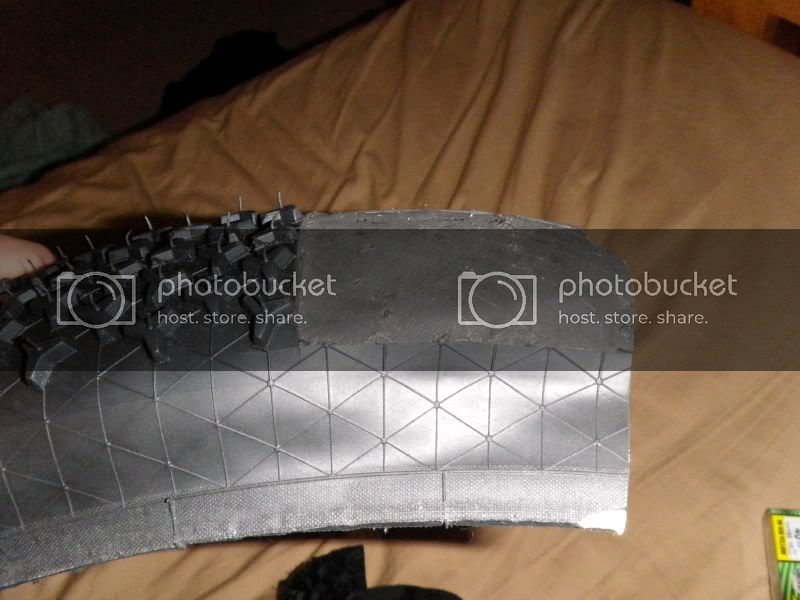
Peel and cut the section you are going to add to the tire.
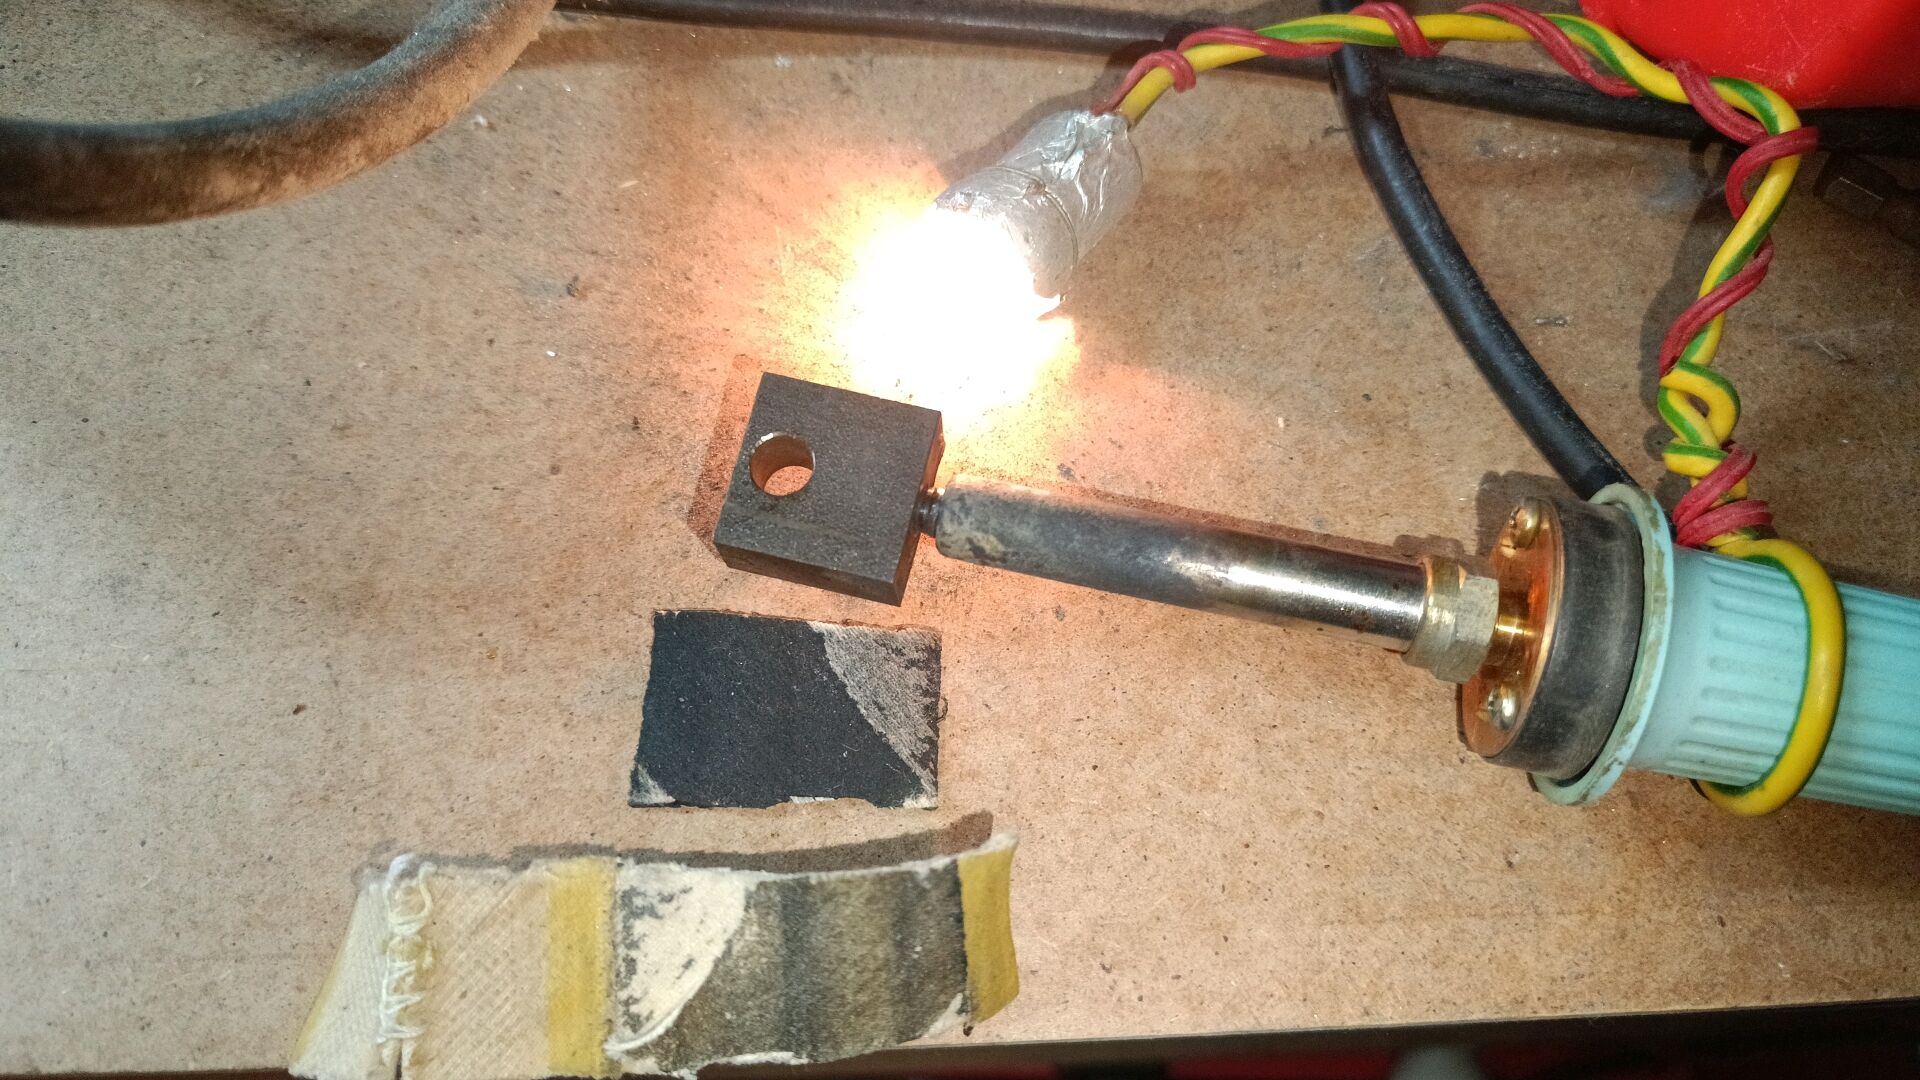
Most tires will have a mold release agent on them, which will prevent glues from bonding properly. I used some sandpaper and rubbing alcohol to prepare the surfaces for bonding. I also perforated the upper side of the join to allow excess glue to squeeze out.
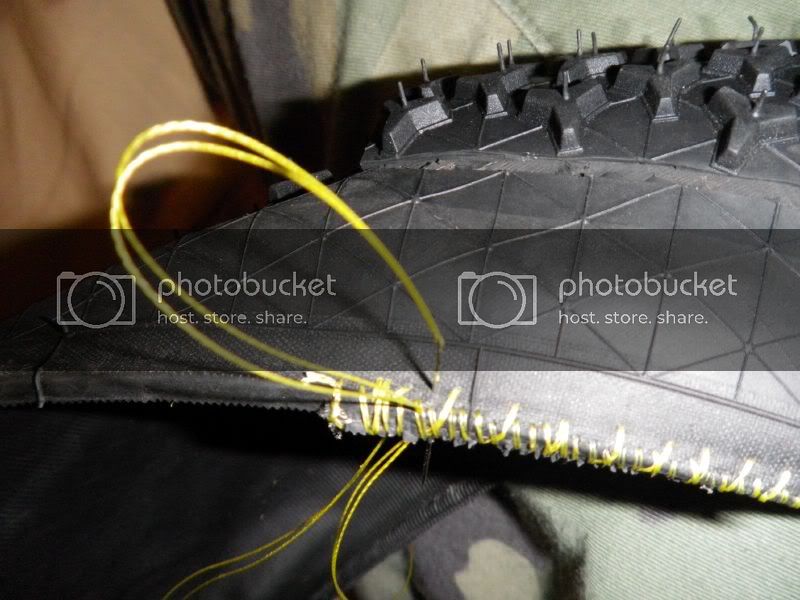
This is where we finally get to start sewing. I first did a pass going around the beads just to hold everything in place.
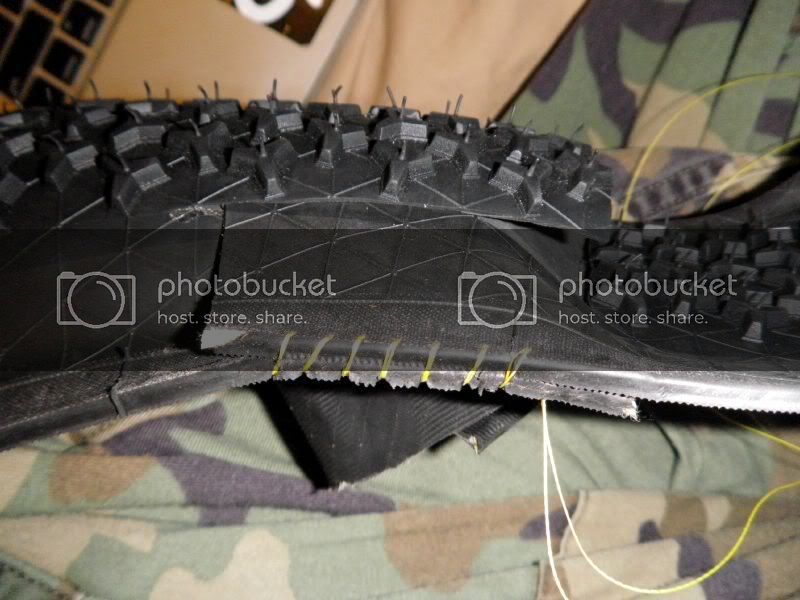
Next I made a back pass sewing through the beads and around the bottom pulling it tight every time.
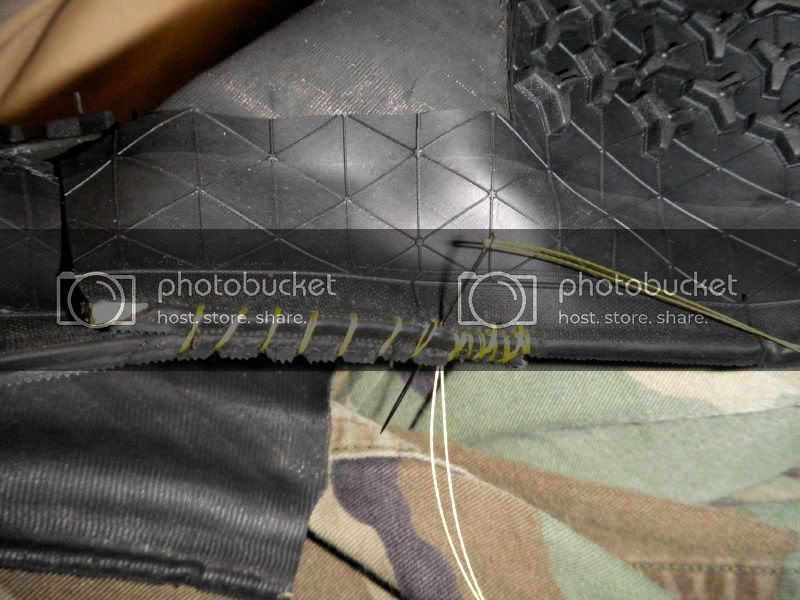
Finally I did a third pass through the bead and the edge of the casing for good measure.
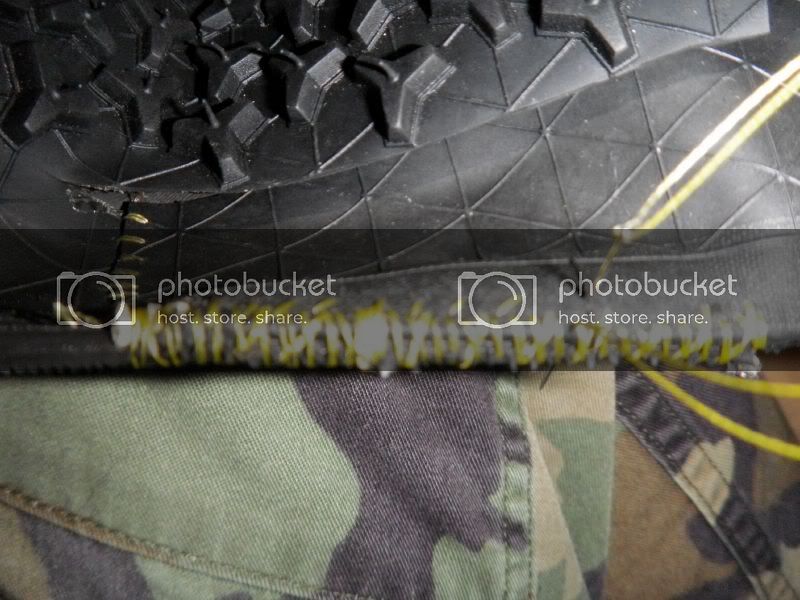
With the first bead done I sewed only the visible side of the join on the sidewalls and under the flap, then sewed the other bead.
Repeat the process for the other join.
Once the joints are all sewn up you can throw some glue in the joins and then mount the tire on a rim with a tube to squeeze the casings together ensuring a good bond. Let sit overnight.

Remove any glue that squeezed out then glue down the flaps. I used old innertubes to keep pressure on them while the glue cured.
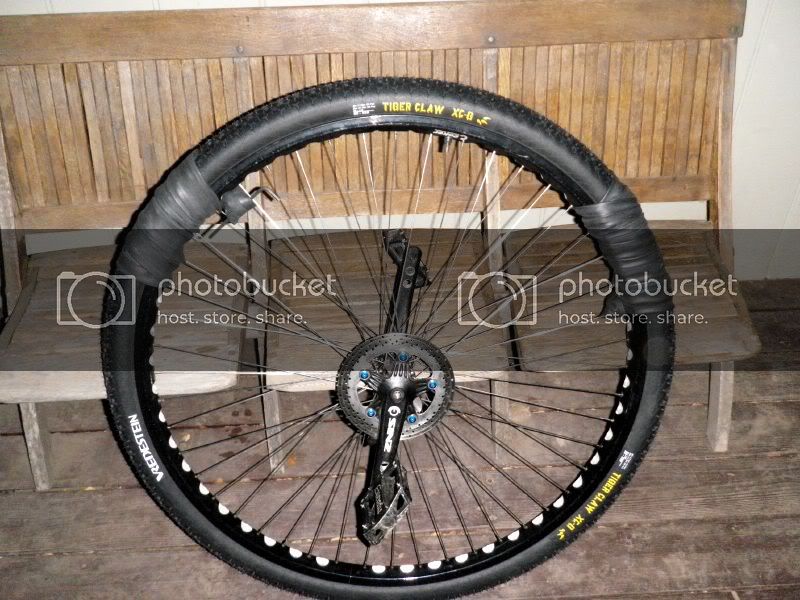
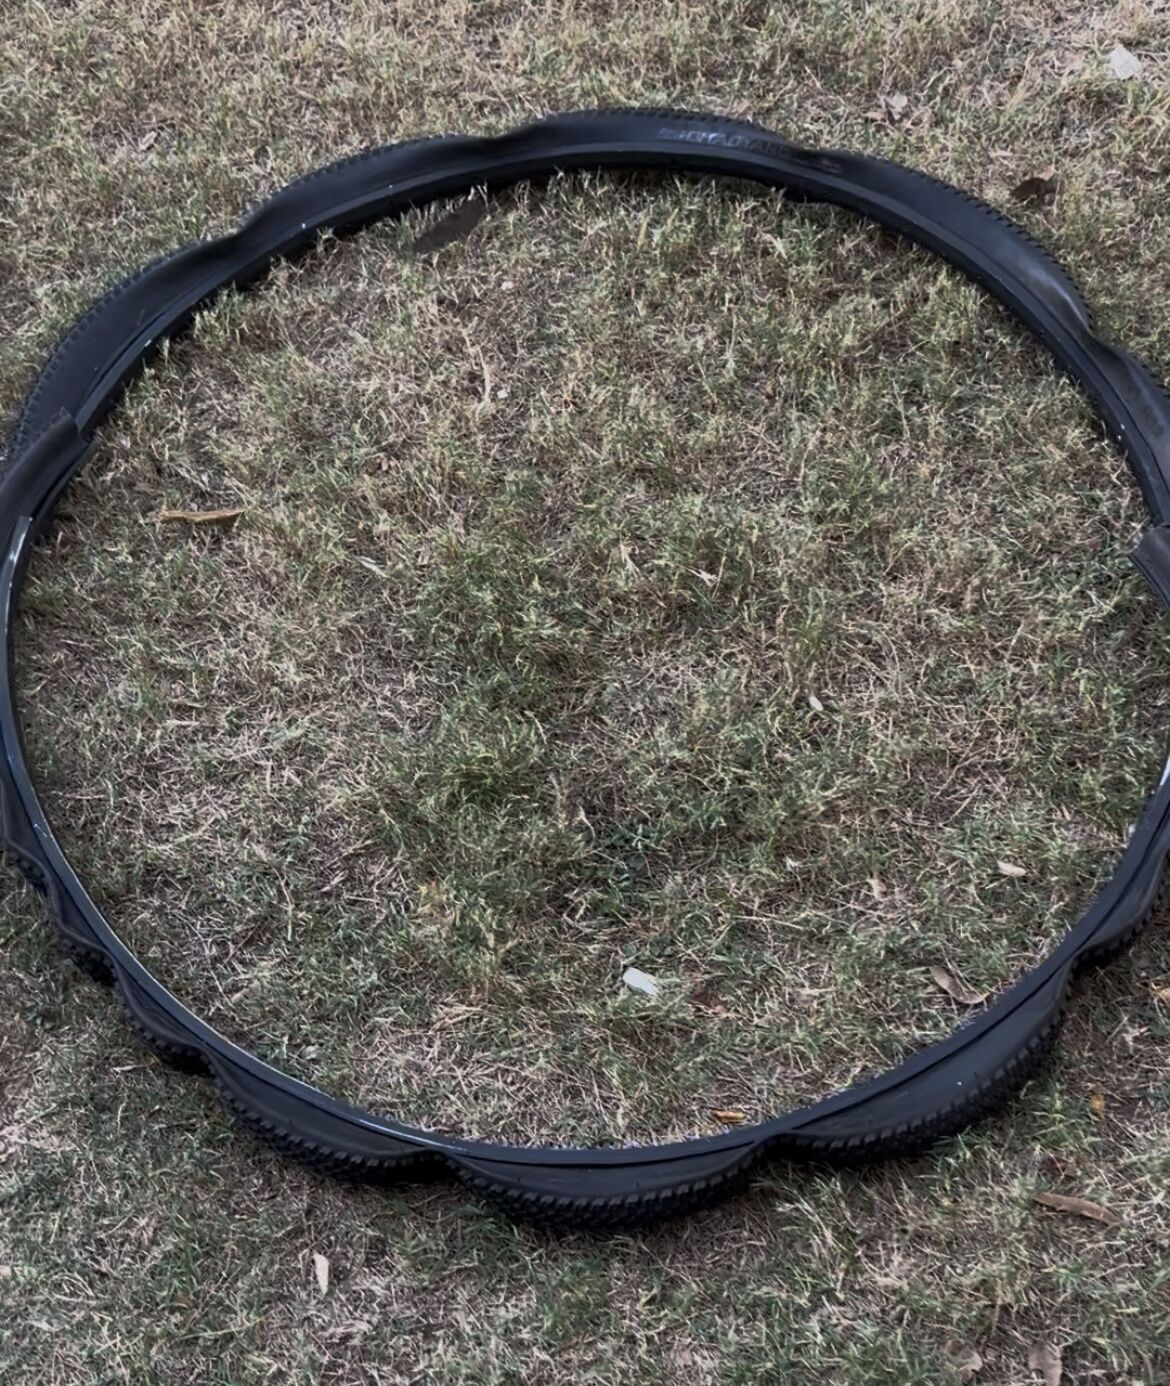
And that is about it. Once it had time to cure remove the wrap, install your wheel and go for a ride!