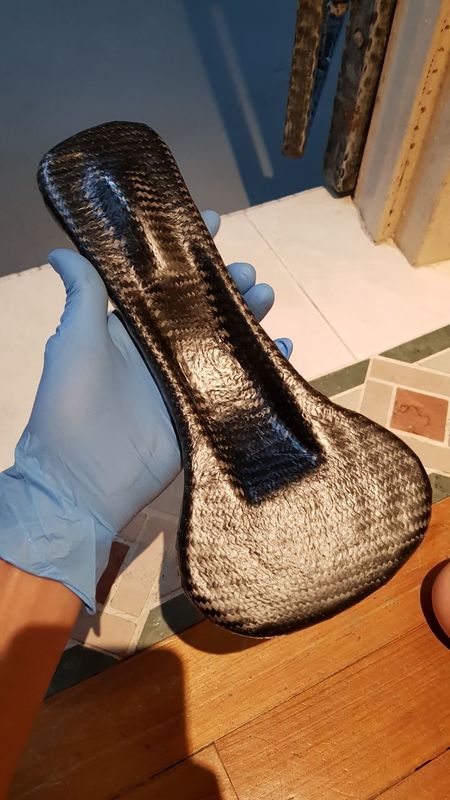
Hi all, I’m a pre-university unicyclist that in all honesty, gets a bigger kick out of thinking of equipment rather than riding these things. Over the past few months, I have been playing around with carbon fiber, and finally have a seat base that I am satisfied with.
Here are a few pics of the build process and the final product.
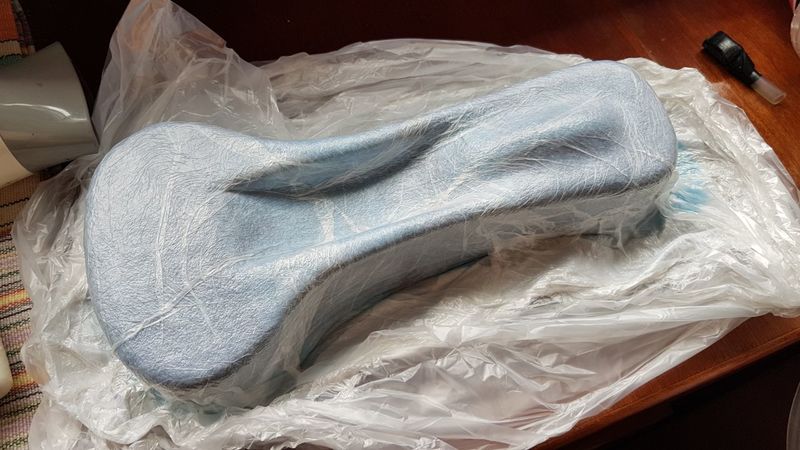
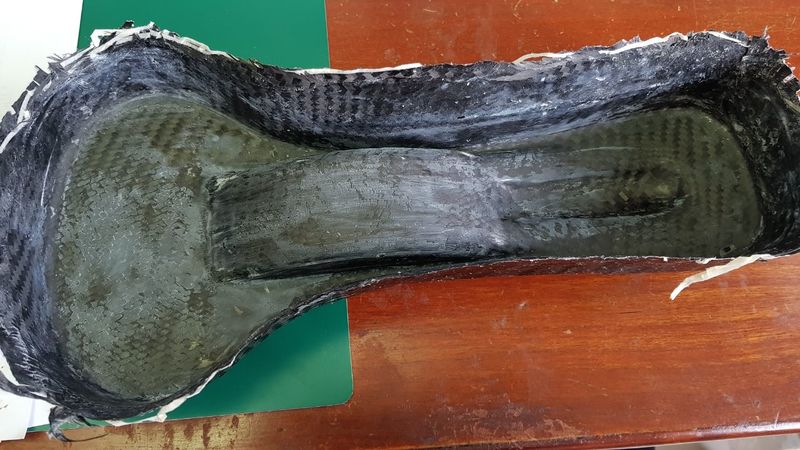
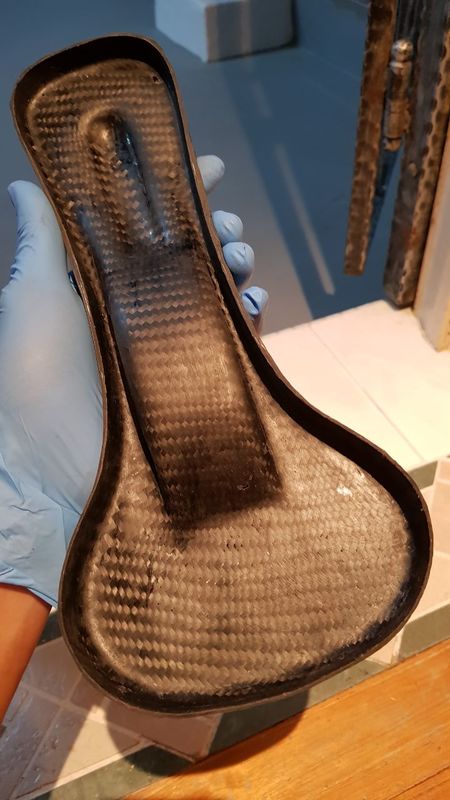
The cured pieces is pulled out of the mould. This step is rather stressful as it sometimes reveals bubbles and other oddities that cannot be seen from the top. After many test pieces, I am now able to consistently produce parts with minimal bubbles and other such flaws.
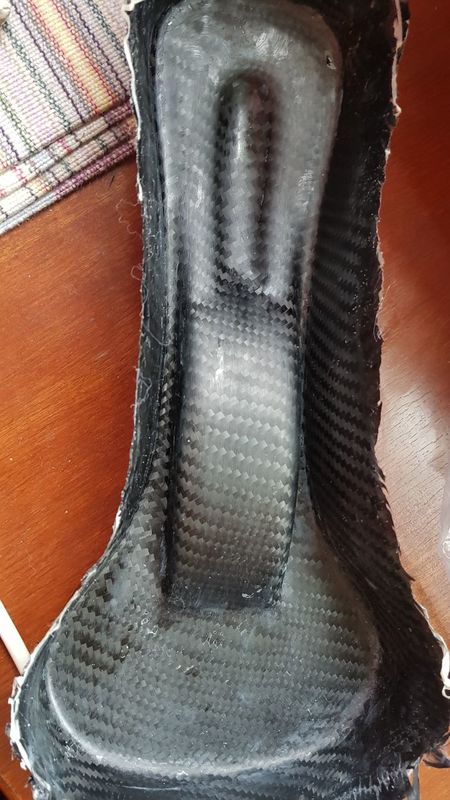
The mould release wax is then cleaned off. At this point, the edges are still rough, and rather sharp.
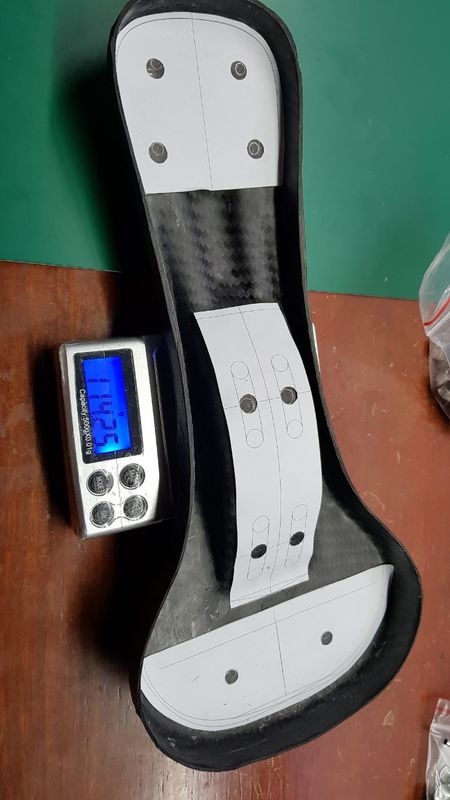
This is how i marked out the holes for drilling. In hindsight, I should have printed the three separate pieces as an individual sheet, as that would have improved accuracy. Drilling is done with regular HSS bits. Carbon is actually pretty soft in that sense, and cuts like plastic.
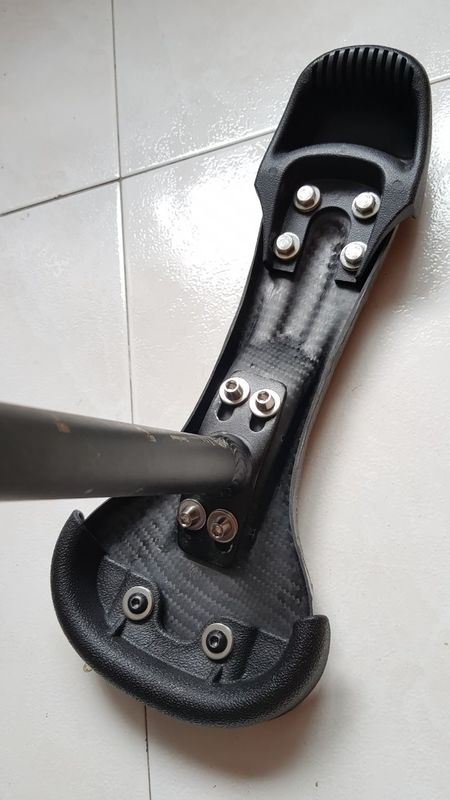
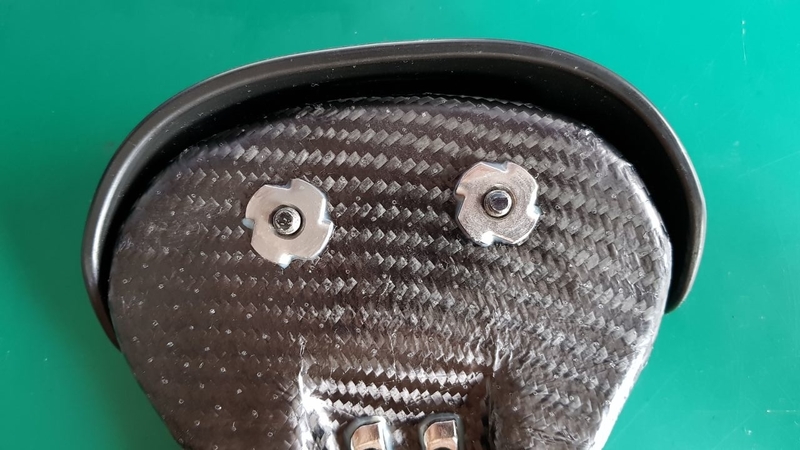
The nuts are pressed into place, and the alignment can be verified by installing the various attachments. In this case, the handle and bumpers were actually a little off due to errors in aligning the paper pieces in the previous step.
T nuts were chosen for the rear bumpers as the priority was having the top flat, and the other 8 nuts were chosen so as to not extend below the bottom of the thin carbon base. This was one of the reasons why the KH style bumper was chosen over the Nimbus ones, as they have a little gap at the bottom to allow for the protruding T nuts.
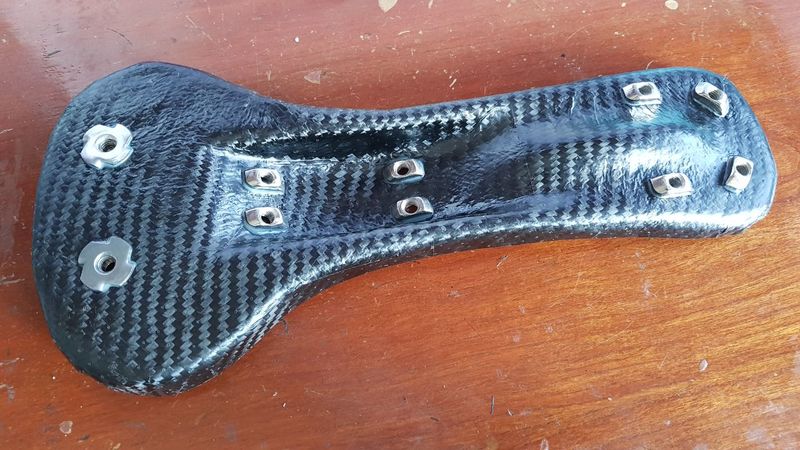
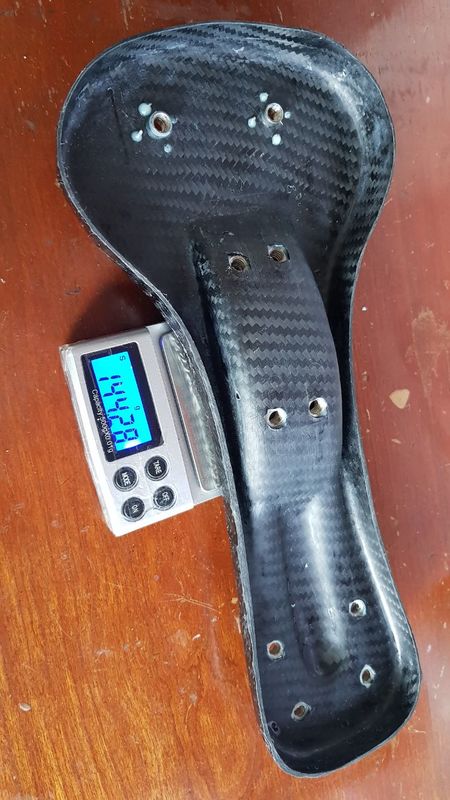
Not much visual difference, but this is the saddle with the nuts bonded in. I chose 3M’s DP460 for the bonding agent. The pokey bits at the rear bumper look dangerous, but they are fully covered up by the rear bumper once installed.
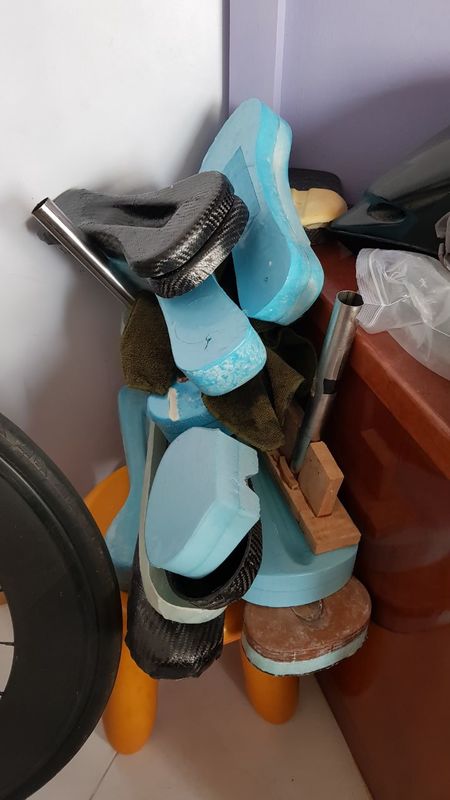
Firstly, the whole mound of flawed saddles and other experiments from the few months past. I have been using extruded polystyrene as my moulds, as it is cheap and easy to shape. However, if I were to make a large number of identical saddles, I would most certainly go with a more durable material. These moulds crack when they are dropped, and have to be handled gently.
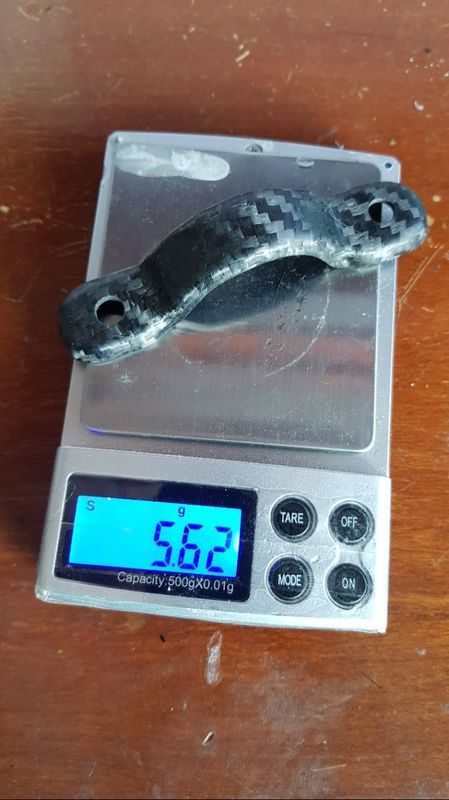
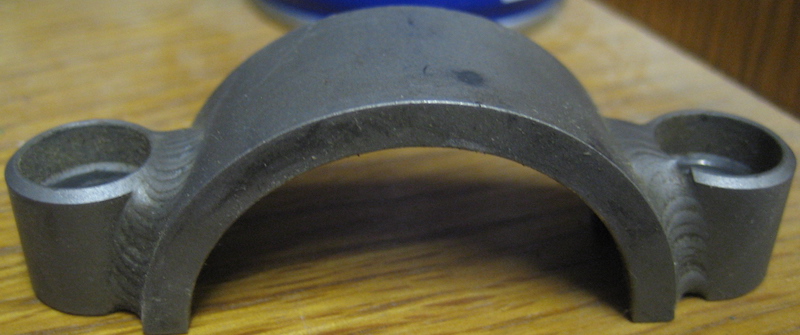
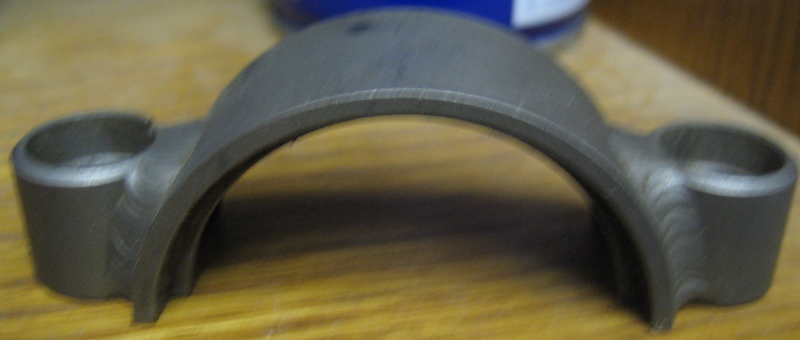
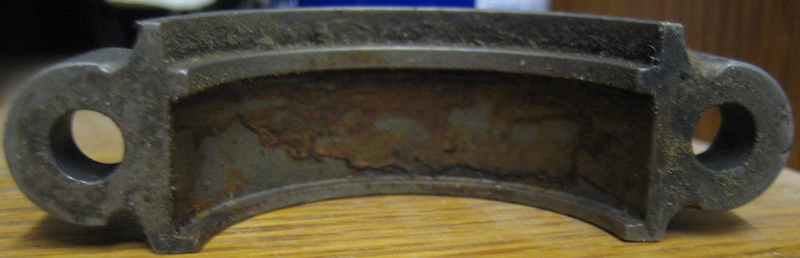
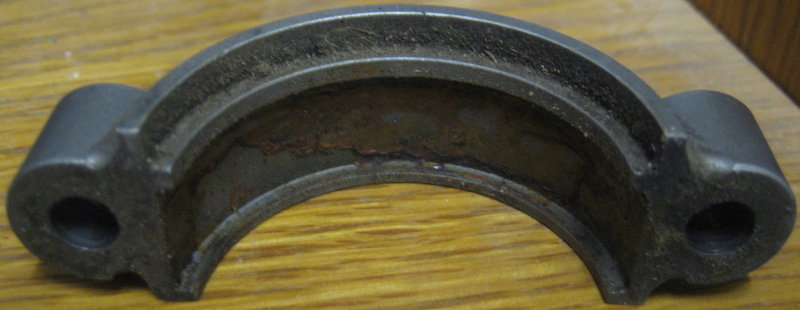
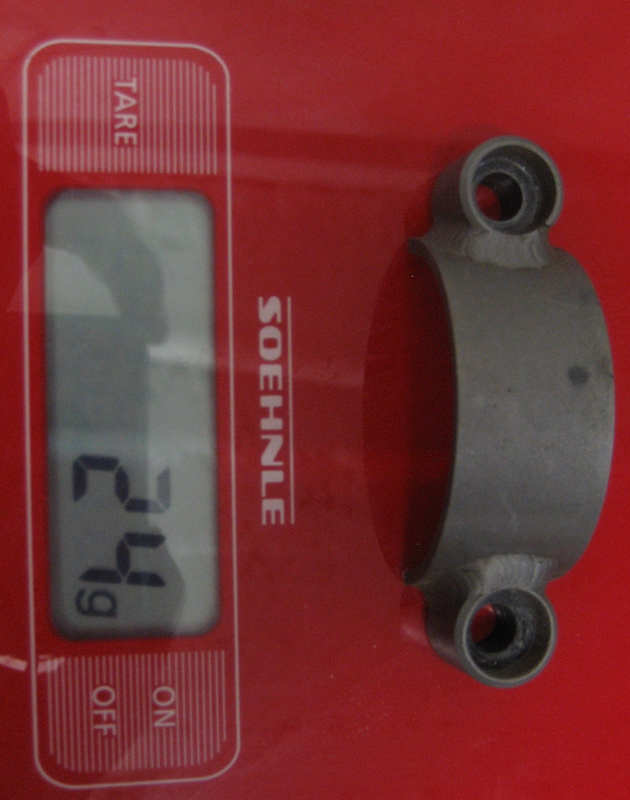
Next, a carbon bearing clamp for my slow moving carbon frame project. I only own a few steel unicycles, so if anyone could share the weight of the bearings caps of their Triton/KH unicycles, I would be very grateful!
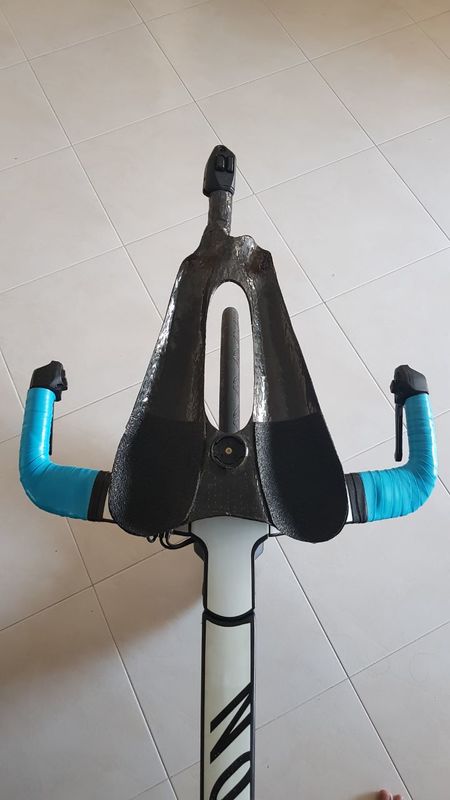
Lastly, some custom armrests for my b*ke. This was made a long time ago before i owned a vacuum pump, and have a much rougher finish compared to what I am able to do now. Still comfy, and something like a third of the weight of the original handlebar setup. Perhaps I will redo it when I have the time and drive to.
thanks for the pics and explanation. It is a fascinating read
I was wondering: the failed attempts you mention after the curing step, are they just aesthetical failure or are they also compromised in their structure integrity ?
And as for the other bearing caps, do you need pictures ? Measurements ? Or need to physically have them to make a mould ?
The first few attempts had some voids and variations in the carbon thickness due to the layers shifting during cure, which most certainly would affect the structural integrity. Then the rest was mostly aesthetic, some due to the mould design (too sharp internal corners, other strange problems). However, by that time I was already too invested into this project and wanted a ‘perfect’ saddle that always felt one try away.
As for the bearing caps, I just wanted the weights, as a rough estimate of how much material is in the bearings caps. However, some close up pictures of the triton caps would be great too, they look so thin and seem to have hardly any lip to hold the bearings in!
Thanks for the additional details. I was just asking because even though you were aiming for the perfect saddle base (structurally and aesthetically), some of your attempts can still be put to use and fund you future production.
I am sure there is people in here that won’t say no to a carbon base at a discount because there are things to do or it is not a top-model
Note: I will try to make some close-up pics & measurements on my bearings holders from my Triton Triple (asymetric bolts).
@Siddhartha,
While I understand where you are coming from regarding cheaper flawed saddles, I wouldn’t feel comfortable selling saddles with structural flaws, especially now when the KH flat saddles are virtually bombproof, and a carbon seatbase is more of a luxury than a requirement for comfort.
Perhaps I could set a base price for a ‘perfect’ saddle, and discount other cosmetically flawed saddles, or other minor flaws like imperfect drilling for the saddle pictured in the process above.
With the time, material and equipment cost, I’m thinking of roughly $175 for a complete saddle base (drilled, stainless steel inserts), subject to time constraints from schoolwork.