Hey again everyone. I just recently finished talking about my trip from Vermont to New Hampshire but wanted to also share my first uni-pack trip earlier in the year. In April of over a 2 day period from Saturday to Sunday, I rode about 50 miles (80.5 km) on 29 road unicycle.
I wanted to share this with people for a few reasons. One, it’s just fun to talk with others about unicycling, and two because I feel like it can help to dispel the notion that you need to spend four figures on a unicycle before even proceeding to get the materials needed to carry a bunch of stuff nor do you need to have some major, week long ride planned out. Some people have lives they need to tend to and can’t always set aside 5 days, a week, a month, etc to do these rides and so I wanted to throw in some ideas for anyone on a budget, with limited time, or doesn’t yet own or feel comfortable on a larger unicycle.
This will likely be less involved as my last post as I took fewer photos in favor of video but I’ll share what I do have.
I’ll start with my gear, a lot will be similar to my first post with some location shifts.
I rode an ungeared, 29" Nimbus Road Unicycle (the cheapest 29 UDC sells that is also compatible with a disc brake). I bought this back in June of 2019 for a GranFundo in New Brunswick where I first experimented with a cheaper alternative to handlebars (bullhorn PVC pipes wrapped in handlebar tape, a water bottle cage hose clamped on, and slid onto the seatpost with a 1’’ PVC T-Junction which was held in place with duct tape). It goes without saying that this and all future PVC attempts were duds. Here’s one example.
This leads into my next point though.
For handlebars I used pieces I found in old bins from my local bike store. I highly recommend finding a store/co-op near you and asking if they have old parts you can sift through.
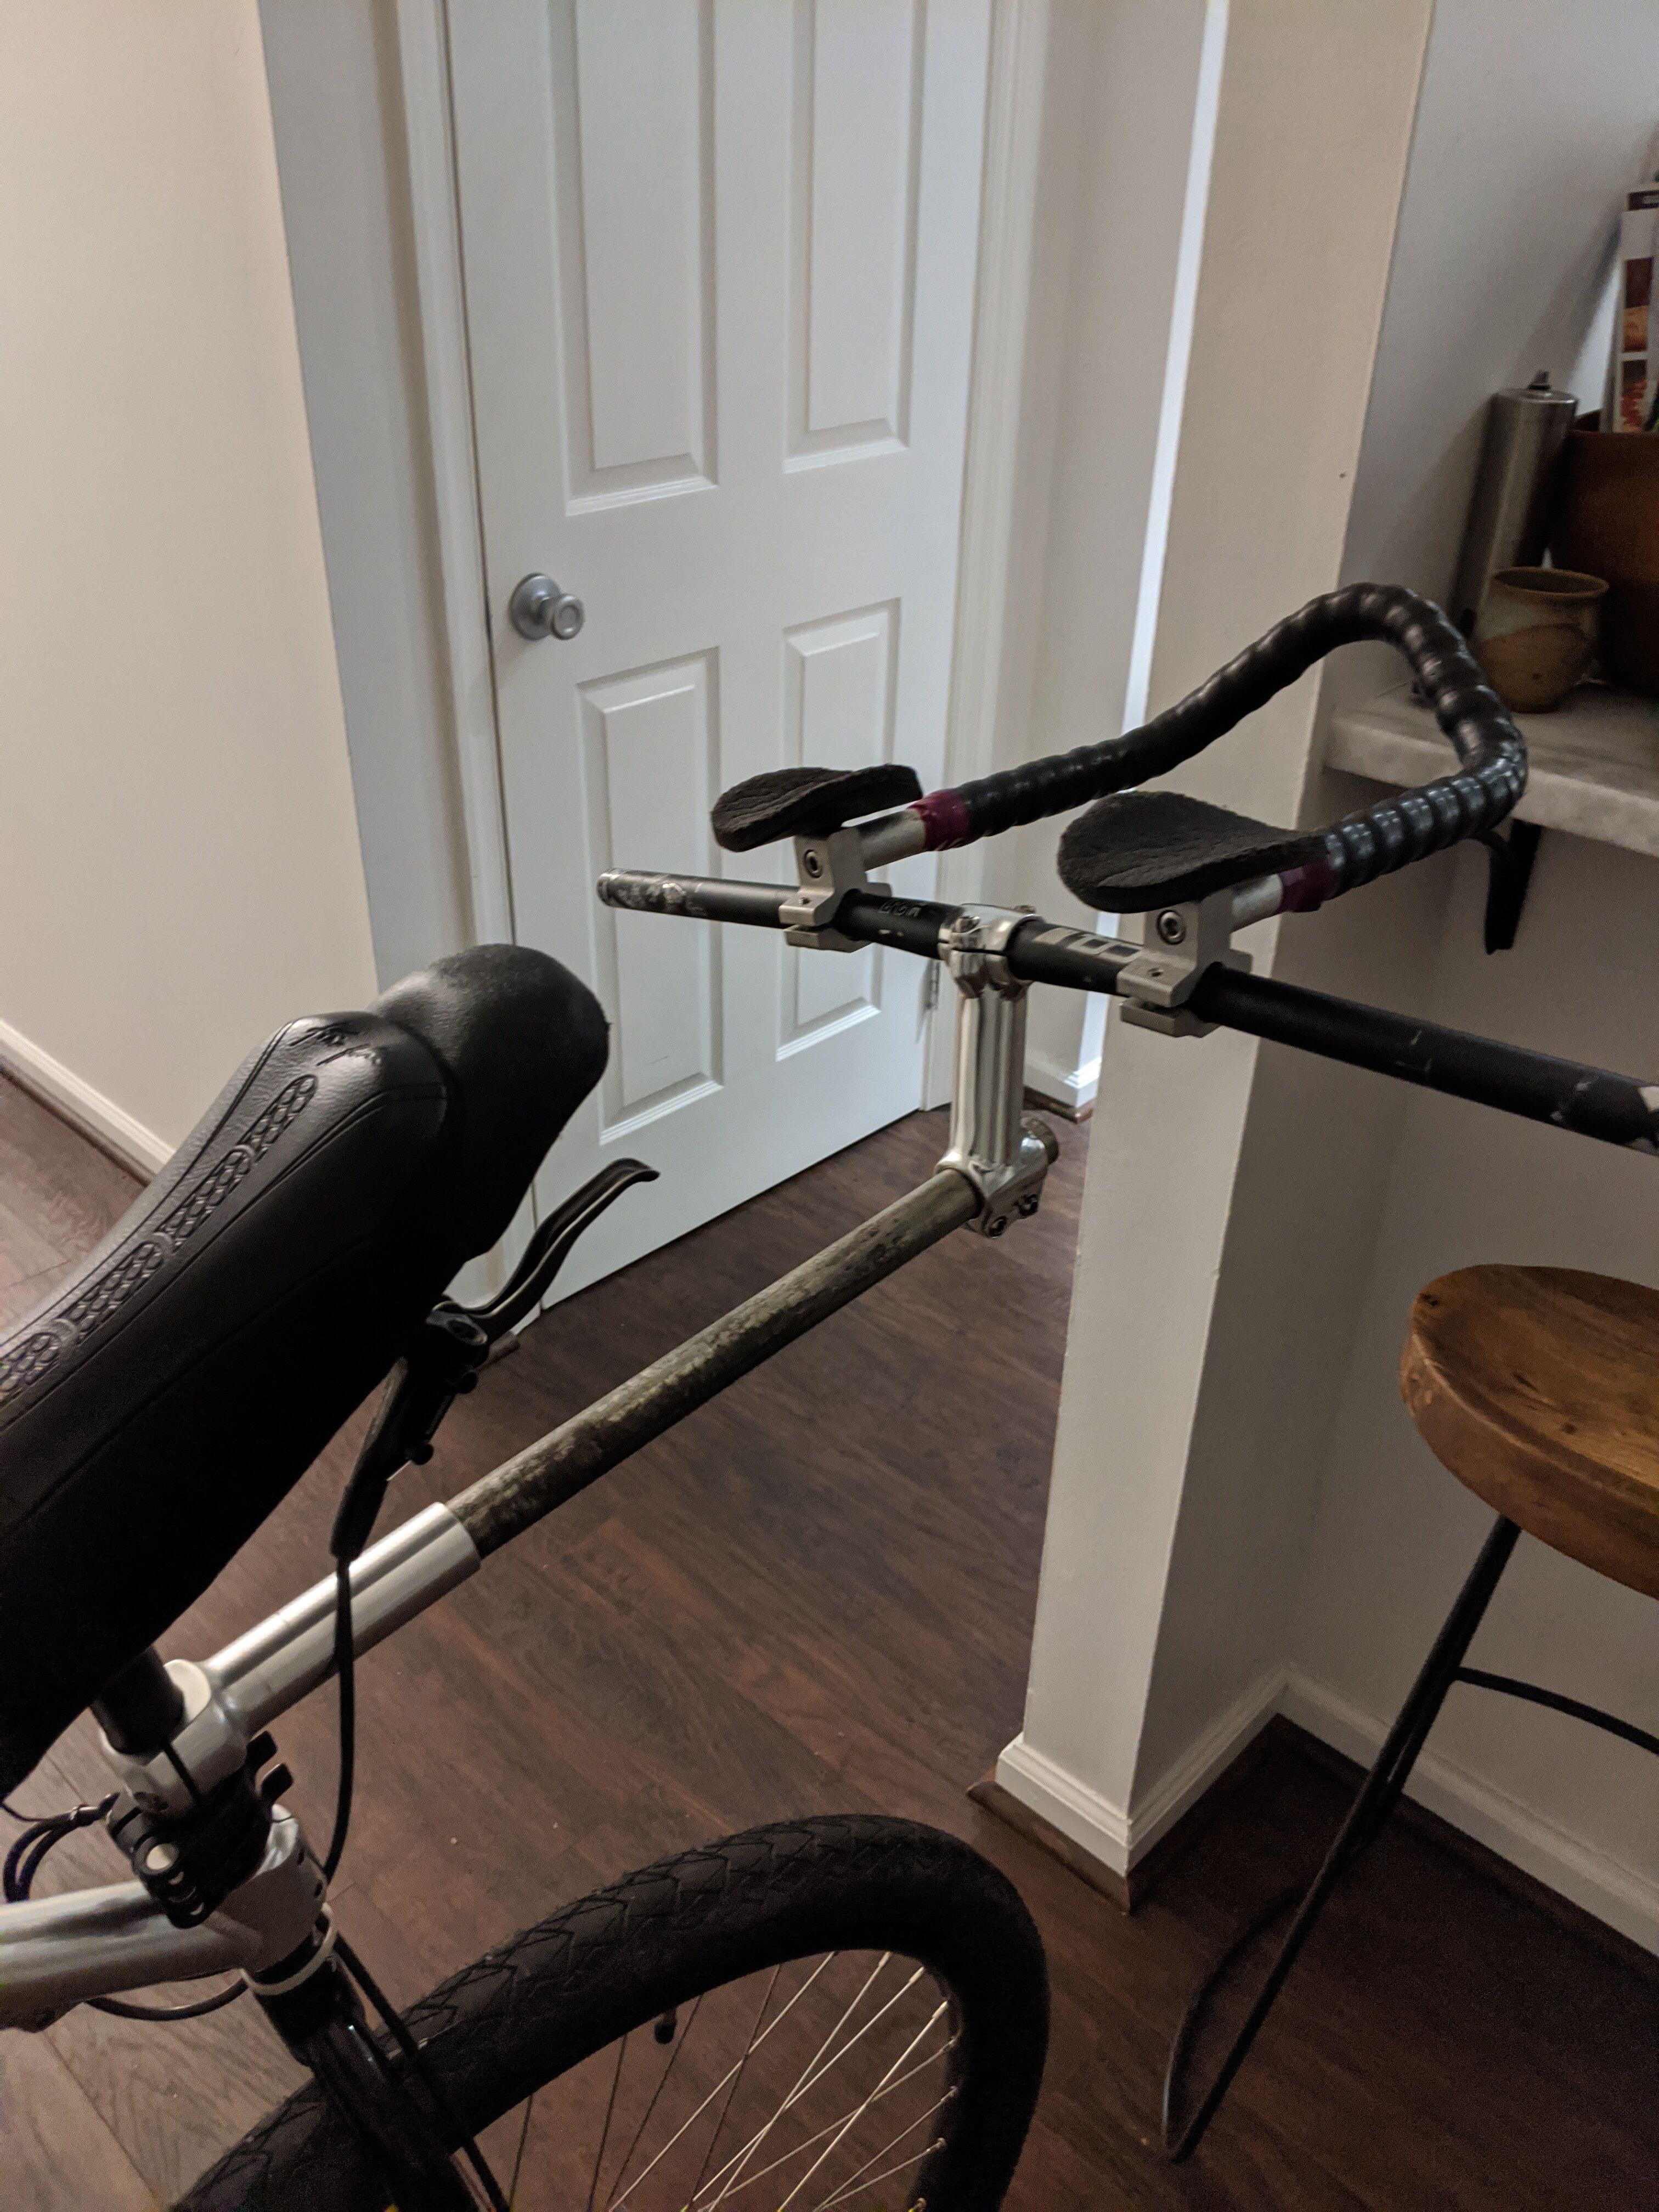
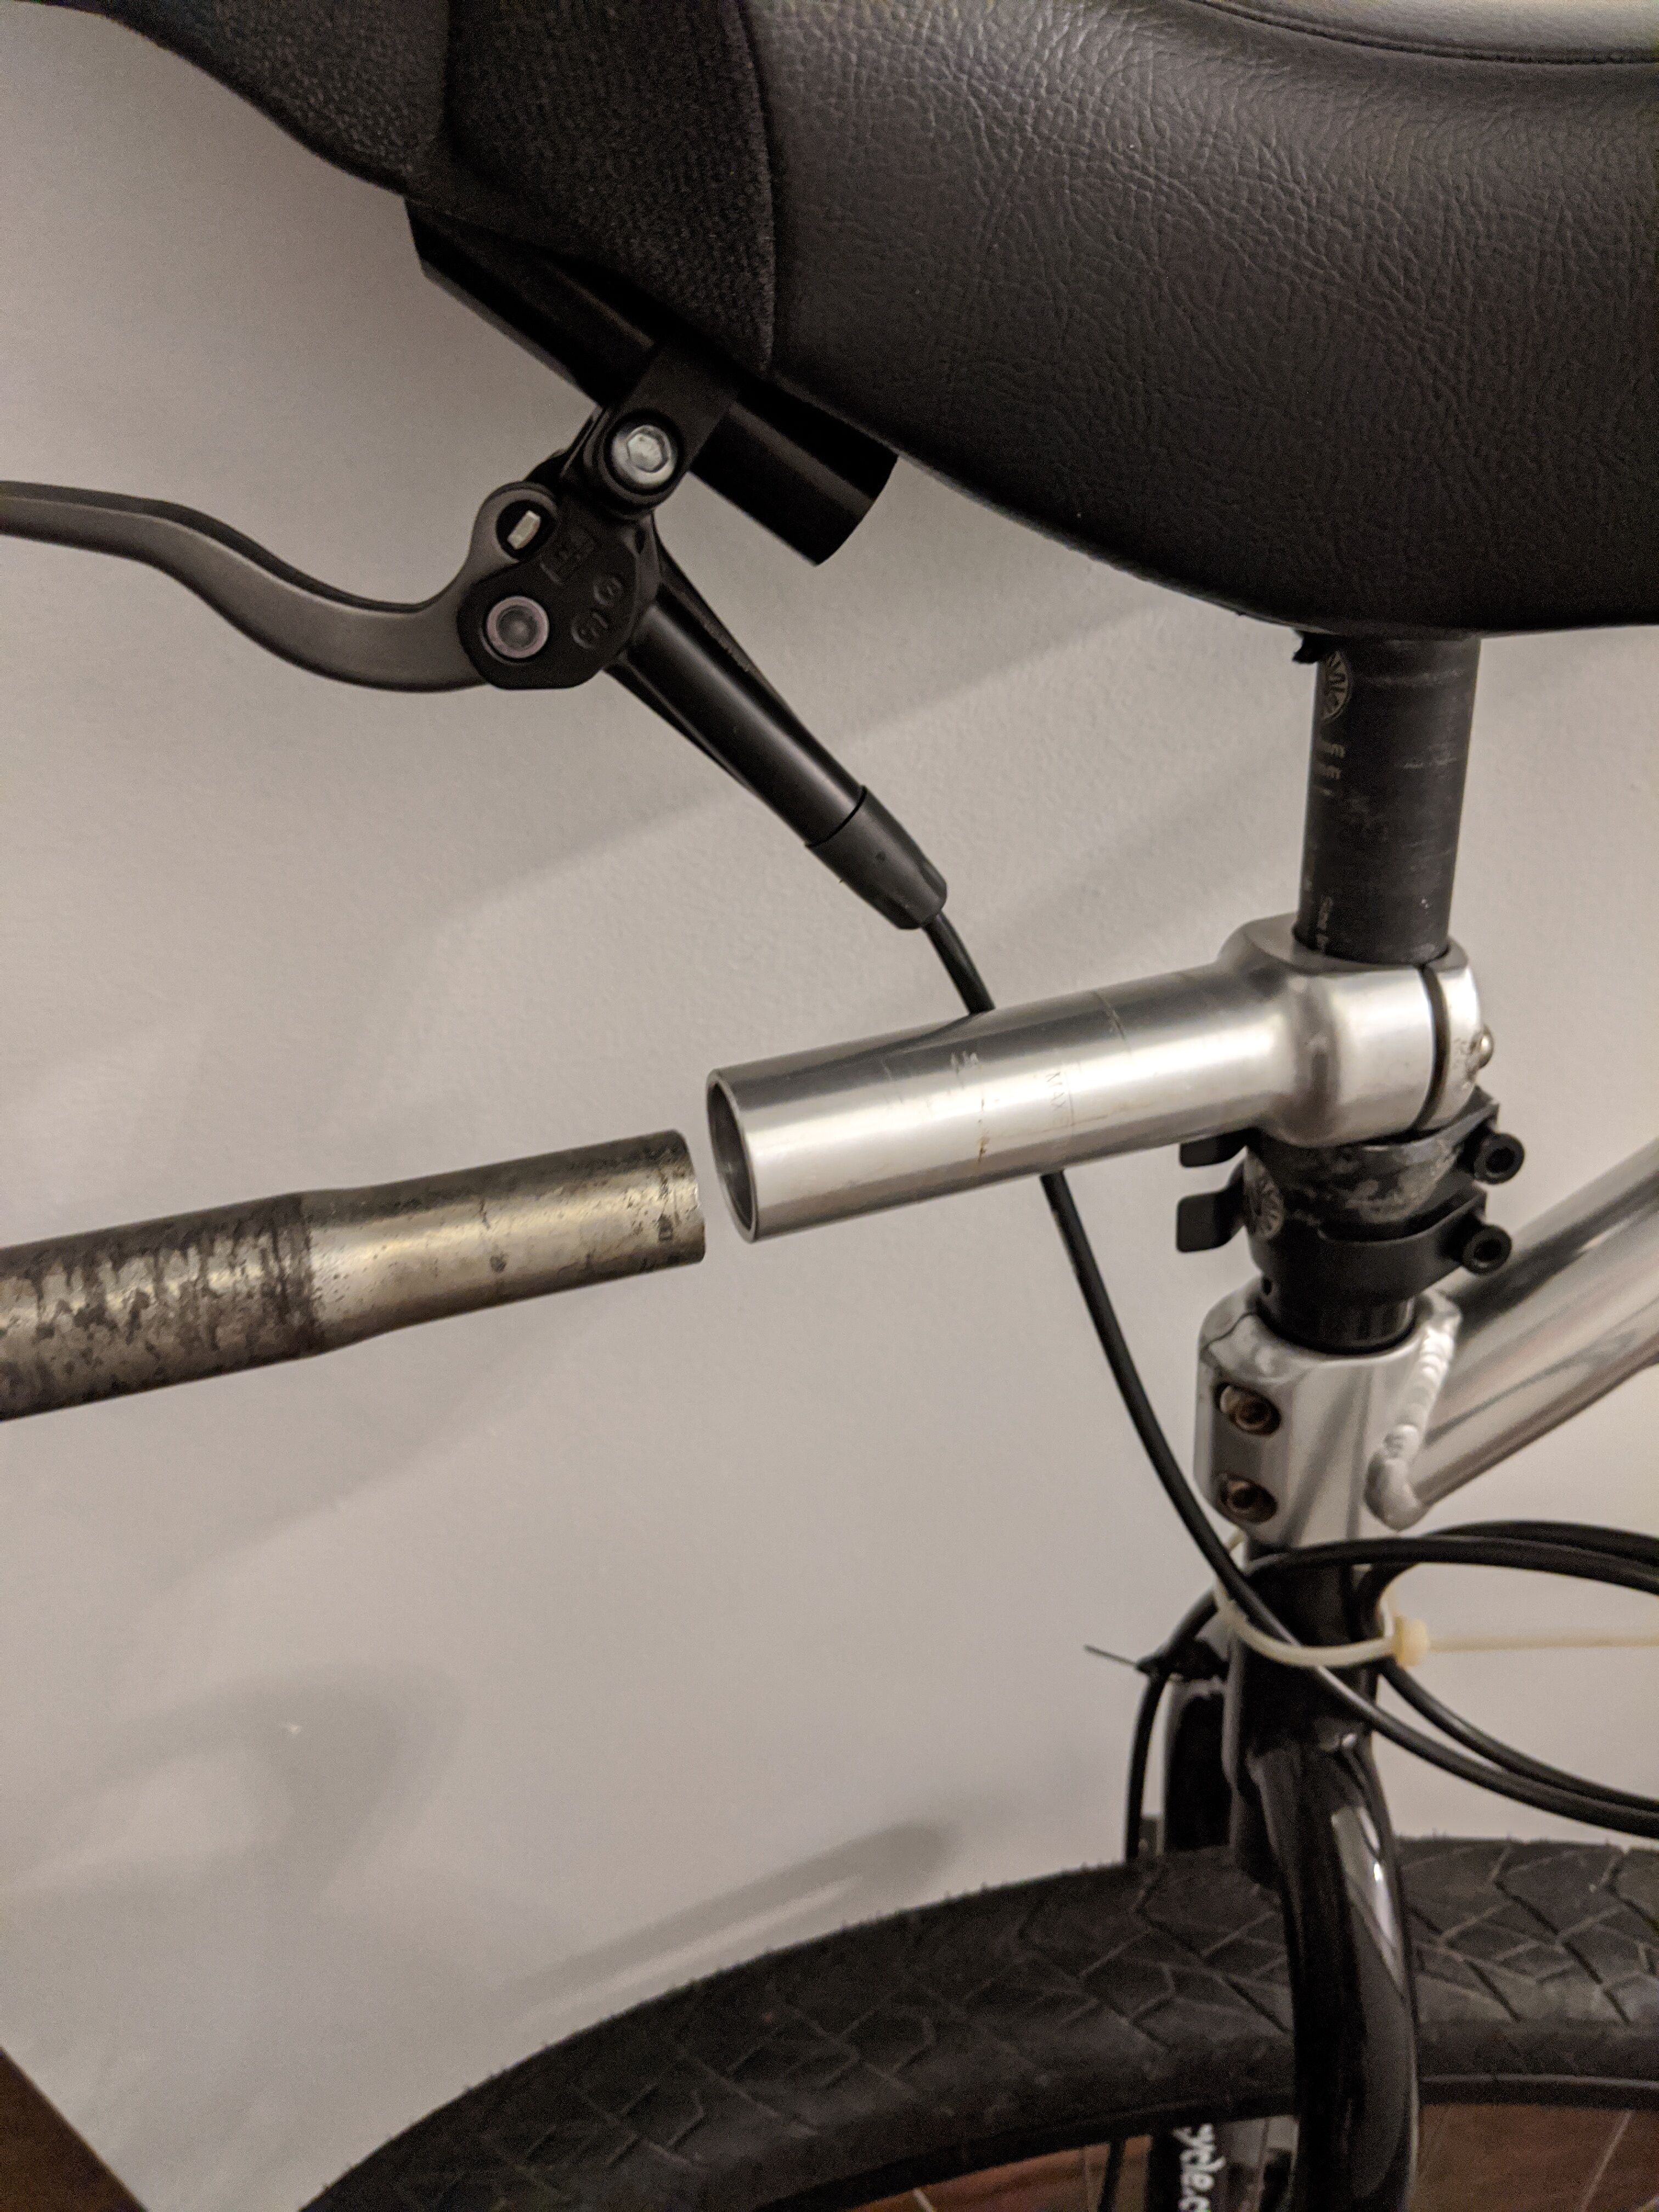
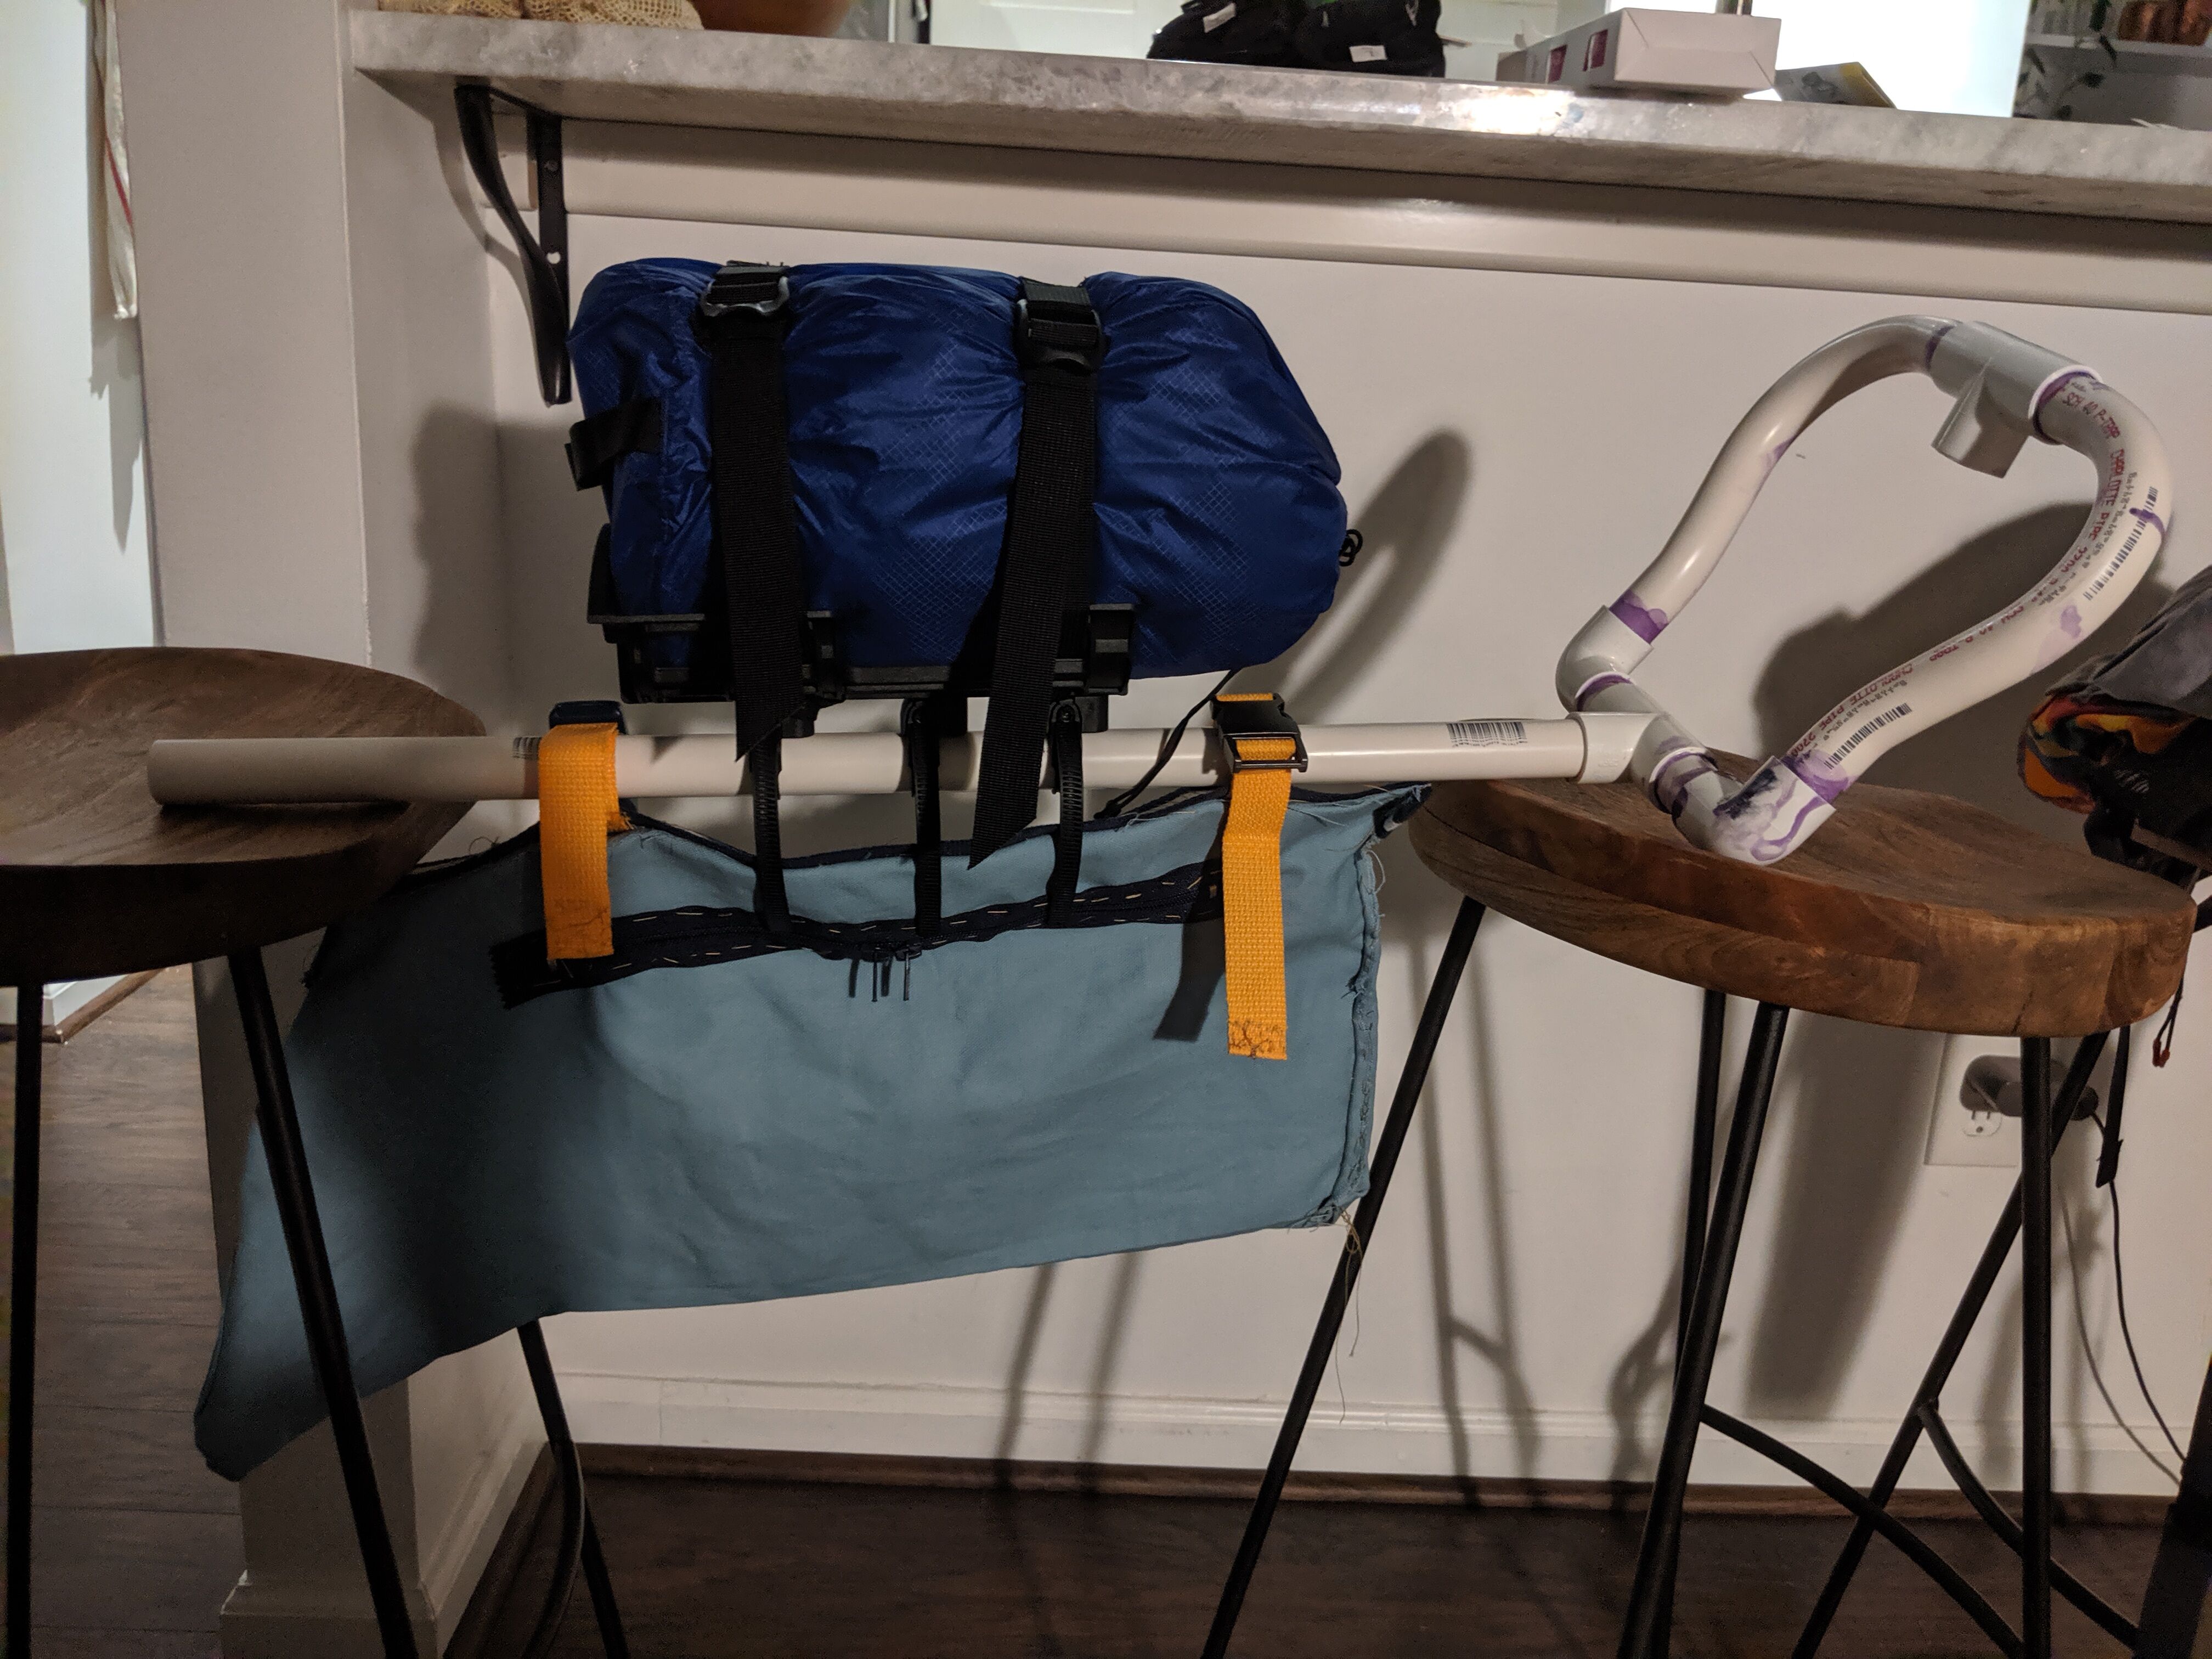
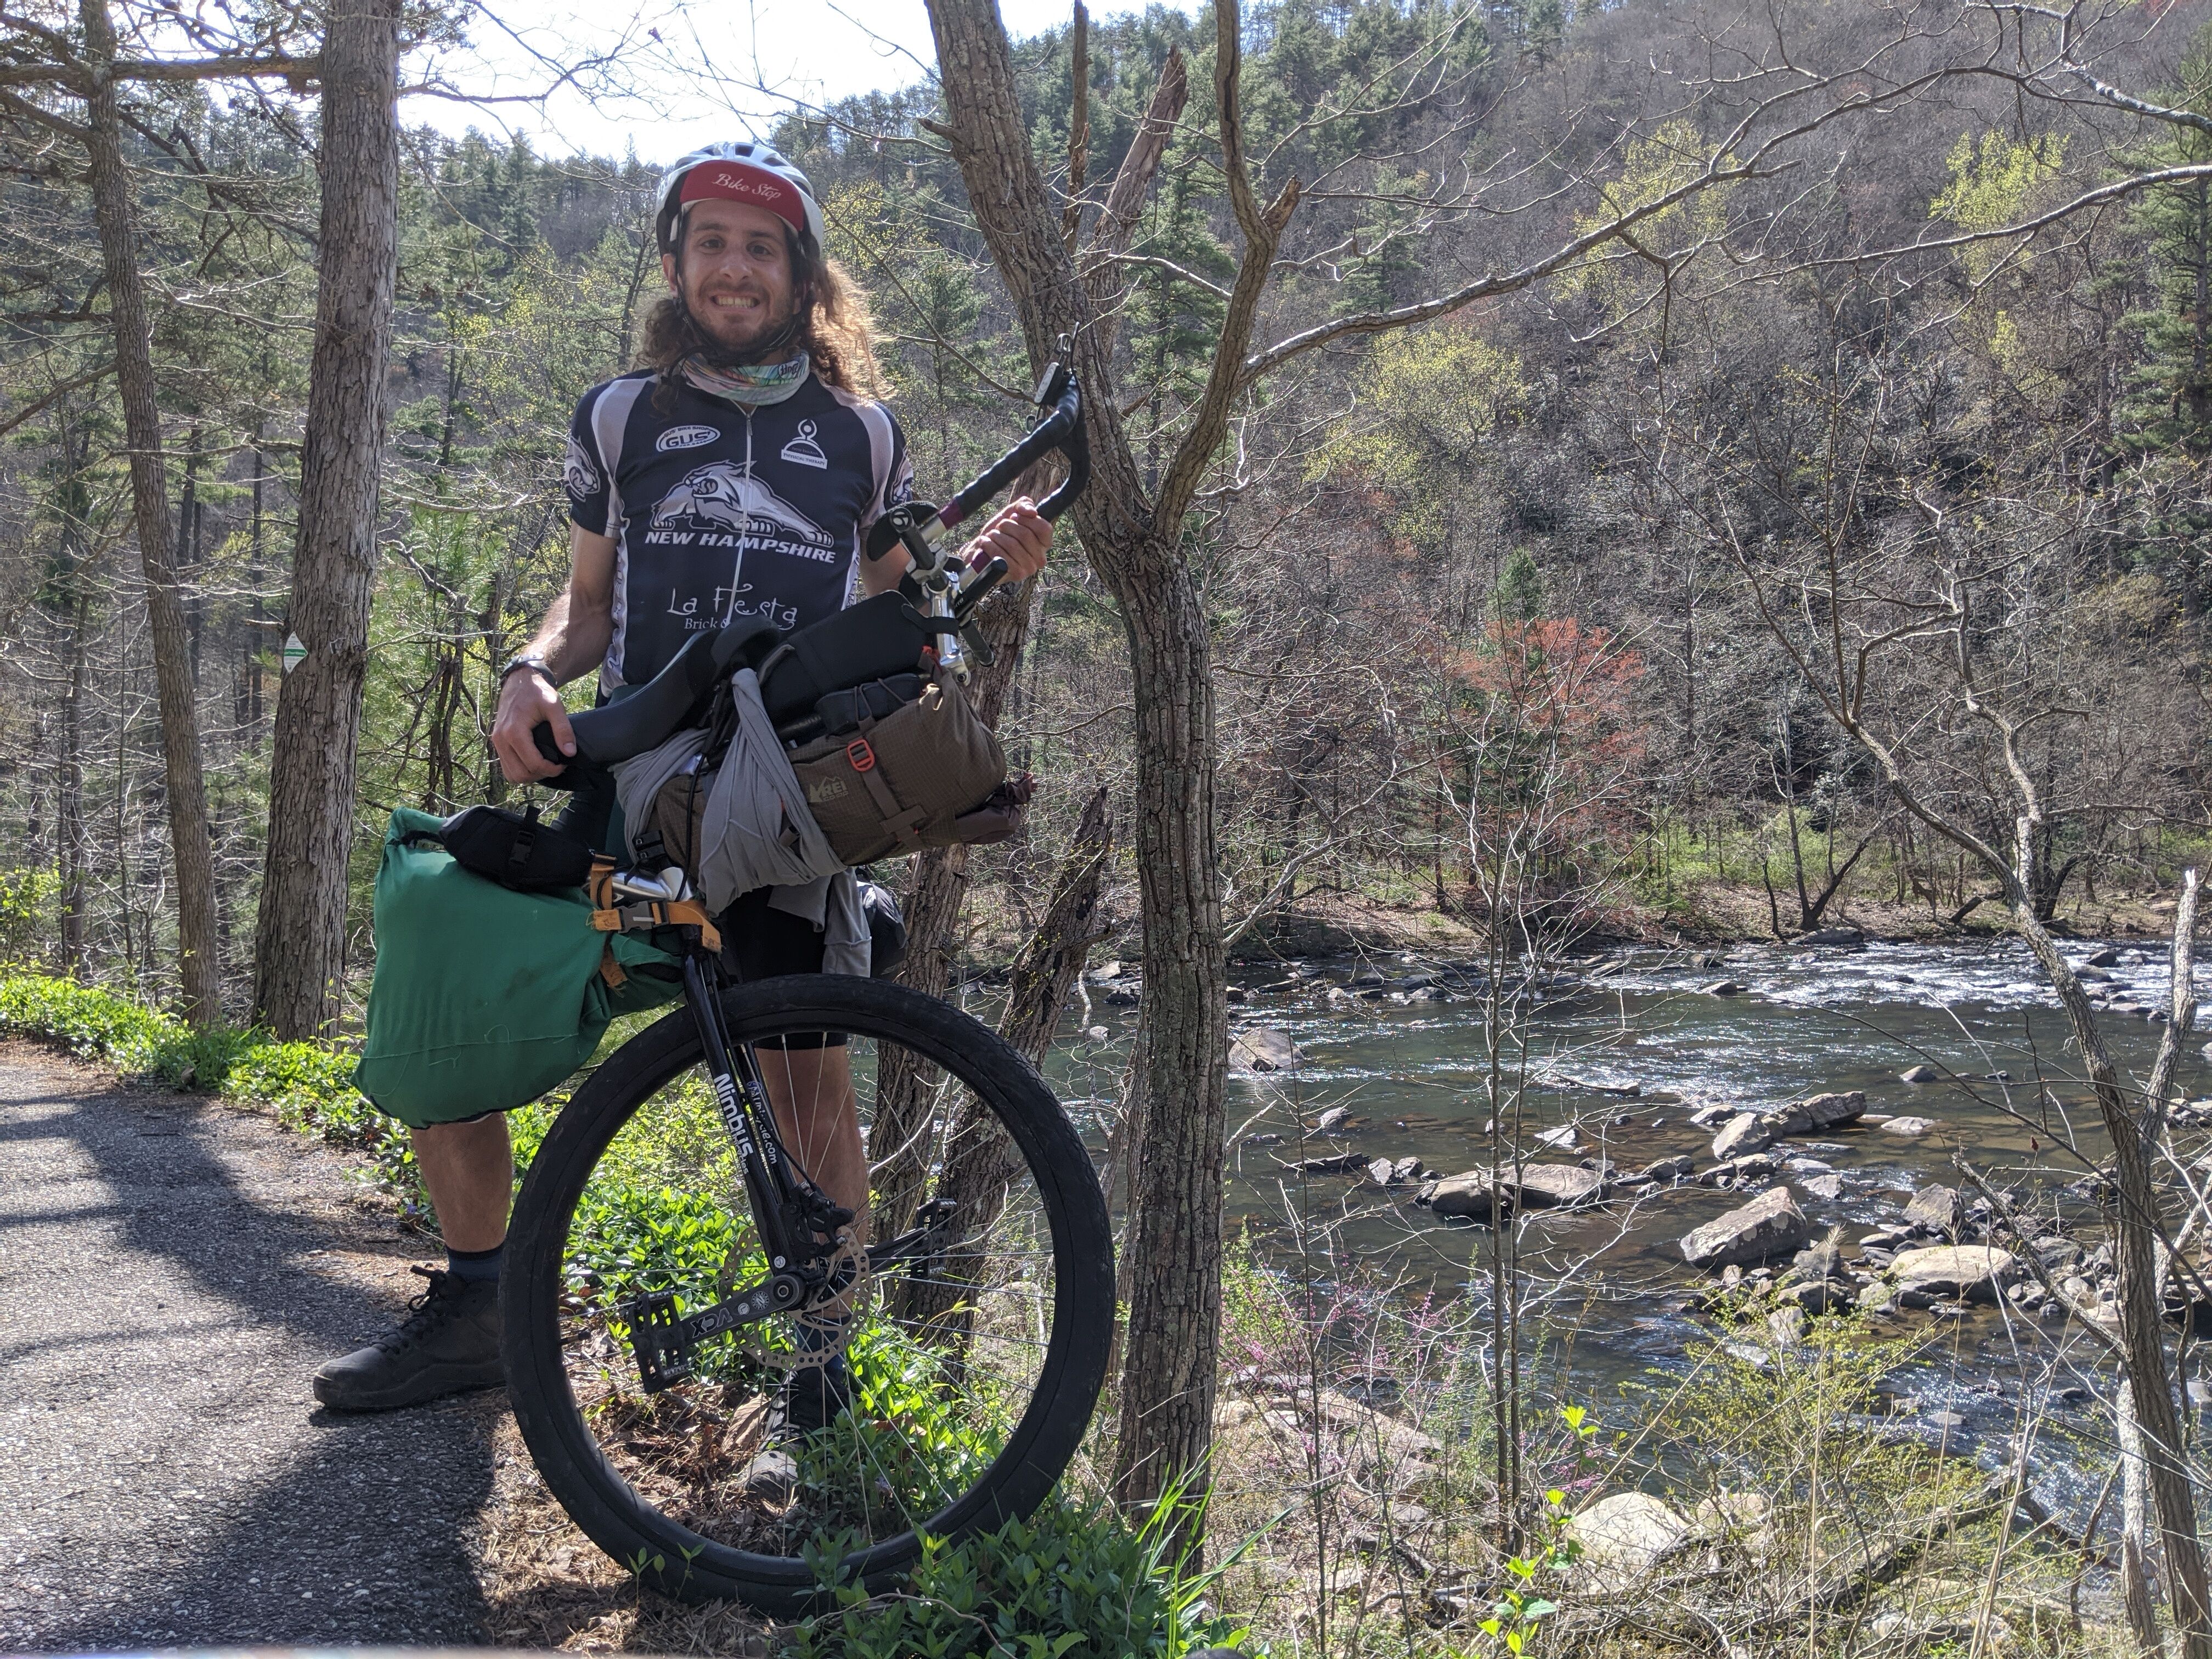
This is what I cobbled together. I have no clue what these pieces are called but if you do, more power to you. Essentially one piece to attach to the seat post, another piece that can slide into or over that piece (which I metal screwed together and then taped over), a double female stem at the end of that, a flat handlebar and a pair of clamp on aero bars from 1850 help make this all look that much more ridiculous. I’m obviously not saying you need this exact set-up but it is an idea. The good part about the unicycle I used it that the frame is 28.6 mm and not the 31.8mm? the larger frame of the Oracle series. This came in huge for my rear set up.
My rear luggage set-up involved the use of a 1/2 of a tandem stoker stem, the part that fits around the seatpost or in my case the frame, and then an old seatpost that I inserted into the female end and was able to tighten. Worked wonders but I recognize I was lucky to find this part. Especially because these pieces can run between $40-$100 dollars new. You can see where I attached in the above pictures I just realized. It required me to remove the seatpost clamp and all the accoutrements but can just hang out there whether you use it or not and thus doesn’t require constant surgery to take off all the time.
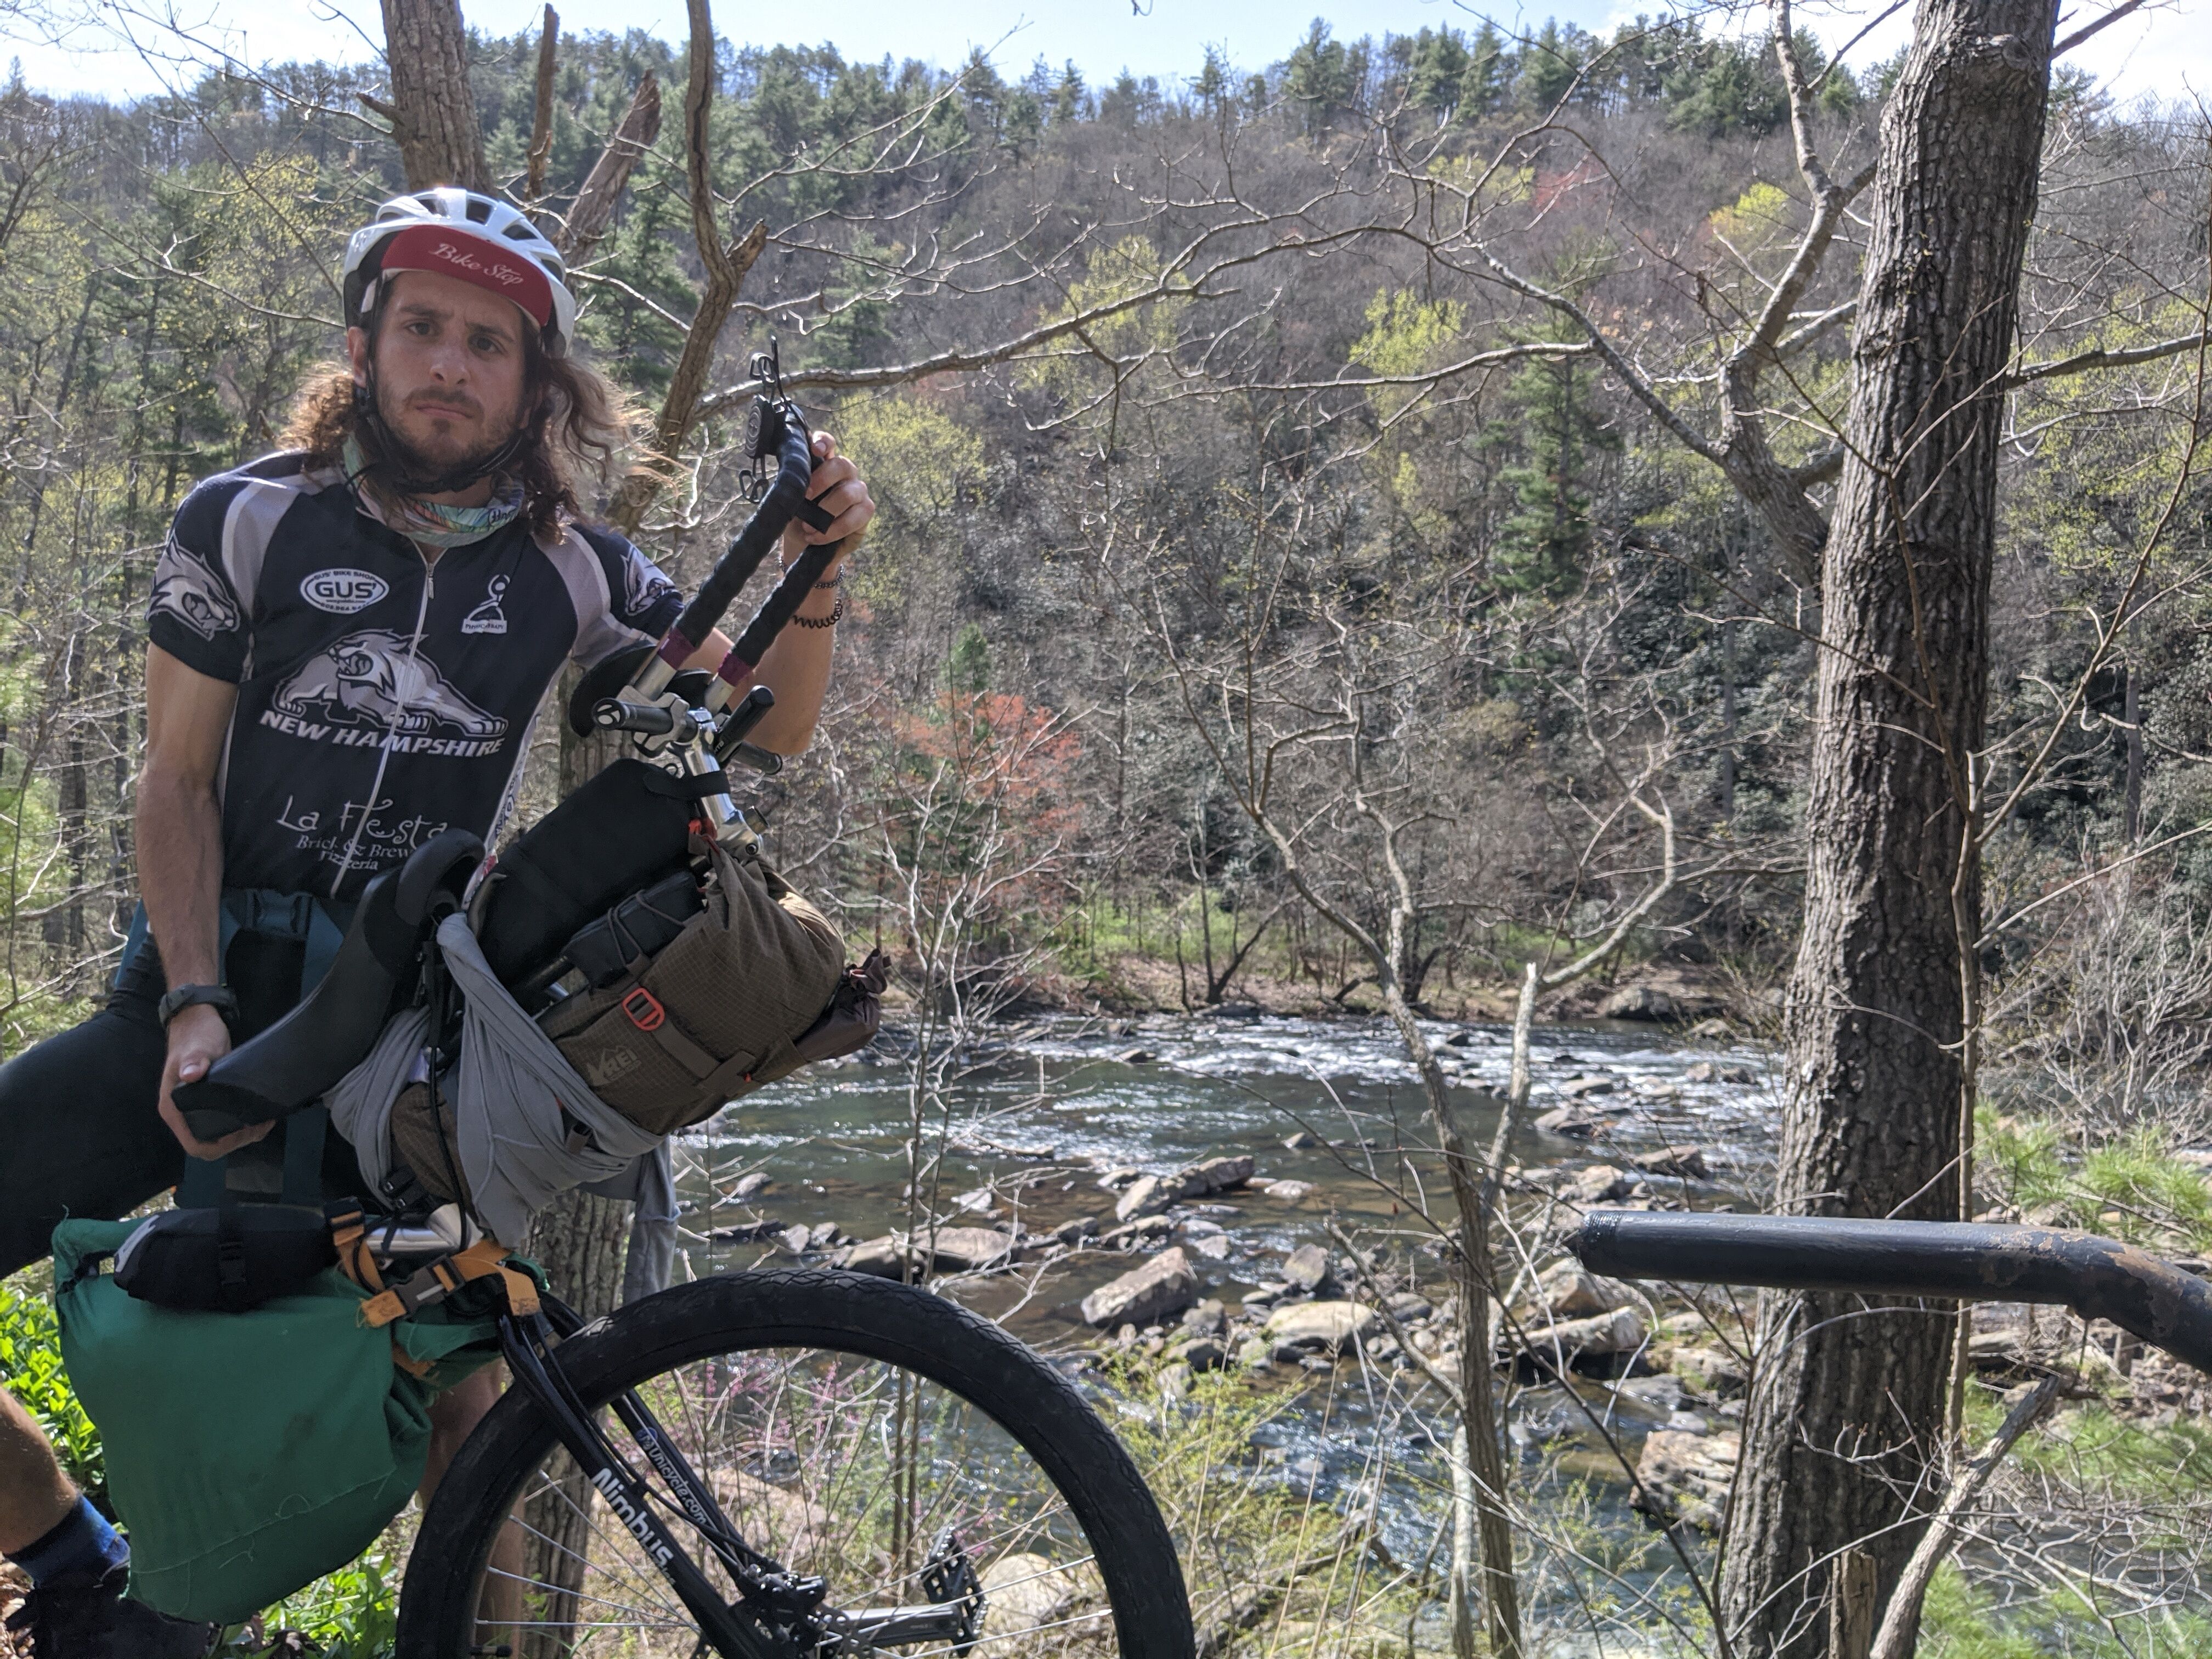
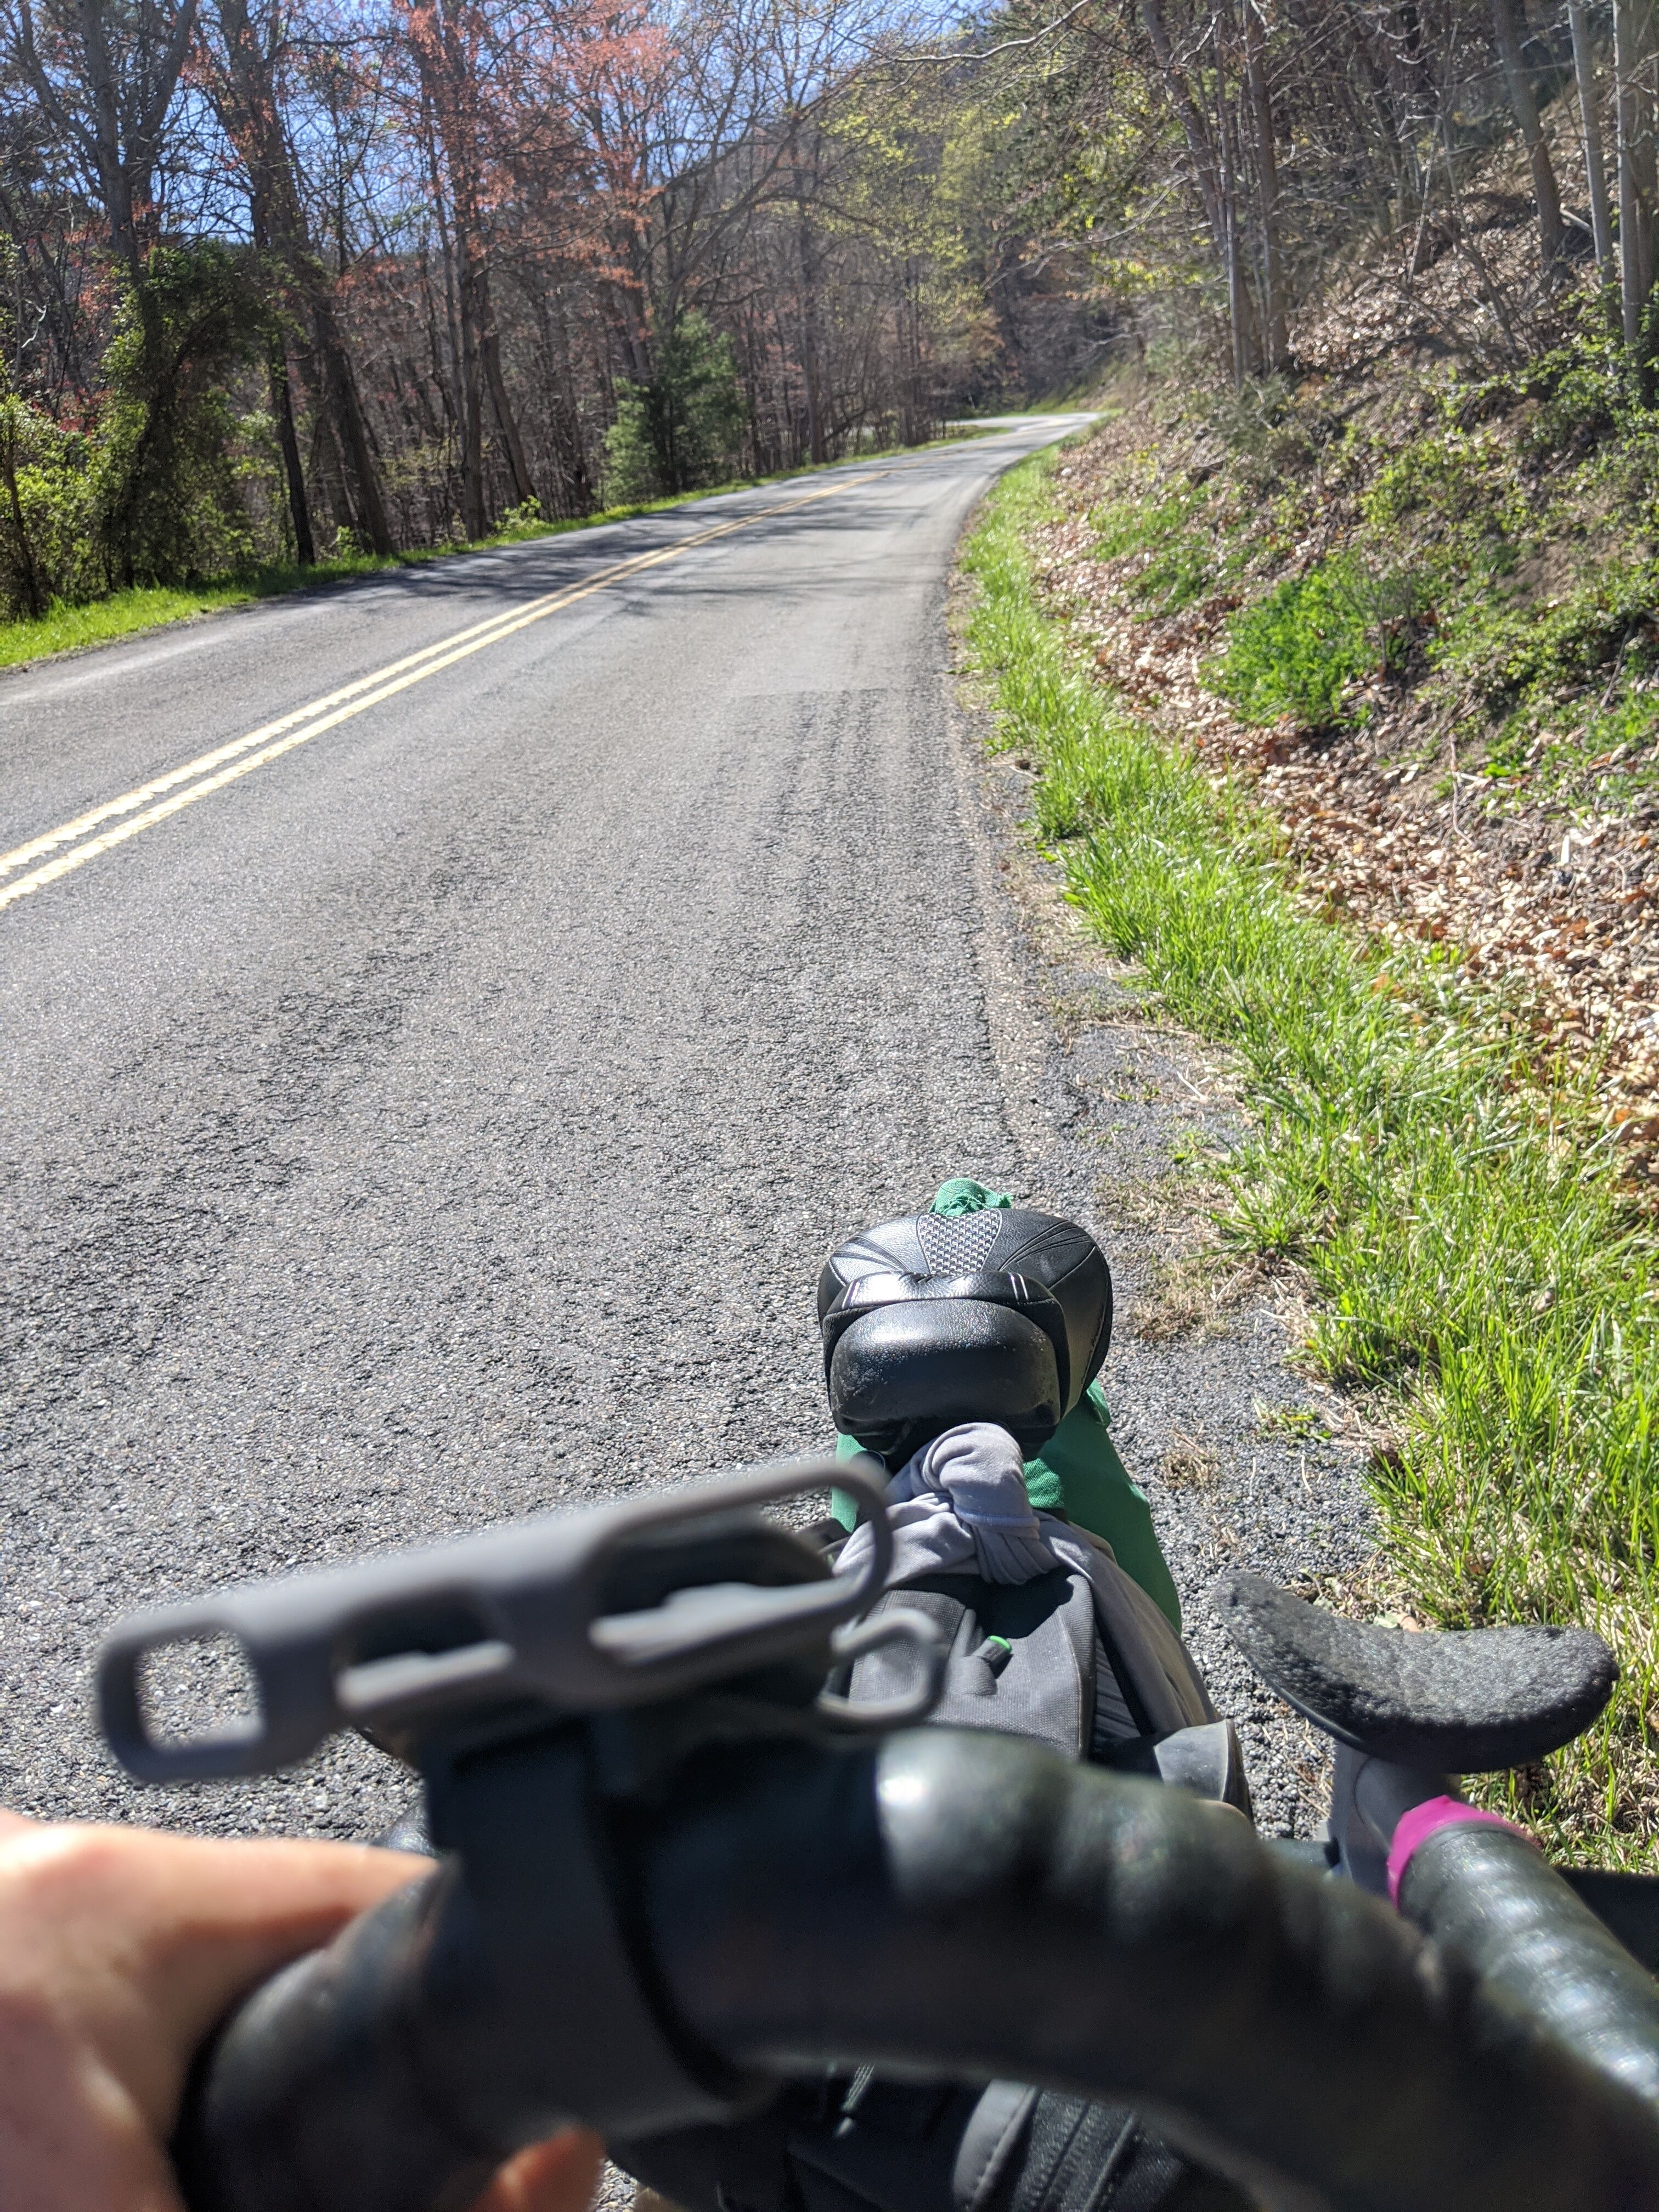
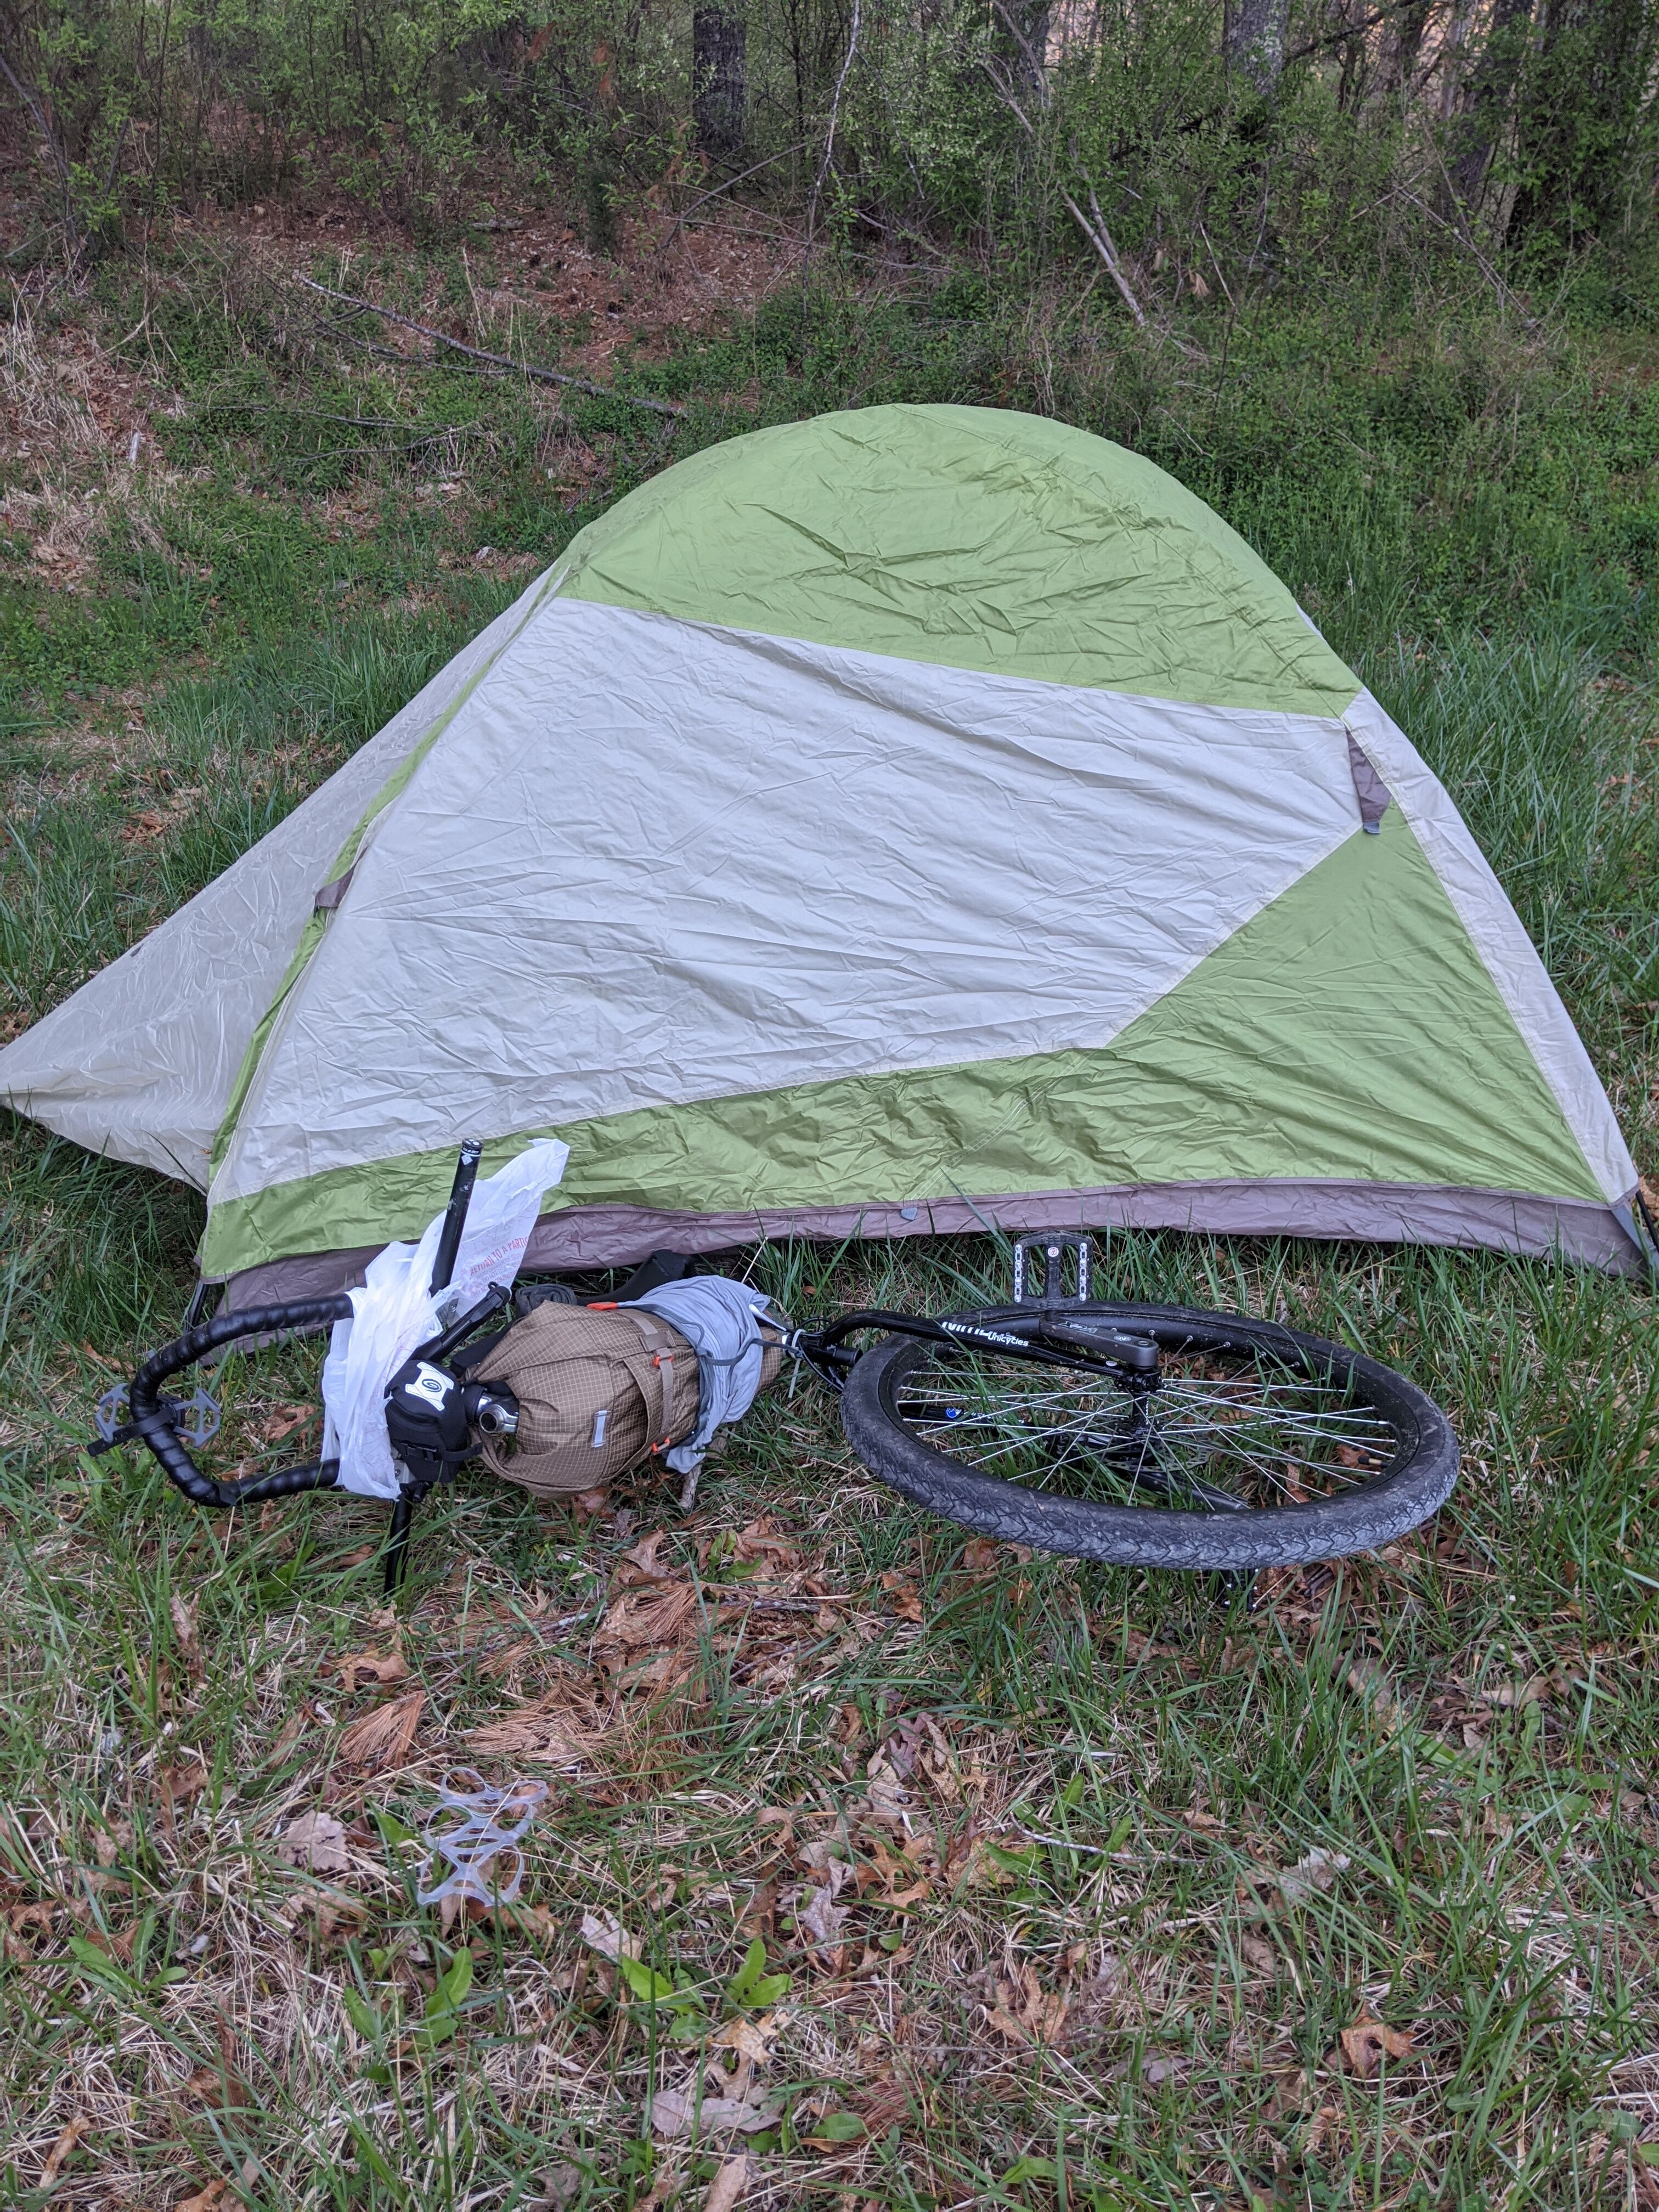
To those components I attached a rear saddle bag to the front. It clipped around the handlebars and strapped around the seatpost. It rubbed against my legs so I did what I could to cinch it in. Nothing really worked, likely the result of nothing being designed to be used as I used it. On top of the handlebars was a tube bag. This attached to the double female part of my handlebars and the straight piece attached to the unicycle.
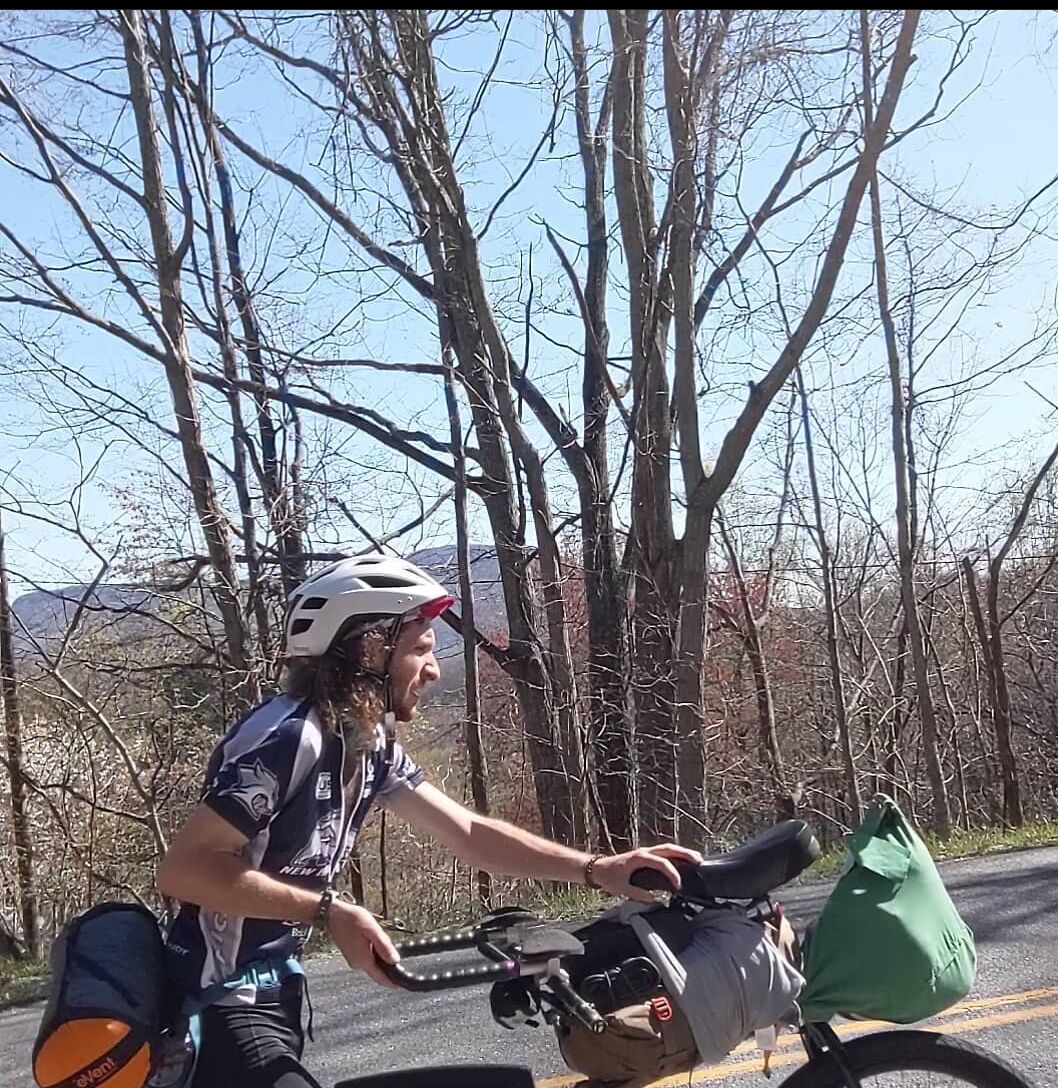
At the back I attached a fifth? prototype bag I had been sewing and testing before quarantine started the prior Autumn and Winter. Another example can be seen on my PVC set up higher up. It was made of an outdoor canvas, nylon straps, and plastic buckles with a VERY poorly designed rolltop closure. It had actually already started to rip while I was walking it all to the start. If this trip was longer, if it rained, if I hit a bump it all could have been a very different experience. Since none of that happened just assume I used non-failing gear (since I assume you will be). My tiny saddle bag was haphazardly clipped where ever it would fit. Below you can see a picture of the setup with my glowing excitement somewhere around mile 35 (km 56).
Gear I Brought:
Top Tube Bag
-Spare tube
-portable battery
-charging cables
-wallet
-key
Saddle Bag
-tights
-wool riding socks
-rain coat
-wool goobalini
-gloves
-long sleeve shirt (used mainly to cinch saddle bag)
-running shorts
-tent poles
-a 2nd spare tube that didn’t fit my unicycle that was gifted to me through a wildly bizarre experience near a swine farm I had
-a mini bike pump
Mini Saddle Bag
-spanners
-pedal wrench
-allen key set of 4
-patch kit
-needle and thread
Rear Bag
-tent
-sleeping pad
-sleeping bag liner
-pillow
-wet wipes
-tent stakes? I can’t remember if I brought these actually
-toiletries kit (toothbrush, paste, athletic tape, prewrap, super glue, bandages, antiseptic)
Fanny Pack
-2 days food (meat sticks, honey jar 1 oz, fish package, cold soaking quinoa in a talenti jar, museli, almond butter individual packages, instant coffee). Stock standard materials in my kit hiking or biking or whatever.
-water filter and 2 liter bladder
-knife
-headlamp
-water bottles (one 1/2 litre and one 3/4 litre)
-headphones
-spork
On person
-cycle jersey
-cycle shorts
-sunglasses
-helment and hat
-hair tie
-phone in my pocket or attached to the handlebars
-go-pro type camera
-riding socks of choice
-5/10 impact boots
Note
Bear country is a definite reality in most of Virginia and likely most elsewhere outside of major cities. I didn’t bring spray or a bell or a canister due to a limit in space, lack of owning the object, and a bit of arrogance. I’ve run into about a dozen black bears now with and without cubs and they’ve always just run away. I’ve never pursued them, but I have accidentally snuck up on them from around a blind corner which had only been on backcountry trails, not tarmac. I figured that with 100% of my ride on roads and one night camping in a hunting ground the risk of running into one was far lower than my backpacking trips. That being said, if you do this ride plan whatever would make you feel the most comfortable. I also followed basic protocol of hanging my food and toothpaste away from my camp at the appropriate heights and distances from the base of the tree.
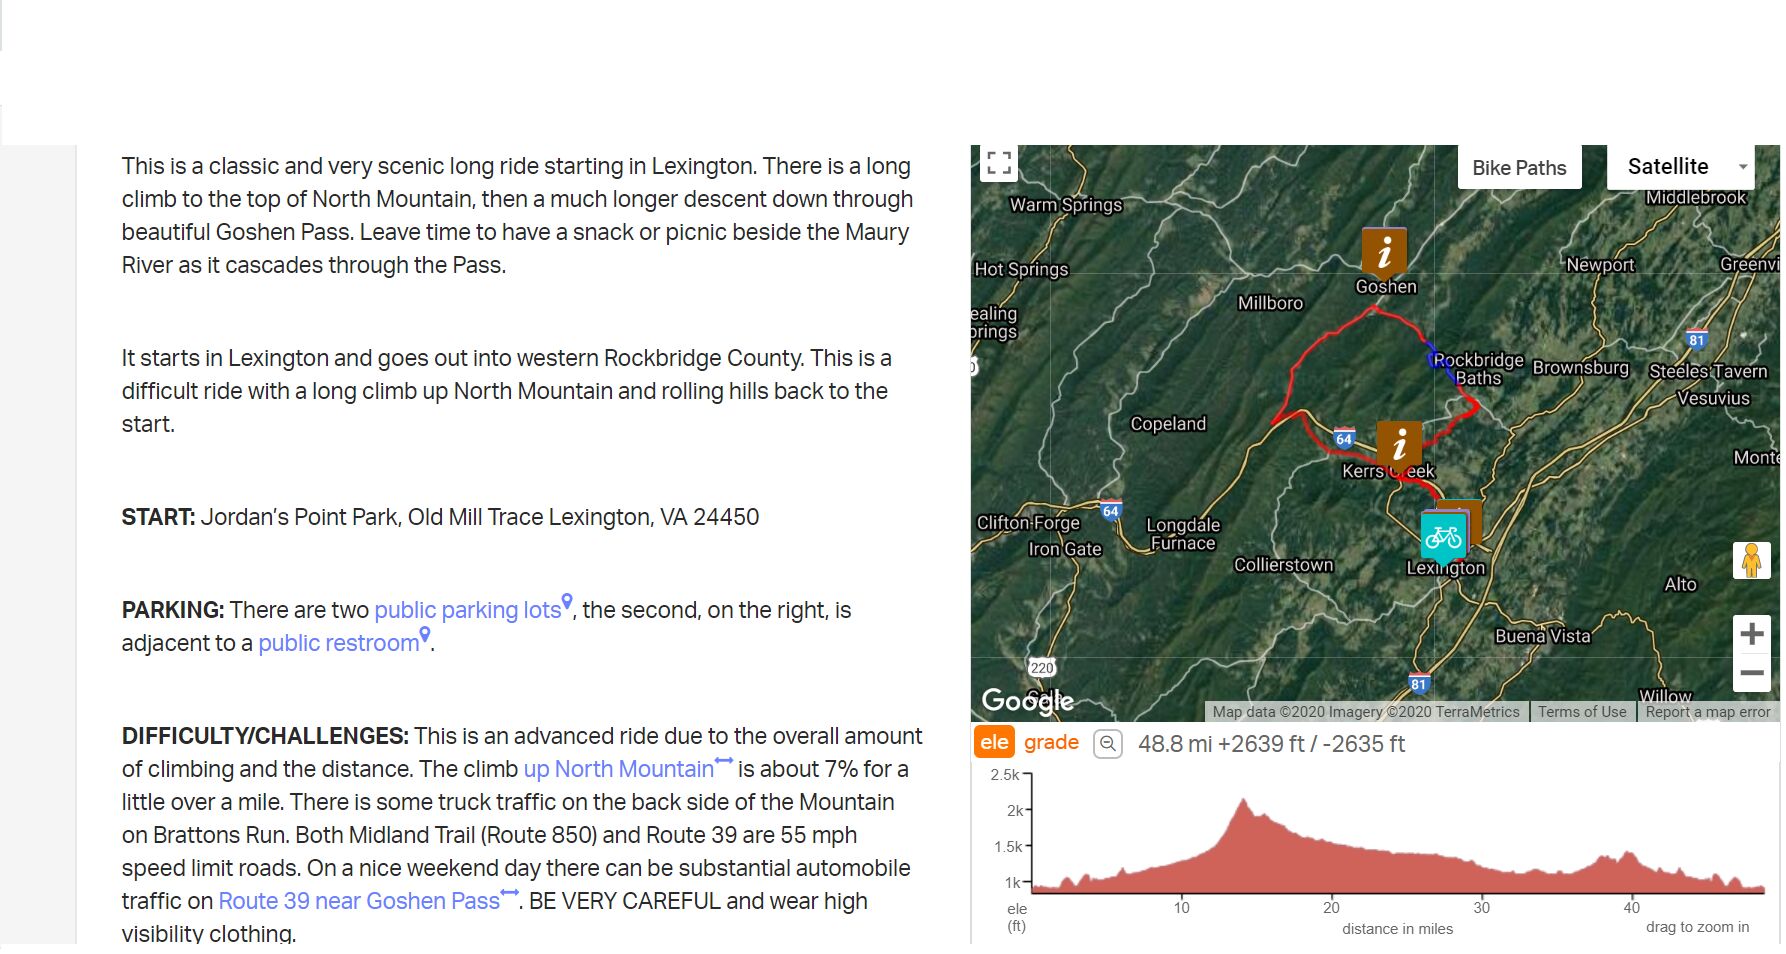
The Route:
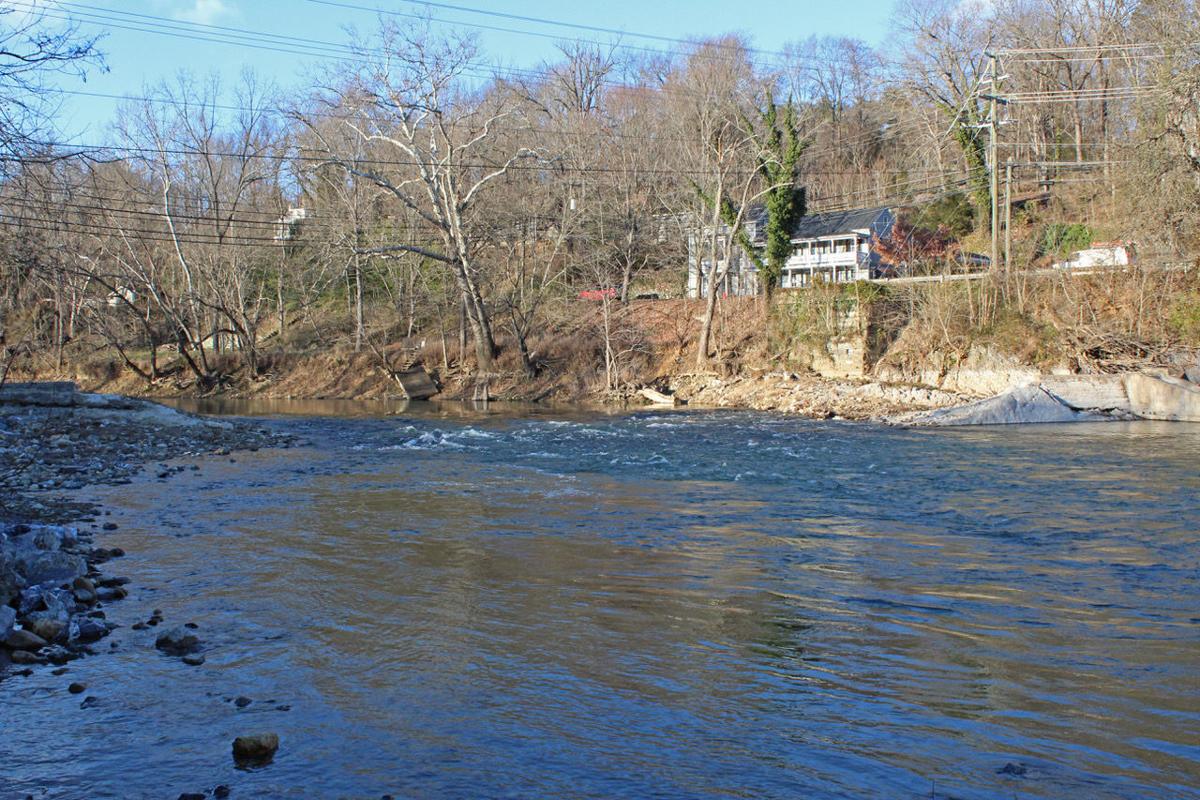
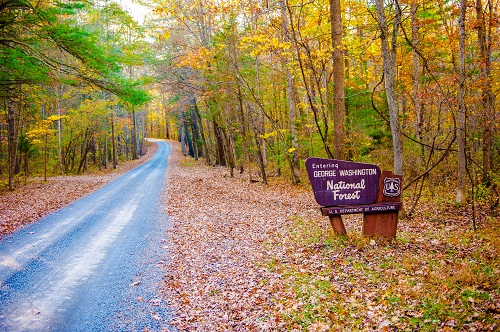
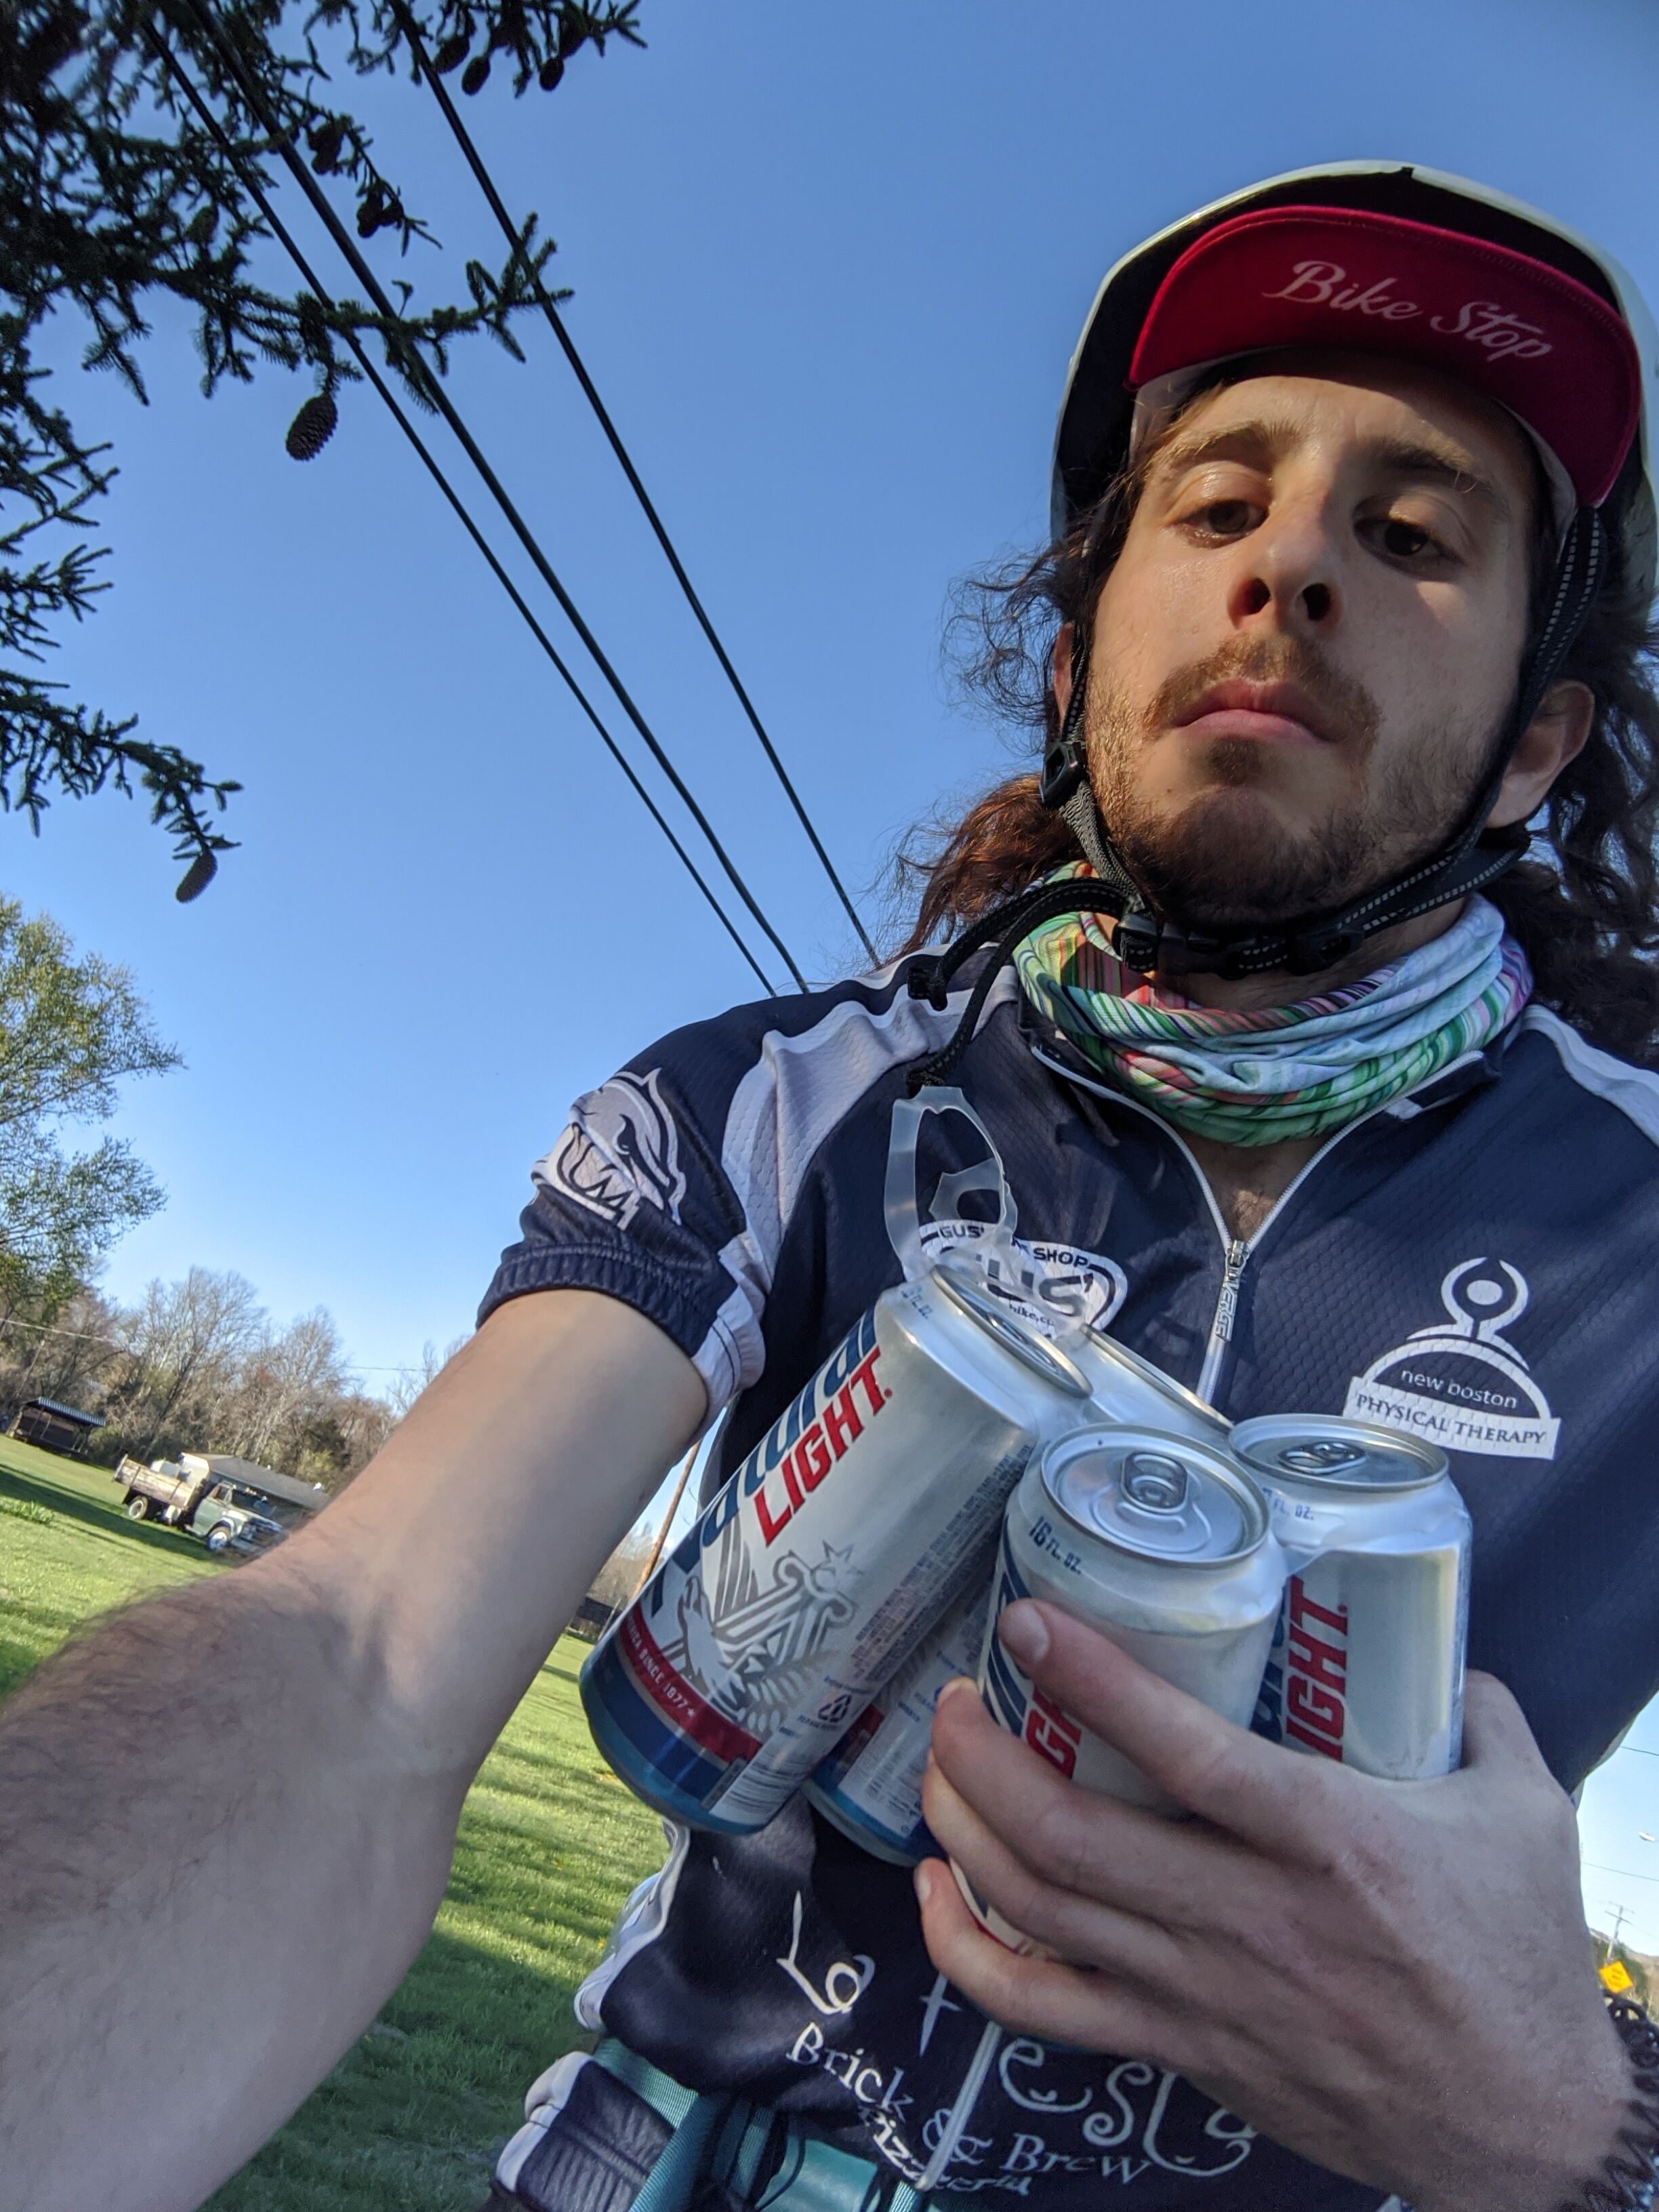
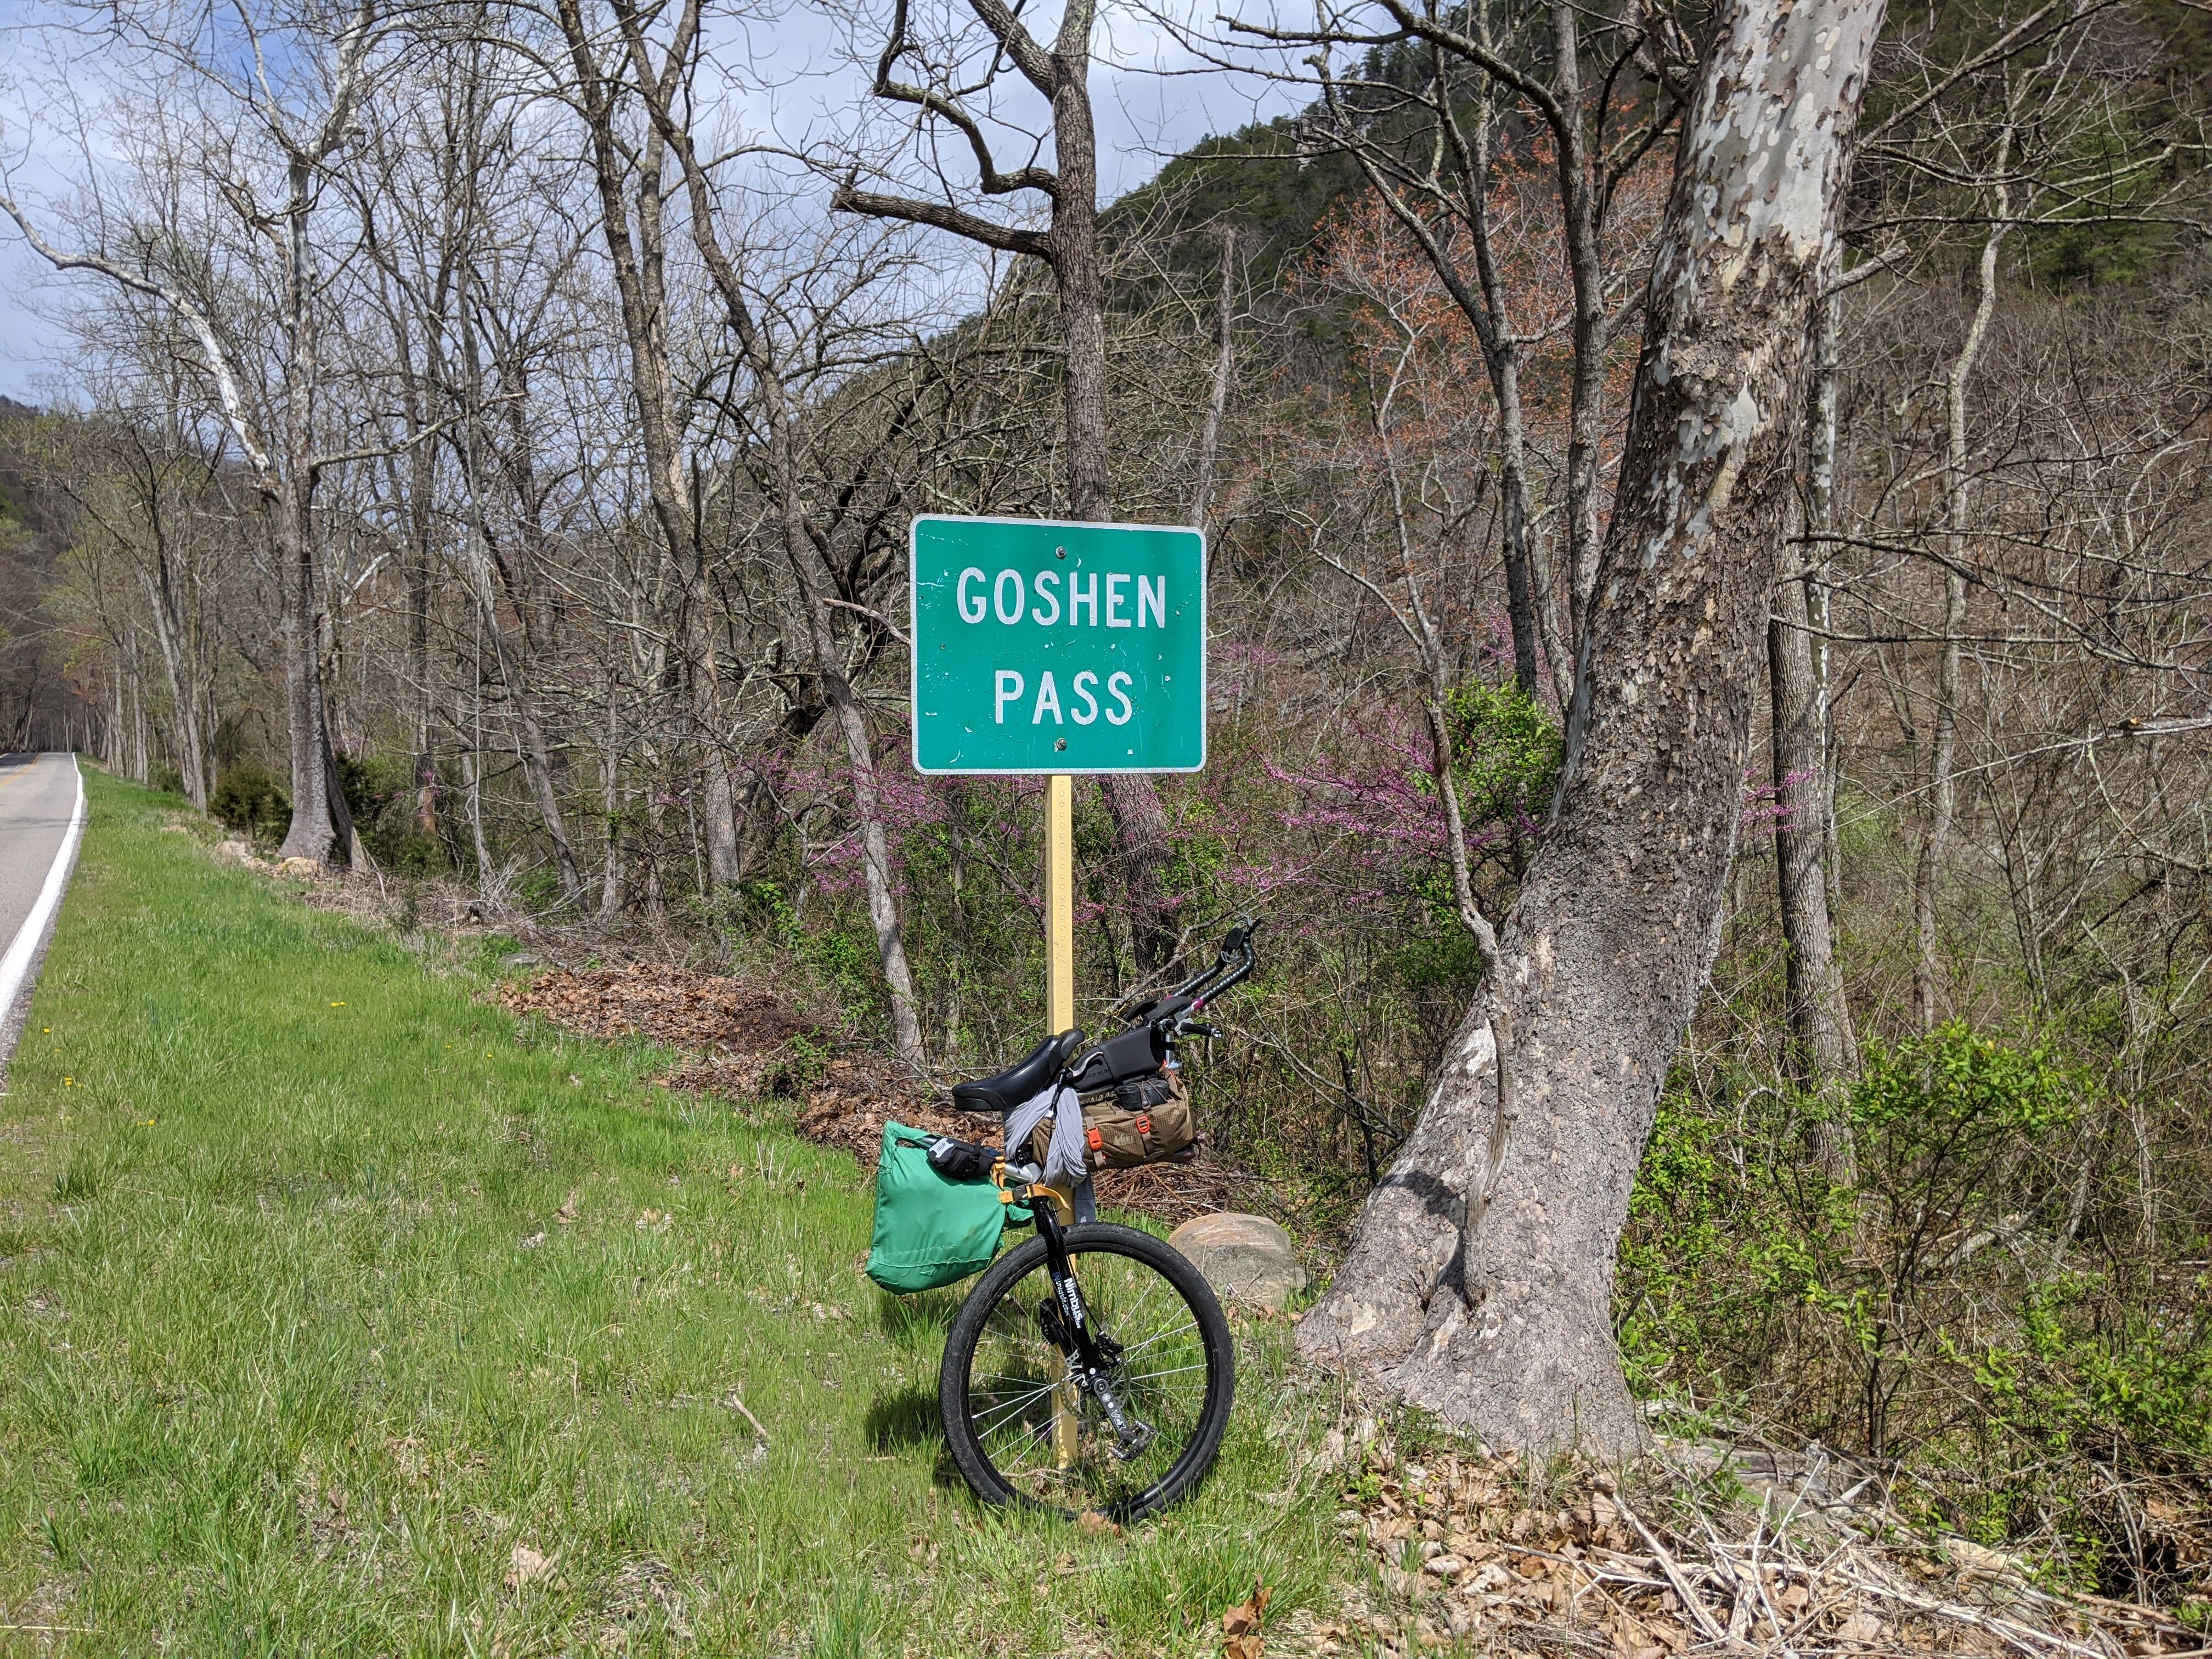
The best part about this route is it’s location to those in the DMV area as well as those in West Virginia (the State not the geographic region of Virginia. That being said, it’s proximity to western Virginia is also really clutch). It starts and end in Lexington, VA. A fairly happening spot with a few Universities and plenty of places to eat, drink, and shop. Fun fact, the movie theatre here was the last one I attended in November of 2019 before things got real sketchy in the world. I slept through the entirety of Doctor Sleep (I’m not kidding) and then left to sleep in some horribly frigid temperatures at the park for the night). Just as a note, Lexington and the small town of Goshen are the only real places to resupply if needed. Goshen is little more than a gas station and maybe a pizza place. I’m not sure if the place was permanently closed and the sign was a forgotten relic of a long past time. The gas station does have really good muffins and even local seasonal produce was for sale from farmers in the area. Top notch backwater gas station, top marks from me.
It starts are Jordan’s Point Park near the Military Academy, a location I found has been great for overnight and multiday parking.
Here’s the best description of it.
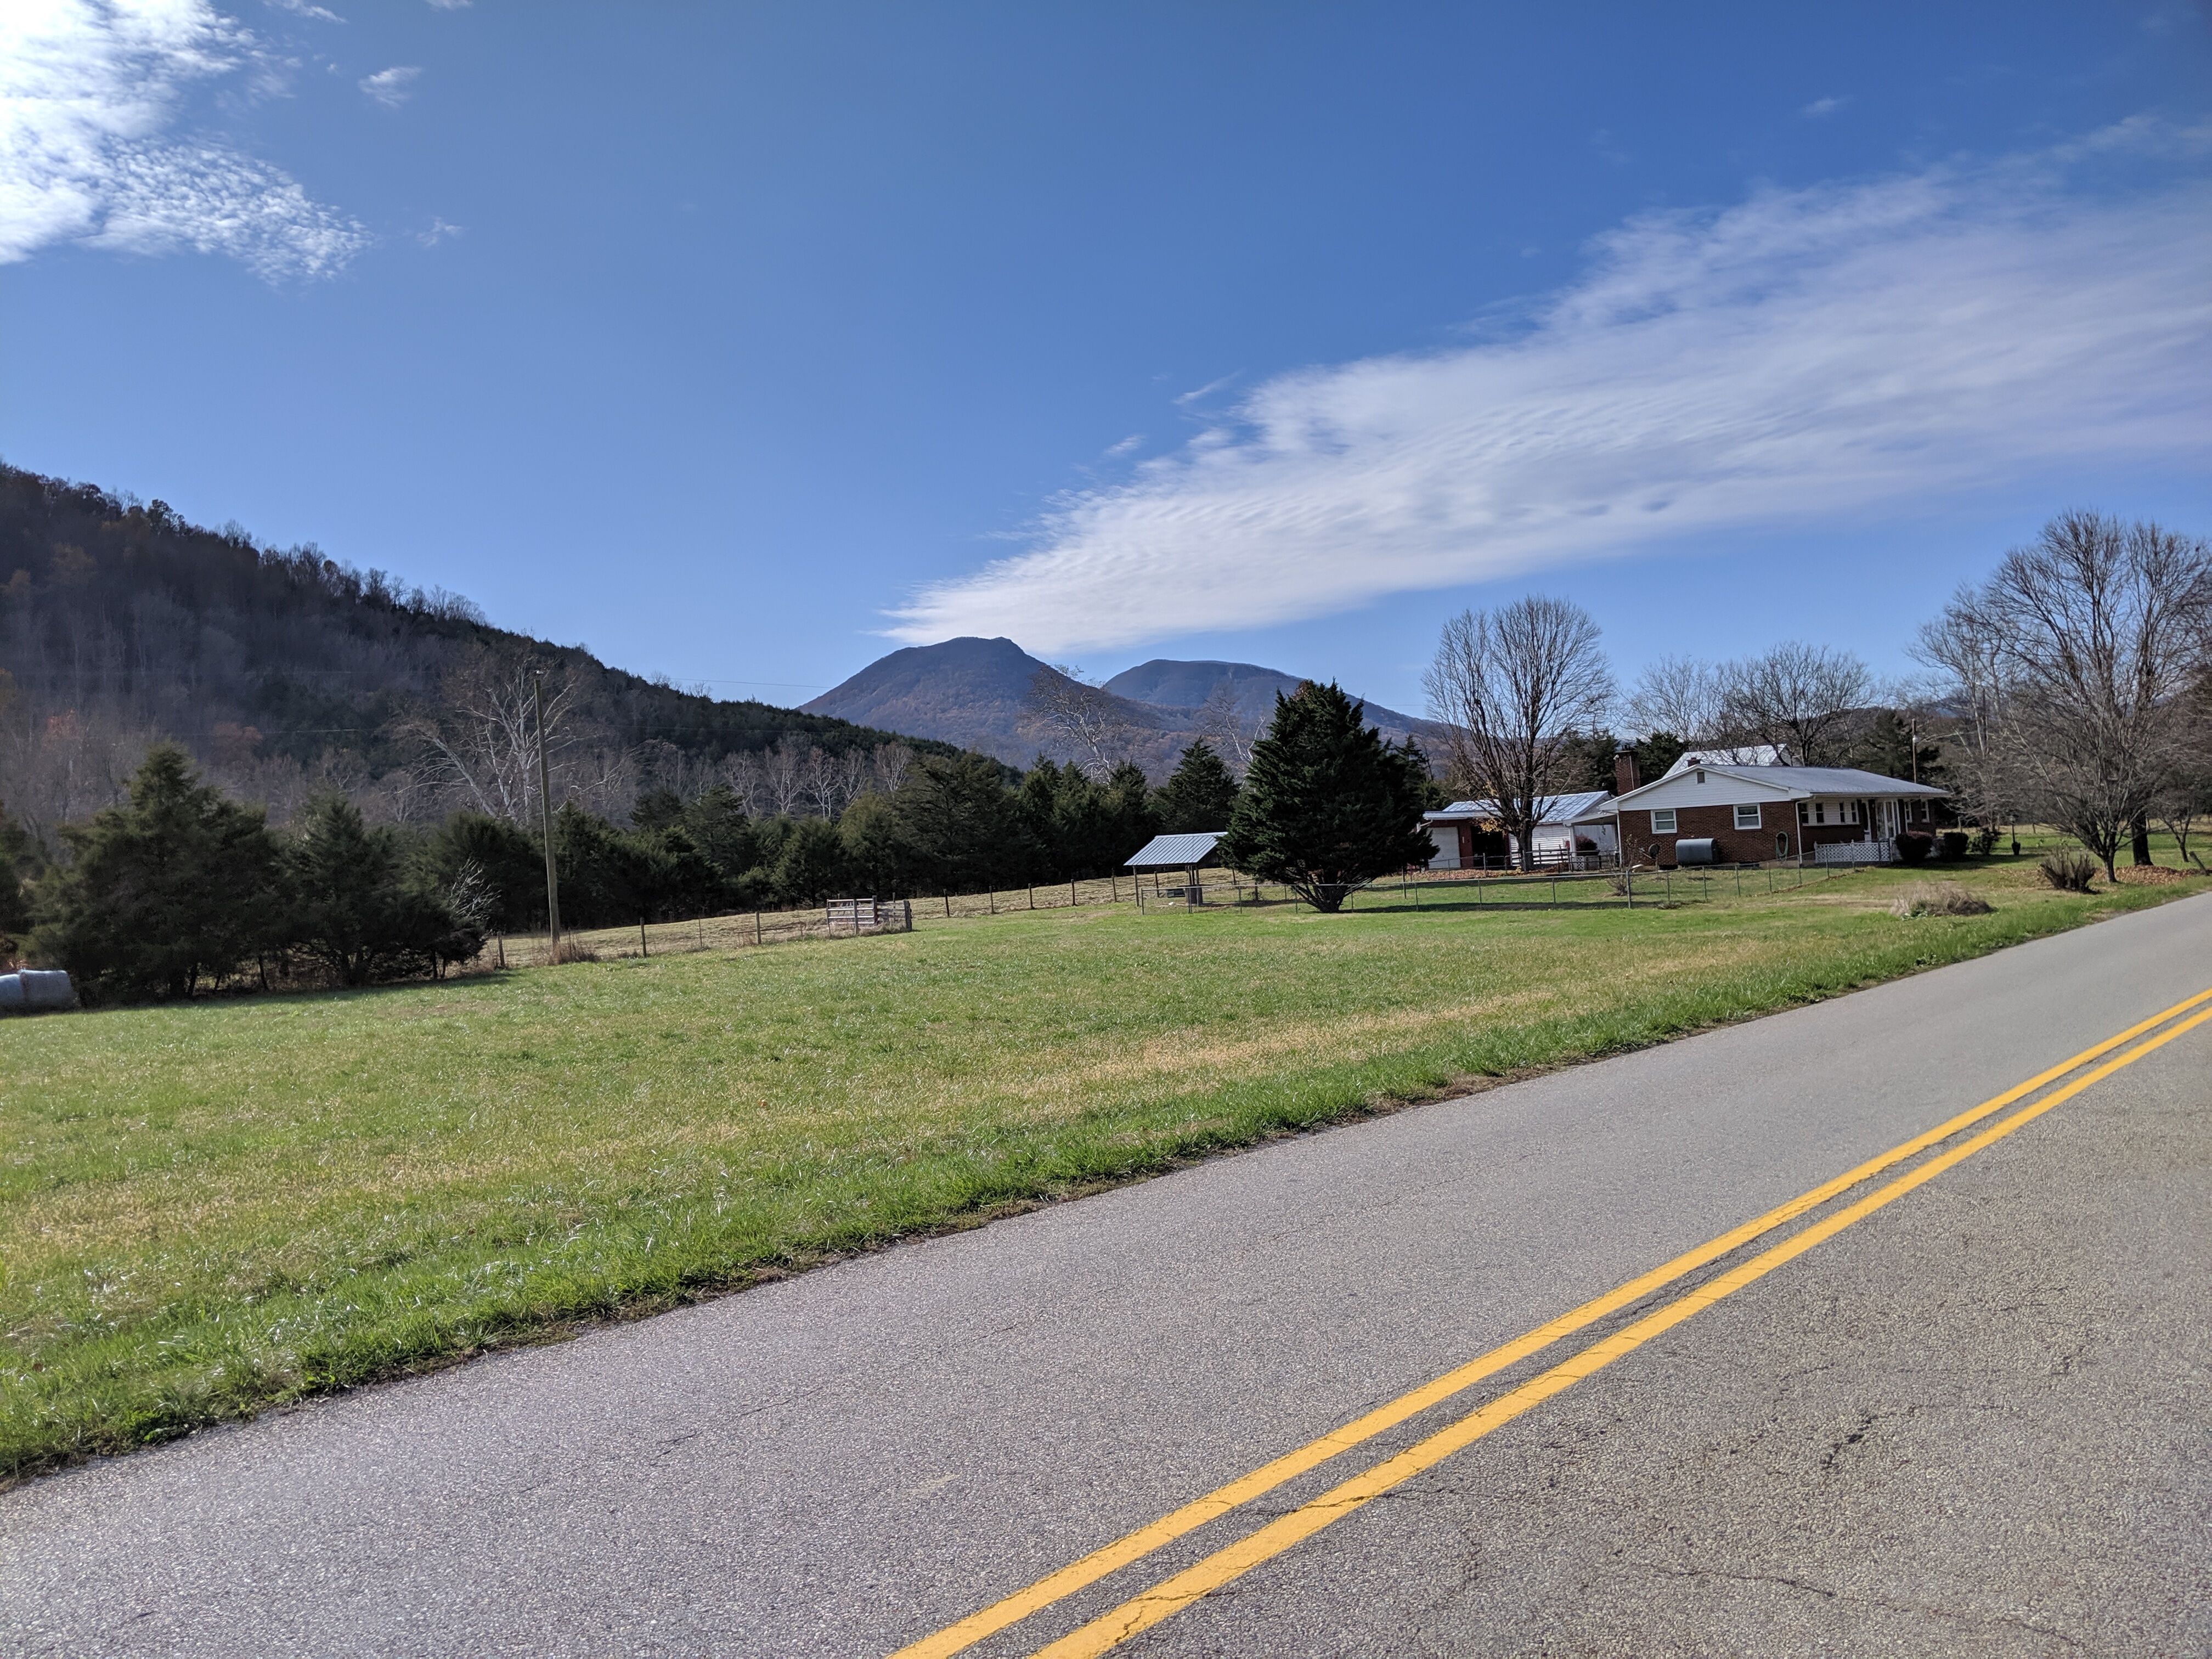
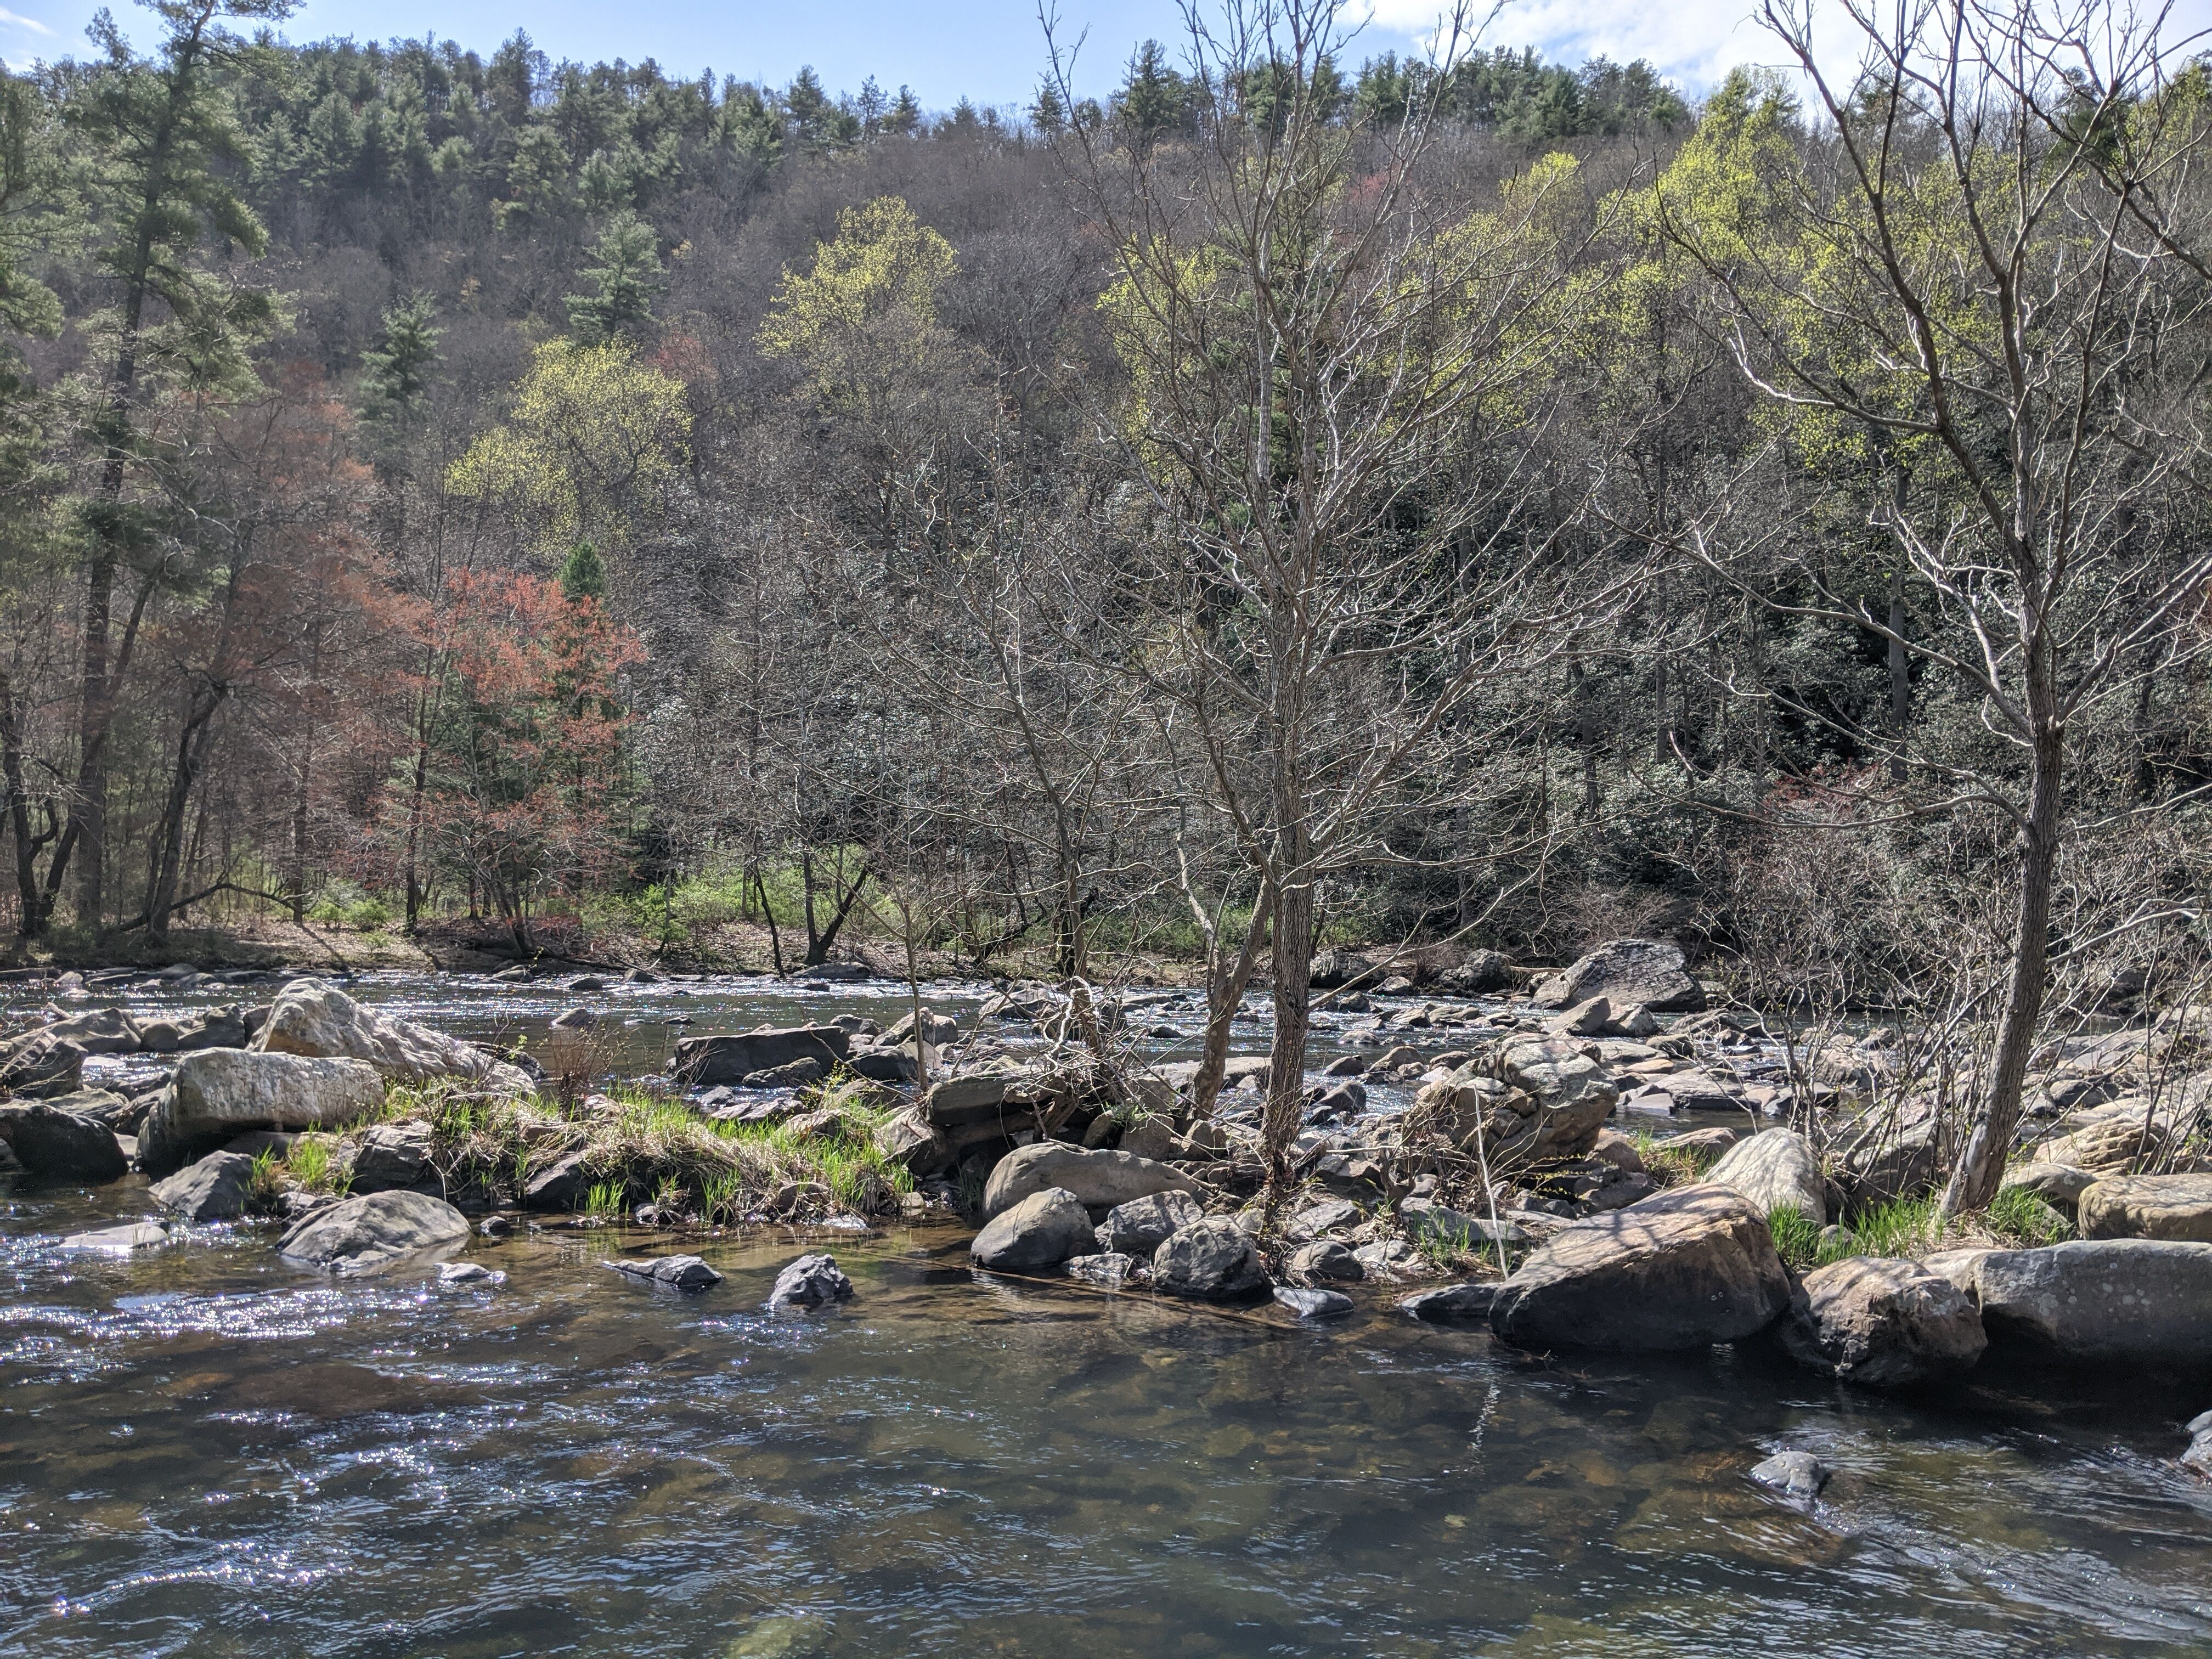
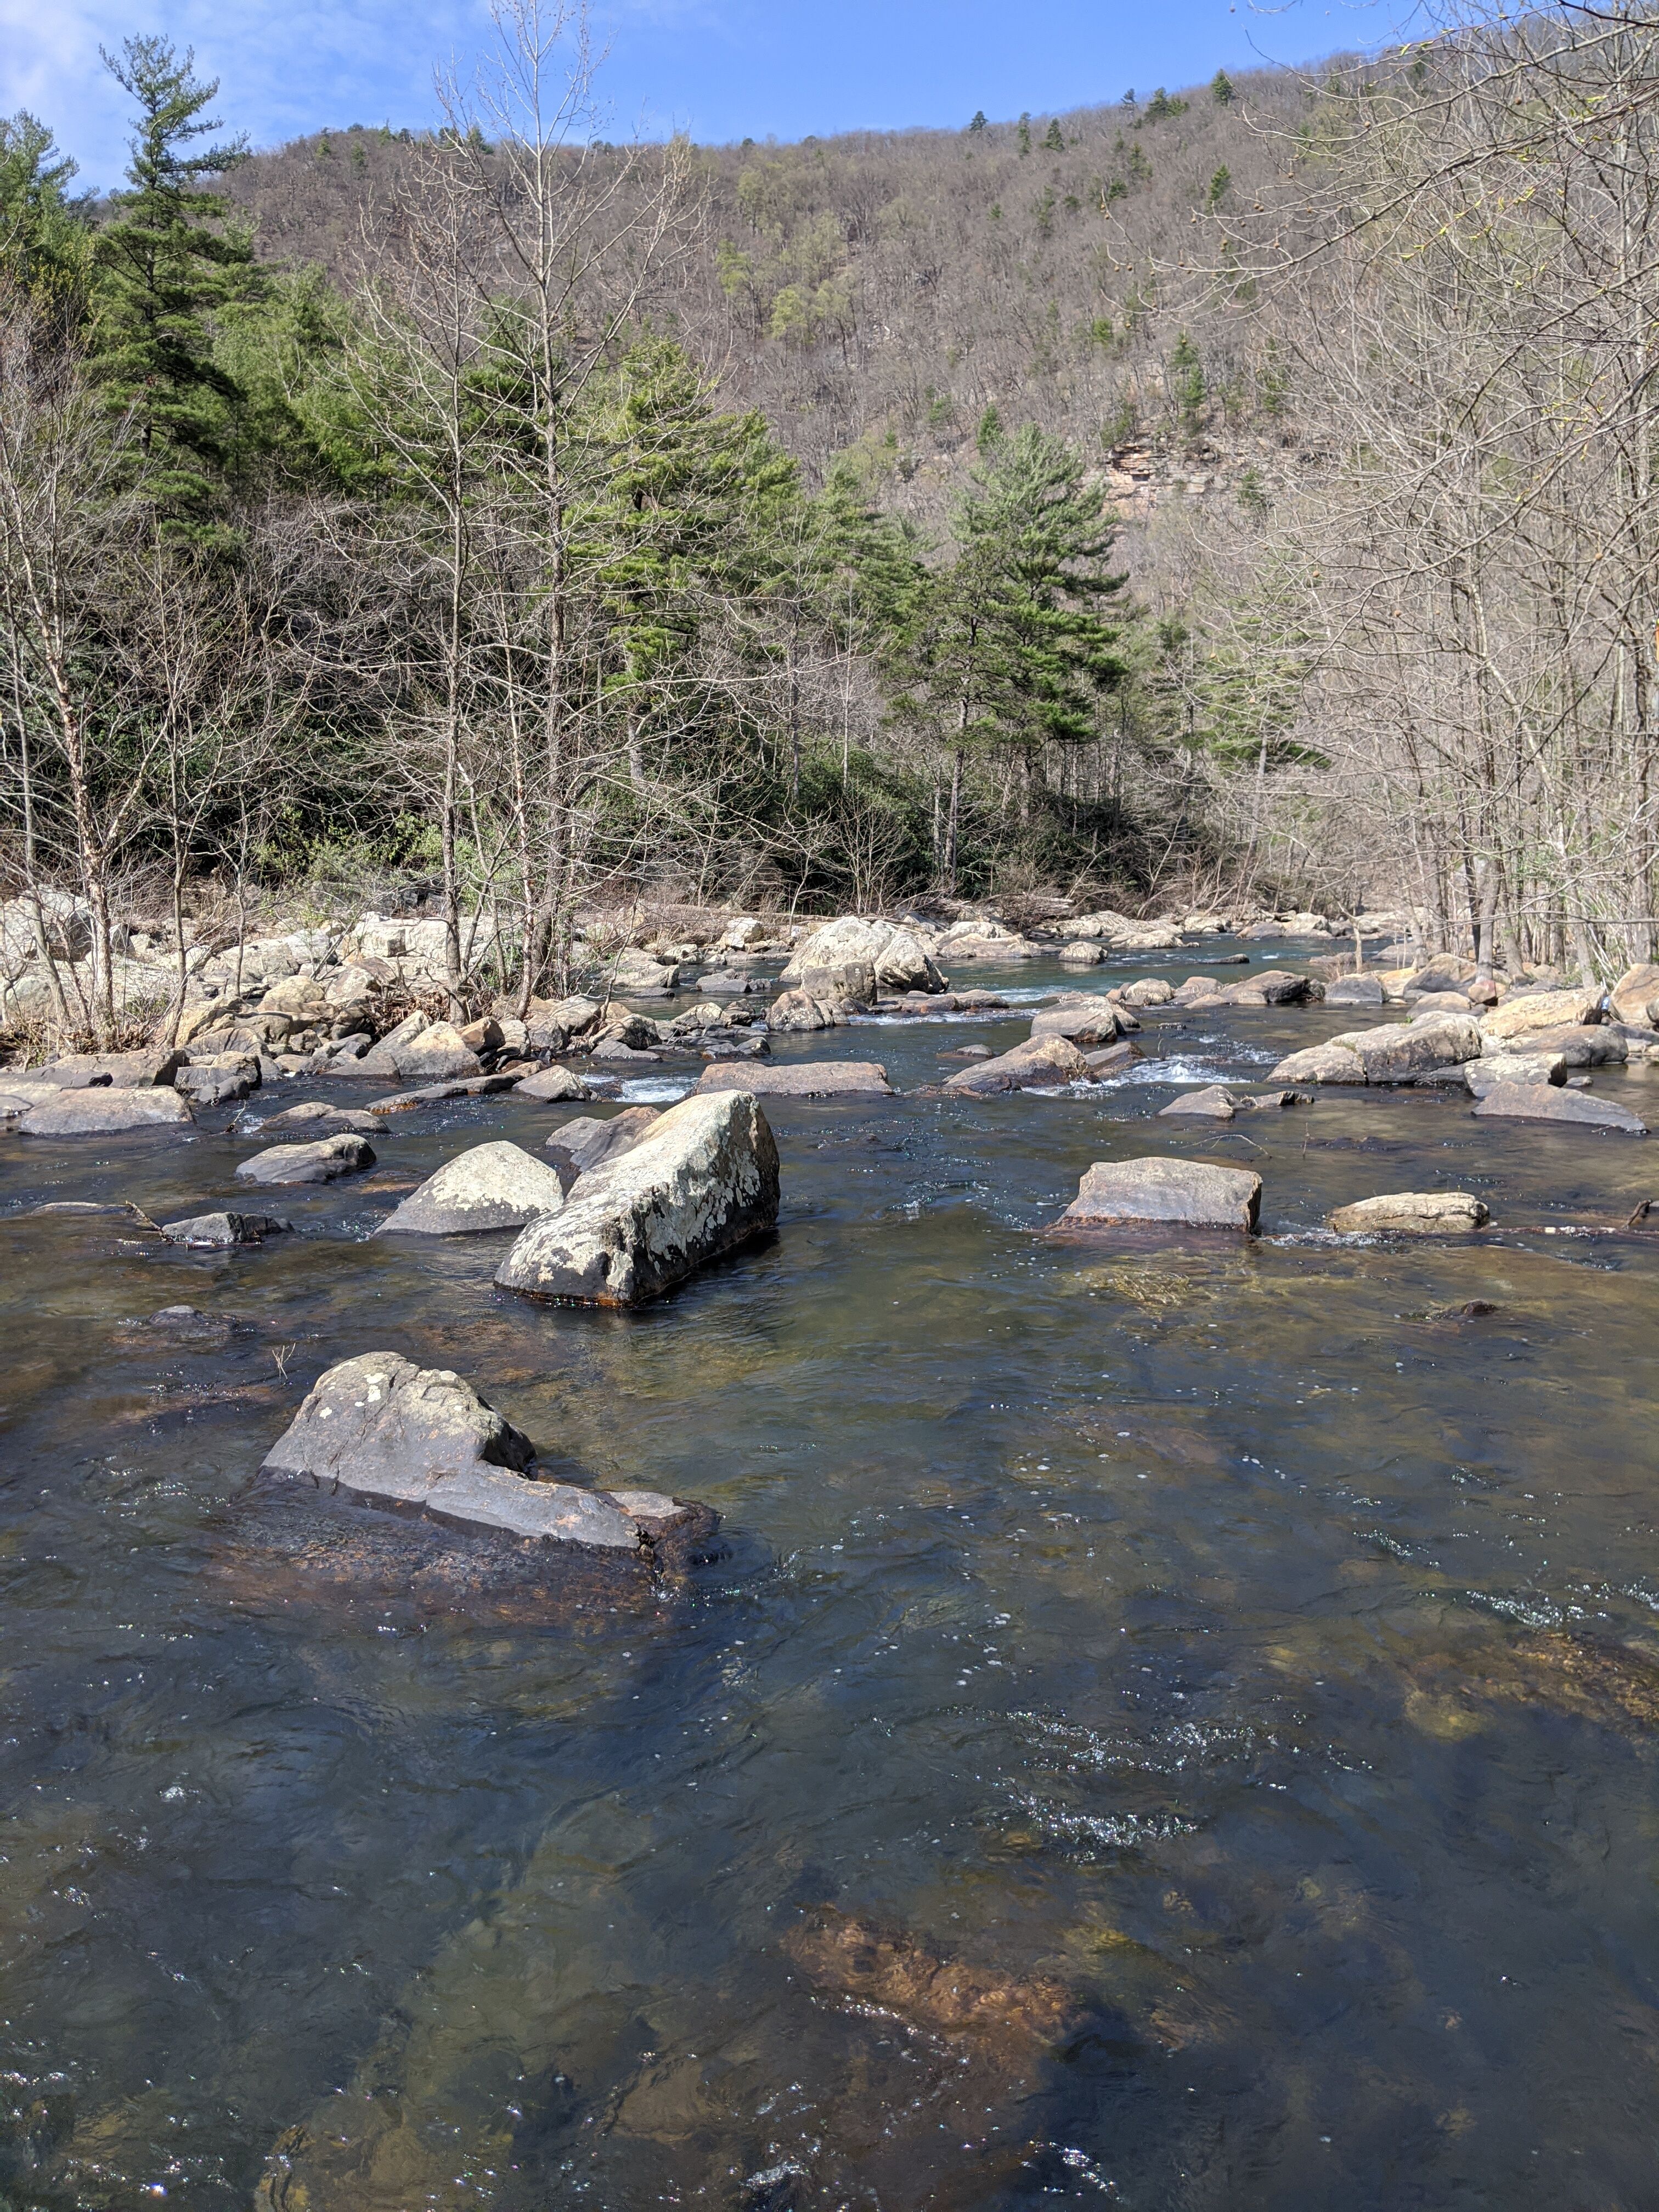
As I said it covers about 50 miles (80.5 km) of pastureland, the Maury River, The Alleghany and Blue Ridge Mountains, modest elevation changes, a trip through George Washington National Forest, an excellent gas station, and some A-1 views. Camping is a bit limited before making it to and getting out of the town of Goshen and would likely involve questionably legal cowboy camping in potentially private property that intertwines with the National Forest. Reaching these hunting ground campsites would front load your first day, which some may prefer for a shorter, easier going day 2 (which for me also included the drive home so I was grateful for not having to do that after a long ride). Just be prepared for that.
I’ll share some more beat by beat details of the ride in the following post with a few more pictures as well. Until then, happy riding.
 for getting out and making memories!