Right off the bat, I live in the middle of nowhere so any potential answer is gonna be DIY.
- should I get a tap and die set and learn that?
- UDC hinted that replacing the nut was impossible
Any thoughts? Thanks in advance.
Right off the bat, I live in the middle of nowhere so any potential answer is gonna be DIY.
Any thoughts? Thanks in advance.
There is probably no point in trying to tap out the nut since as it is stripped there won’t be enough metal left to cut new threads into.
[ You could potentially get a machine screw slightly bigger (something imperial rather than metric probably) and try tapping for that but you’d have to file the hole in the seat post for clearance too. ]
You can replace the nut if you take the saddle apart – take the cover off and remove the foam. There is probably just a bit of tape holding the nut in place in the saddle base. Off the top-of-my-head these will be M6 (need to check), so do a search for “M6 captive nut” to find something to replace it. You can always epoxy it into the base if you want it to be a bit more secure. If push came to shove I’d try just try epoxying in a standard nut.
Fair enough, you have to disassemble the saddle and stick it back together, but it is worth a shot rather than throwing it out if you don’t want to chance just running three bolts (assuming it is for the seat post) – not that I am advocating you do that…
If it’s fully stripped, there is no use in re-tapping the threads. If it’s just a bit damaged from crossthreading, just get a tap (M6 I think) and it should be saveable.
Which of the nuts is stripped? If I remember correctly, some are integrated in the reinforcement plate, some are “normal” captive nuts. The “normal” captive nuts should be replaceable after taking the cover and foam off, the ones in the reinforcement place would require cutting out and rewelding something similar in. If you have a decent staple gun and work carefully, you can get the cover and foam off and back on relatively neatly to take a look.
Could be possible. But I think I might just decide that 1 bolt less is fine at that point. (Wouldn’t do that with long handlebars, or unicycles that see a lot of abuse, but I’d keep the seat around to throw it onto something like a freestyle or beginner unicycle) I have had nuts I epoxied into my CF base get loose and it’s very annoying to get the cover off and reglueing it, especially since it always happens at the worst possible moments…
Woah you guys are awesome. I’m reading through this now. Sounds like there is hope.
EDIT: The missing bolt is from the front bumper, which is now a KH T-bar.
EDIT 2: I’m going to take it apart and see whats going on. Pictures will follow. Thanks so much!!!
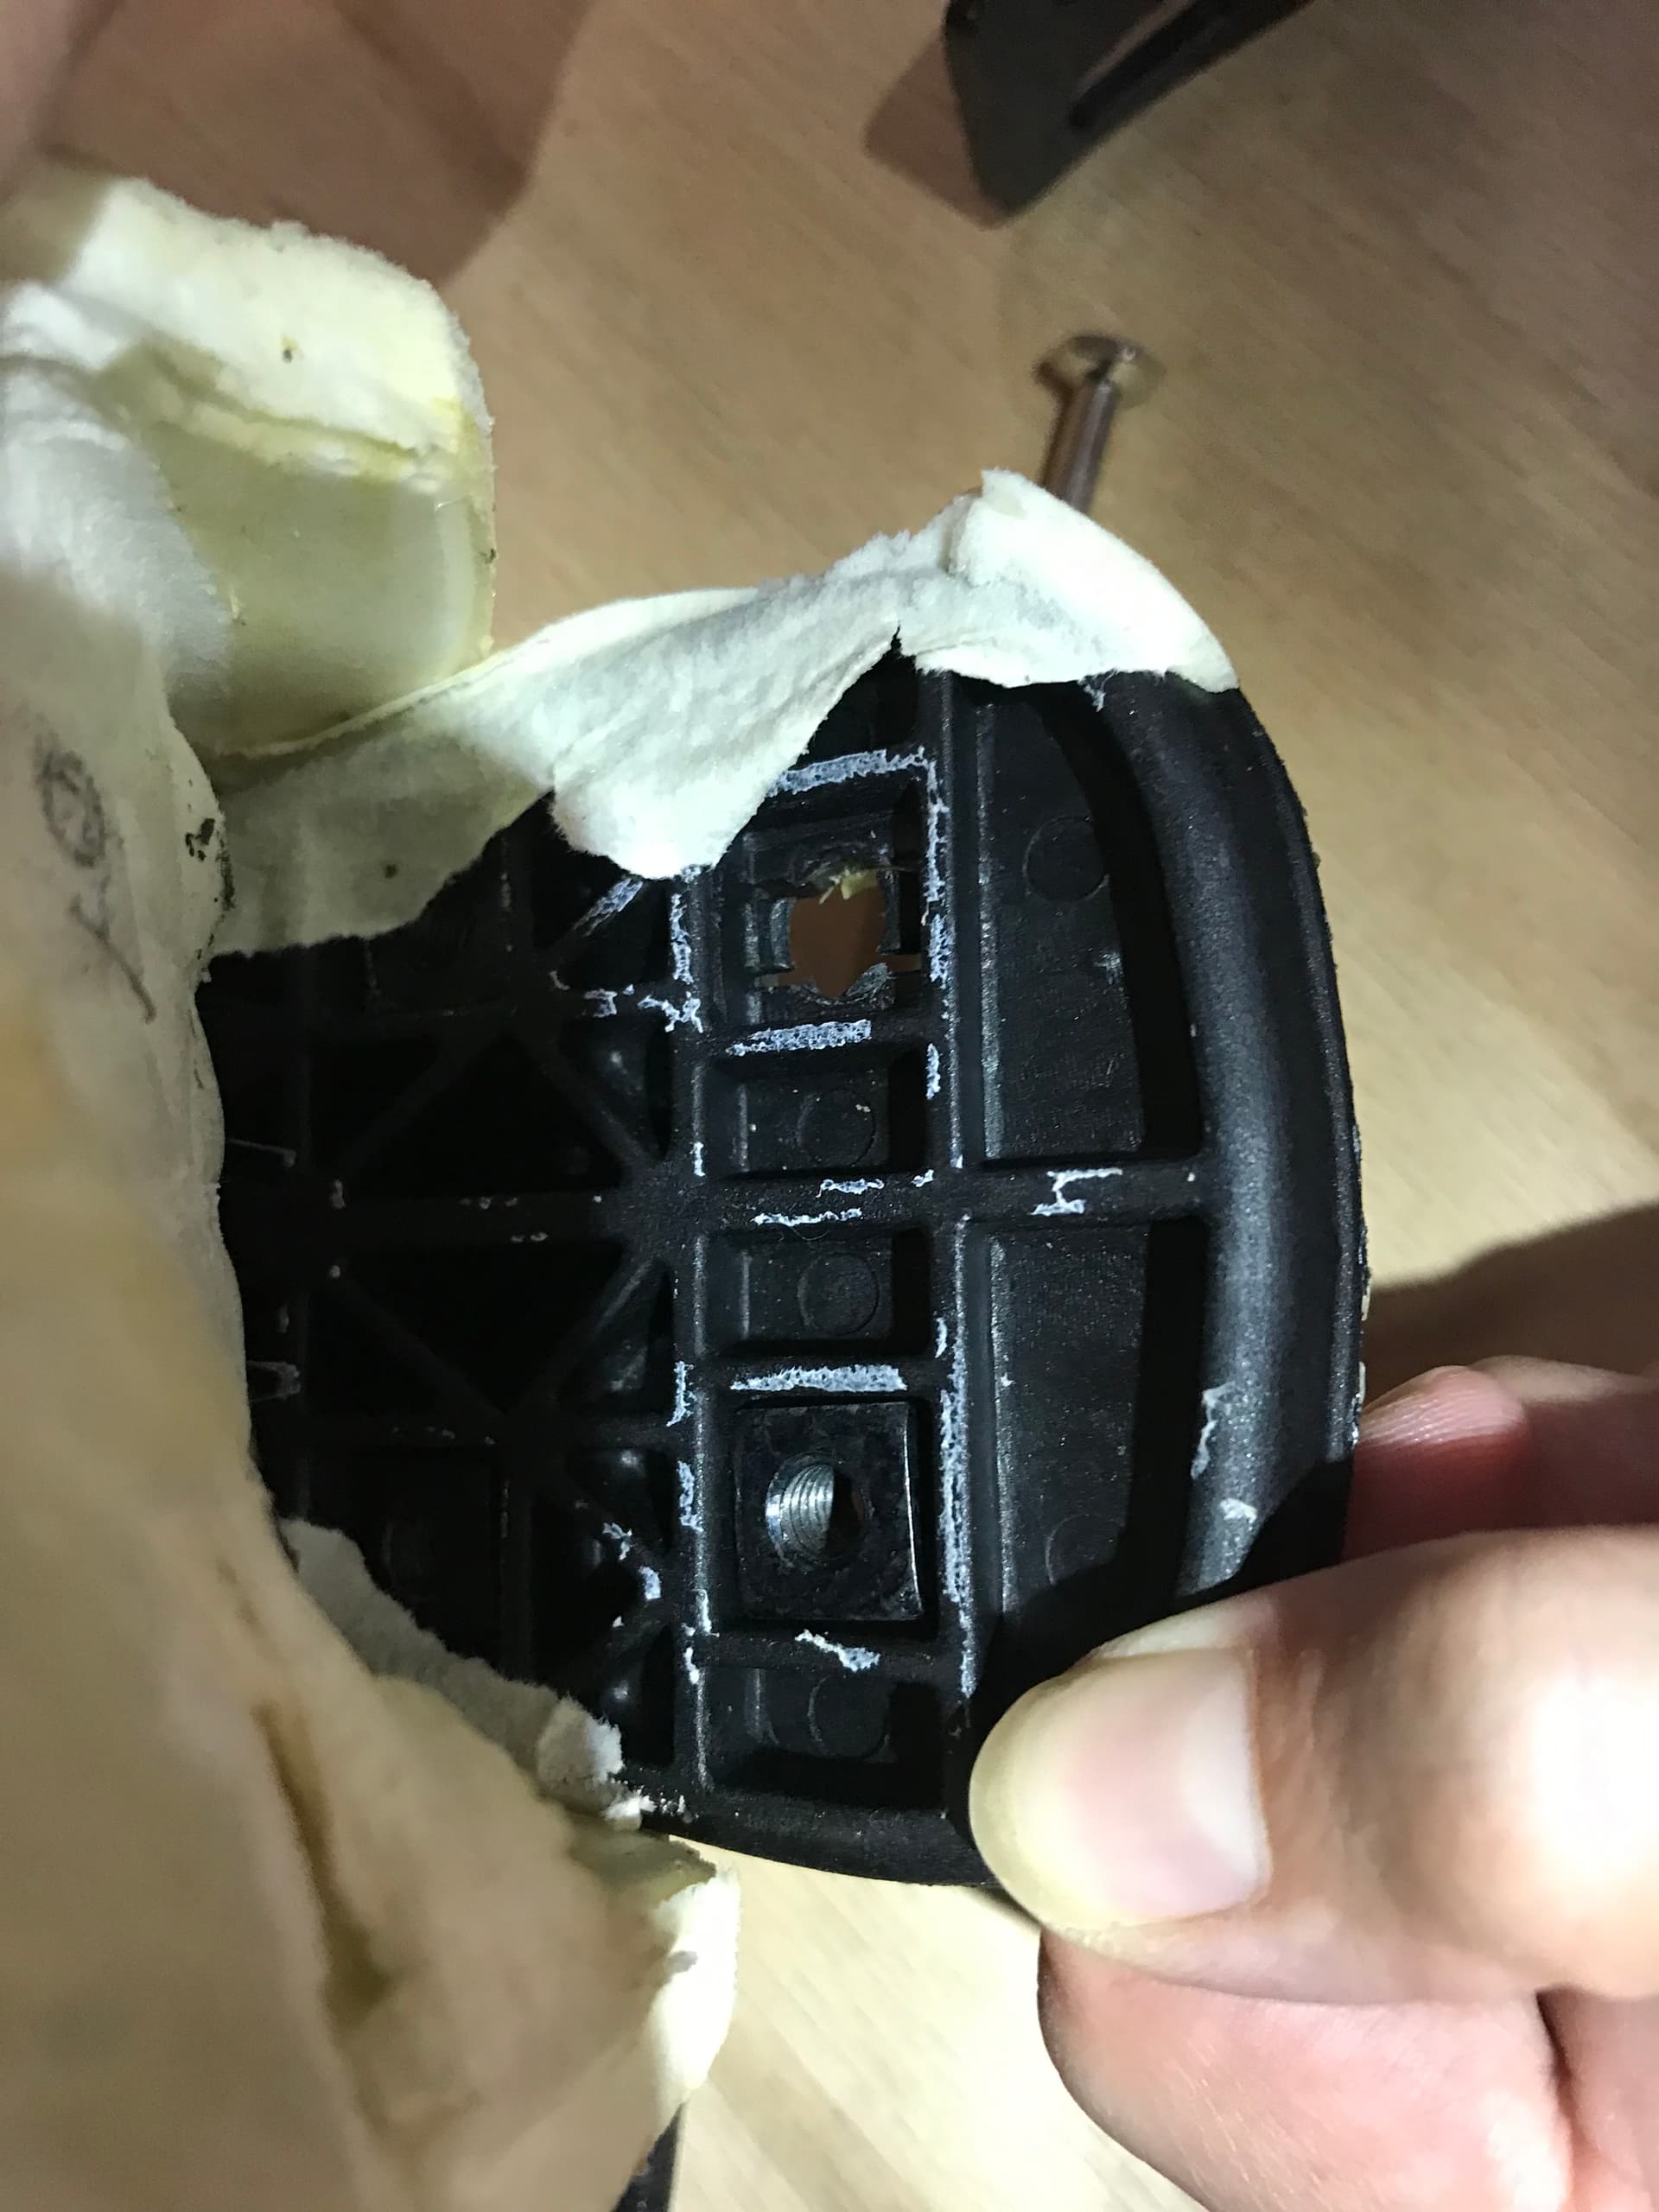
Alright got it apart. I think I only need to remove the cover half-way. At least gonna try that.
So here is what I’m working with:
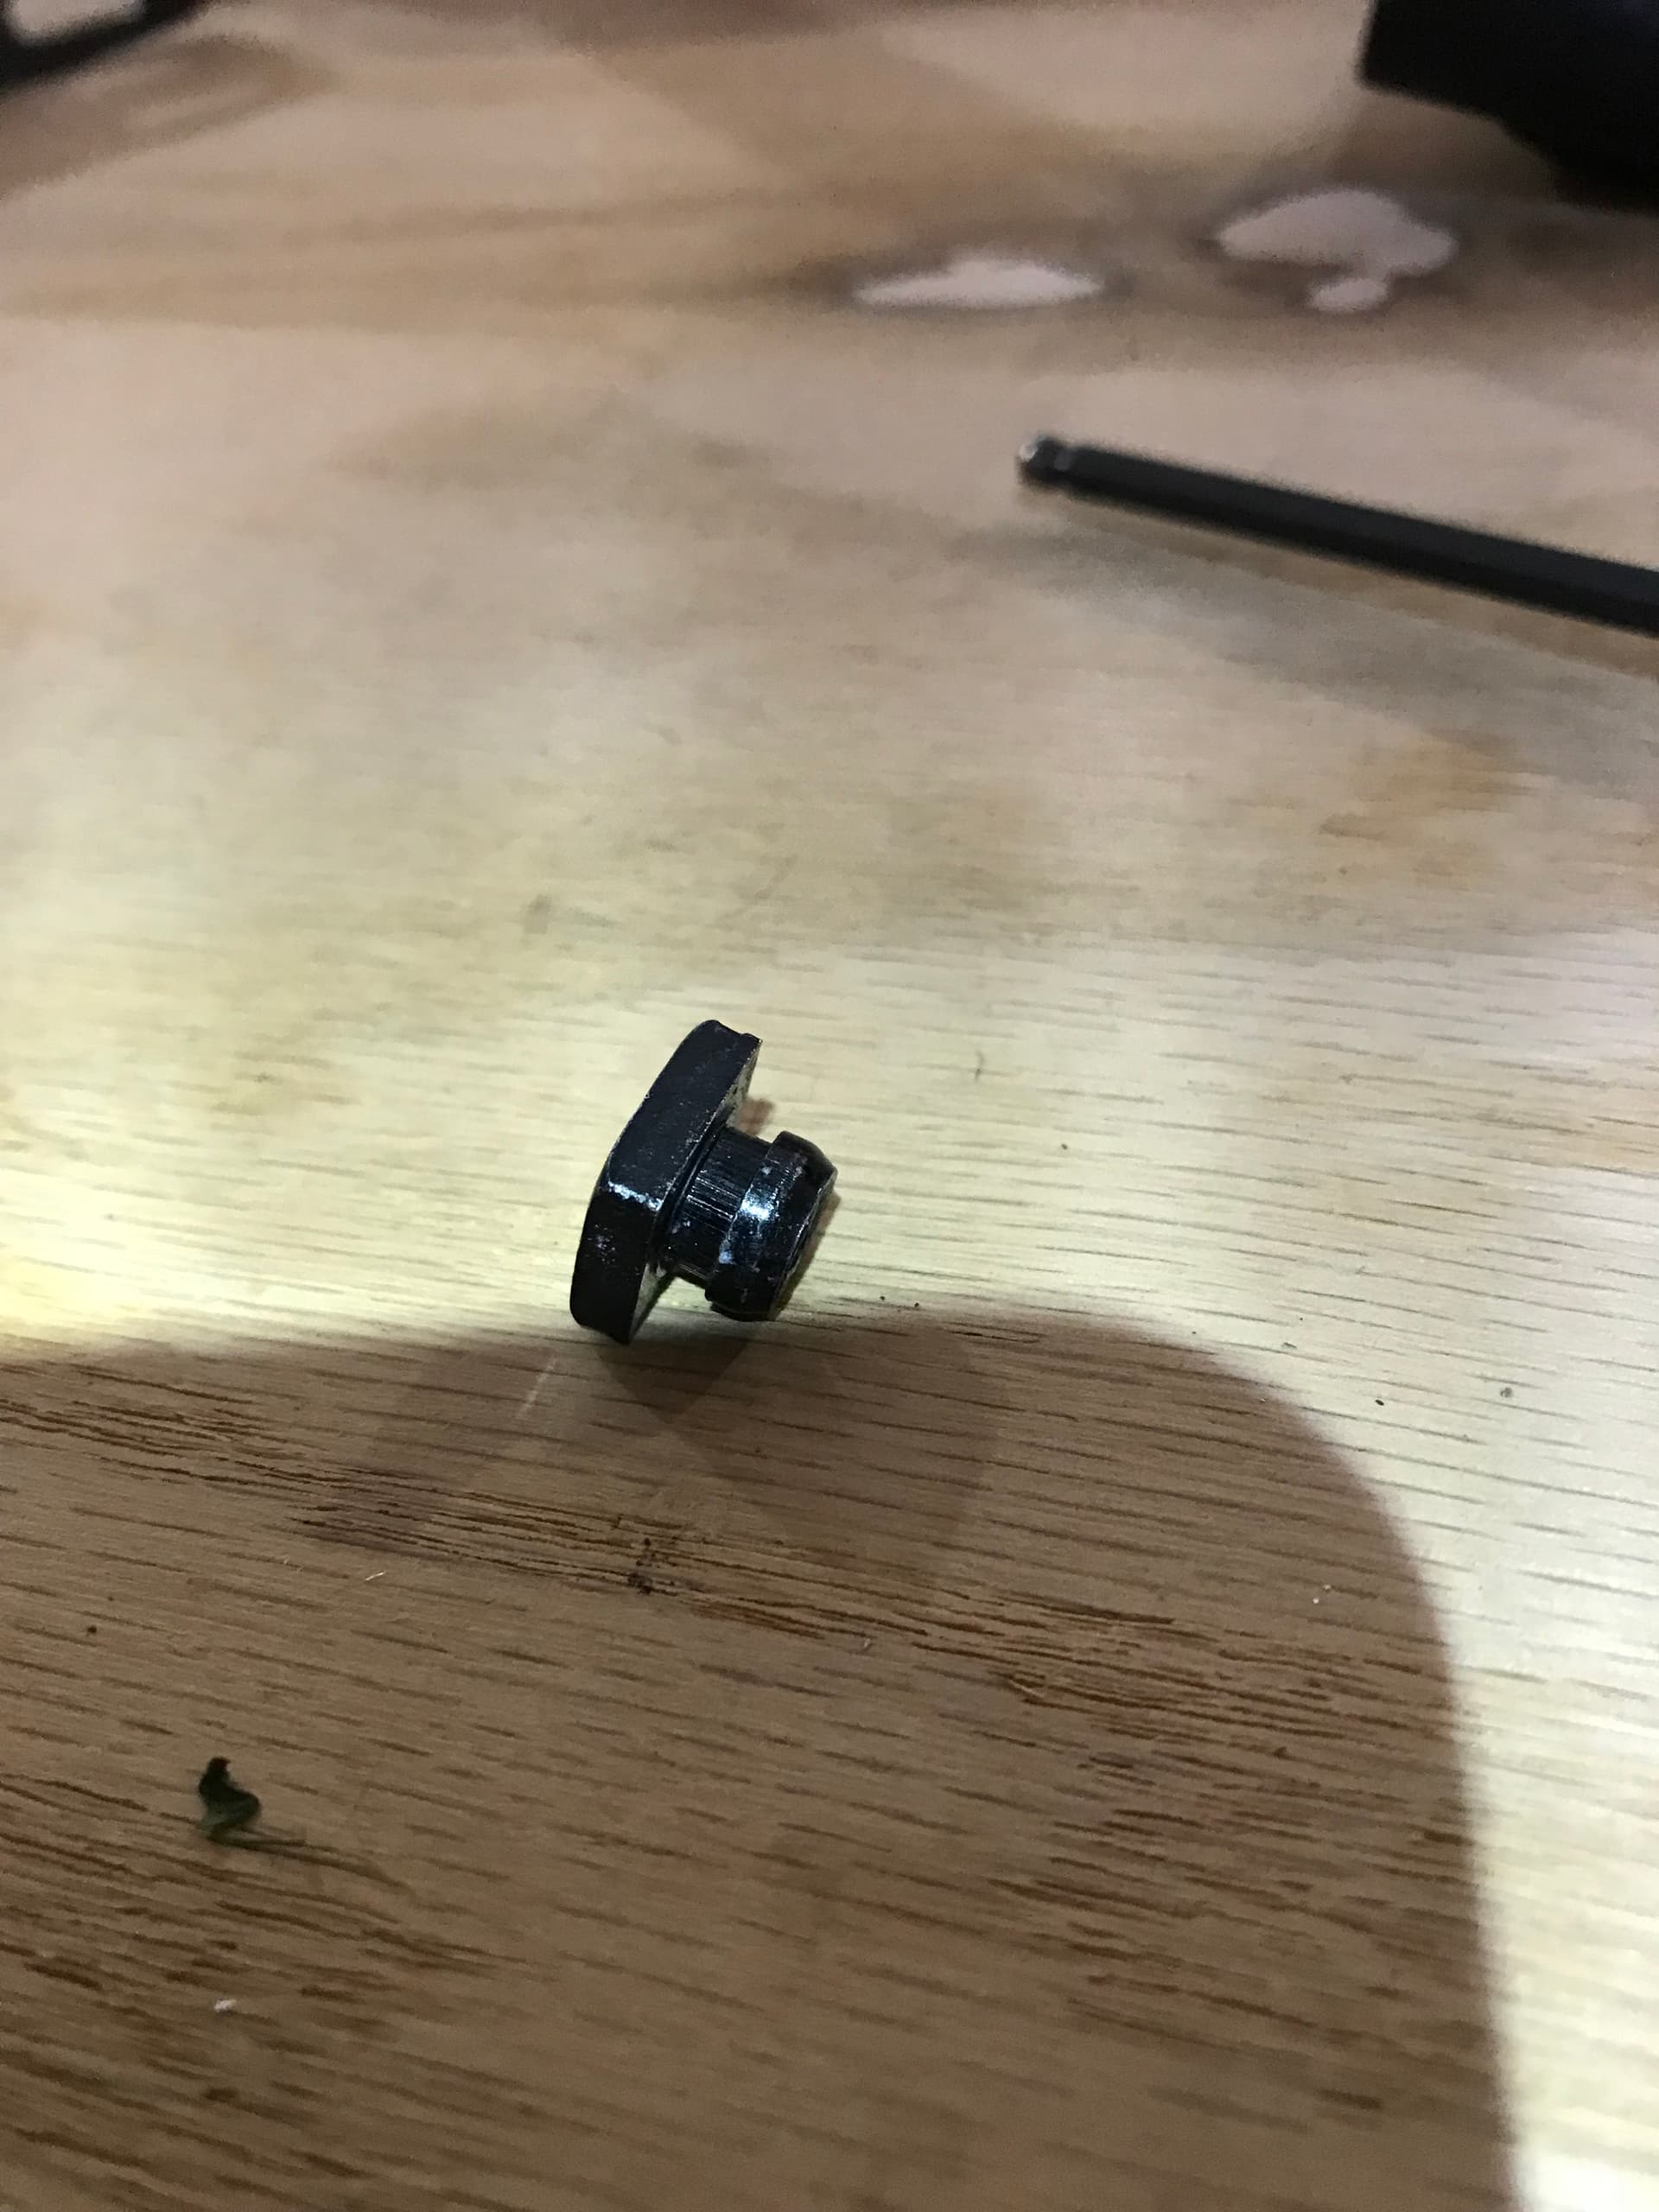
And here is the M6 captive nut:
While it’s not exact, I’m tempted to try this product for a replacement. Thoughts? Thank you, as always!
Seems like that could work fairly well to me. DIN 557 square nuts could be a potential alternative if you can find them, they seem to be slightly thicker than the rack nuts you linked, which may make up for the threads that are in the round part of the standard captive nuts (but also protrude into the foam a bit more).
Or, if you want to absolutely make sure that you get the same amount of thread engagement as standard, you could convert to studs with something like this: M6 - 1.0 Metric A2 Stainless Steel Square Head Bolts with Small Head Screws GB35 | eBay and use a nut (like we used to on the old seats). I think having less thread engagement is probably just fine, but this is what the engineering part of my brain comes up with as an option to avoid doubt.
(I guess the new seats don’t have metal reinforcement plates inside anymore, so that’s nice.)
Thank youuu again. This is very helpful. Because of convenience, I will likely try either the Amazon linked ones or look for the DIN 557s.
Dude,
Did you say it’s on the front holding a handle bar? Then fastening has to be rock solid.
Also, it will break again, next time you fall. Why waste time installing a “blind nut”. You’re not selling it.
You won’t be sitting on it, either. However, you will need easy access to it again, again.
Just cut a hole in the saddle material, and push a socket or hex head bolt with a wide washer through it.
Functional, serviceable, but not pretty. Living out in nowhere has it’s perks.
…slam
Got the stuff to fix it today. So far three bolts has been fine. Will share pics if they are worth it. Had to go imperial though.
Probably already have it fixed, but for future reference…
I would just get a m6 nut and epoxy it in the square area where the stripped nut was. Use a bolt to make sure you get it oriented correctly (put a dab of oil on the bolt before you thread it into the nut, in case any epoxy gets on it, that should keep it from sticking)
The base is glass filled nylon, it’s pretty hard to get a good bond with that, unfortunately.
The epoxy only needs to fill a void, it doesn’t need to actually bond to anything, once the void around the nut is filled it won’t turn freely or come out.
Great advice, thank you. I got the nuts and will use epoxy. Might do this tonight.
Jb weld is is awesome stuff. Best epoxy I’ve used
Actually I was gonna ask which epoxy to use. JB Weld it is. Thank you.