Quick Review / How-To: Bumper Mod for KH Zero / KH One
Why:
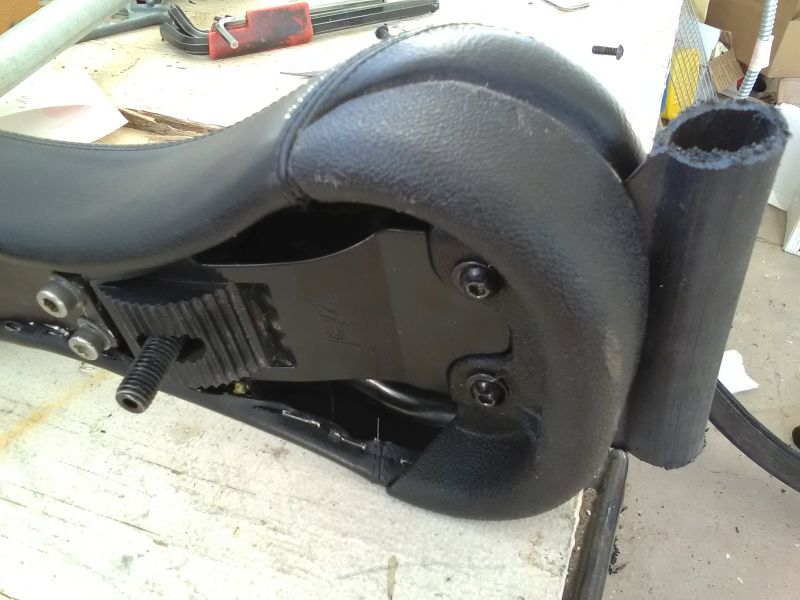
Many of us really like flat profile and shape of the KH Zero / KH One saddle, but due to the shape, the back of the saddle is exposed to scuffing above the rear bumper - especially on larger wheeled unis where it hits the ground at a greater angle on many UPDs. One solution is to fabricate and extra guard for the part above the rear bumper.
Several folks here on the forums have come up with some other good bumper mods to add an extra guard in the KH Zero thread: New Fusion Zero ultra low curvature unicycle saddle
I thought it might be good to start a separate thread for sharing ideas on this type of mod as it can improve a popular saddle and will be easy to find.
My Mod:
To kick it off, I came up with an inexpensive solution with easily available materials so I thought I’d share it here.
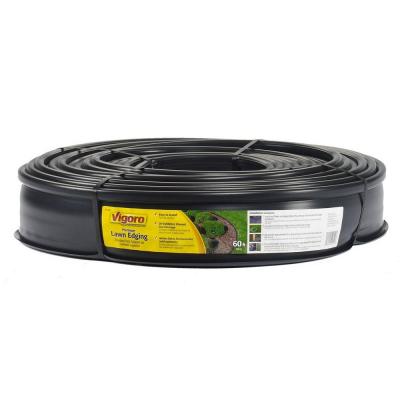
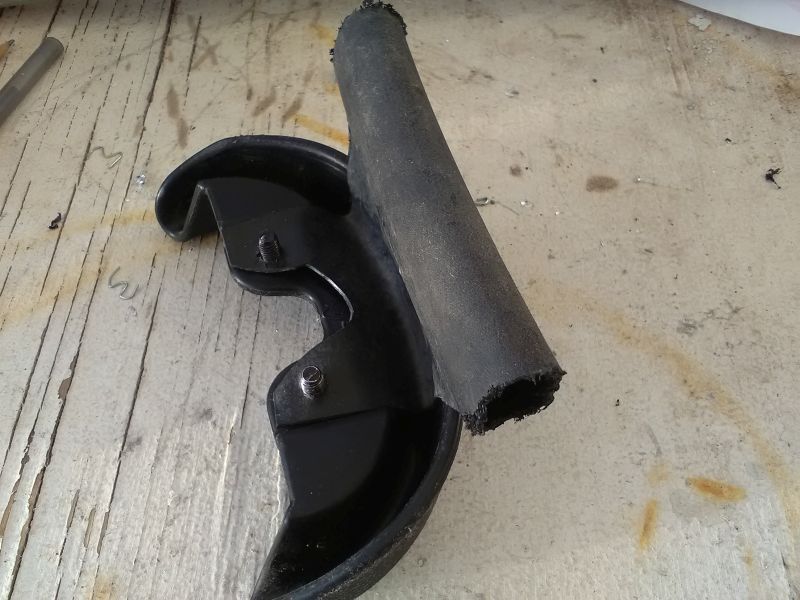
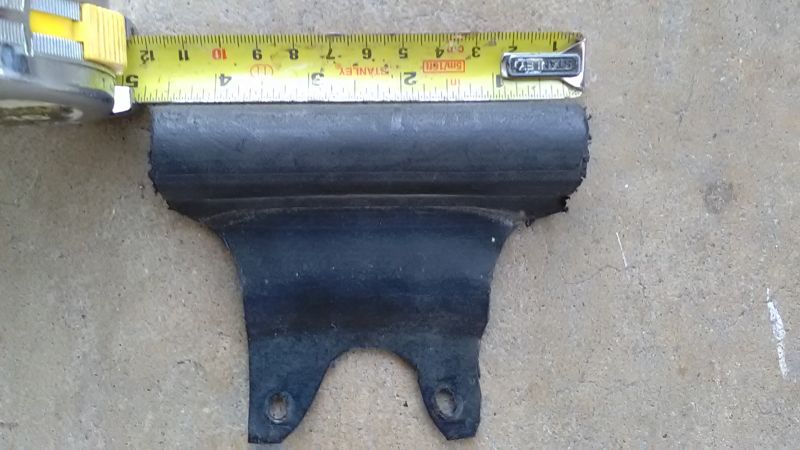
I had lawn edging in my shed - it is a tough plastic strip 5 -6 inches (15mm) high and comes in lengths of 10 to 50 feet. The top of the edging is formed into tubing. The edging is flexible and can be mounted to the bumper bolt holes. The lower flat section can then be bent and fitted between the saddle and bumper so the top tubing portion emerges above the bumper to cover the back of the saddle.
I have ridden several weeks using this mod - it works and so far I have not had any issues with it.
Since the tubing is hollow, it can also be used to tie down a bag mounted on the rear of the saddle by running cord through it.
Materials:
KH One / KH Zero Saddle
Lawn Edging / Landscape Edging - 4 to 5 Inches Deep x 10 - 50 ft - available in your shed or most hardware / home stores - must be at least 4 inches deep (10 cm)
Edging Compatible Cutting Tool (Small Hacksaw / Tin Snips / Heavy Duty Scissors / Knife)
Metric Hex Key Set
Steps:
- Preparation / Disassembly:
-
Remove Rear Bumper from KH One / KH Zero using Metric Hex Keys
-
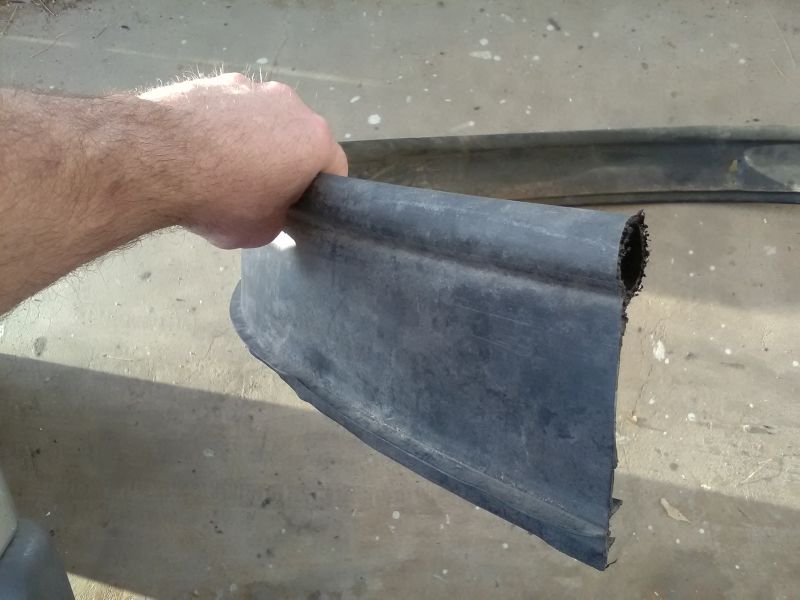
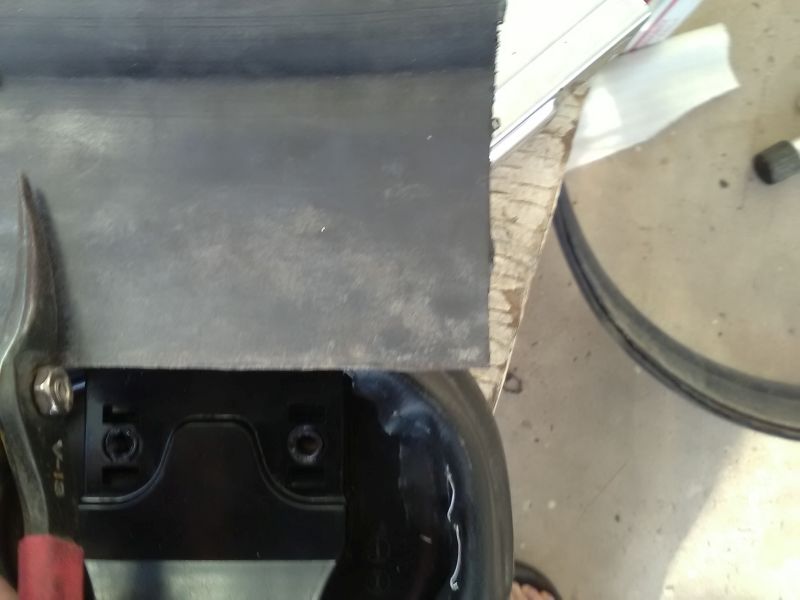
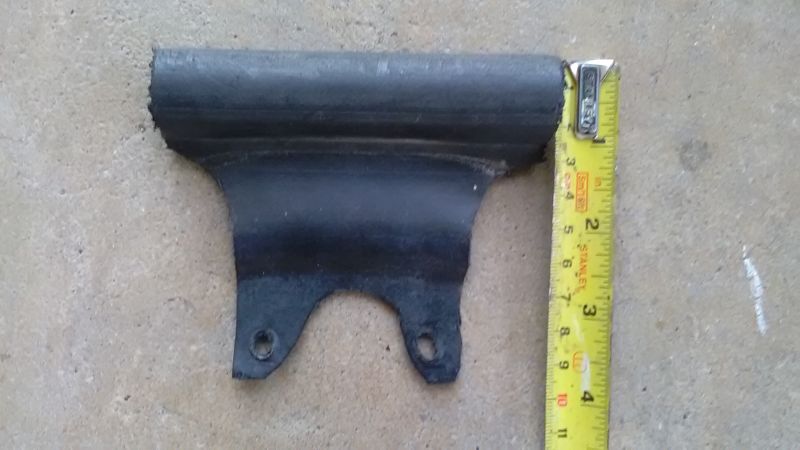
Cut a section off of the lawn edging strip - The length of the cut section should be slightly narrower than the rear bumper width (enough to protect, but not scuff your legs). If the bottom of the edging has ridges or tubing, cut them off without removing any of the flat part of the edging. The tubing at the top of the edging should remain. You need at least 4 inches (10 cm) between the bottom and the top of tubing portion.
- Shaping The Edging To Fit The Saddle/Bumper:
-
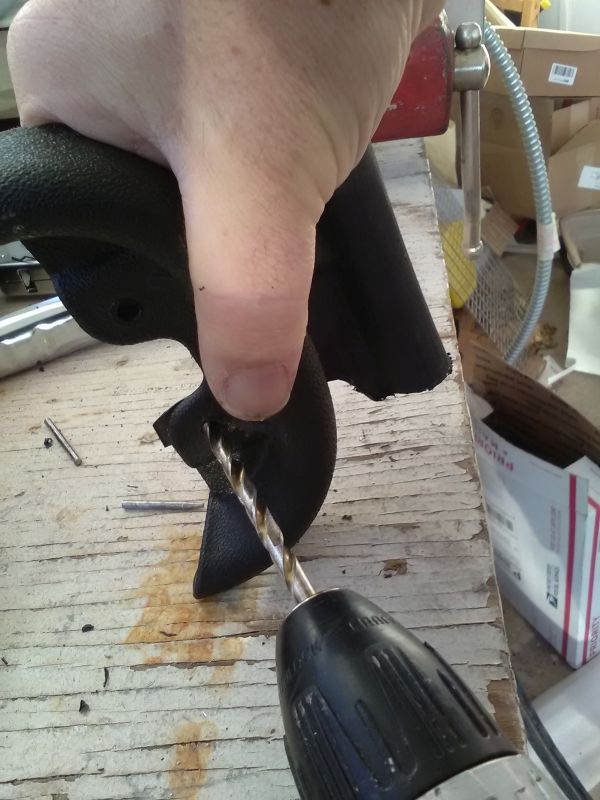
Line up the flat bottom of the edging with the bolt holes on the rear bumper. Drill / Ream bolt holes in the edging using the rear bumper as a guide.
-
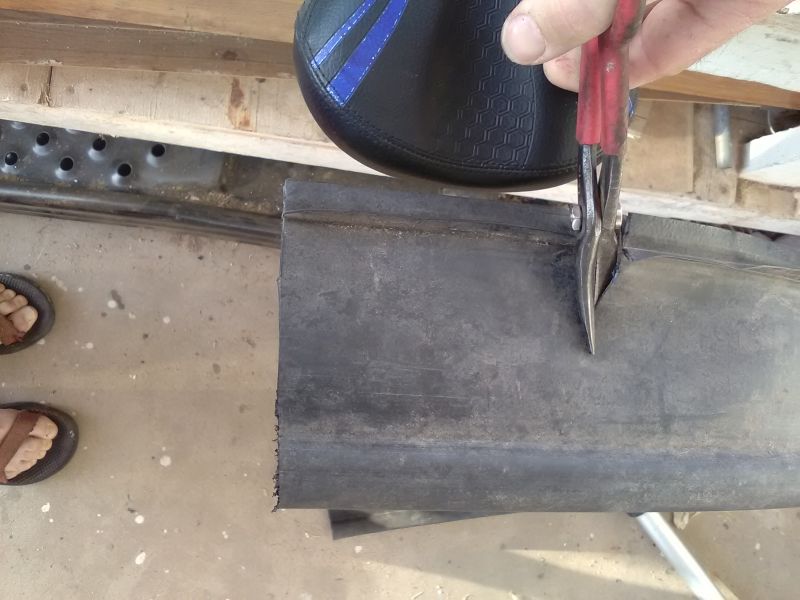
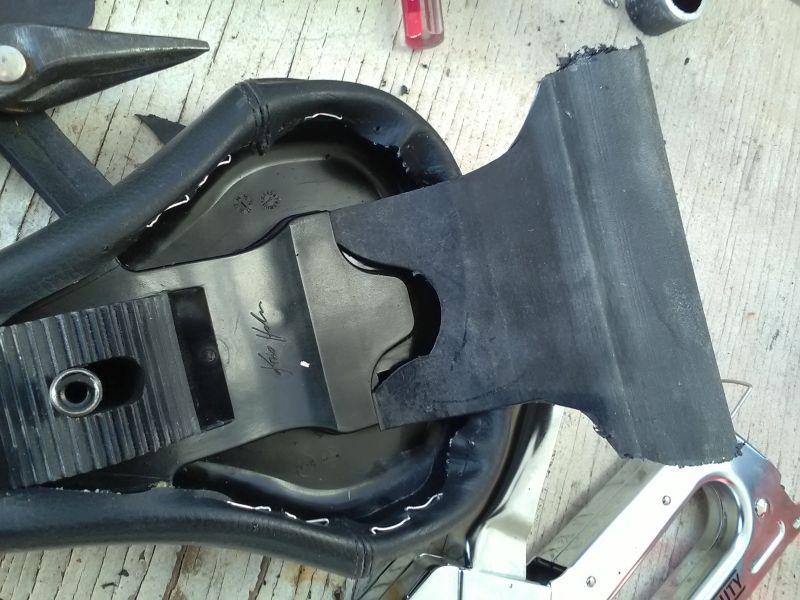
Cut the edging to match the shape of the rear bumper on the inside edge near the bolt holes. This will allow the bumper to bolt on tightly with the edging underneath.
-
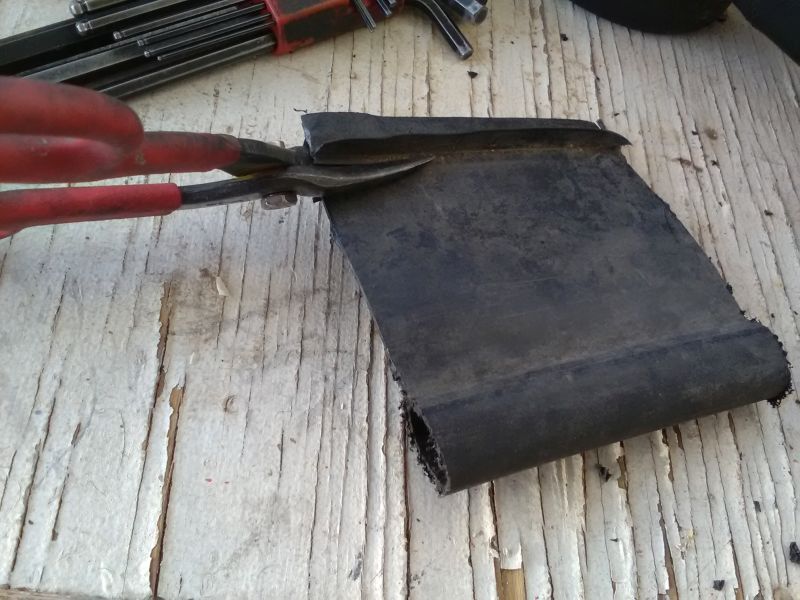
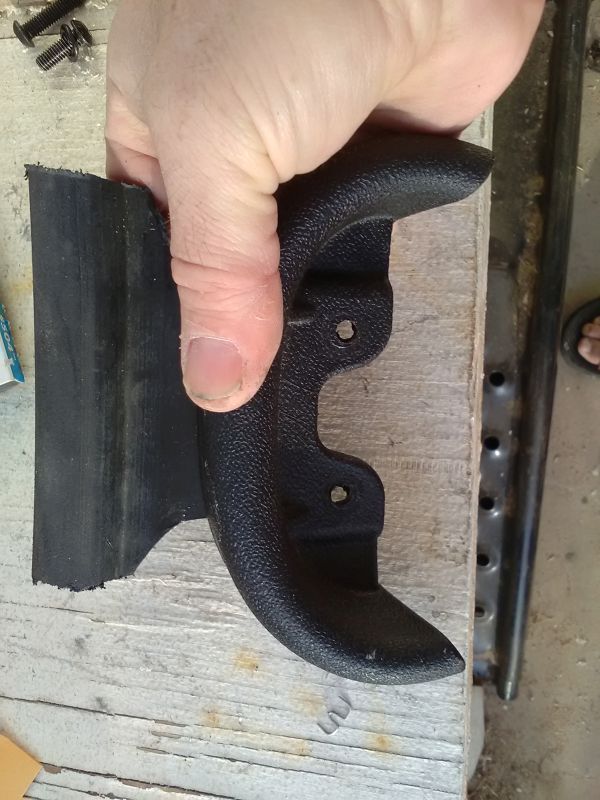
Trim the edging down between the bolt holes and the tubing so it narrows down to the bolt holes.
- Re-assemble Saddle with Edging Between Bumper and Saddle:
-
Put bolts through rear bumper then through the holes in the edging (edging should be under the bumper).
-
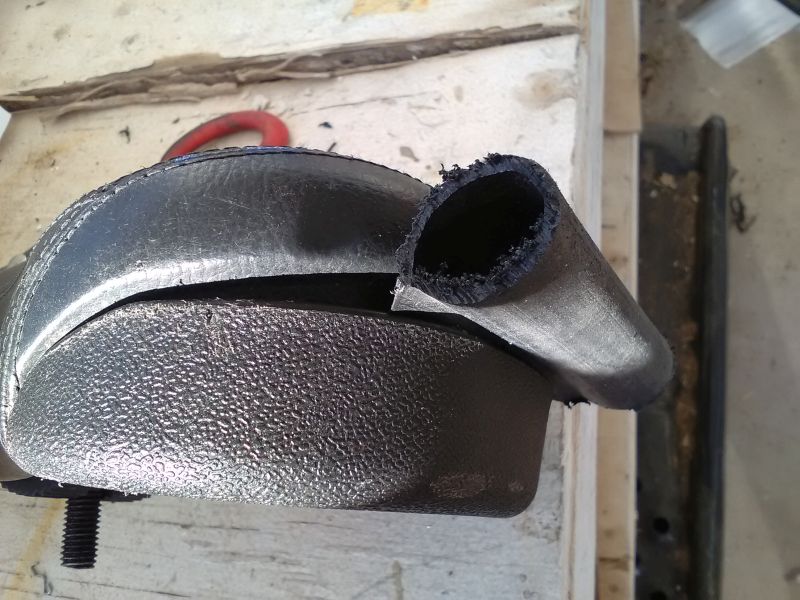
Bend the edging to fit the profile of the bumper. It should go down into the lip of the bumper and up the back of it.
-
Place the bumper with attached edging back underneath the saddle and align the bolts. Carefully thread the bolts into the saddle nuts - adding the edging makes it slightly harder to line them up. Tighten the bolts slowly and evenly, alternating between them until the bumper is tight. The bumper will not tighten the whole way back due to the edging, but it will be close.
Paranoid Disclaimer:
I make no guarantees that this mod will work for you. You might find it will void your saddle warranty, destroy your saddle, or unleash some horrible plague on mankind, who knows. Whatever the outcome, I claim no responsibility for it. I’m just sharing what worked for me.
Enjoy