While I know it’s not fun to “make/force” brand new parts to fit their intended use, I think the options presented by @Bug72 should work. It might take a lot less taps with a hammer than you think. Protecting the paint before hammering is what I would do, even if it’s only a strip of thick Gorilla Tape, or maybe a few layers of masking tape if you already have that.
1 Like
I’ve actually tried that quite a bit, it’s not making much progress
I’m not familiar with this frame and mowcius states it is a stamped cap and he probably knows better than me but it does not look like a stamped part to me. I feel they look cast based on your picture. a heavy cast piece could be difficult to bend.
That’s very unfortunate. 
By using a vise instead of a hammer one has much more control over the process. I reckon it’s also less damaging to the paint if one uses a block of hardwood or so as padding.
Isn’t that much more expensive than a stamped part? I’d be surprised if they made this choice.
1 Like
upon some further investigation they would not be cast they would be cnc machined if not stamped. My guess is that the cap in the picture is cnc machined.
also apon further investigation it looks like thr problem has been dolve based on the pictures of your latest ride thread.
That is a different frame.
They’re stamped. If someone makes the effort to CNC machine bearing clamps they make them out of aluminium (or in some cases titanium) rather than steel. Also, if CNC machined, the “wings” where the holes for the screws are located usually are solid instead of hollowed out.
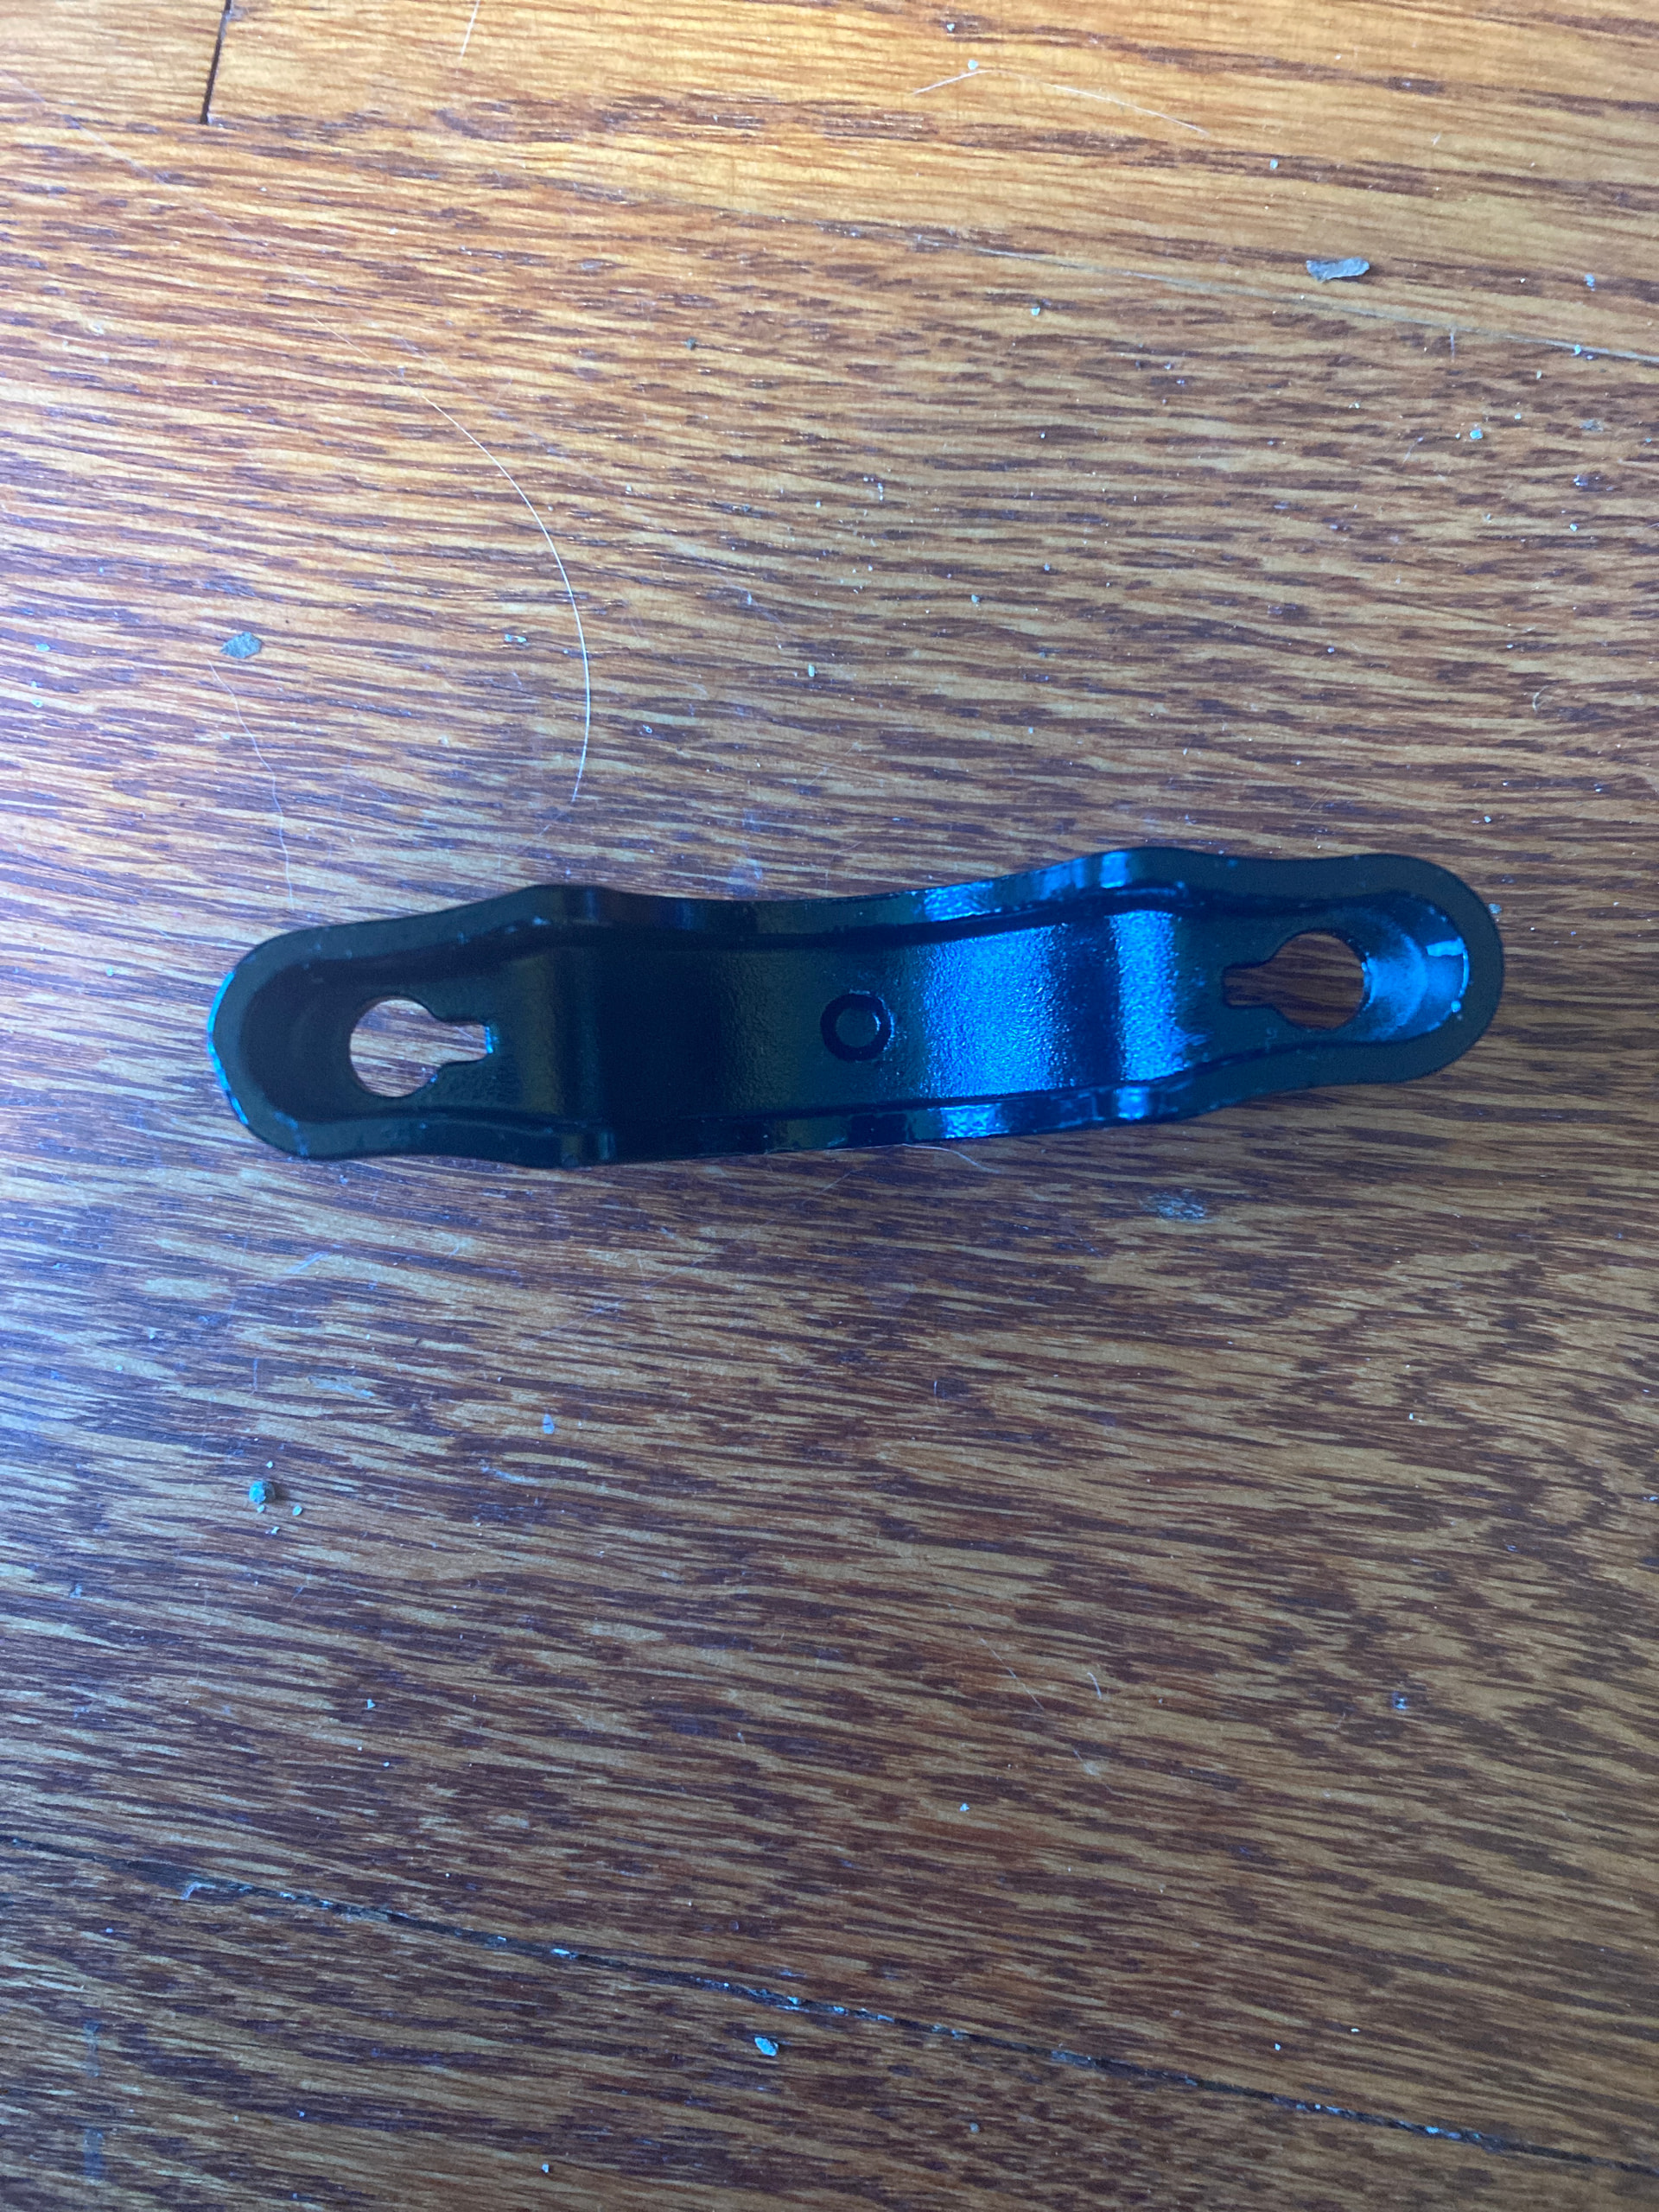
This appears to be a higher quality part than the stamped ones of my QuAx, albeit the dimensions apparently being off. But for a stamped part it looks very nice. Still, if it were machined it would look even cleaner (look at the edge of the left “wing” in the image).
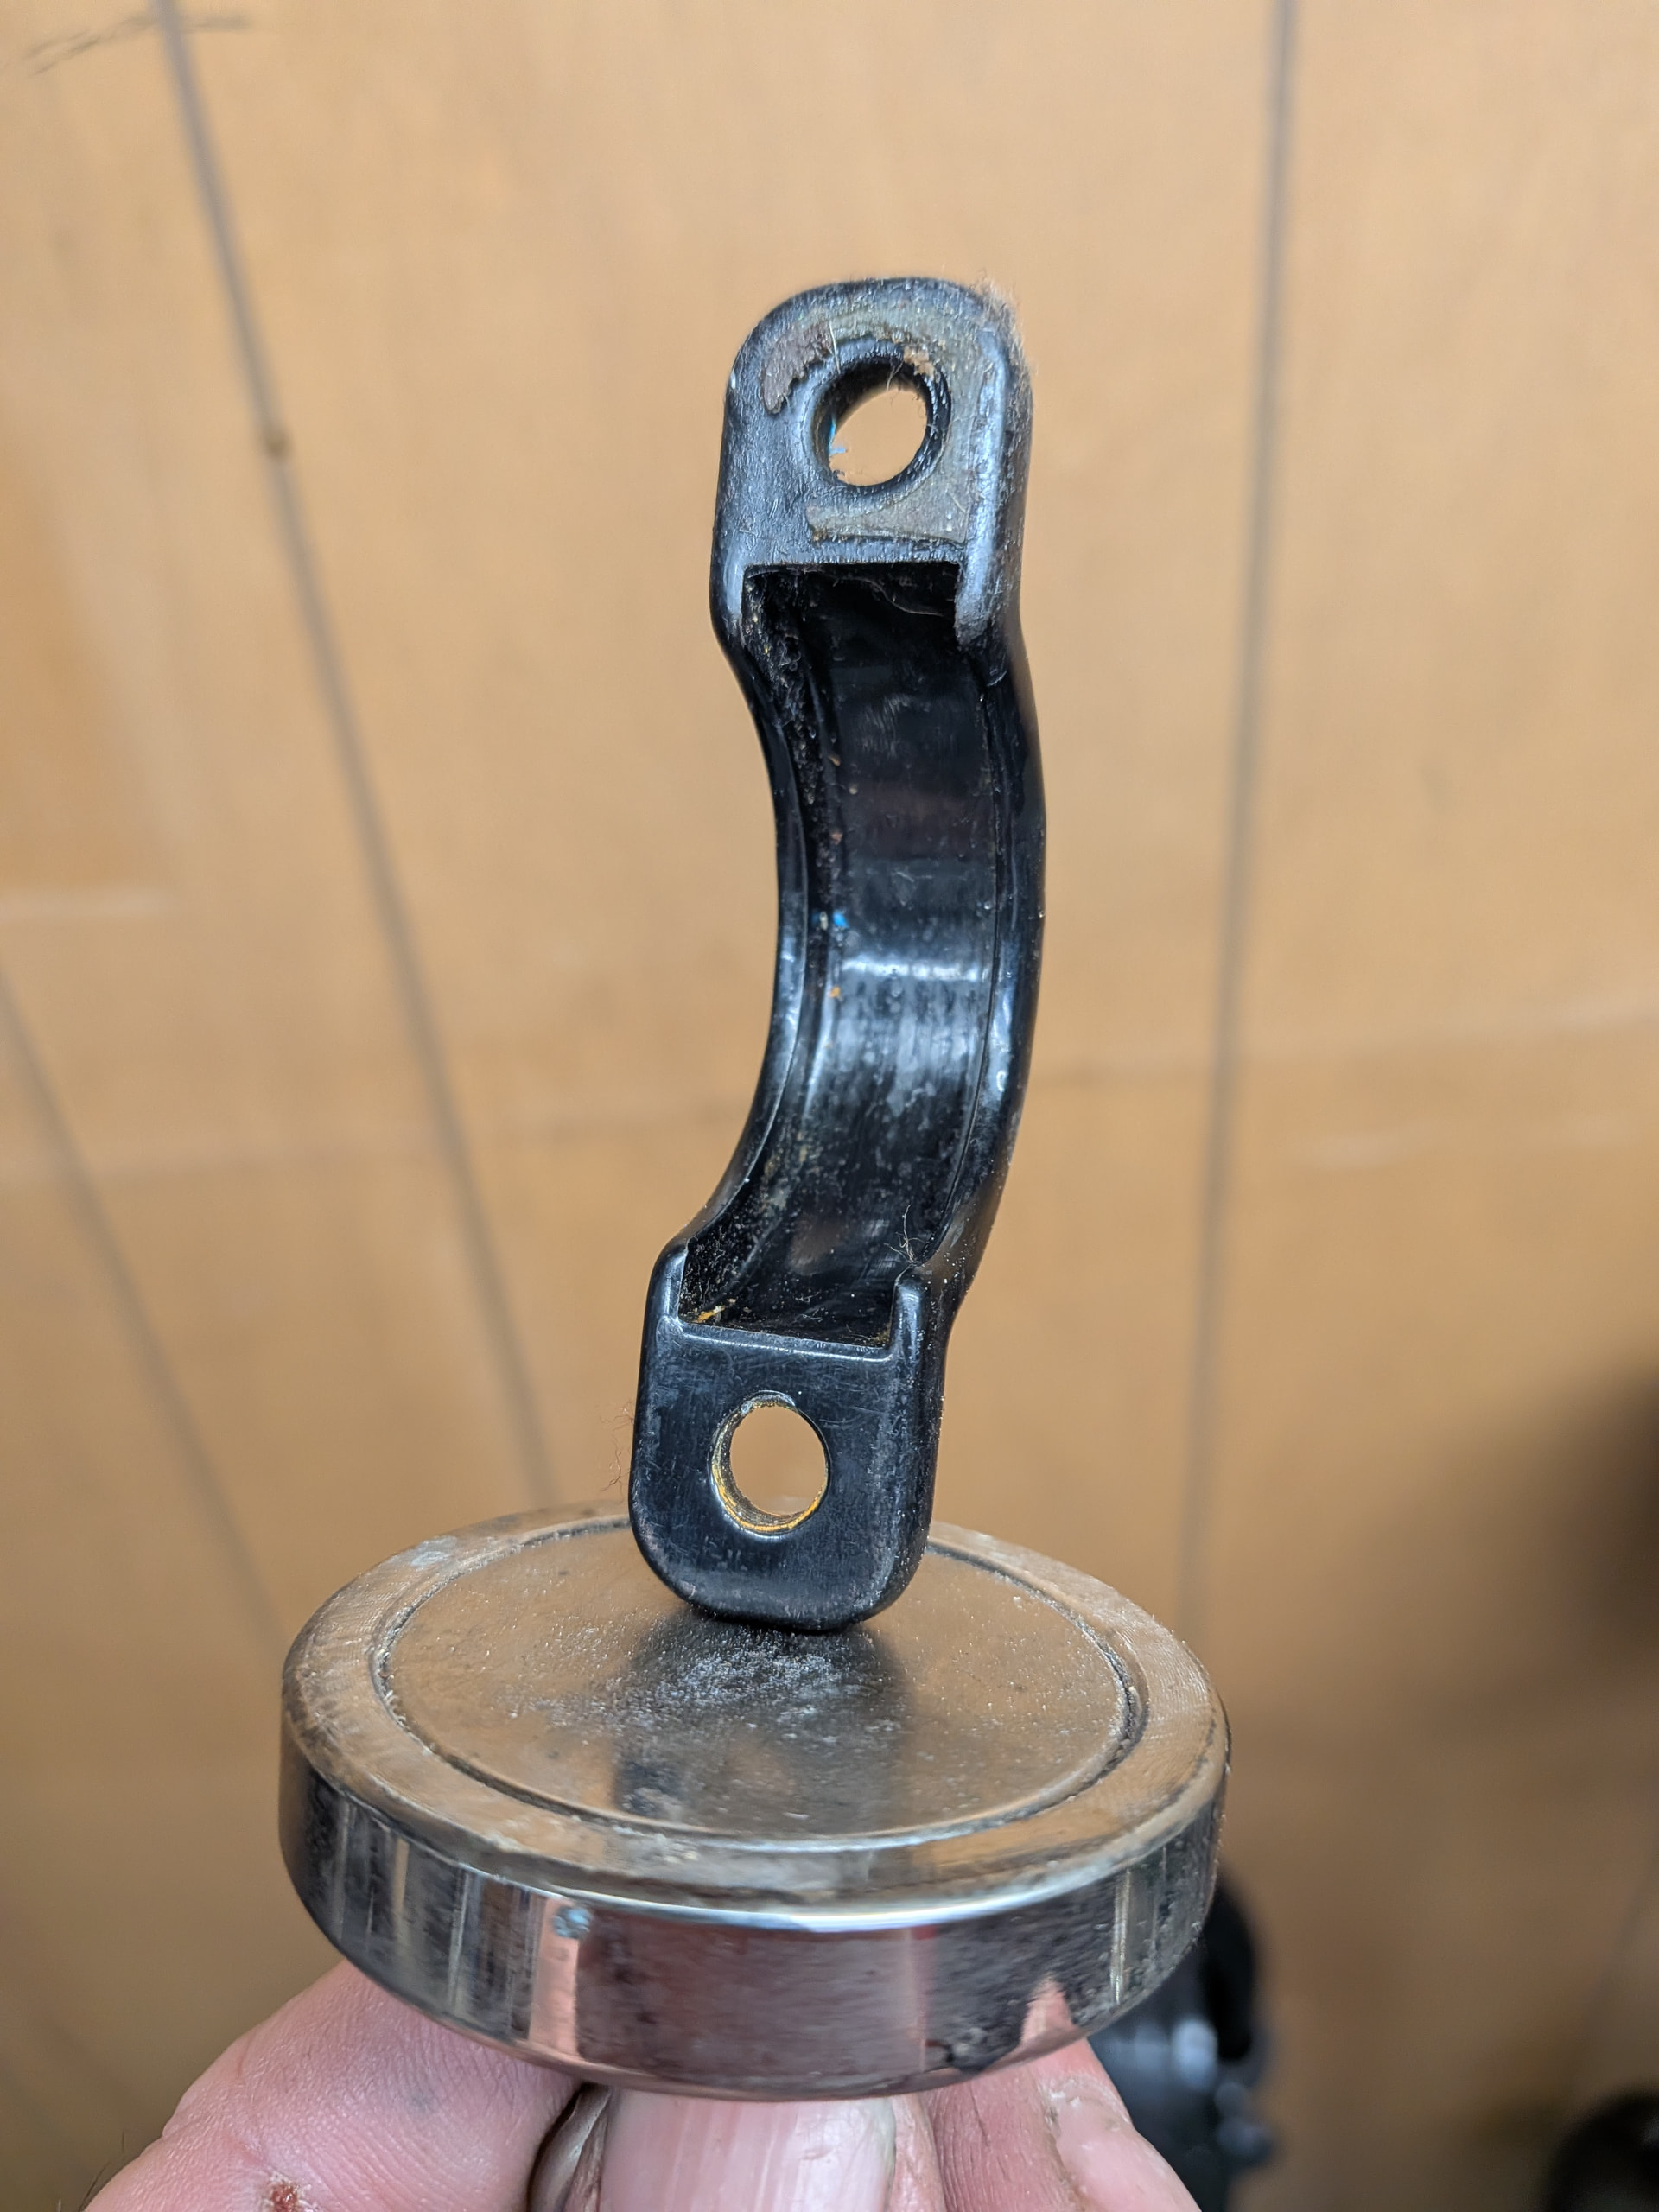
this is a steel bearing cap that was cnc machined as you can see that it is on a magnet. the notorious cap that started this conversation is stamped I’m sure
Don’t try to hammer it on or press it on with a vice. It looks like it might be a bit narrow to accommodate the width of the bearing, it probably won’t deform enough to splay the sides out to let the bearing seat properly if you hammer/press it on, you may end up damaging the bearing or may get it partially on and then have a heck of a job getting back off.
You probably can’t really file the inside of it since it is too shallow, if you have access to a Dremel or a tool like that you could grid a bit off the insides of the shell to let it seat, either with a small disc or a burr/sanding type bit.
If you can’t do that, I think you said you are going to Unicon – take the end-cap with you and sync up with Mad4One when you are there and let them see it. I’m sure Marco will sort it out for you.
Worst case – buy some of these from UDC, they probably have them in the US too. Odds on the bolt spacing will be the same and you’ll be fine. I built some extensions for my Park wheel truing jig with these and they fit 42mm bearings just fine.
You’re correct. I was a too strict in my assessment. Thought of the bearing cap(s) of my Oregon which looks the same as the one you pictured - just in green. But that only crossed my mind some time after posting.
I’m not sure how these are made. I would expect a different look and higher accuracy of something that is CNC machined, i.e. the corners are “somehow” rounded (instead of being rounded in a precicely defined way) and the flat parts that face towards the viewer aren’t exactly flat. If these flats were machined I’d expect them to be pretty much perfect, except maybe for some milling marks. Anyway, they are defintely steel and they do indeed appear to be partly machined. I’m thinking of the inner part of the race (is that the correct term?) wherein the bearing will sit.
That’s a possibility that I didn’t think of, probably because I’m assuming that it would be very obvious to anybody if this was the actual issue. But I could be wrong (again), so that’s worth checking. If it really is the source of all the headaches, a Dremel style tool is indeed the way to go.
I suggested this to him and he replied telling me that he wouldn’t be going to Unicon 22
I don’t think it is probably visibly narrowed, maybe just a bit malformed and just needs a bit of fettling. The bearing should just drop into it, as long as it is the right radius it shouldn’t take much to get it to fit, – however given the steel is relatively thick versus the height of the flange at the side of the bearing a hammer is not the way to do it 
Bug72’s photo is obviously machined, not necessarily CNC’ed though, a single milling cutter of the right size could easily do that in a manual machine.
Am I mistaken, is this not the same unicycle that’s in your latest ride post?
Yeah, but when I mill a part the surface looks different. Now I don’t have the best equipment, yet the surface looks cleaner overall (almost “sterile”), but with some marks of the mill left…
So what’s different here? Maybe they do get some rotofinishing?
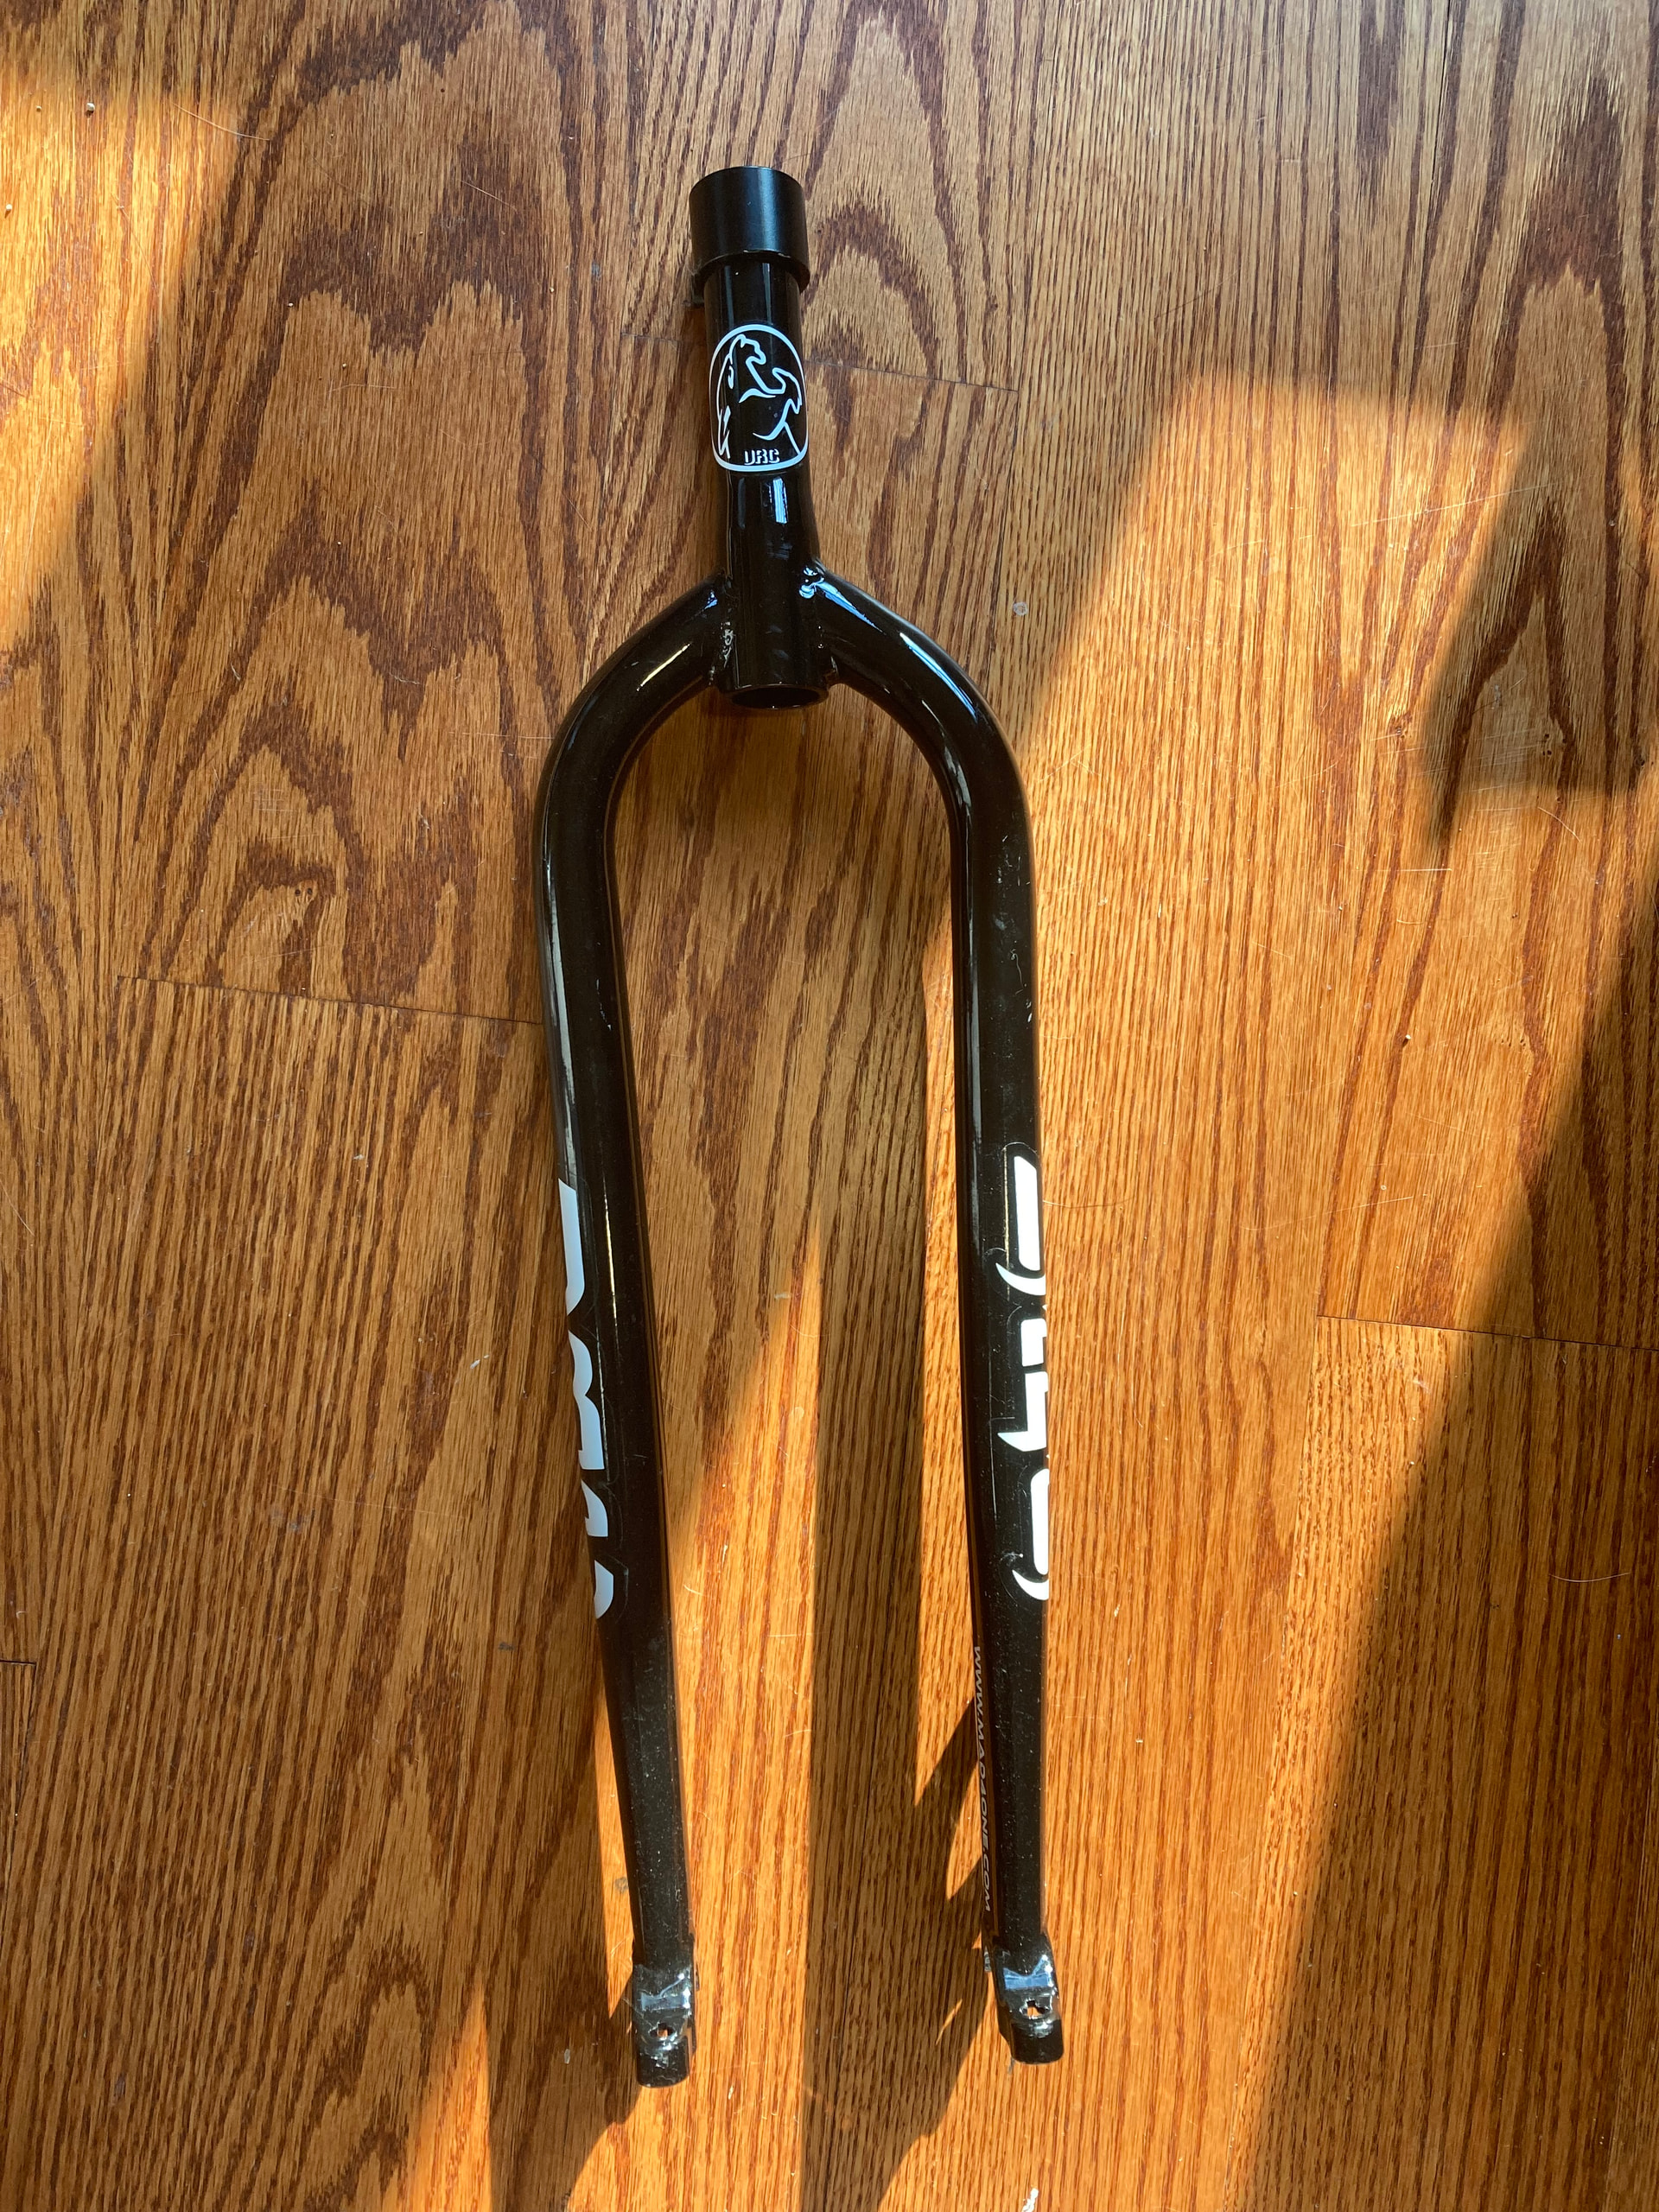
No, that’s a different frame. I was planning on putting this black frame on to replace the larger blue when I realized the problem
It is probably only the recess for the bearing that is machined, the flats are probably just cleaned up with a sander or something, hence the rounded edges and no visible tooling marks, it also has paint/some-surface-finish on it. Some poor guy in a factory somewhere probably just held them down on a belt sander with his fingers 
I could theoretically just use one of the blue brackets, but that would look really weird and it would disable the other frame
got it.