I have just begun my first unicycle build. Steel as that’s the material I work with. This will take some time and a number of posts with photos and some description. For starters here’s a shot of the seat post binder collars I made today. Two you ask? Stay tuned for the answer. Andy

Cool! If you did two, then I’m guessing it is either a tandem or a V-frame (with an adjustable handlebar post).
Corbin
I’m also curious: why not just braze the clamp directly onto your post? I’ve done this on several frames and handlebars; it saves a bit of weight. It does sacrifice the flexibility of trimming the post down for shorter people.
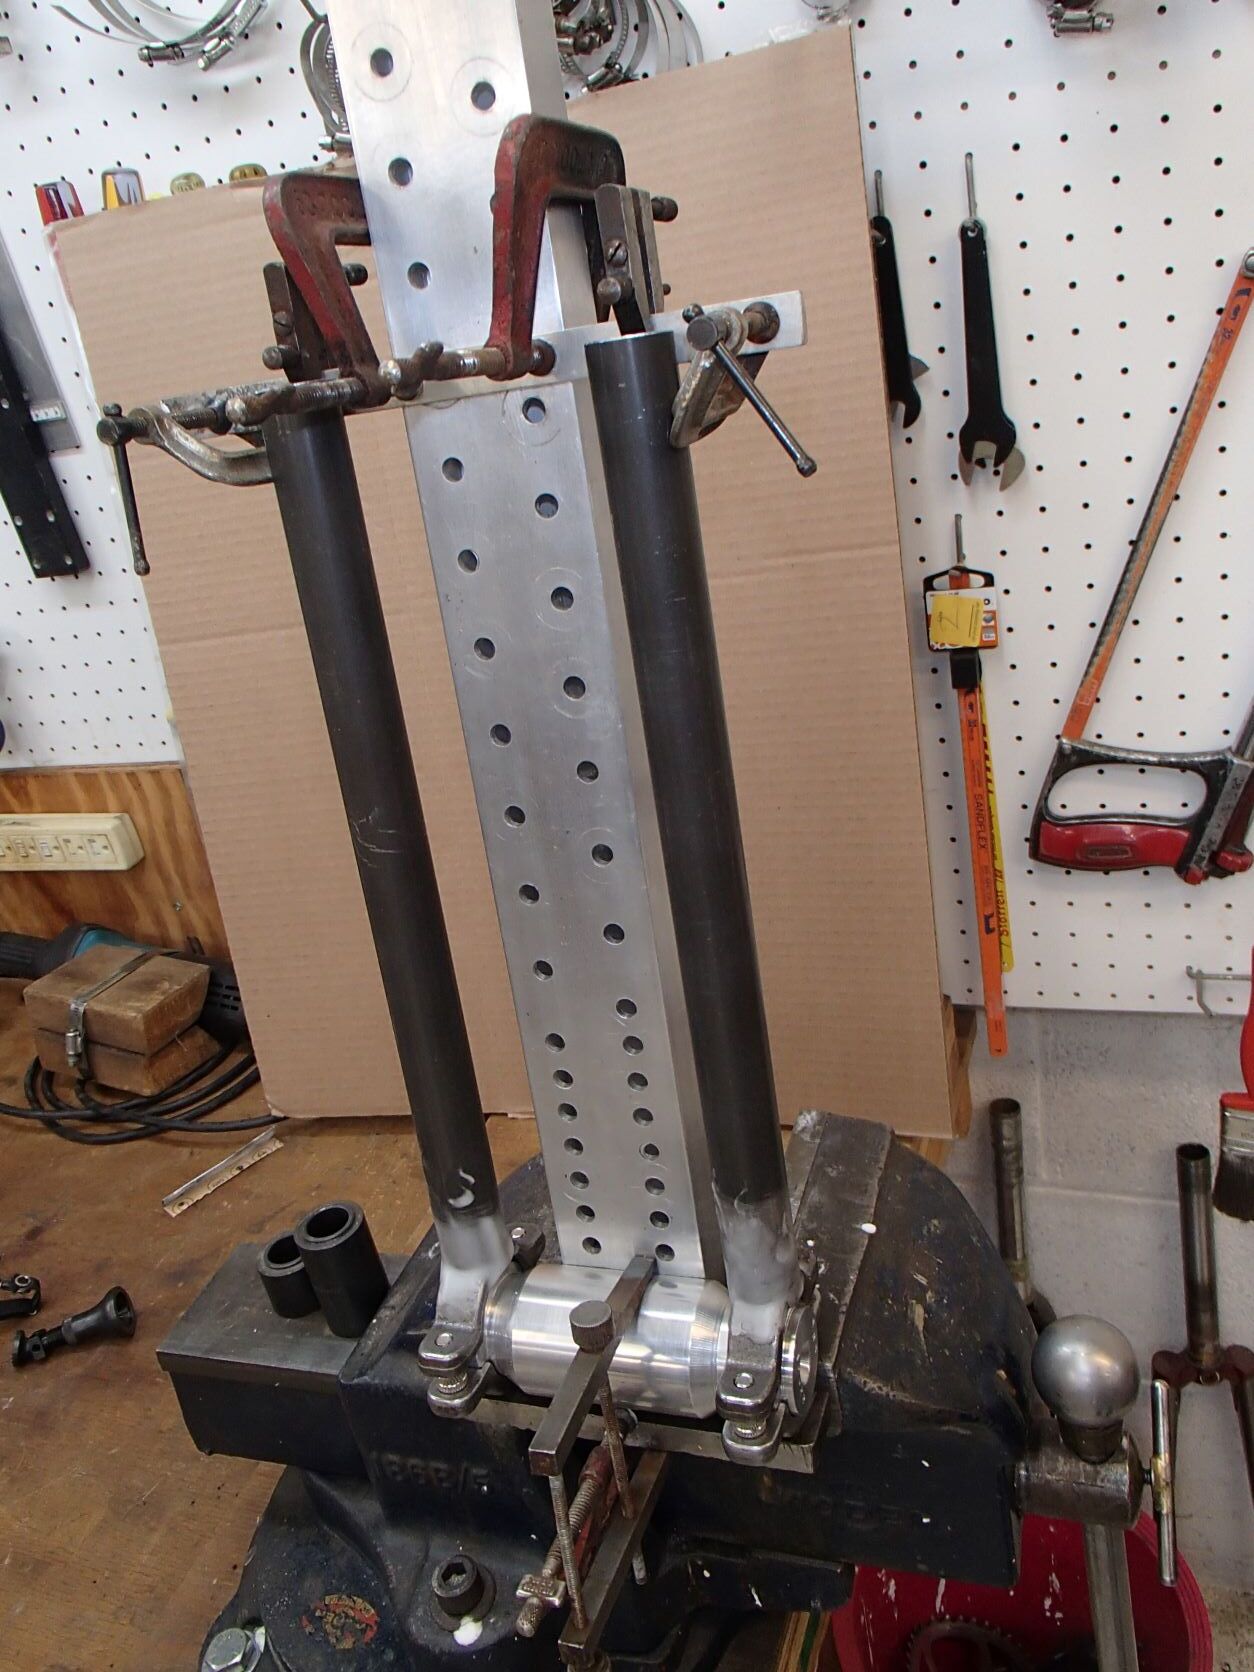
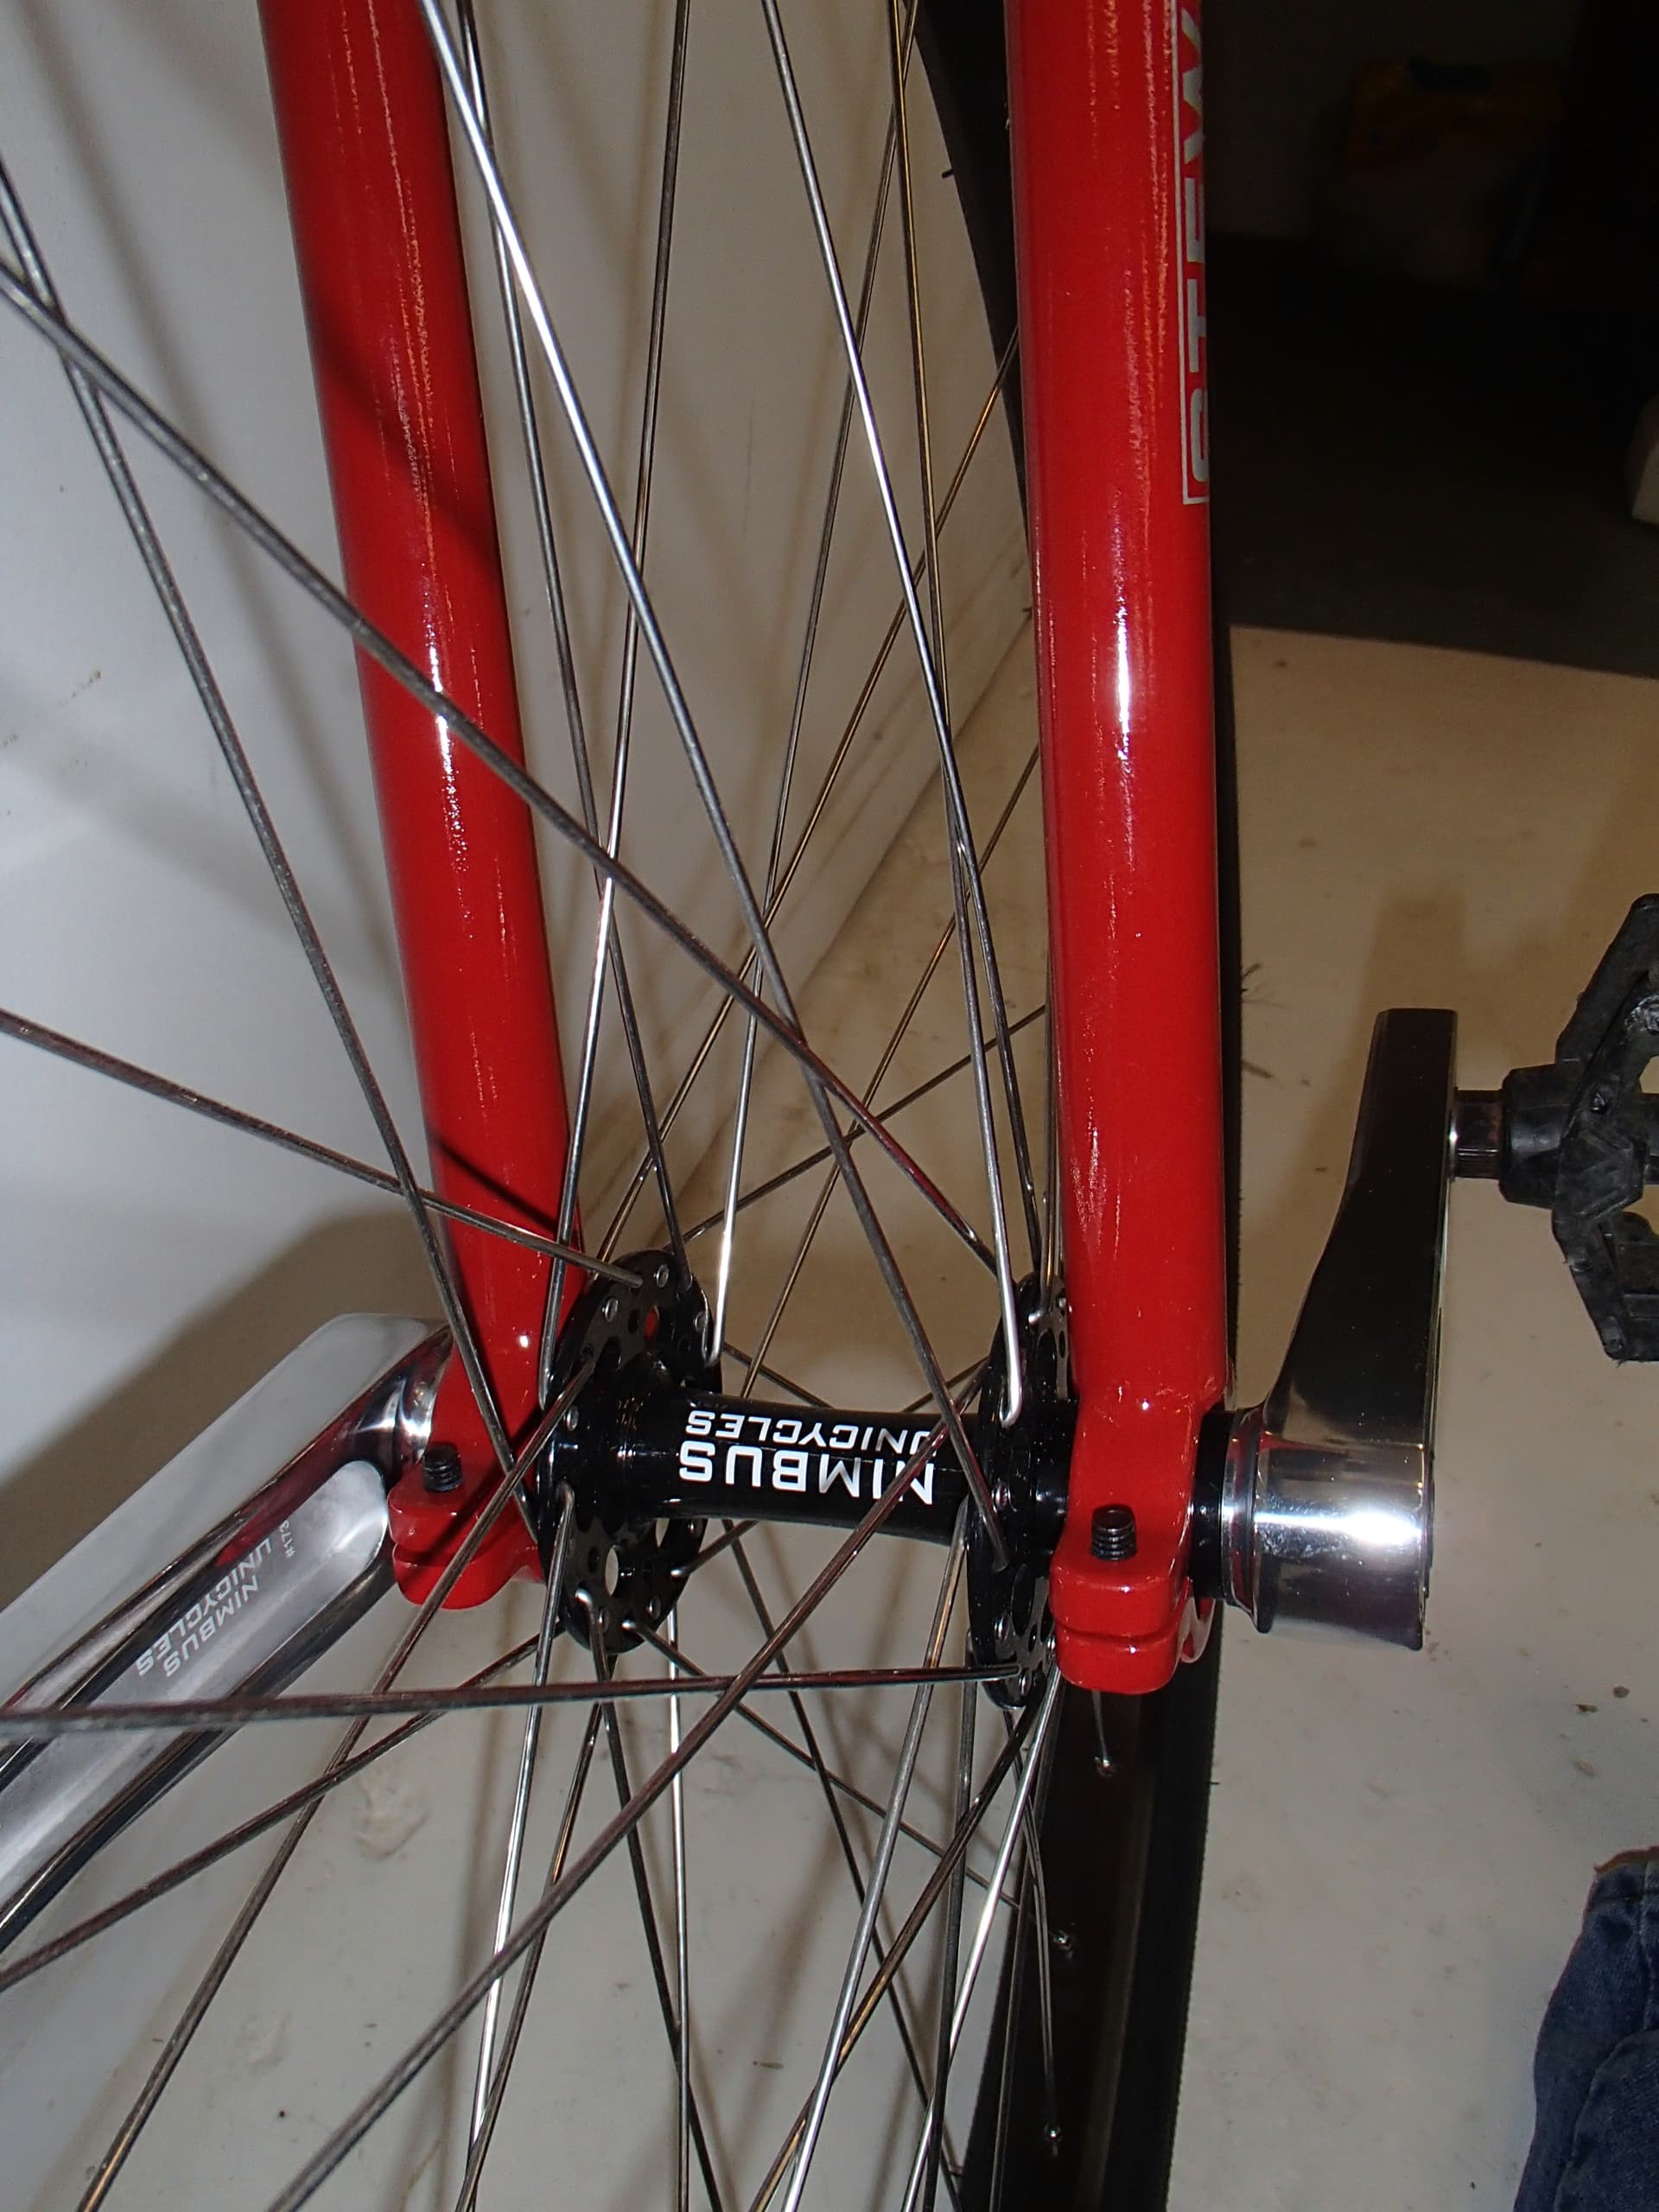
I got the fork’s lower legs brazed to the bearing caps. Very happy with the brazing but should have aligned the cap clamp tabs more perpendicular to the legs. Won’t make a functional difference but is one of those things that I will always think of when I look at them.
I spaced the upper cap (the one to be brazed to the leg) off of my jig bearing feature to have less heat lost to the jig.
Next up is the tops of the legs and the “crown”. Andy
6 Likes
It’s been a while, holidays and other projects took over. The frame build is almost done, waiting for the final clear coat. Here’s a few shots of more of this build.
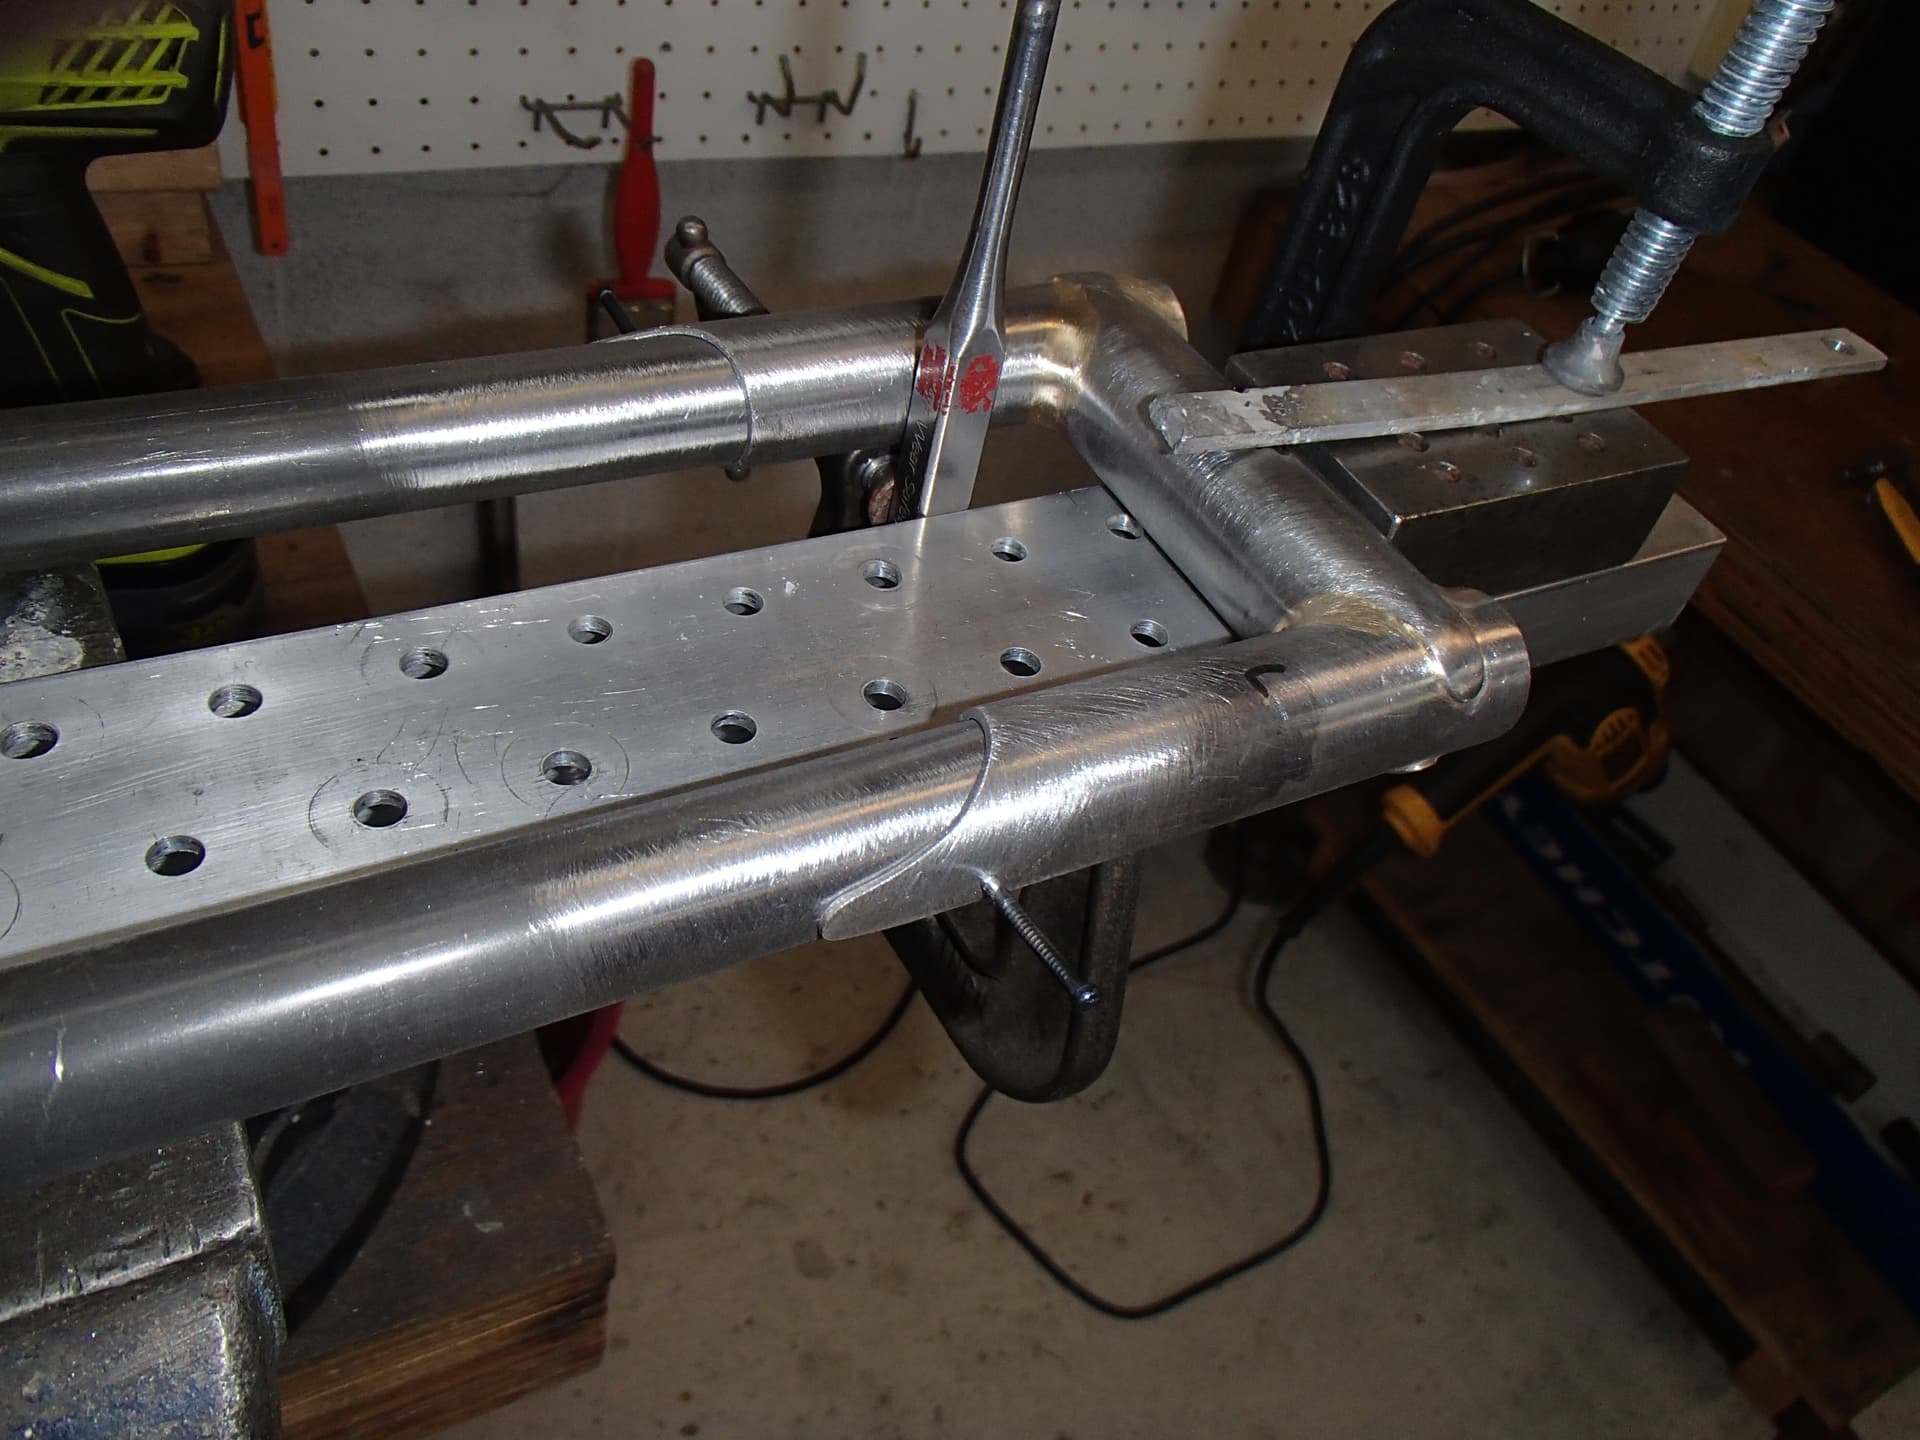
Fixturing the blades and crown. Much like a two wheels bike’s fork.
The two post clamps in their mid stage rough shape.
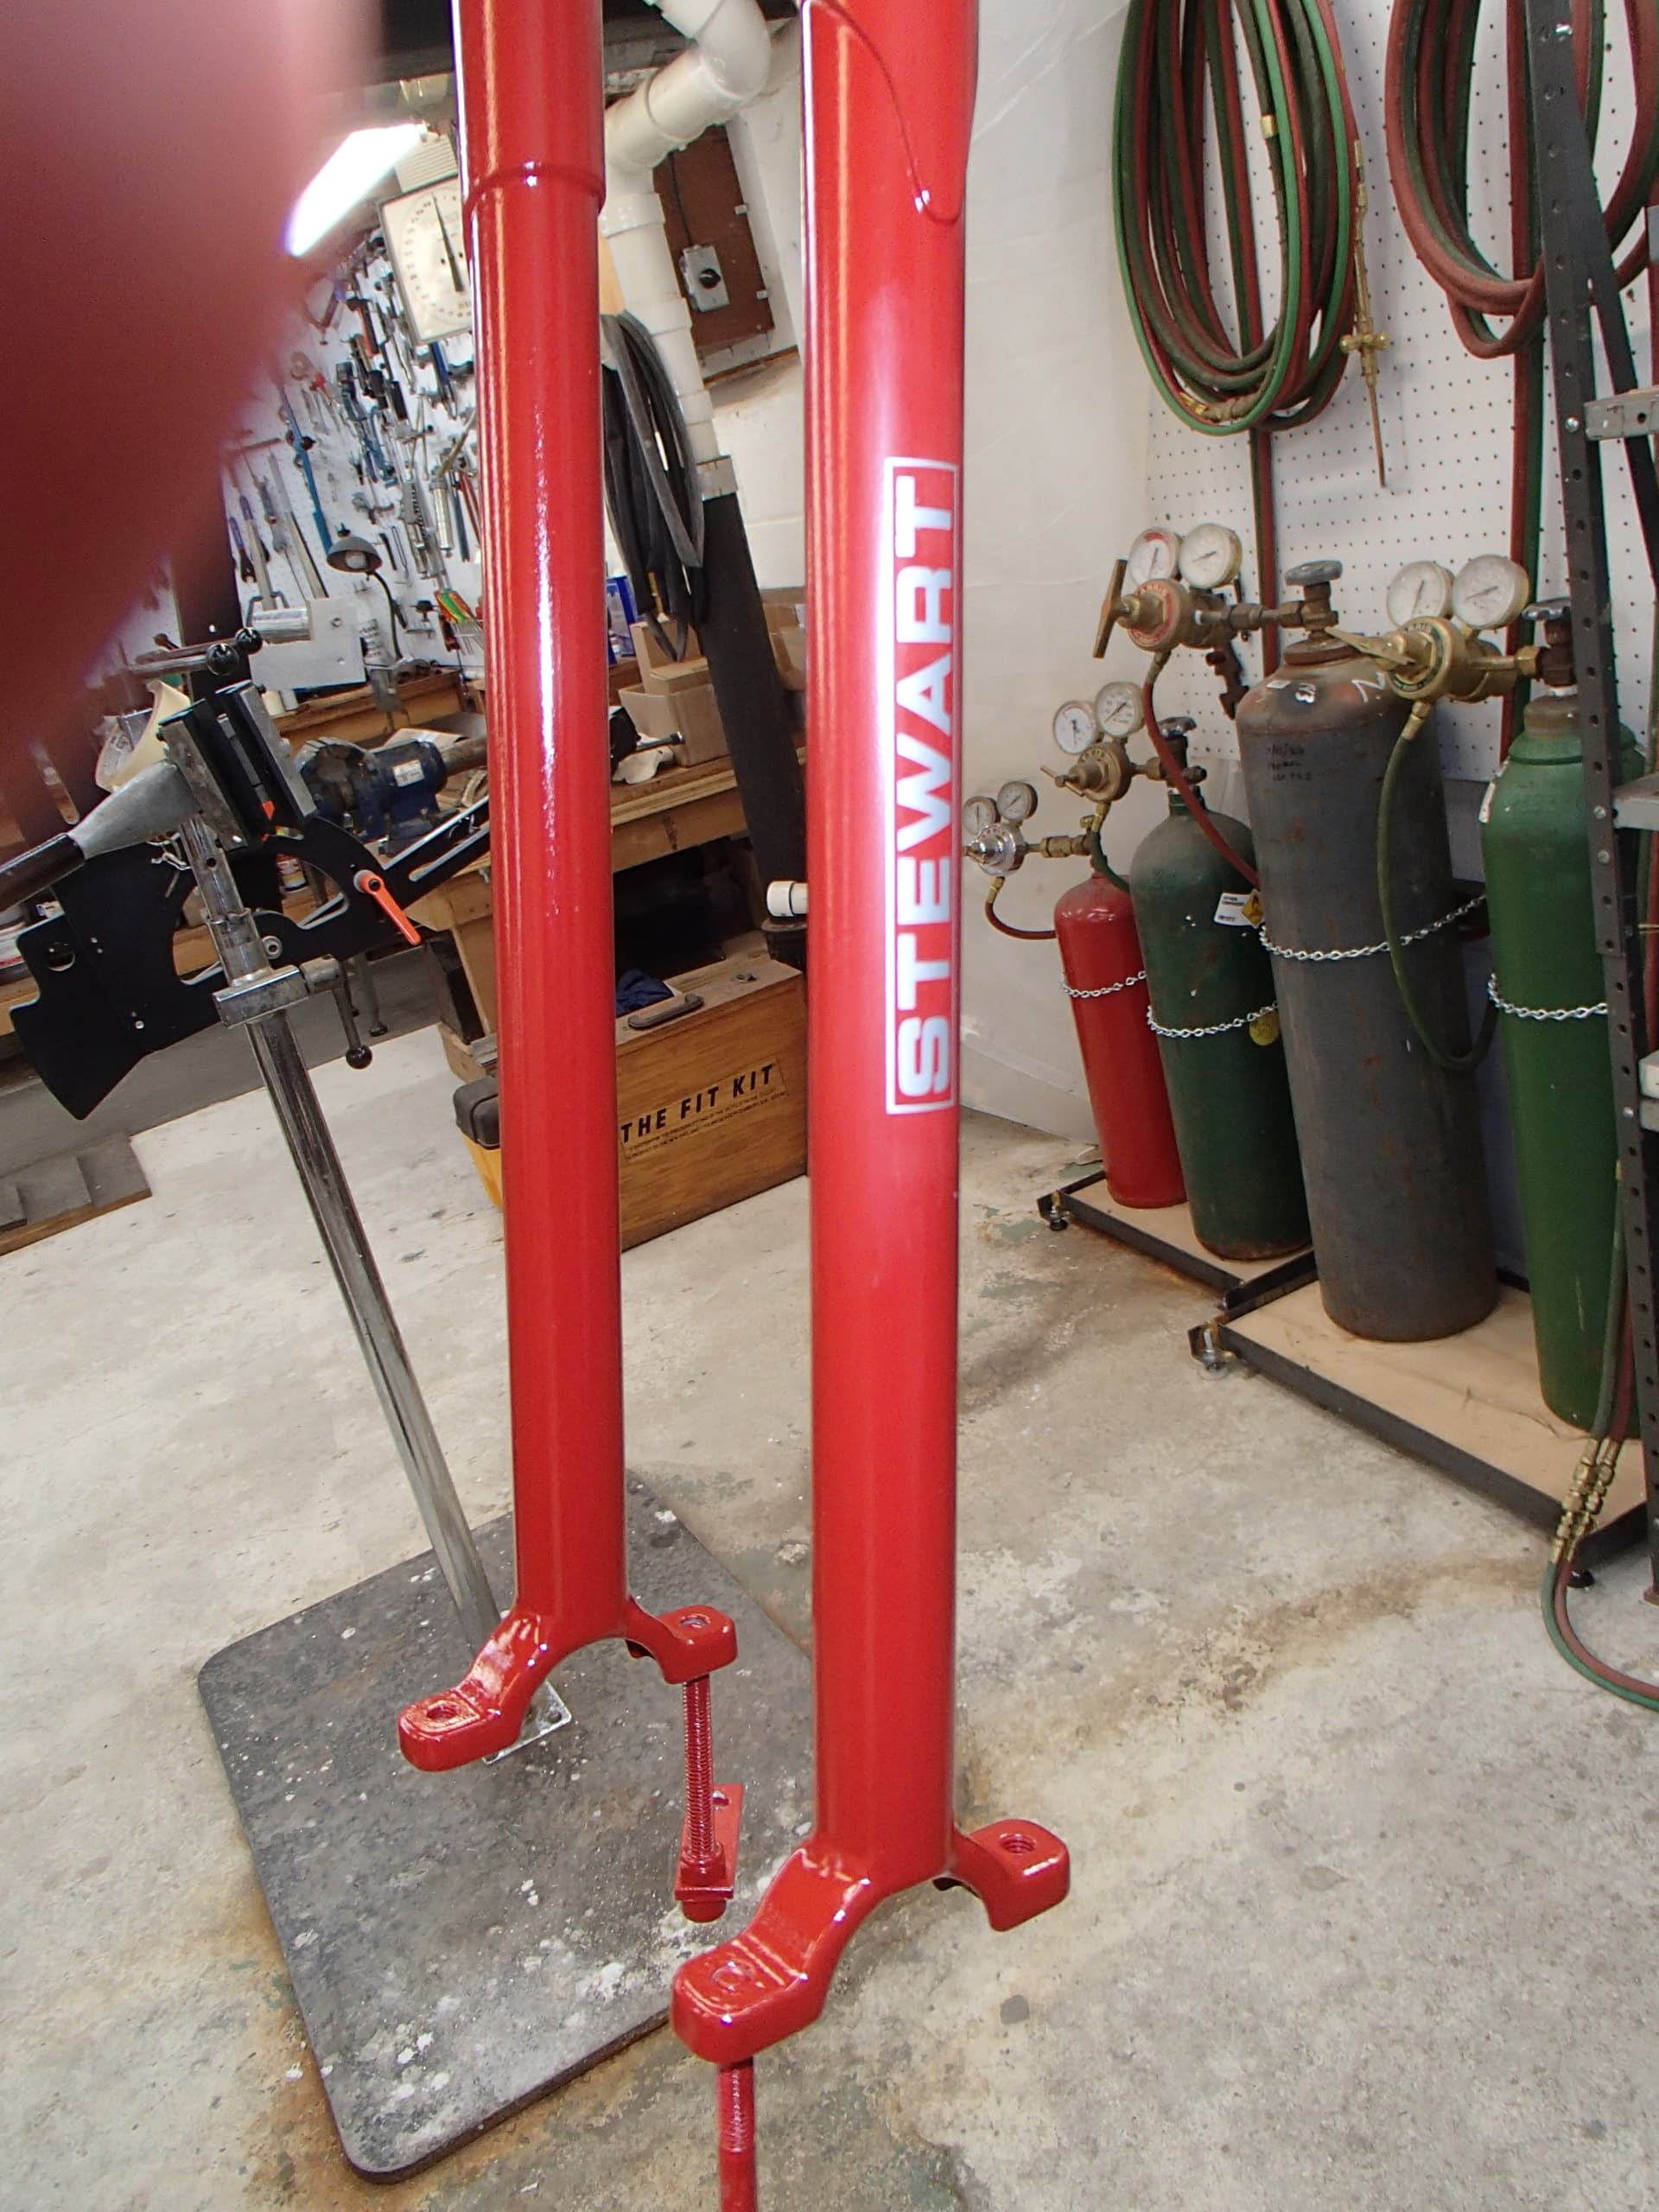
Color and decals applied. Clear’s next. Backround has my Anvil jig and old Fit Kit (which is looking for a new home…) Andy
14 Likes
All done but for my riding it…
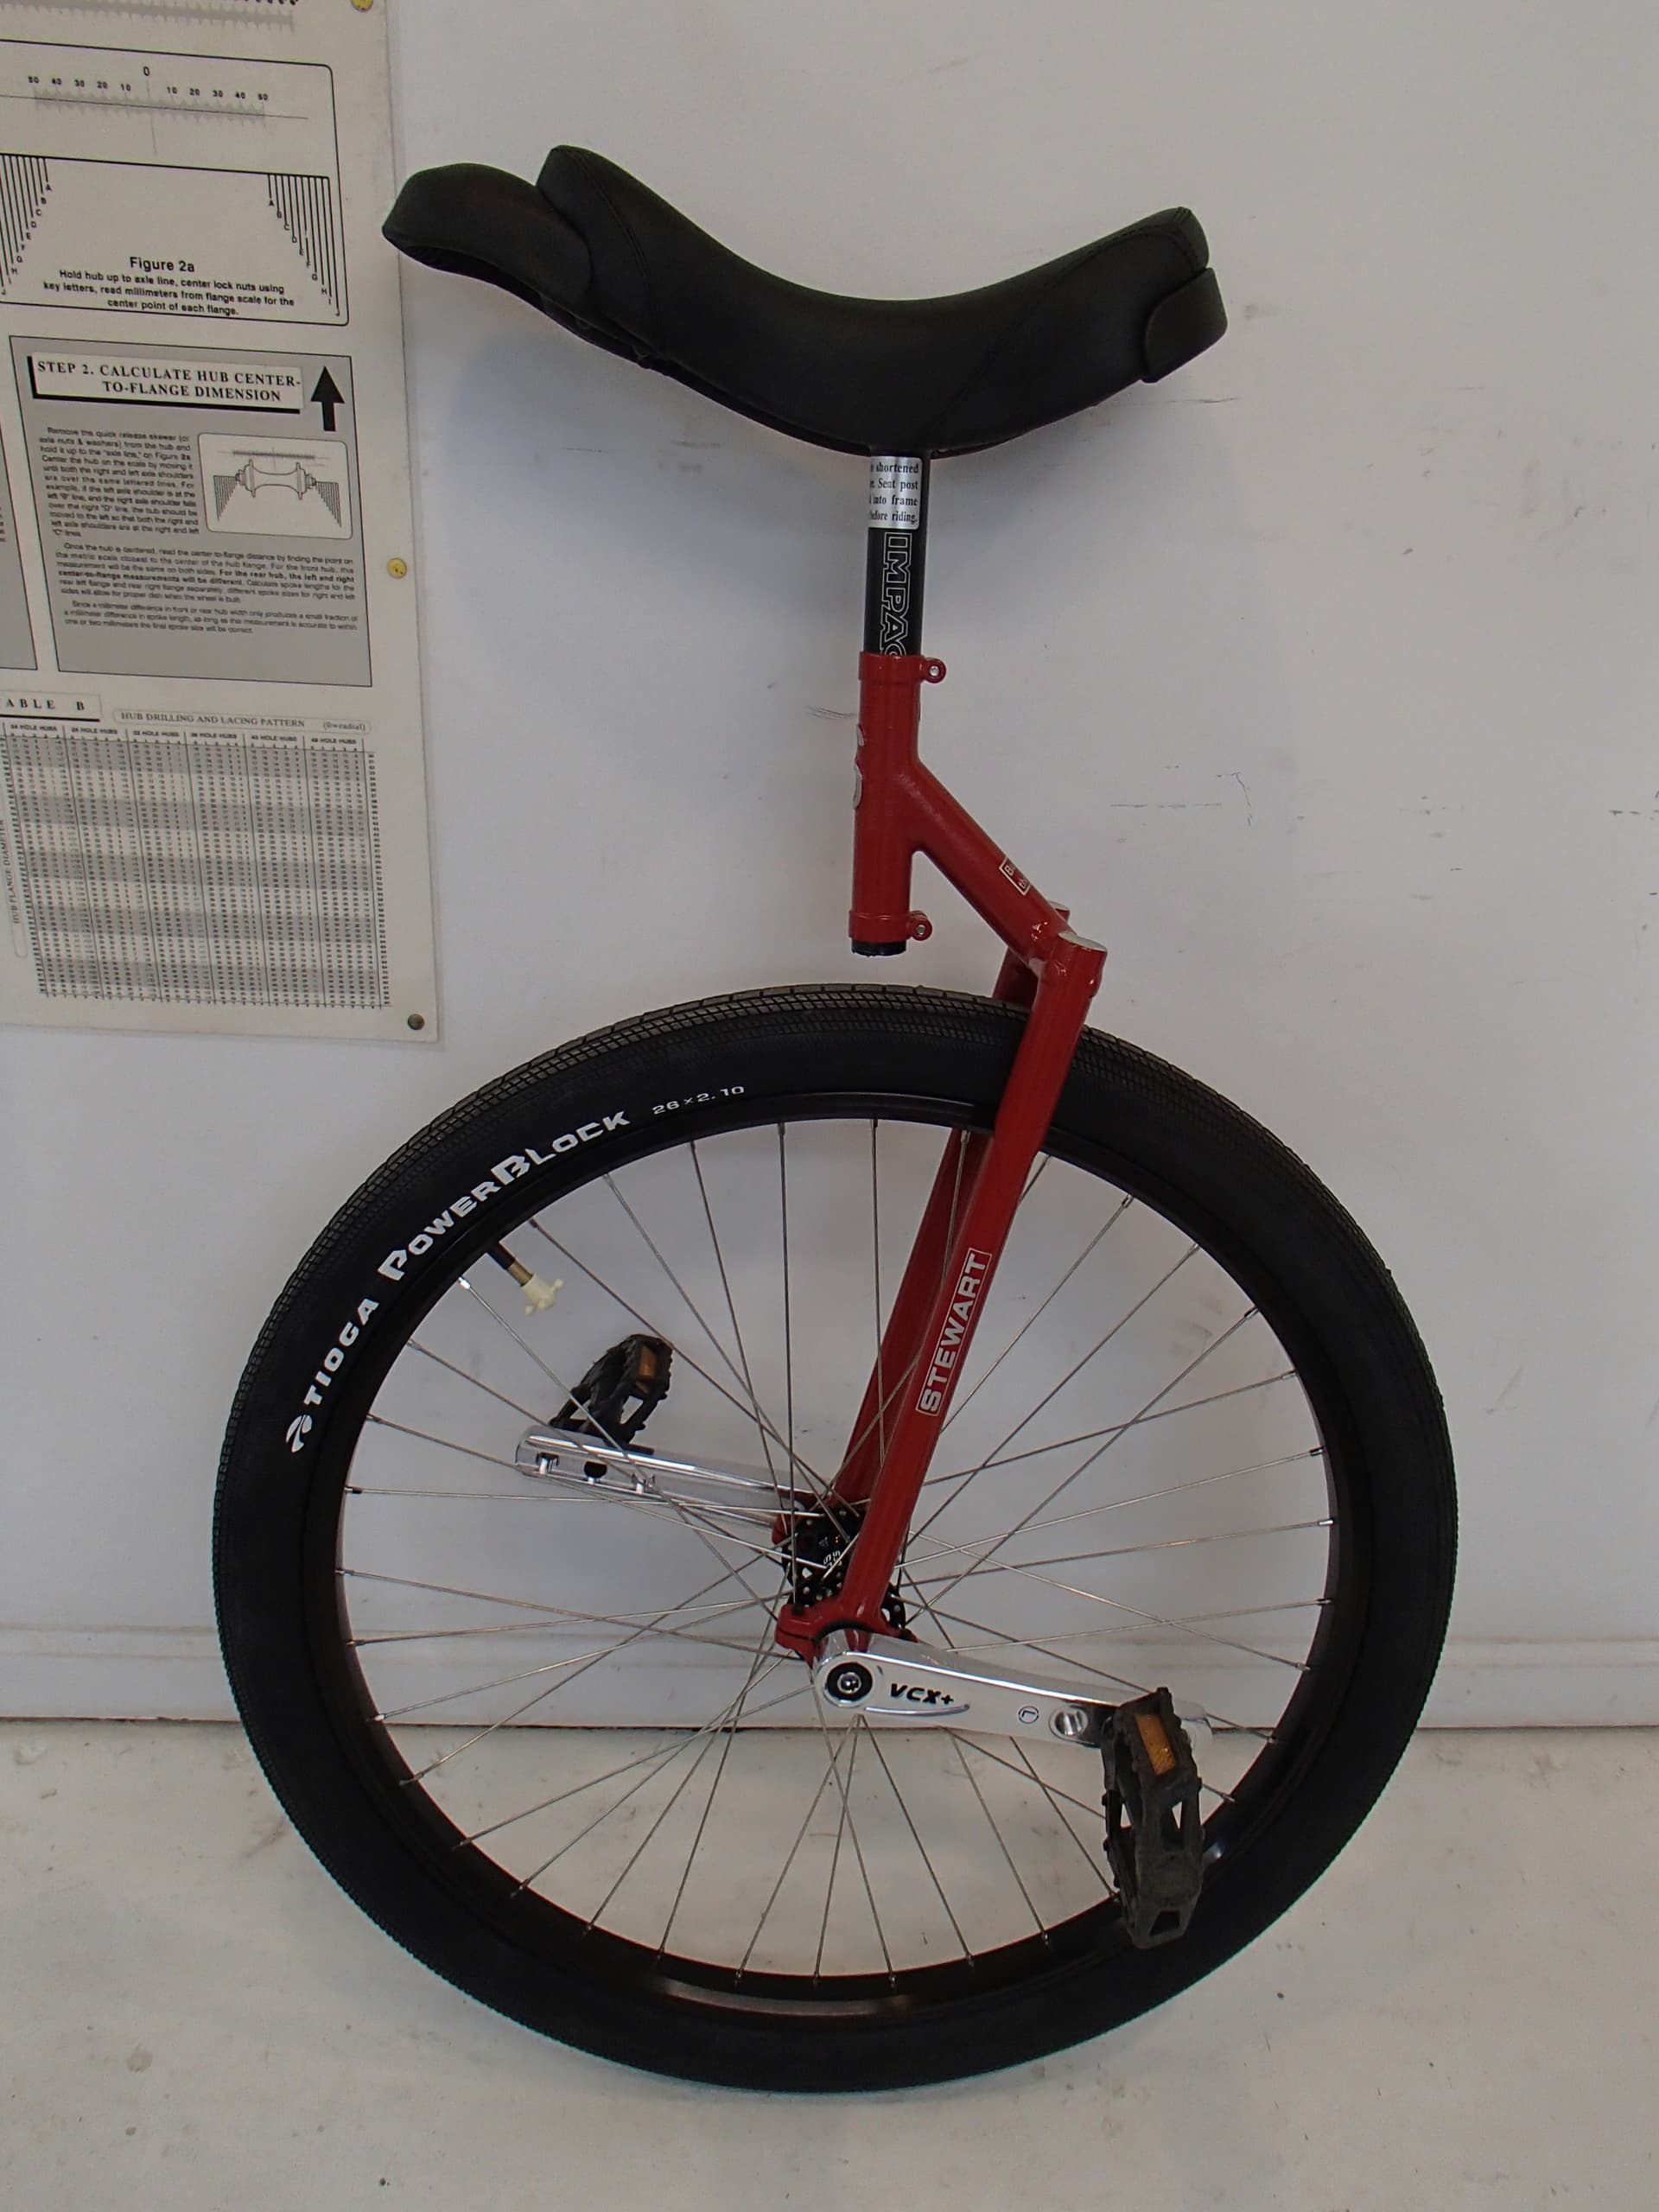
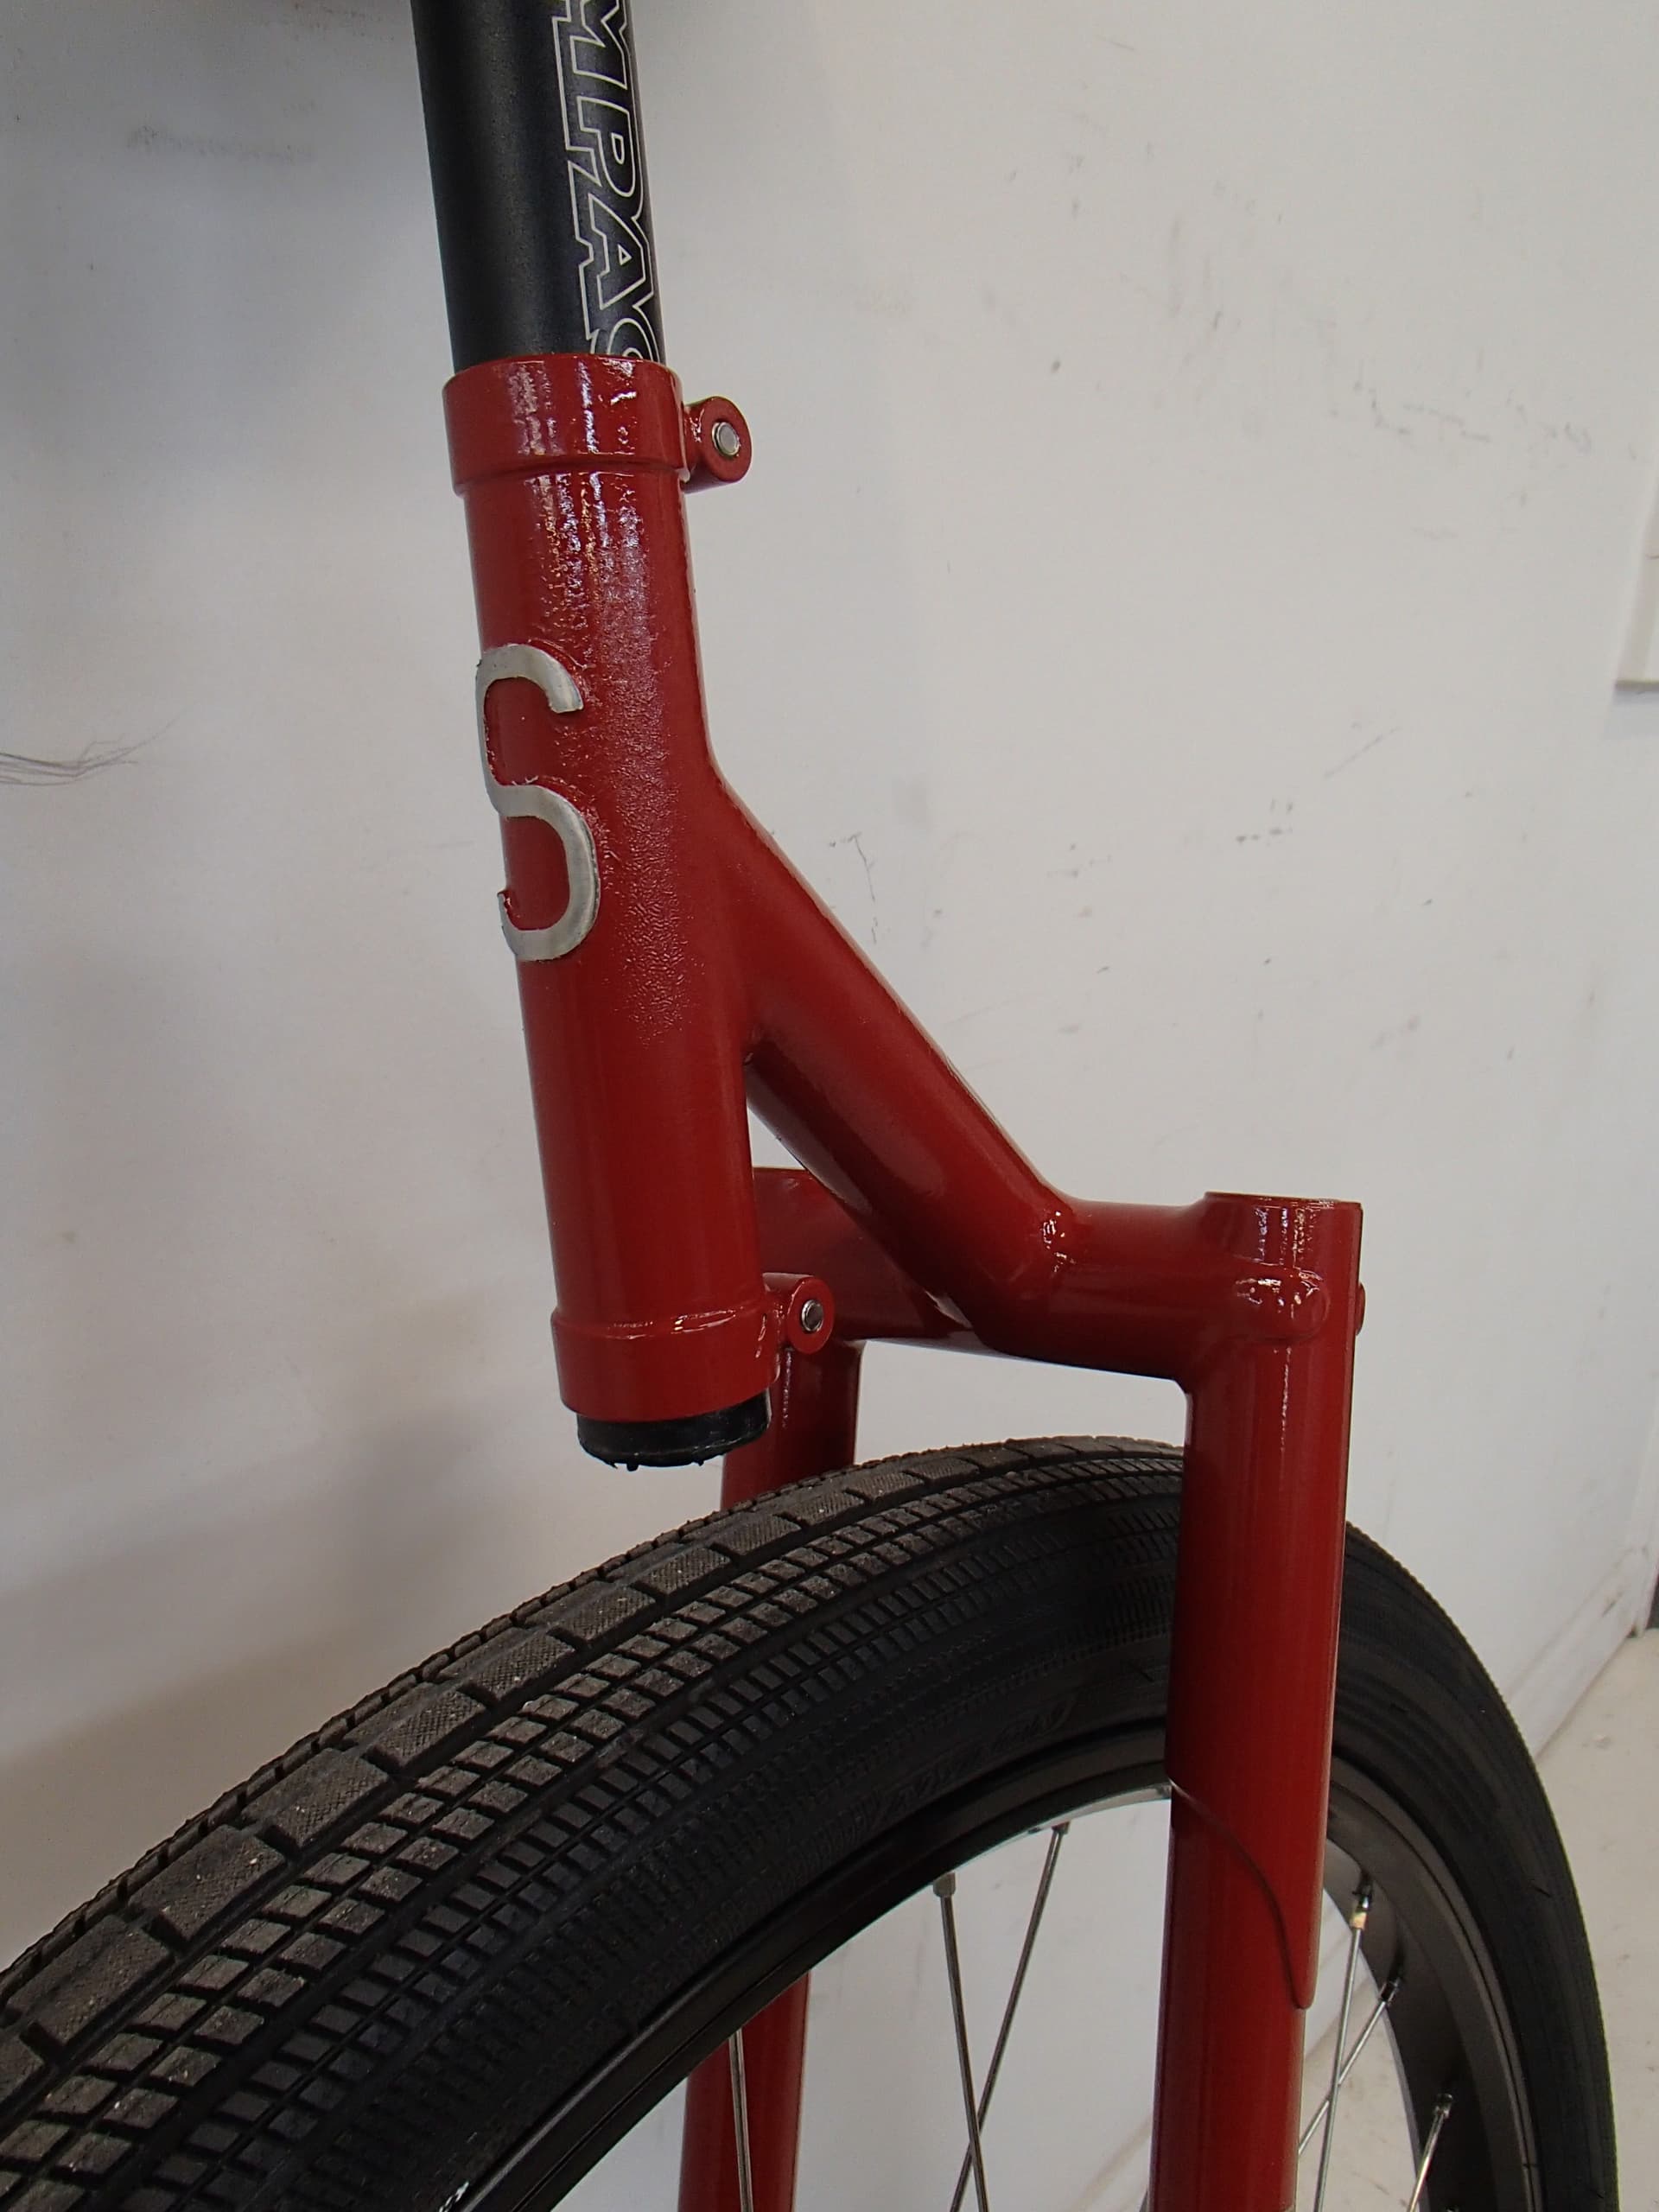
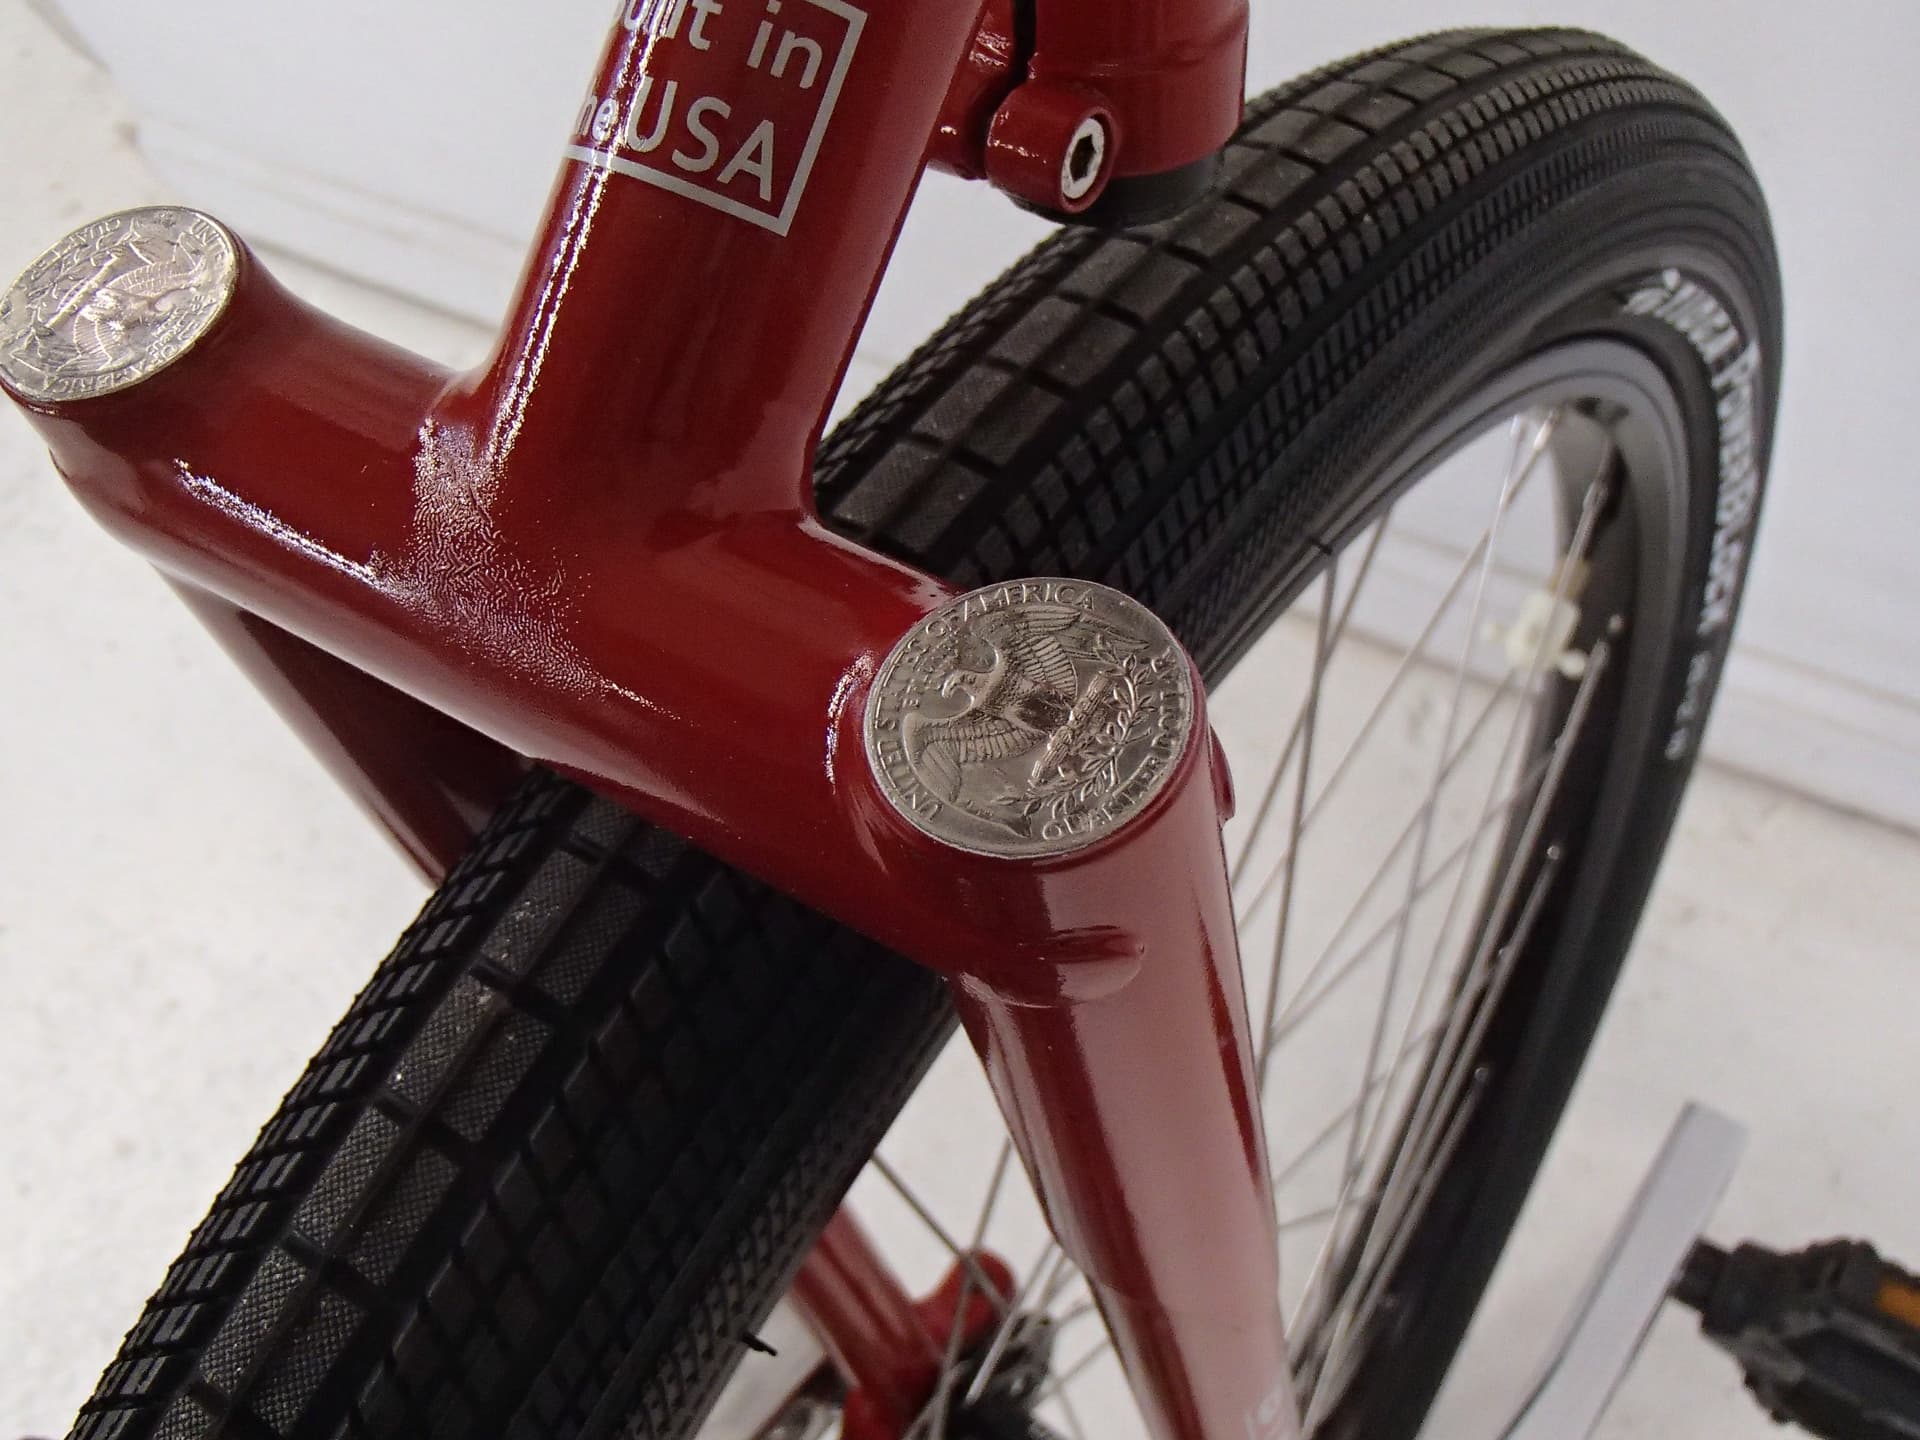
Yes, the quarters capping the blades are a bit token (bad pun) but their diameter was a perfect fit. The paint shows my inexperience and the winter garage conditions the spraying was done in. The “S” is my usual head badge, a water jetted part that i farmed out. Bonus points for those who recognize the poster Andy
12 Likes
I must say, I was surprised by the answer! That’s quite a unique frame, only similar at first glance to a Hatchet, but the more I look at how exactly you offset that seat tube the more different it becomes. Excellent work!
Nice job Andy, I love the lug work at the crown (and the quarters). The poster is the old DT Swiss spoke length calculation chart. I have the same one framed in my dining room
1 Like
Wow that looks awesome. I love the look of the cantilevered design. Best of luck let us know how it performs and holds up
Wow this is impressive. I didn’t expect this.
Can I ask why you made the frame tipped back like a hatchet when it’s on a narrow tyre ?
I’m concerned the seat post might flex a lot.
Sorry to be negative as you’ve made a lovely job of it.
I wanted to have two post clamps and thought that having two open ends of the “seat tube” would do it. Seat post flex isn’t a big concern for me, I only weigh 150 and don’t plan on getting air. Funny that I consider the tire as being kind of big, my roady backround. This is completely an experiment and I expect to learn from it. As we all know one learns more from failure than success Andy.
1 Like
You get the bonus points! The poster is actually the Bicycle Parts Pacific distributed one (they were the US importer of DT back in the 1980s). Same chart though and one I still use. The uni’s rim’s ERD was measured using it. Andy
1 Like