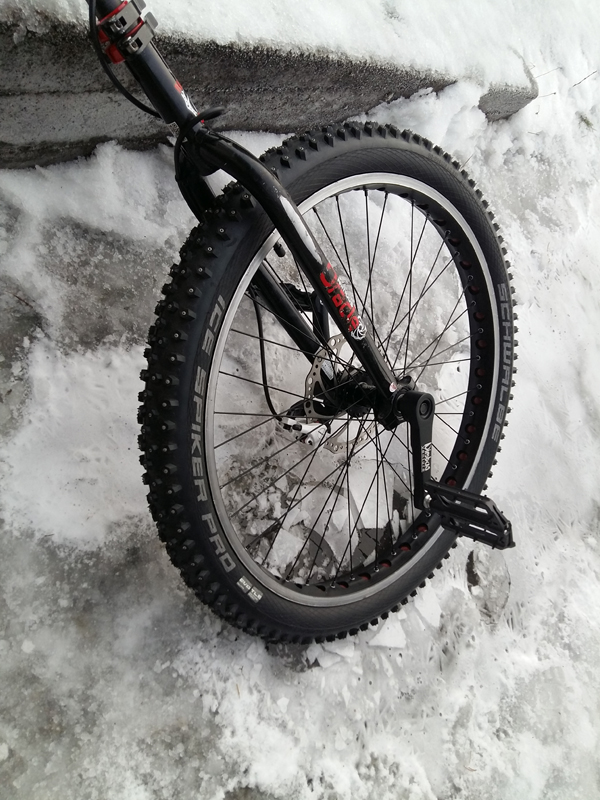
I’ve finally built my first 36’er wheel, but not without problems. I though it would be a good idea to use threadlock instead of lenseed oil. It was not. Once I had the wheel laced, I could not tighten the nippels because they got stuck. I managed to salvage the spokes, but had to order new nipples. Went back to lenseed oil.
The threads on the spokes were not equally long, which made the initial thightening a bit more difficult.
When I started I couldn’t quite remember how to lace the wheel, so I made some notes that I’ll post her so I’ll find it later. I do it like Sheldon Brown and not like the video I linked to in my initial post. The difference is that I get the trailing spokes running on the inside of the flange, which is supposed to be better/stronger.
36 spokes: 4 groupes of spokes (4 x 9)
The first group
Look at the hub from the RIGHT side.
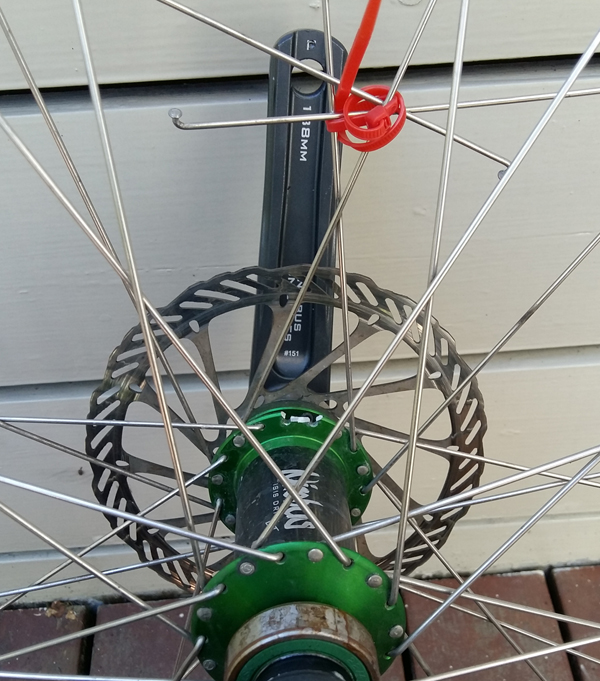
DISHED WHEEL: If this is a dished wheel with an inboard disc rotor on the left side, the LONGEST spokes goes on this side. Put the shortest spokes away so you don’t mix them.
The first group of spokes goes into the hub from the OUTSIDE of the flange on the RIGHT side of the hub.
Put spokes in every other hole.
THE FIRST SPOKE: Put the first spoke (key spoke) into the rim in the first hole to the RIGHT of the valve stem hole.
OFFSET HOLES: If the holes in the rim are offset, you should choose the first or the second hole to the right of the valve stem hole depending on which one is on the right side of the rim.
Put the rest of the spokes in every fourth hole in the rim.
The second group
Look at the wheel from the LEFT side. Turn the wheel so that the valve hole is at the top of the wheel.
DISHED WHEEL: If this is a dished wheel with an inboard disc rotor on the left side, the SHORTEST spokes goes on this side. Put the longest spokes away so you don’t mix them.
The second group of spokes goes into the hub from the OUTSIDE of the flange on the LEFT side of the hub.
Install one spoke at a time.
THE FIRST SPOKE: The first spoke of the second group (the 10th spoke) should go into the rim just to the LEFT of the key spoke (looking at the wheel from the left side).
OFFSET HOLES: If the holes in the rim are offset, you should put the second spoke in so that there are spokes in the two holes to the left of the valve stem hole.
(When the 10th spoke is installed, the rim should have to spokes next to each other next to the valve stem hole. The key spoke and the 10th spoke must not cross each other)
NEXT 8 SPOKES: Install the other 8 spokes in this group following the same pattern.
The third group
Look at the wheel from the RIGHT side.
DISHED WHEEL: If this is a dished wheel with an inboard disc rotor on the left side, the LONGEST spokes goes on this side. Put the shortest spokes away so you don’t mix them.
TWIST THE HUB: Twist the hub CLOCKWISE så that the spoke next to the valve stem hole is angled away from the valve stem hole.
THE FIRST SPOKE: The first spoke of the second group goes into a random hole on the RIGHT side of the hub from the INSIDE of the flange. This spoke should point in the opposite direktion of the existing spokes. It crosses over to spokes and goes under the third spoke on the same side of the flange. It goes into the rim next to a spoke from the other side of the flange.
The fourth group
Look at the wheel from the LEFT side.
The spokes gos into the wheel following the same pattern as the third group.