Nice vid. I like the hot glue alternative (however it has to be reasonnable otherwise it won’t fit the cover anymore!).
As for the slit in the replacement cover for the zero, it may help to sew a point or two on each end to avoid tearing because of the cover torsion.
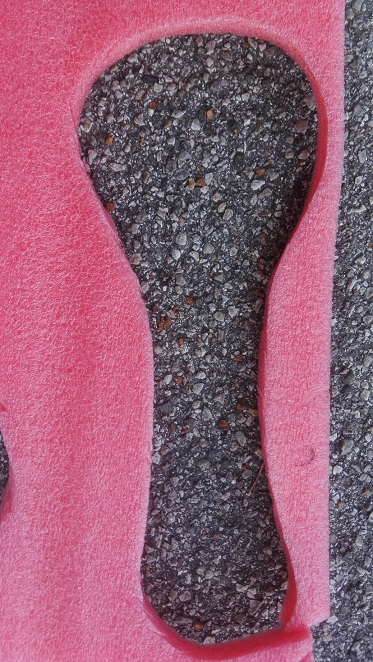
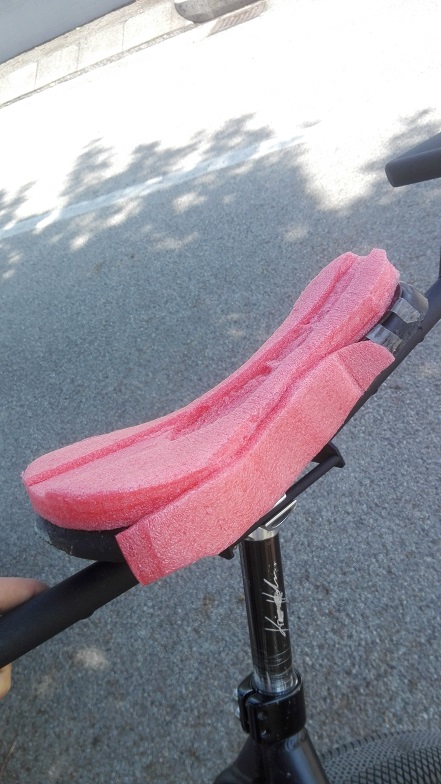
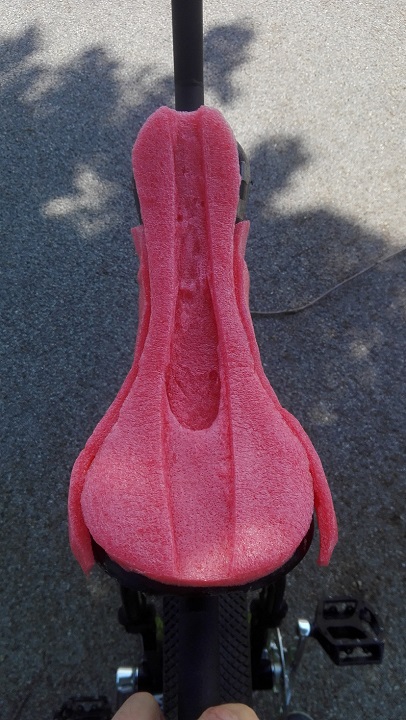
Next step: tutorial on how to make the equivalent of a saddle foam out of a swimming pool noodle 
Since the replacement cover uses a drawstring do you need the slit at all? Could you just remove the cover to make adjustments?
I’ve never used one of the drawstring covers, so maybe that would be too annoying in practice.
From experience of adjusting a Fusion Zero and Fusion One, I can imagine it would be quite annoying.
The seatpost bolt is one that you should also check regularly for tightness. The hollow bolt in the Fusion Zero also has a habit of snapping in two when it comes loose.
Today I did my 2nd saddle and I can confirm again that cutting a new foam is a really really easy trick. My first saddle was great. Haven’t tryed yet my new version.
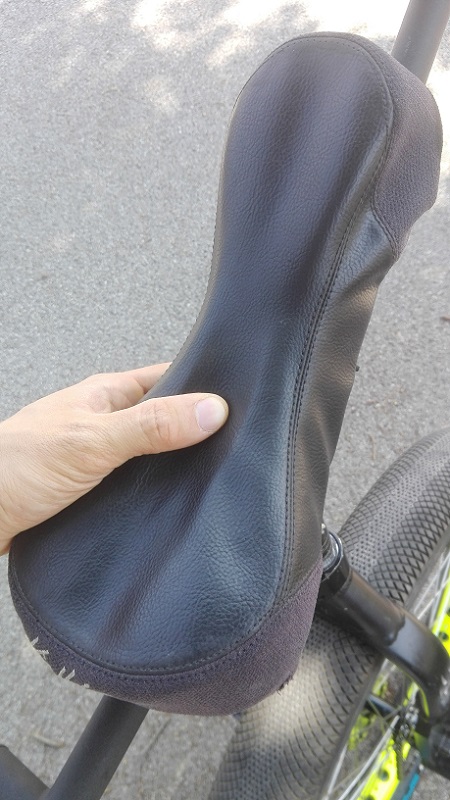
Replaceble cover makes all the job even faster (it takes me about 45’), but it looks not so beutiful as a stapled cover.
Tomorrow will post a picture
Tell us more about cutting the foam. What kind of foam? What tools did you use?
The other thing you can try is adding a piece of less firm foam on top of the original zero foam. I used two pieces placed on either side just in the sit bone area which retains and even emphasizes the cut out area while adding more cushion to the sit bone area, possibly resulting in something closer to the new Fusion one. It elevates the sit bone area so that the foam immediately in front that would normally be pushing against your crotch area is now much lower and more out of the way.

Far too much trouble since you would have to also remove the lift handle and bracket if you’re using the T handle plus the rear bumper in order to remove the cover. You might be able to just remove the rear bumper and peel it off the back and expose the bolt to the pivotal seatpost. By contrast making a small slit in the cover is by far the more practical solution.
Fair enough. I haven’t used the pivotal bolt/interface on my Zero (mine is on a Shadow base), but I’m surprised at the reports of it needing frequent tightening. I use the Shadow base (also Pivotal) on my 36er and it’s never come loose for me. I last touched it ~2.5 years ago when I put in a longer seatpost. YMMV I guess…

I would suggest not having the Saddle’s nose up so extremely high, since your sensitive bits will be pressed against the curved-up section of the saddle, causing more discomfort and very likely numbness. I would suggest trying it with the saddle near the level position, since when you’re riding on level ground, the frame is already naturally angled back to some degree which makes the saddle lower in the back and higher in the front.
I’m gonna do the modification #2 from terry’s video on my kh street saddle (fill the curve with a platform made of hot glue), as soon as I have gathered all the material.
Terry if you have additional advice or comment about this modification, it’s welcome.
Has anyone else tried this?
I also digged the foam for a deeper and larger line hole, like I did on my freeride saddle, I’m just not sure about two things:
-What tissue to take for the cover?
The lycra t-shirt you used on you other video, does it hold over the years?
And how did you attache it under the seat once you have glued the cover on the foam?
I think I will hot glue the scratch band on the foam, but here is my second question: how to attach the other band on the cover?
For the freeride I just stitched it to the original kh cover I had because it was the mesh version, but I’m looking for simpler solution. how did you attache it terry? 3m spray? hot glue? other?
Sorry for the late reply… it was my geared huni-rex with road tire… the nose was not so high due to the high speed only movement requiring a big front lean. So a higher nose means that it run flat at high speed (and it has a nose really high when breaking, but that time I was standing when stopping from high speed).
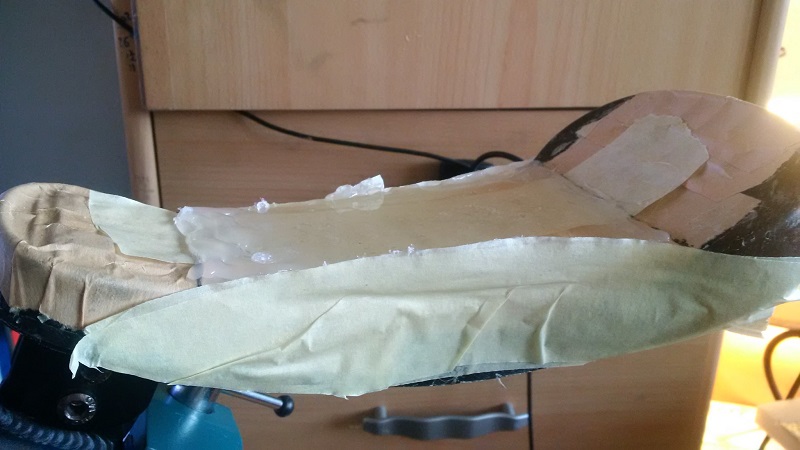
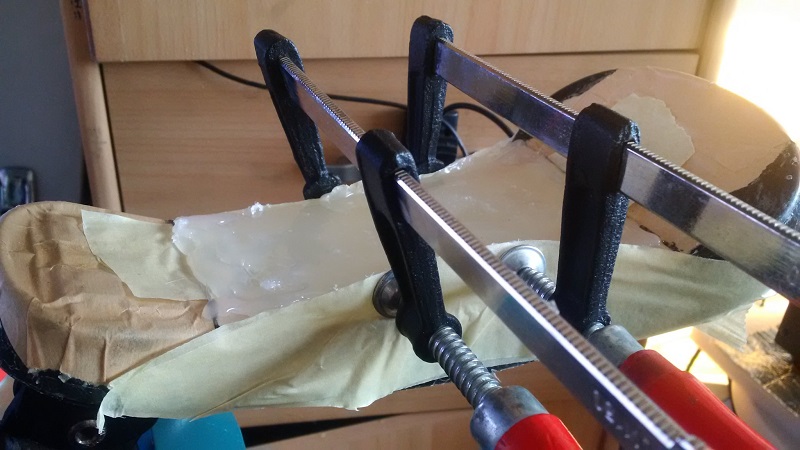
Here is the beginning of my modification.
Things went rather good.
One advice : don’t try to flatten the surface with a flat tool, it will turn into a chewing gum mess.
instead just let the gravity act on this semi liquid hot glue. if you let the saddle on a perfectly horizontal saddle, the surface will flatten by itself.
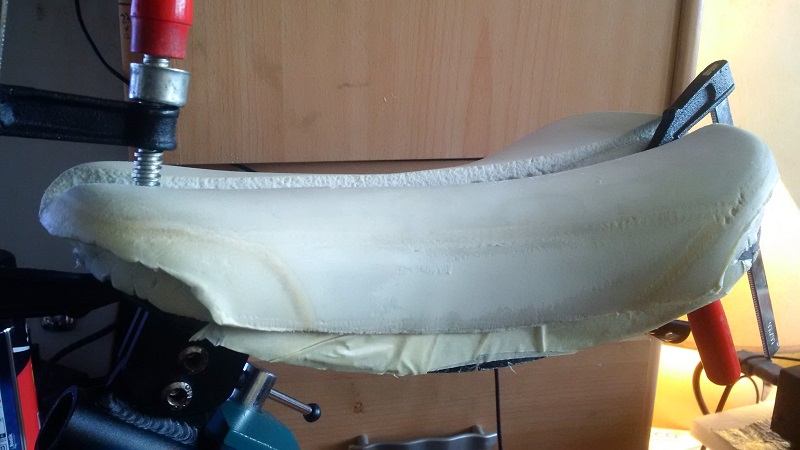
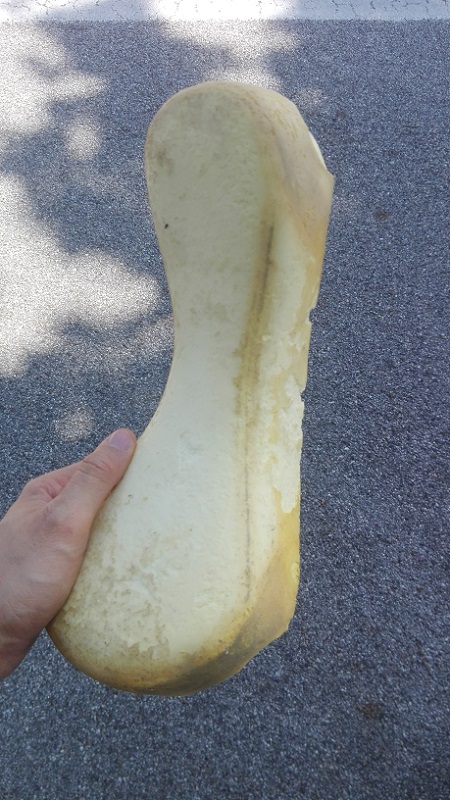
On the 3rd pic you see how it looks like when you put back the foam.
The banana shape is gone.
Next I’ll have to find a cover, thinking about a spandex t-shirt, with some spray glue and scratch bands on the digged channel.