Isis M12 Cranksetter Bolt, etc.
James,
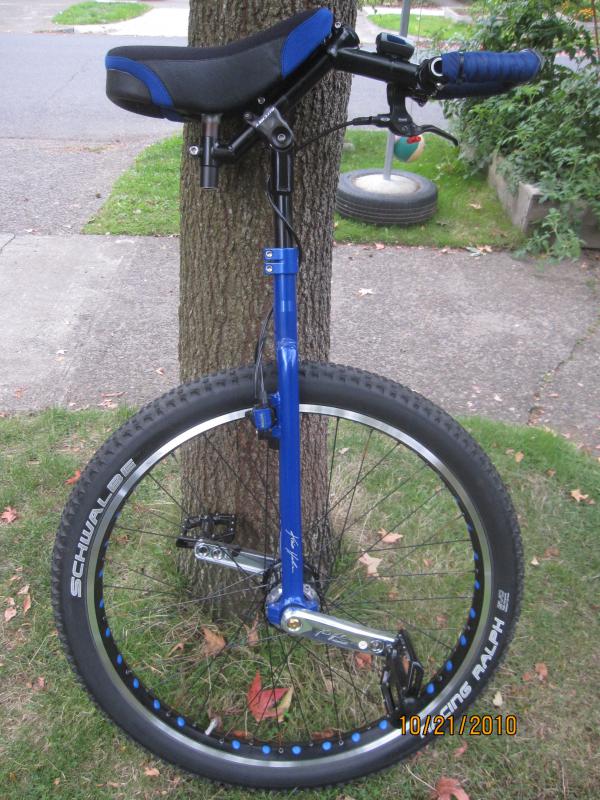
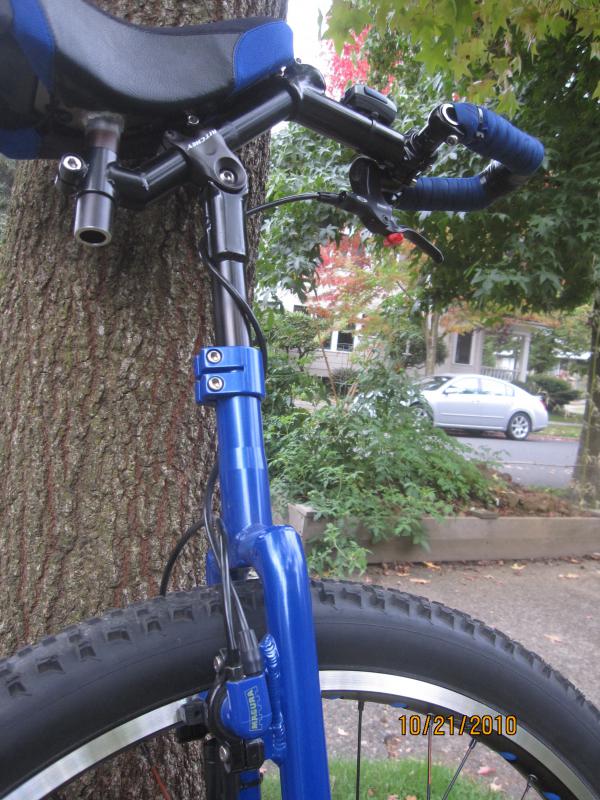
I can’t answer all your questions about wheel builds with Schlumpfs (my lightly used KH29 came with the hub already laced into the KH XC rim), but I’m sure others can. One thing I do know is that the Schlumpf manual cautions against over-tensioning the spokes. Here’s what it says: “If shifting doesn’t work as easily as before fitting the spokes, reduce tension on the spokes. Too high tension may result in a deformation of the hub body and can prevent the clutch pins from moving from one into the other position.” Others in this thread have said they simply used the recommendations on the Park tensioning tool for 2mm spokes. Another option you might consider is lacing up the hub yourself, then taking it to your Local Bike Shop (LBS) for professional tensioning and truing.
As to your crank installation questions, I CAN answer those … from recent experience.
Just prior to receiving my KH29 guni I set out looking for an “M12 Isis crank bolt” to drill and make what I’m calling my “Cranksetter Bolt.” Lots of local shops had stocks of crank bolts, but few knew the difference between an M12 and an M15. As it turns out, the M stands for metric, and the 12 stands for the diameter of the threaded part of the bolt in mm. The one local shop that actually knew that bit of trivia just gave me a lightly used M12 bolt which had lost it’s black plastic cap, but still had all the metal bits (i.e., bolt & integrated washer). They even took a caliper to the threads to show me the diameter was 12 mm, which was helpful since the bolt had no other identifying label. The length of the threaded part of this bolt just happens to be 12 mm, as well. (I think this 12 mm x 12 mm is standard for many Isis bike hubs.)
Like others before me, I drilled out the center of the bolt head (on this 12 x 12 bolt) with a 1/4" bit. I was lucky enough to have a drill press at my disposal, and I made a plywood jig to hold the bolt by drilling a 1/2" hole in the plywood, into which I inserted the threaded part of the bolt, before drilling the head of the bolt from from the top. I’m pretty sure this old 12 x 12 bolt was tempered steel, since it took a bit of effort to break through. No big deal though, and the 1/4" drill bit steered well clear of the 8 mm hex socket edges.
Incidentally, UDC-US does sell M12 Isis bolts for $6 a pair (see http://www.unicycle.com/unicycle-hardware/hubs-and-hub-assemblies/isis-bolts/). The threaded part of these bolts are 17 mm long, and the top inside of the hex-hole is stamped with “M12.” (I know because I had a pair on order, which finally showed up after I set my cranks with the shorter “Cranksetter Bolt.”) Although I have yet to drill one of these longer bolts, it looks as if it would be best to drill them from the inside of the bolt, where there is a small indentation that would serve as a “witness hole” to center your drill bit.
At any rate, the shorter bolt (12 x 12) worked perfectly fine when paired with a Craftsmen Torque Wrench and Craftsmen 8 mm hex driver bit. As other have said, you just use the cranksetter bolt to send the crank arms home by cranking down to the recommended 30-35 footpounds (ft-lbs). You then back out the cranksetter bolt and screw in one of the crank bolts supplied with the hub. Change your Torque Wrench bit to a Craftsmen 6 mm, and torque the proper crank bolt to 30-35 ft-lbs. The cranksetter bolt, with its 8 mm hex hole does all the tough work of seating the crank, and the supplied crank bolt just holds it in place.
One slight word of caution. Make sure your cranksetter bolt engages at least 3 or 4 full turns before it butts up against the inside recess of the crank arm. If it doesn’t, you should (as recommended in the Schlumpf manual) give the crank arms “some moderate hits with a plastic hammer to get them a proper seat.” In other words, use a rubber mallet to knock the crank arms onto the splindle far enough so that the cranksetter bolt engages 3 or 4 full turns before it butts up against the inside recess of the crank arm.
Sorry this description is a bit “over the top” but I would have appreciated this much detail before I started whaling on my Schlumpf hub with a rubber mallet.
Good luck with the build and happy guni-ing.
UPD in Utah
(a.k.a. Bert)

 )?
)?