Has anyone made their own brake spooner?
Scott
Has anyone made their own brake spooner?
Scott
Actually, I quite like that idea. But I’d use a metal tablespoon and something stronger than rubber bands to hold it on. I think it will work just fine.
The winning french rider in the cross country, Martin Charrier had a custom spooner that looked like bits of wood stuck together with wire or something but it worked pretty well - possibly better than the bought ones.
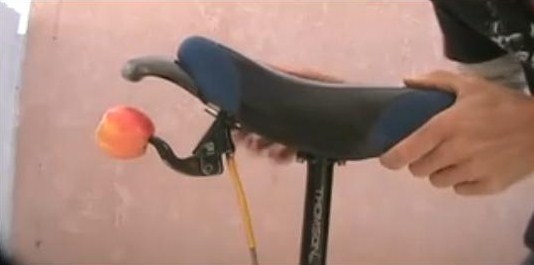
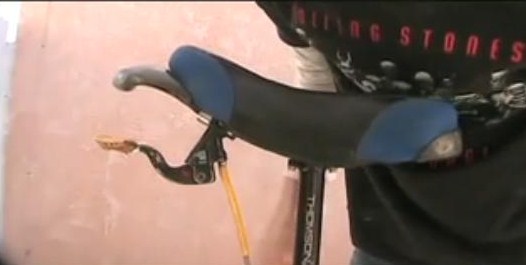
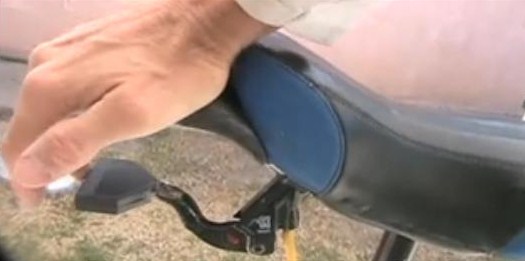
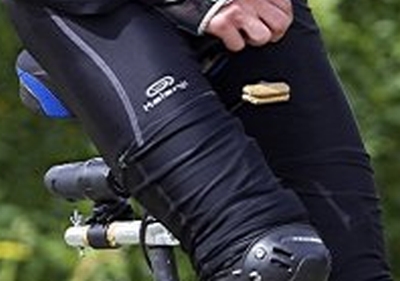
I experimented with several “custom” spooners! The first 4 are edible so they come in handy on the trail if you get hungry, lol. ![]()
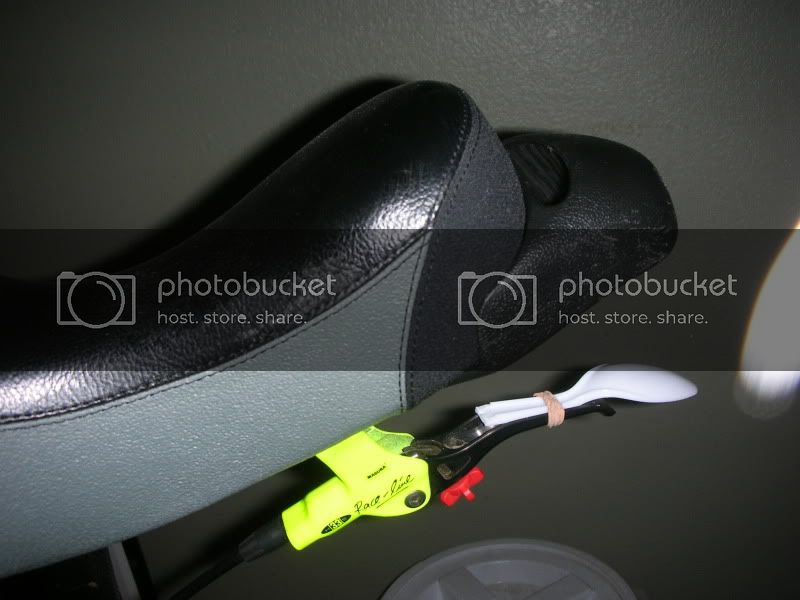
Last one is made from an old printer cable port. This was from a video I made in 10/08. But I was thinking, you could very easily just mold one right onto the lever out of epoxy! Fast and simple.
not my idea, I can’t remember where I saw this, maybe unigeezer? but if you can find an old cable laying around for a printer or something, that wide flat connector piece can be gutted and glued on with epoxy or something similar
In fact, I’m almost positive it was, I think I remember the video, but he has so many uploads I can’t begin to find it, I tried. : / searching “spooner” in his library didn’t pop it up.
Haha, Good effort. ![]()
could you show some more photo’s of the rubber spooner? What rubber stock did you use to make it?
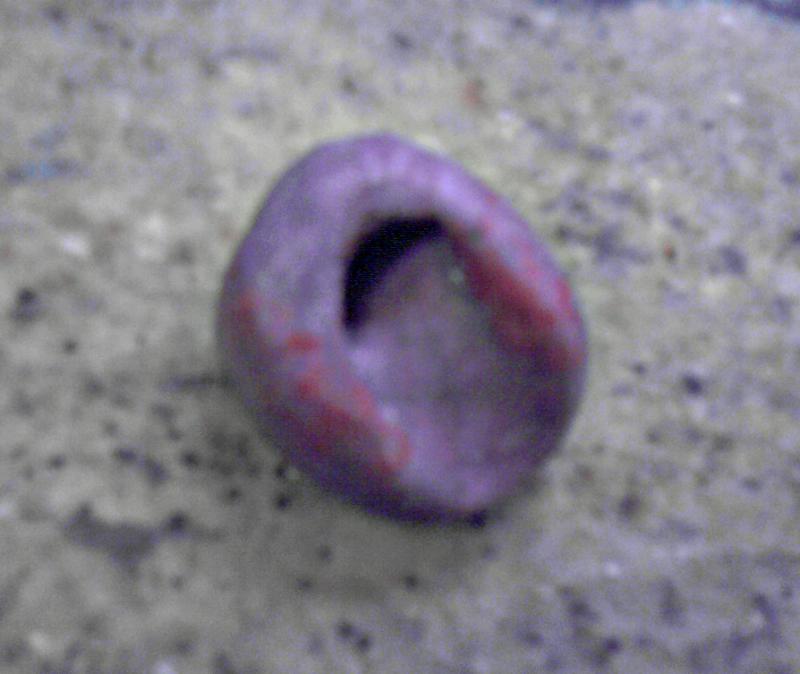
I have made a couple out of epoxy resin. I moulded a peice of soft wax to the shape I wanted, with a nice indent moulded to my finger. I then incased it in plaser and then heated it to melt the wax out. Mixed up some epoxy resin with some microfibres and pored it in the top of the mould. When it had set I cracked the plaster off and cleaned it up. Then just put some glue in the hole fot the lever and slapped it on. Works really nice and fits my finger perfectly. I took some pictures of it, if anyones intrested, pretty simple though.
thickness is 3mm, industrial type; but I cannot tell you were to get some because I was given it long time ago, it’s rather stiff
Haha, now that’s a coincidence! 10 minutes before your post, (and directly above yours) I had already posted my video with the spooner mods, lol! ![]()
yea, I was looking for the video and had the text put in, never found it : P
Yeah it was under “36er tutorial”. It wouldn’t come up under “spooner” in the search. Sometimes I even had a hard time finding my older videos haha. ![]()
Sounds cool, can you please post some pictures?
The pics are just off my phone, because that was all I had to hand at the time. I will try and get them online later tonight.
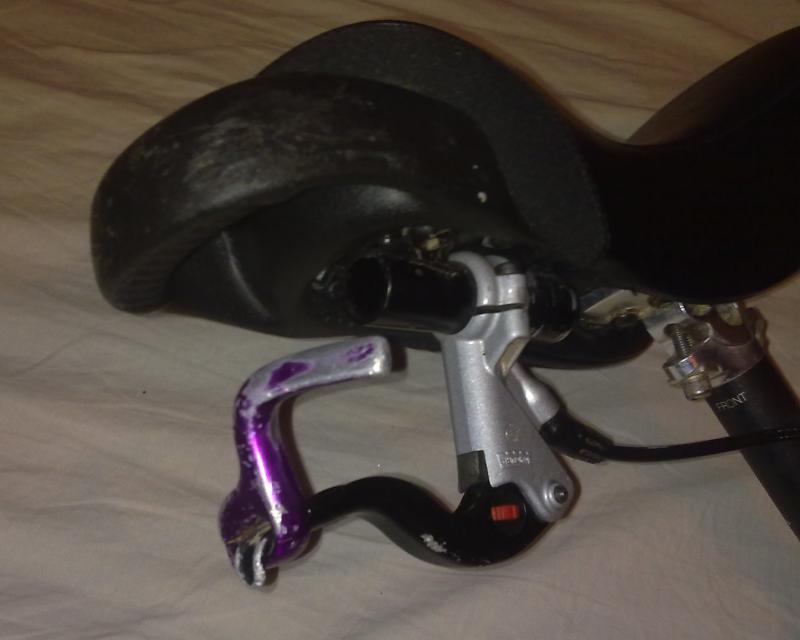
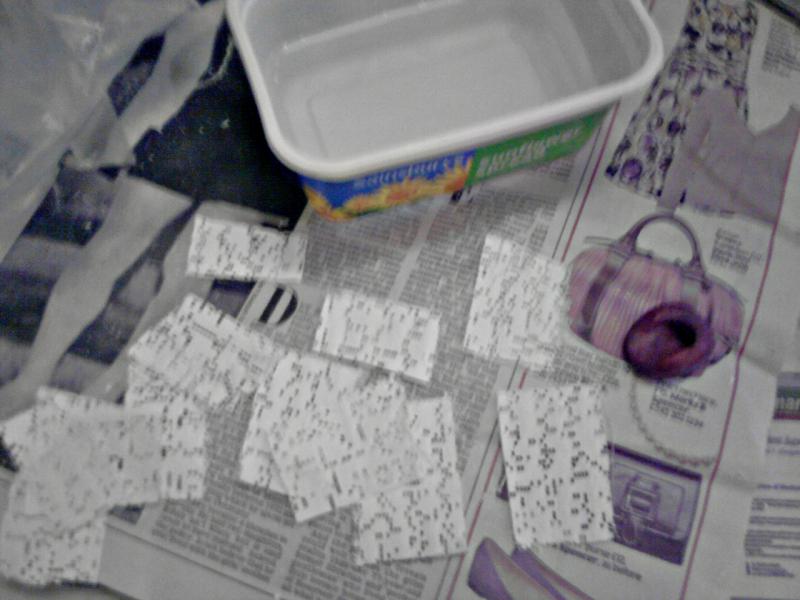
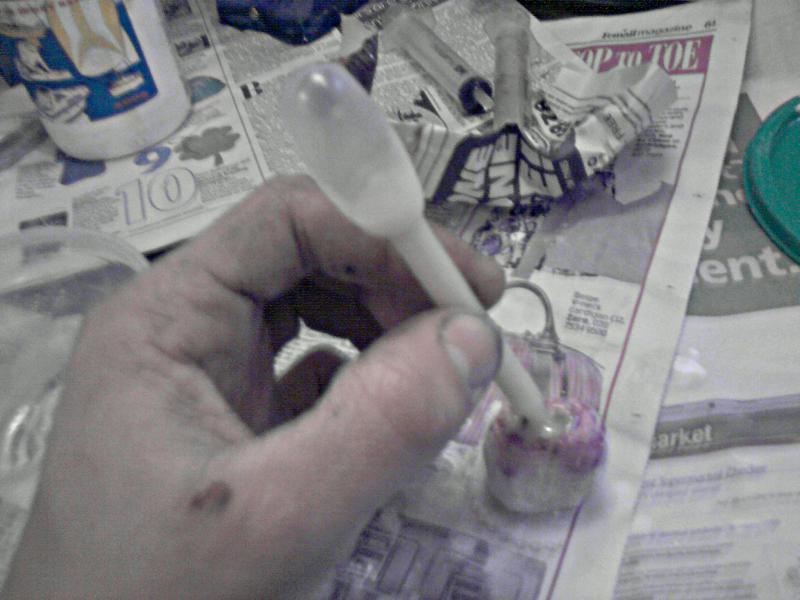
Sorry Its taken so long. Heres a quick step by step of what I did, with some bad phone pictures. This is the second one I made, the idea was for it to be slightly offset so it was in a better place under the saddle to use my index finger to bake.
I moulded some wax around my brake lever and pressed my finger into it so it fitted nicely.
Then I pulled it off carfully and smoothed it off as best as I could.
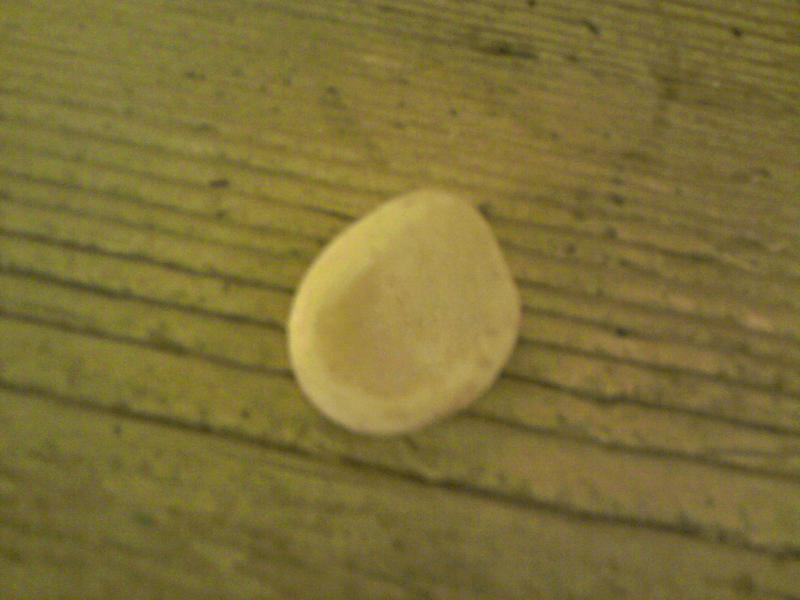
Once I was happy it was smooth enough I used the modrock to cover it, but made sure I left a little hole at the top.
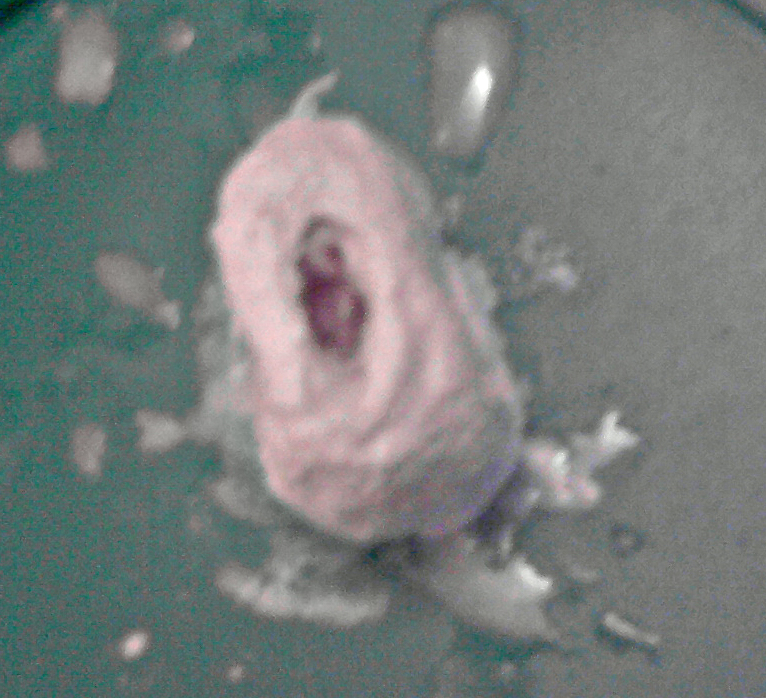
Then the wax needs melting out, I was feeling lazy so just chucked in the microwave for a few seconds then left the wax to trickle out, seemed to work ok. Once all the wax is gone you should be left with a nice negative.
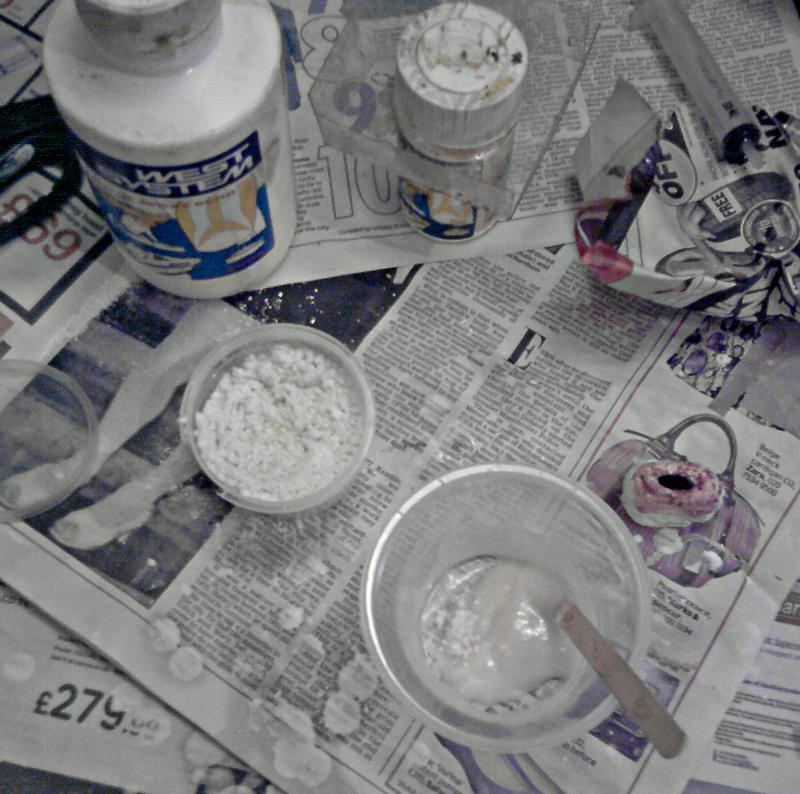
Next I swilled it round with some release adgent. I then mixed up some epoxy resin and added some microfibrles so that when its set it should be less brittle and less likley to chip or break if it hits something in a UPD.
I then used a little sucky syringe thing to suck up the epoxy and inject it into the mould being careful not to leave any voids of air.
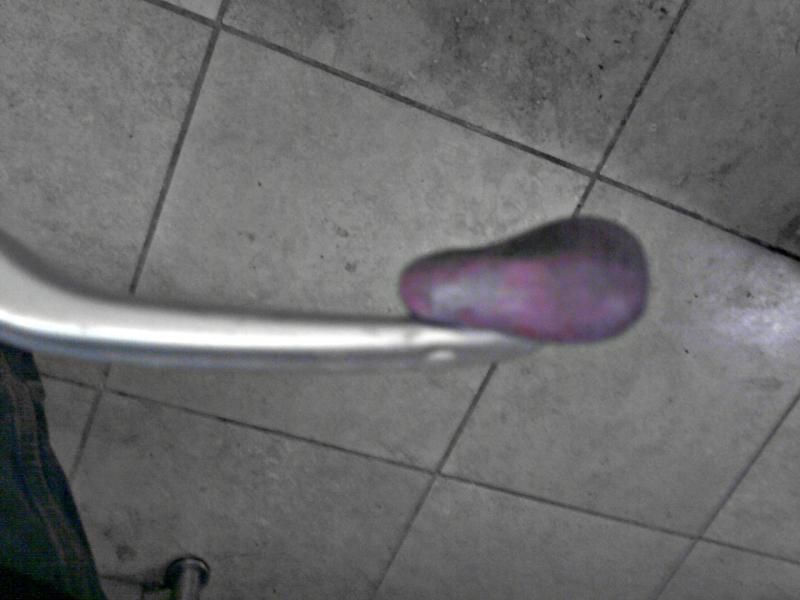
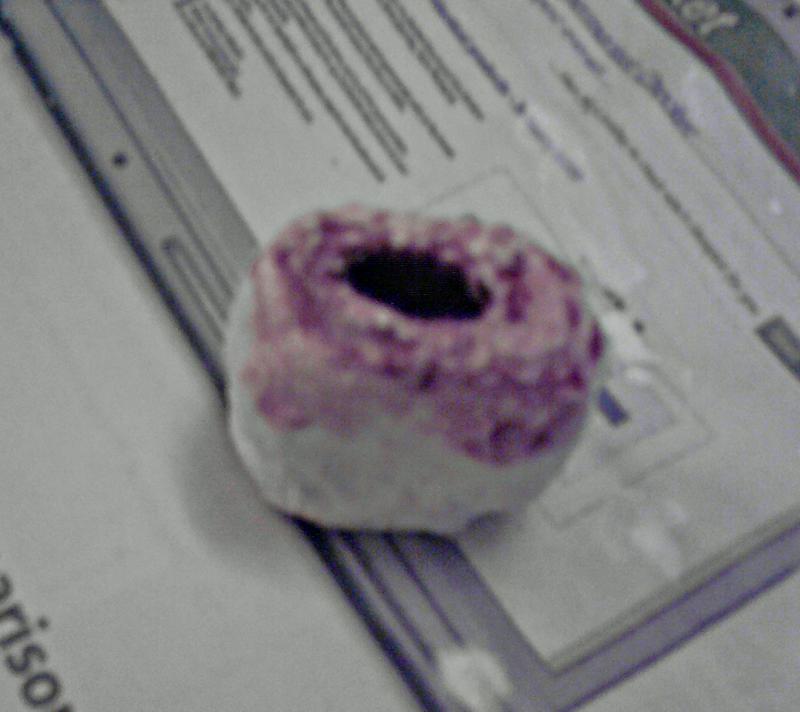
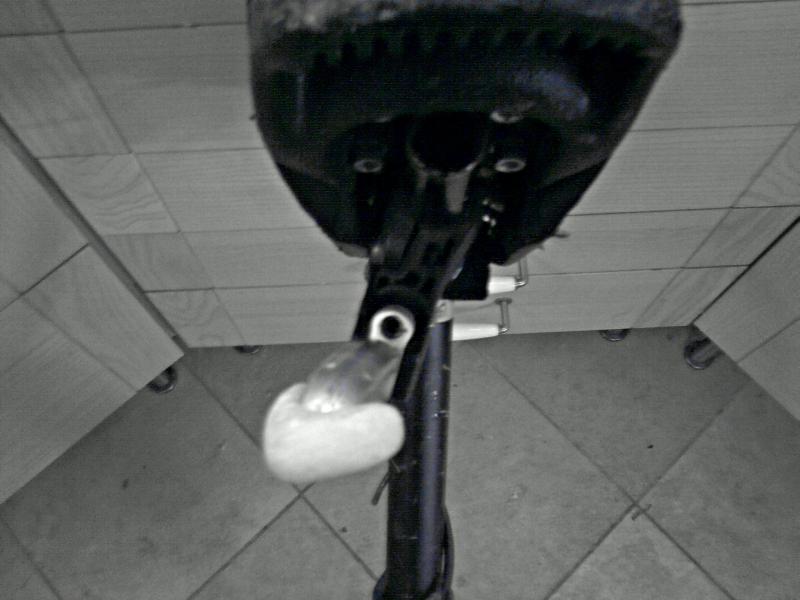
Once the epoxy had set I used a knife to score round the side and running it under a tap pulled the two halft apart. It needed a little bit of a sand in places but is generally pretty good.
If I was to make another I think I would make the mould in 2 halves so I can reuse it to make more. Because I only wanted one it didnt matter to me that I had to break up the mould. I also might make another peice that will fit on top and can be clamped together to hold its self on. Any questions just ask, its pretty simple though and doesnt really take that long to do.
Looks like he used a custard cream.

